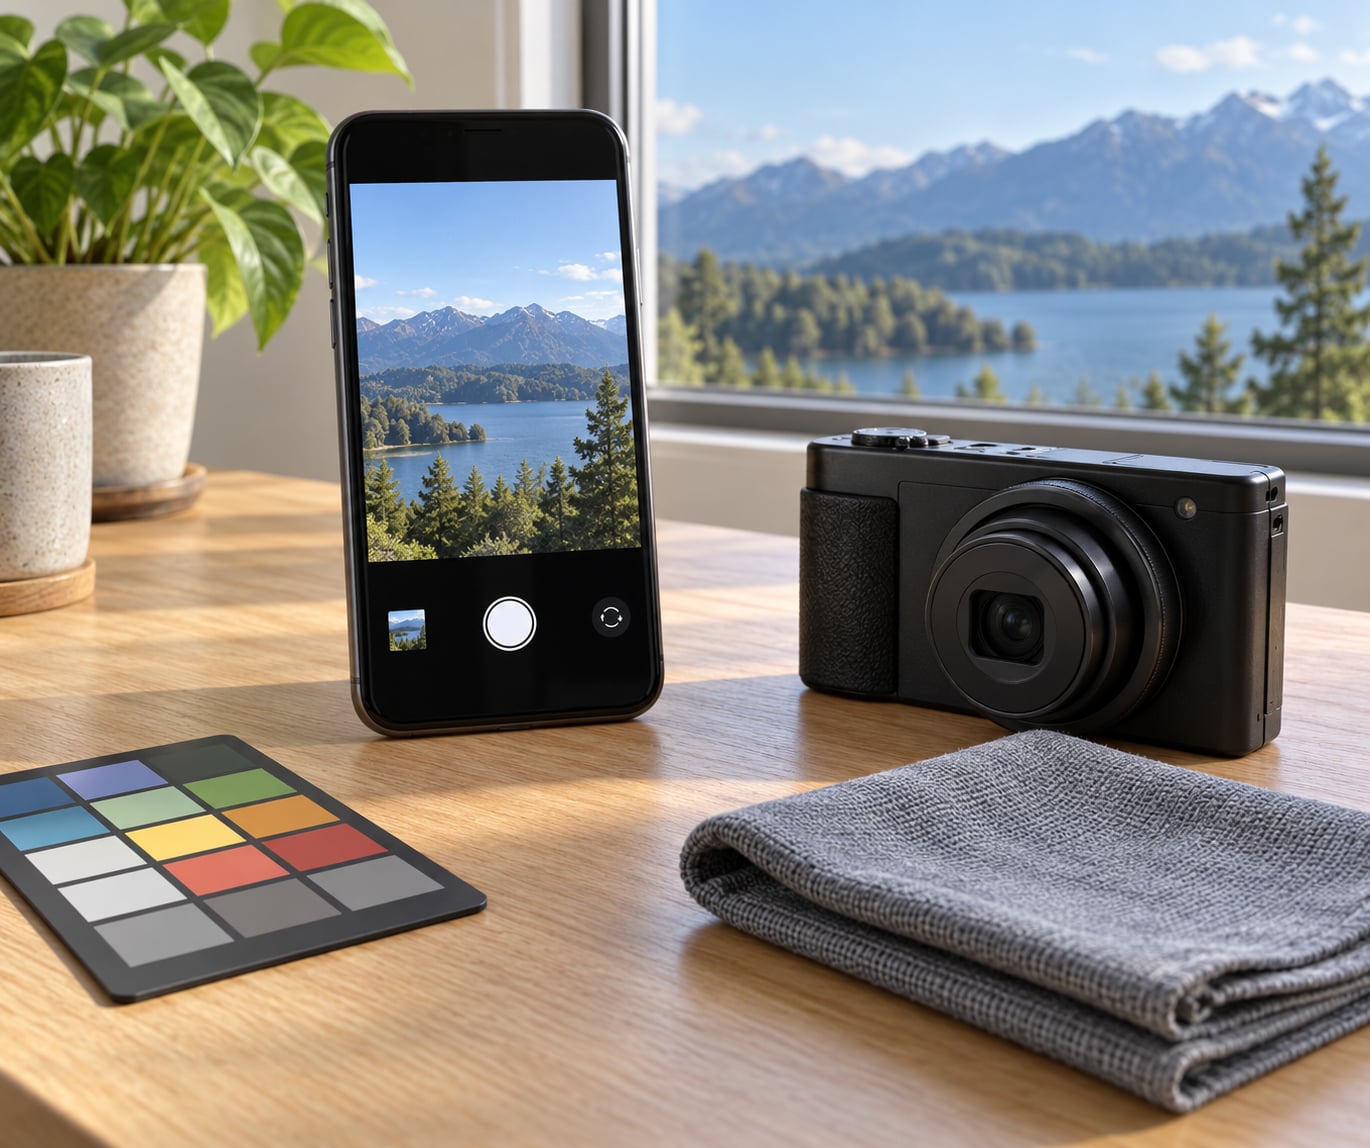
Photographic Styles are the built-in looks inside your iPhone’s Camera app, and you use them by swiping up from the camera modes strip, tapping Styles, then swiping left or right to preview each one. That is the whole trick: no app, no menu hunting. Pick a look you like, tap Customize if you want to push the tone and color further, and it stays applied to every shot until you change it.
One thing catches people out. Styles feel like filters, and they are not. A filter lays one effect over the whole frame; a Photographic Style knows where your skin is in the shot and adjusts specific colors in specific places, which is why portraits come out looking natural instead of orange. A few lines below I show the exact taps, which iPhones support the feature, and the one capture-format setting that decides whether you can still restyle a photo after the fact.
Updated October 2026. The instructions below cover the current iOS release. Menu wording shifts slightly between versions, so I note the model differences as they come up.
Table of Contents
- 1What You Need
- 2Step-by-Step: How to Use Photographic Styles on iPhone
- 31. Check whether your iPhone supports Photographic Styles
- 42. Open the Camera app and choose a shooting mode
- 53. Open the Photographic Styles control
- 64. Select a style and take a test photo
- 75. Adjust Photographic Styles in Settings
- 86. Use the style consistently for a photo session
- 9Common mistakes
- 10Frequently Asked Questions
- 11Where is Photographic Styles on iPhone?
- 12Can I use Photographic Styles on an older iPhone?
- 13Does Photographic Styles change the photo after it is taken?
- 14Why do my Photographic Styles look different from the preview?
- 15Can I turn off Photographic Styles on iPhone?
- 16Is Photographic Styles the same as a filter?
- 17Conclusion
What You Need
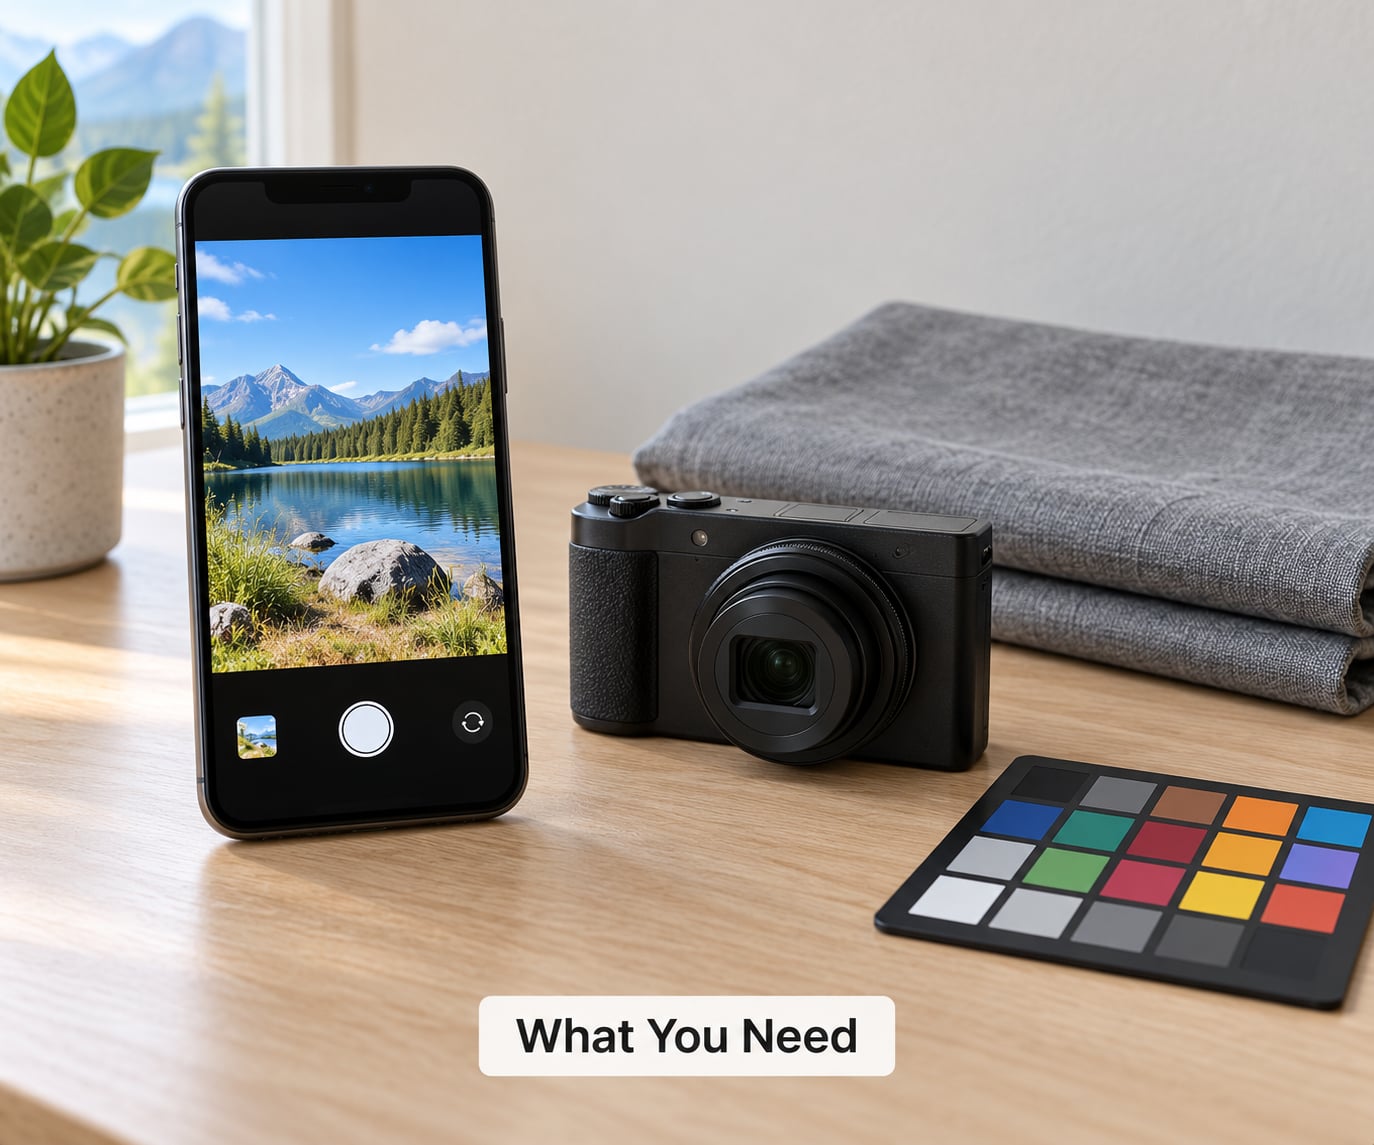
You need an iPhone from the 13 series onward, or a third-generation iPhone SE, running iOS 16 or later. Anything older does not have the feature at all, and no amount of updating will add it.
Beyond the phone itself, you need the Camera app, something in front of the lens, and about two minutes to set a default style in Settings so you stop re-picking one every session. The Settings app is optional but worth opening once.
There are three generations of this feature and they genuinely differ. Knowing which one your phone has saves a lot of confusion:
- iPhone 13, 13 mini, 13 Pro, 13 Pro Max, iPhone 14 series, 15 series, SE 3 — five tone styles: Standard, Rich Contrast, Vibrant, Warm and Cool. Each one has an intensity slider, and Standard cannot be adjusted.
- iPhone 16, 16 Plus, 16 Pro, 16 Pro Max, iPhone 17 series — the newer Undertones and Moods system. You pick an undertone, then a mood, instead of choosing a named preset. The 16e and 17e do not support it.
- iPhone 18 Pro and 18 Pro Max — everything in the second group plus a Texture layer with Soft Skin, Glow, Film and Grain.
Step-by-Step: How to Use Photographic Styles on iPhone
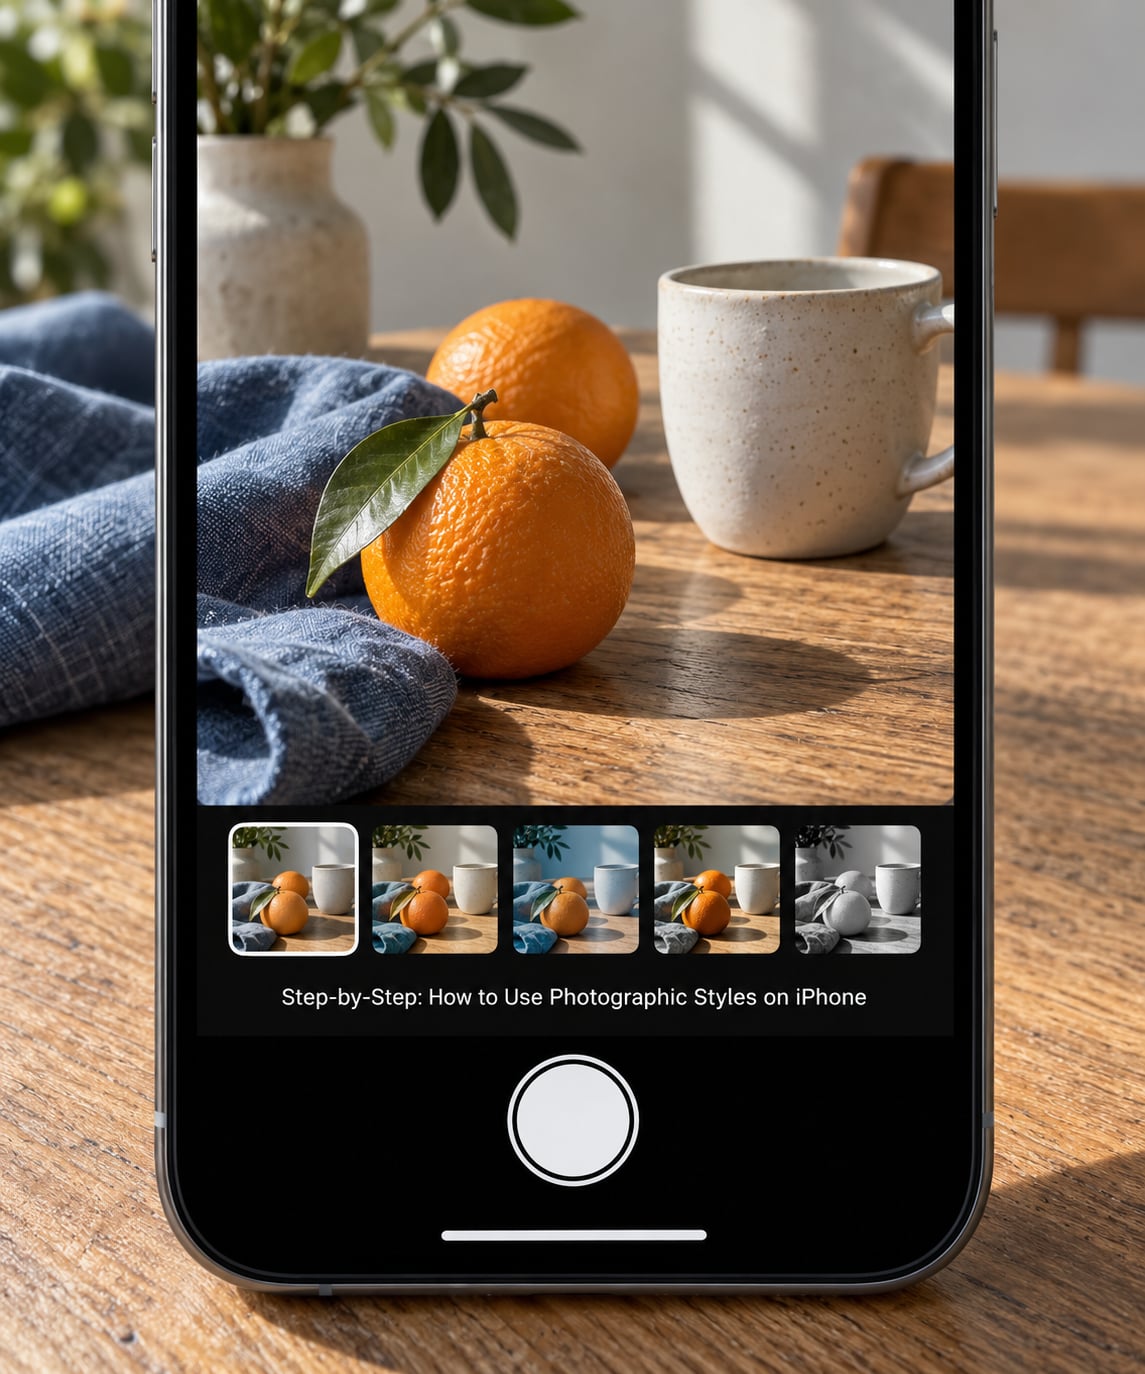
Work through these in order the first time. After that it becomes muscle memory, maybe fifteen seconds per session.
1. Check whether your iPhone supports Photographic Styles
The quickest check is empirical. Open the Camera app, swipe up from the camera modes strip, and look for a Styles row. If it is there, you are supported. If it is not, and you are on an iPhone 13 or newer, something else is going on — usually the photo format, covered in the mistakes section.
The other way to confirm is Settings > Camera > Photographic Styles. On supported phones that screen contains a Use Standard toggle. Older iPhones simply skip the row entirely.
2. Open the Camera app and choose a shooting mode
Set the mode strip to Photo before you go any further. Styles apply to stills only. Portrait mode, Night mode and the Pro camera formats still produce photos, but the style picker behaves differently or disappears, and video has no styles at all.
3. Open the Photographic Styles control
Swipe up from the camera modes strip at the bottom of the viewfinder. A picker slides up with your current style highlighted. On iPhone 13 and 14 era phones you see five circular style icons in a row. On iPhone 16 and later you see an undertones picker and a moods picker instead.
Confirmation that it worked: the viewfinder image itself shifts tone the moment you land on a different style. If the scene does not change at all, you are probably still in a mode that does not support styles.
4. Select a style and take a test photo
Swipe left or right through the options and watch the live preview. On the older system, the five choices behave like this:
- Standard — neutral rendering with no extra punch. Best for scenes you want to edit yourself later, since it leaves the most headroom.
- Rich Contrast — deepens shadows and separates tones. Best for overcast days, forests and street shots.
- Vibrant — lifts saturation across the frame. Best for flowers, food and autumn foliage.
- Warm — pushes yellows and reds up. Best for golden hour and indoor skin tones.
- Cool — pushes blues and greens up. Best for the beach, snow and shade at midday.
Take the test shot before you commit. Open it in Photos and look at it at full size, not on the viewfinder. The preview on screen is small and backlit; the full image tells you whether skin looks right.
5. Adjust Photographic Styles in Settings
Go to Settings > Camera > Photographic Styles. This is where you set a default so the camera opens with the look you actually want, instead of resetting to Standard every time you unlock the phone.
Tap Use Standard to turn styles off completely. To adjust instead, pick a style there and drag the intensity slider. Note that Standard itself has no adjustment — it is the reference rendering, which is why it cannot be dialled up or down.
On iPhone 16 and later the same screen holds the undertones and moods pickers, and on the 18 Pro the Texture controls sit underneath. Customizing inside the picker with Customize gives you the tone-and-color pad plus intensity for the shot in front of you, which is more precise than changing a global default.
6. Use the style consistently for a photo session
Once you pick a style it applies live in the viewfinder, so what you see is what lands in the photo. There is no separate export step and no watermark.
The practical warning: styles are sticky. Every photo you take uses whatever is currently selected, so an accidental swipe during a burst can leave you with two different looks in one sequence. Glance at the picker between setups rather than trusting memory.
You can also change a photo’s style after the fact. Open the image in Photos, tap Edit in the top right, then tap the Styles icon at the bottom of the toolbar to see the same options. Your existing edits stay intact as you swipe.
Common mistakes
The Styles option is missing from the Photos app. This is the big one, and it is almost never a bug. Open Settings > Camera > Formats and check that High Efficiency is selected rather than Most Compatible. Most Compatible saves JPEGs, which carry no style data at all, so there is nothing to edit. This is confirmed as the fix repeatedly across Apple discussions and the MacRumors forums.
You shot in Most Compatible by accident. Changing the format back does not retroactively add style data to photos you already took. You have to retake them. That is the one part of this system that genuinely cannot be undone.
You expected a filter. Filters change the entire image with one overlay, which is why they can make skin look wrong. Photographic Styles adjust colors part by part. If you are hunting for something Instagram-style, you will be disappointed by how subtle they are; if you care about skin, you will not find a filter that does this well.
Colors in the saved photo differ from the preview. Usually brightness. A dim viewfinder plus a bright screen makes the preview look darker or lighter than the file. Judge the photo in Photos at full size, ideally with True Tone disabled if you care about consistent color across devices.
You were in the wrong mode. Styles are for Photo mode. If the picker refuses to open, check the mode strip first, then the format setting.
Your settings reset after an update. Large iOS updates occasionally reset the default style back to Standard. It is a minor annoyance, and about thirty seconds of fixing. Re-check Settings > Camera > Photographic Styles after a major update rather than assuming something broke.
You cannot find a custom style. On iPhone 13 and 14 era phones the five presets are fixed. Custom tonal control arrived with iPhone 16 and later. Older models do not have it hiding in a menu.
Frequently Asked Questions
Where is Photographic Styles on iPhone?
In the Camera app, swipe up from the camera modes strip at the bottom of the viewfinder and tap the Styles row. To change your default instead, open the Settings app, tap Camera, then tap Photographic Styles and choose which style the camera starts with.
Can I use Photographic Styles on an older iPhone?
Photographic Styles arrived with iOS 16 on the iPhone 13 series and the third-generation iPhone SE. Anything older, including the iPhone 12 line, does not have the feature and cannot get it through an update. Older supported phones get the original five tone styles; the newer Undertones and Moods system needs an iPhone 16 or 17 series model.
Does Photographic Styles change the photo after it is taken?
You can change it. Open the photo in the Photos app, tap Edit, then tap the Styles icon along the bottom of the toolbar and swipe through the options. Your other edits stay in place. This only works on photos taken in High Efficiency format, because JPEGs saved in Most Compatible mode carry no style data to change.
Why do my Photographic Styles look different from the preview?
The viewfinder and your saved photo are not rendered identically, mostly because of screen brightness and ambient light. Judge the result in the Photos app at full size rather than in the camera. If you want color to match across your own devices, turn off True Tone in the display settings so brightness does not tint the image.
Can I turn off Photographic Styles on iPhone?
Yes. Open the Settings app, tap Camera, tap Photographic Styles, and turn on Use Standard. The camera then captures with no style applied at all, which is the cleanest way back to untouched-looking photos. You can also just swipe to Standard inside the Camera picker, though that takes a few taps every session.
Is Photographic Styles the same as a filter?
No. A filter lays one effect over the entire frame, so skin tones and sky shift together and often look unnatural. A Photographic Style adjusts specific colors in specific parts of the image, which is why it can warm a face without turning a blue sky orange. Styles are subtler, built into capture, and adjustable.
Conclusion
Open the Camera app, swipe up from the modes strip, tap Styles, and compare two or three looks against something real in front of you before you shoot anything you care about. Then set that one as your default under Settings > Camera > Photographic Styles, and confirm you are on High Efficiency format so you can still change your mind later.