To crop and straighten a photo on iPhone, open it in the Photos app, tap Edit, then tap the crop button in the toolbar. From there, drag the frame to set your edges, tap Straighten below the picture to level a tilted horizon, and tap Done to save. The whole thing takes about fifteen seconds once you know which of the small icons to press.
It is the fastest fix in iPhone photography. A photo with good light and a sharp subject still reads as a mistake the moment the horizon sits at an angle, and nobody notices the fix because it looks the way the scene was supposed to look.
Below I walk through the exact controls as they appear in Apple Photos, including the part that trips people up: straightening always trims the frame, so you usually need to zoom back out afterwards. Steps here follow the current Photos edit toolbar, and I note where older iOS versions put things differently.
Table of Contents
- 1What You Need
- 2Step-by-Step: How to Crop and Straighten a Photo on iPhone
- 3Crop the Photo to the Right Frame
- 4Use Auto or Manually Straighten a Tilted Photo
- 5Correct Rotation and Perspective
- 6Review and Save the Edited Photo
- 7Common Mistakes
- 8Frequently Asked Questions
- 9Can I undo a crop and straighten edit on my iPhone?
- 10What format should I use when saving an edited photo from Apple Photos?
- 11Can I crop and straighten several photos at once on an iPhone?
- 12Why does my cropped photo look blurry?
- 13Does cropping or straightening a photo reduce its quality?
- 14Conclusion
What You Need
Just your iPhone and the Photos app that already came with it. No paid editing software, no account, no internet connection.
A current iOS release matters only in that the control positions move slightly between versions. On iOS 18 and later the crop control sits in the top row of the Edit toolbar, next to the filter and markup buttons. Older releases tuck the rotate and crop icon a little further along, but the icon itself looks the same: a square outline with two small arrows pointing outward from the corners.
One other thing worth having open while you work: the original, uncropped version. Photos keeps the full file in the library no matter what you do in the editor, so you can always start over, but knowing where the original is saves you hunting for it.
Step-by-Step: How to Crop and Straighten a Photo on iPhone
Here is the short version, the same six moves every time.
- Open the photo in Photos. Tap the thumbnail, then tap the Edit button in the top right.
- Tap the crop button in the Edit toolbar. It is the square with arrows at the corners.
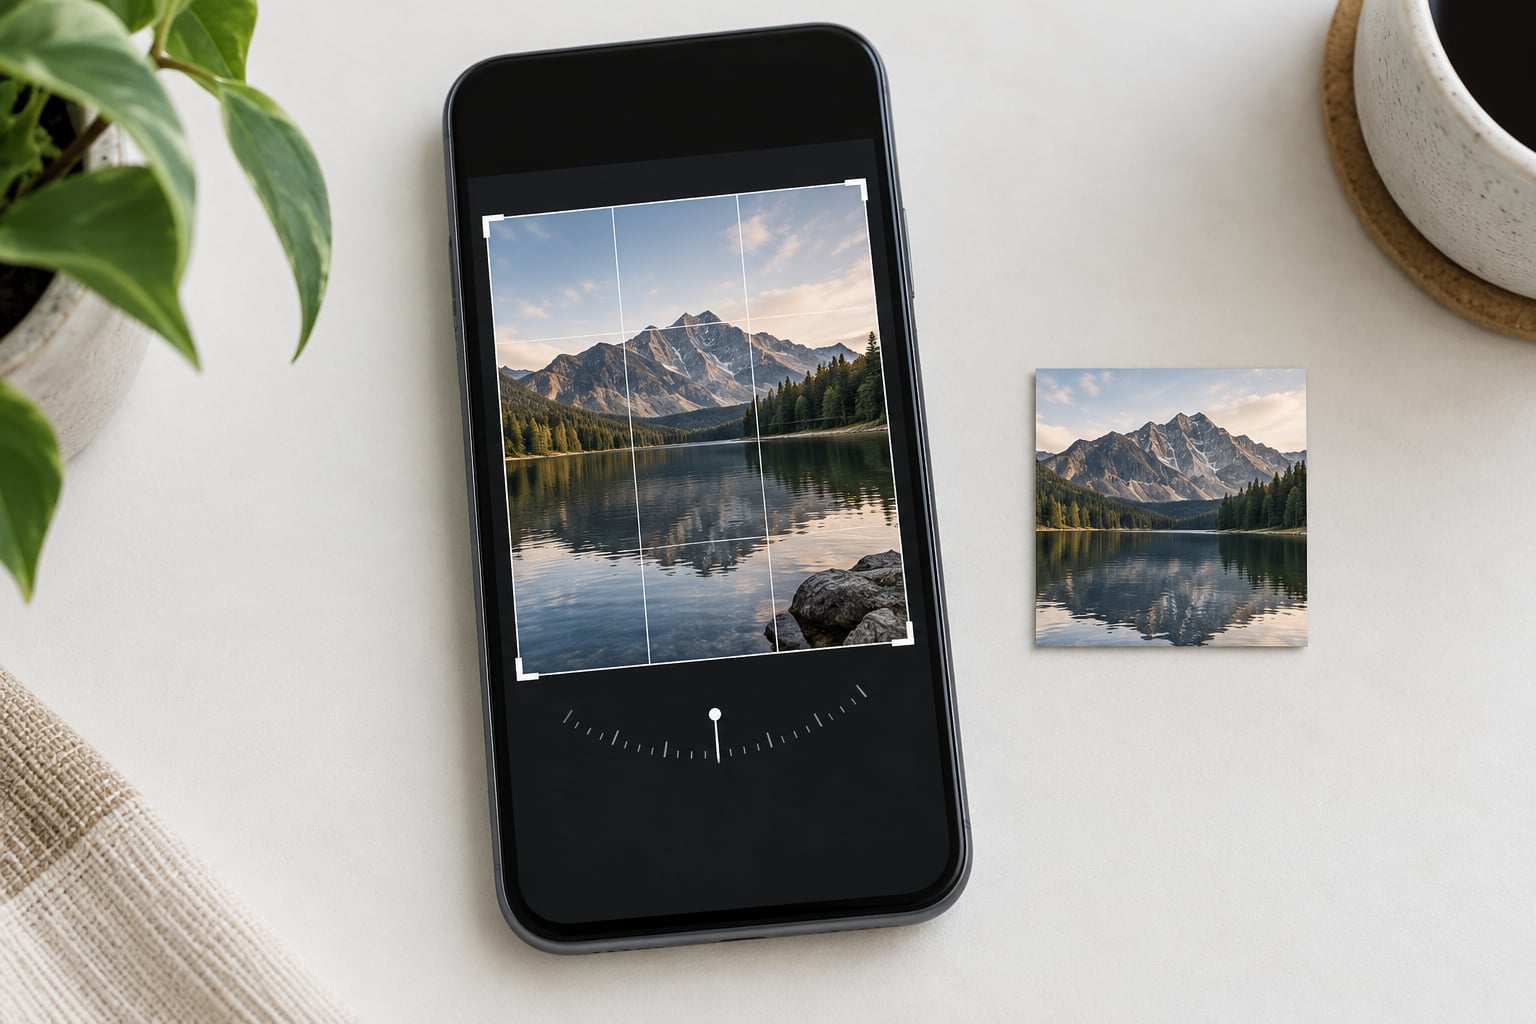
- Drag the corner handles to set the frame you want to keep, and drag the photo itself to reposition it inside that frame.
- Tap Straighten below the picture, then drag the dial until the grid lines sit level with your horizon.
- Pinch the photo outward if straightening cut into the edges you wanted to keep.
- Tap Done to save, or Cancel and choose Discard Changes to back out.
If you only need the tilt fixed, steps 3 and 5 are optional. If you only need a tighter frame, skip step 4 entirely.
Crop the Photo to the Right Frame
The crop frame is the dark rectangle sitting on top of your photo, with a handle at each corner. Drag any corner inward to shrink the frame, or outward to give yourself more room. The handles on the middle of each edge do the same job along one side, which is how you trim a strip off the top of a landscape shot without touching the width.
Dragging the crop frame crops, but the photo also needs positioning. If your subject is off-centre, put one finger on the picture itself and drag it until it sits where you want inside the frame. Most people crop first and are puzzled when their subject ends up in a corner, because the frame decides the new boundaries and the photo only slides within them.
You will notice a small padlock icon in the top-right corner of the crop view. When it is closed, the frame is locked to the photo’s current aspect ratio, which is why the corners move in a way that feels stiff. Tap it to release the lock and you can pull the frame into any shape you like, including a tall narrow one for isolating a single person from a group shot. Tap it again to snap the ratio back.
Tap Constrain to crop to a fixed preset instead: Square for a profile picture, 9:16 for Stories, Reels and TikTok, Wallpaper for a lock screen, and 5:7 for a printed frame. Pinching the photo zooms the image beneath the frame, which is how you recover detail after a heavy crop.
Use Auto or Manually Straighten a Tilted Photo
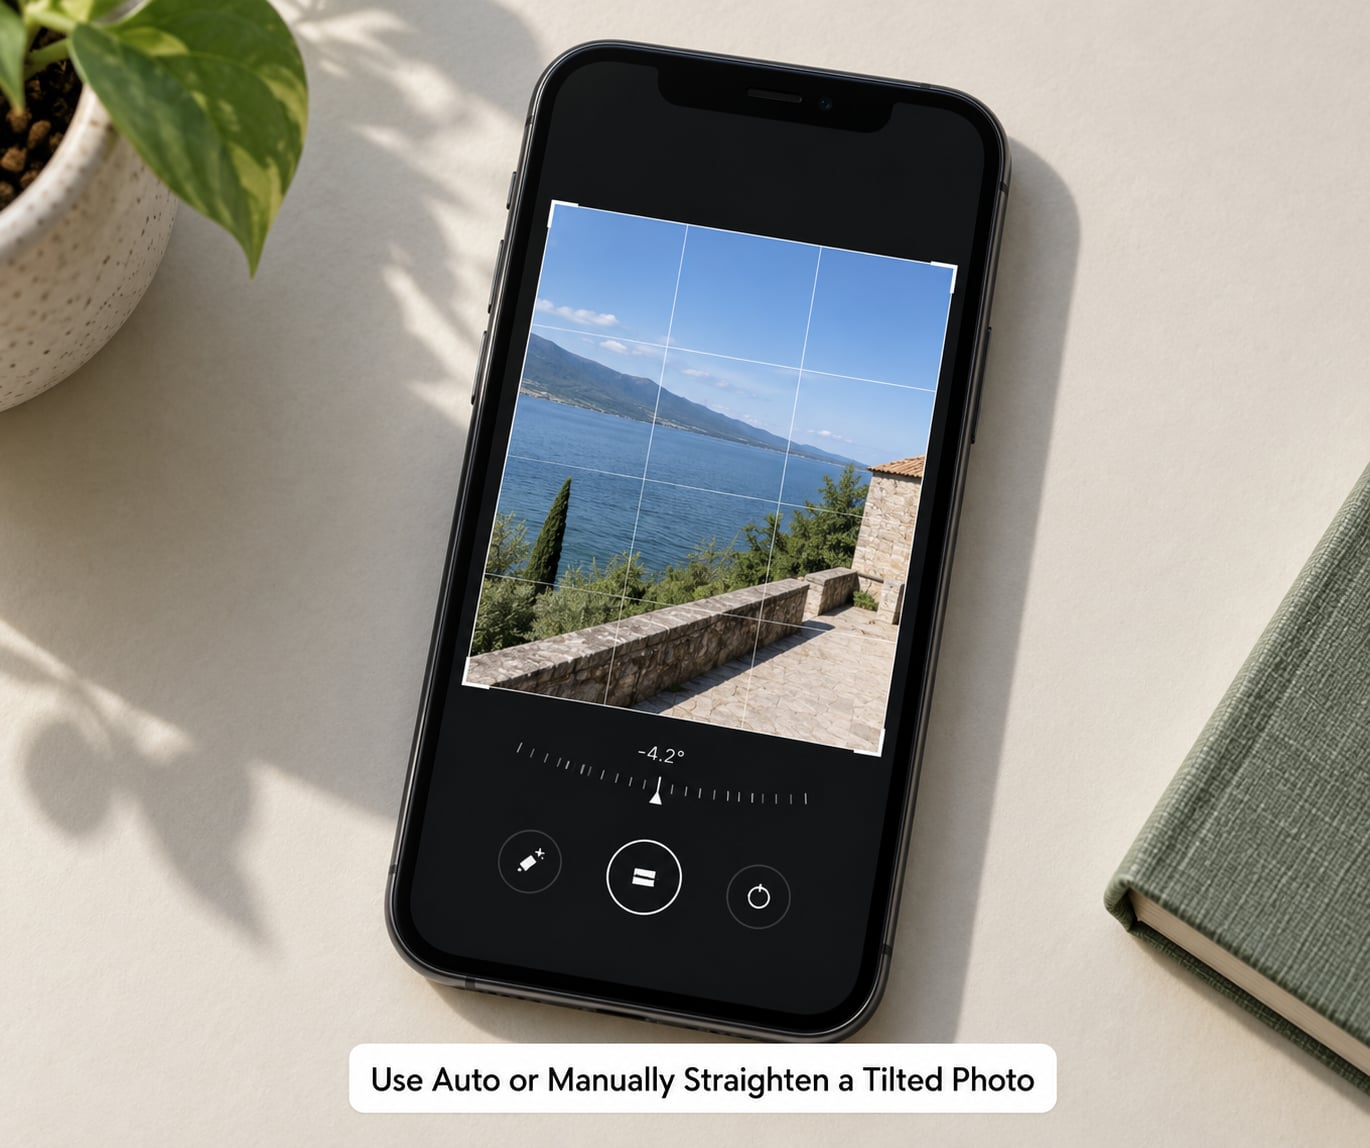
Below the photo there is a row of adjustment buttons. The first one, Straighten, is the one you want for a crooked horizon. Tap it and a grid appears across the picture, a round dial shows below the frame, and a number displays how far the photo is rotated. Drag left or right on that dial and the whole image turns while the grid stays fixed, so you match your horizon to a grid line rather than eyeballing the edges.
Tap Auto and the phone levels the photo for you, using the lines in the scene. It gets most outdoor shots within a degree or two, which is usually all anyone wants. Tap the straighten icon again to flip back to your previous setting, or tap it to return to zero.
Manual correction is a one-finger gesture. Drag a finger horizontally anywhere on the photo and it rotates continuously while your finger is down, with a small degree counter on screen. Lift your finger and it settles there. This is the fastest way to nudge a shot that Auto guessed wrong on, especially when a strong vertical in the frame is throwing the auto-level off.
Here is the bit that catches everybody out: straightening crops the frame. Rotate anything and the corners of the original swing outside the frame and get cut. If your horizon was already tight to the top and bottom edges, the tool will trim a sliver off them. The fix is to pinch the photo outward with two fingers after you straighten, then drag it back into position inside the frame. This is why I straighten first and crop second, rather than the other way around.
The dial runs from negative 45 to positive 45 degrees. When it stops responding at either end, the photo is already at 45 degrees, which for a handheld shot means something is off in how the picture was taken, not in the tool.
Correct Rotation and Perspective
Rotation and straightening are different problems. If a photo is genuinely sideways, the crop view has a Rotate 90 degrees button in the toolbar rather than a slider. Tap it and the image turns in quarter turns. The Flip control mirrors the image horizontally, which is occasionally useful for text in a mirrored shot.
Perspective is a third thing again. A building shot from below will have vertical walls leaning in even after you level the horizon, and no amount of rotation fixes that. Open the adjustment options and look for Perspective. It offers Auto, Vertical and Horizontal corrections: Vertical pulls leaning walls back upright, Horizontal corrects the angle where the camera was off to one side.
Use a light hand here. A vertical correction strong enough to straighten an obviously leaning building will also stretch faces and any text in the frame, because the correction is a geometric warp of the whole image, not a per-object fix. If a nudge of a degree or two does not do it, you need to reshoot from further back rather than push the slider.
The same row of controls also holds a Reframe or Clean up option in recent releases, which uses generative fill to extend the edges of a photo so you can fit a wider aspect ratio without cropping into the subject. It works well on simple backgrounds like sky or a wall, and it changes pixels rather than only recording instructions, so treat the result as a new image.
Review and Save the Edited Photo
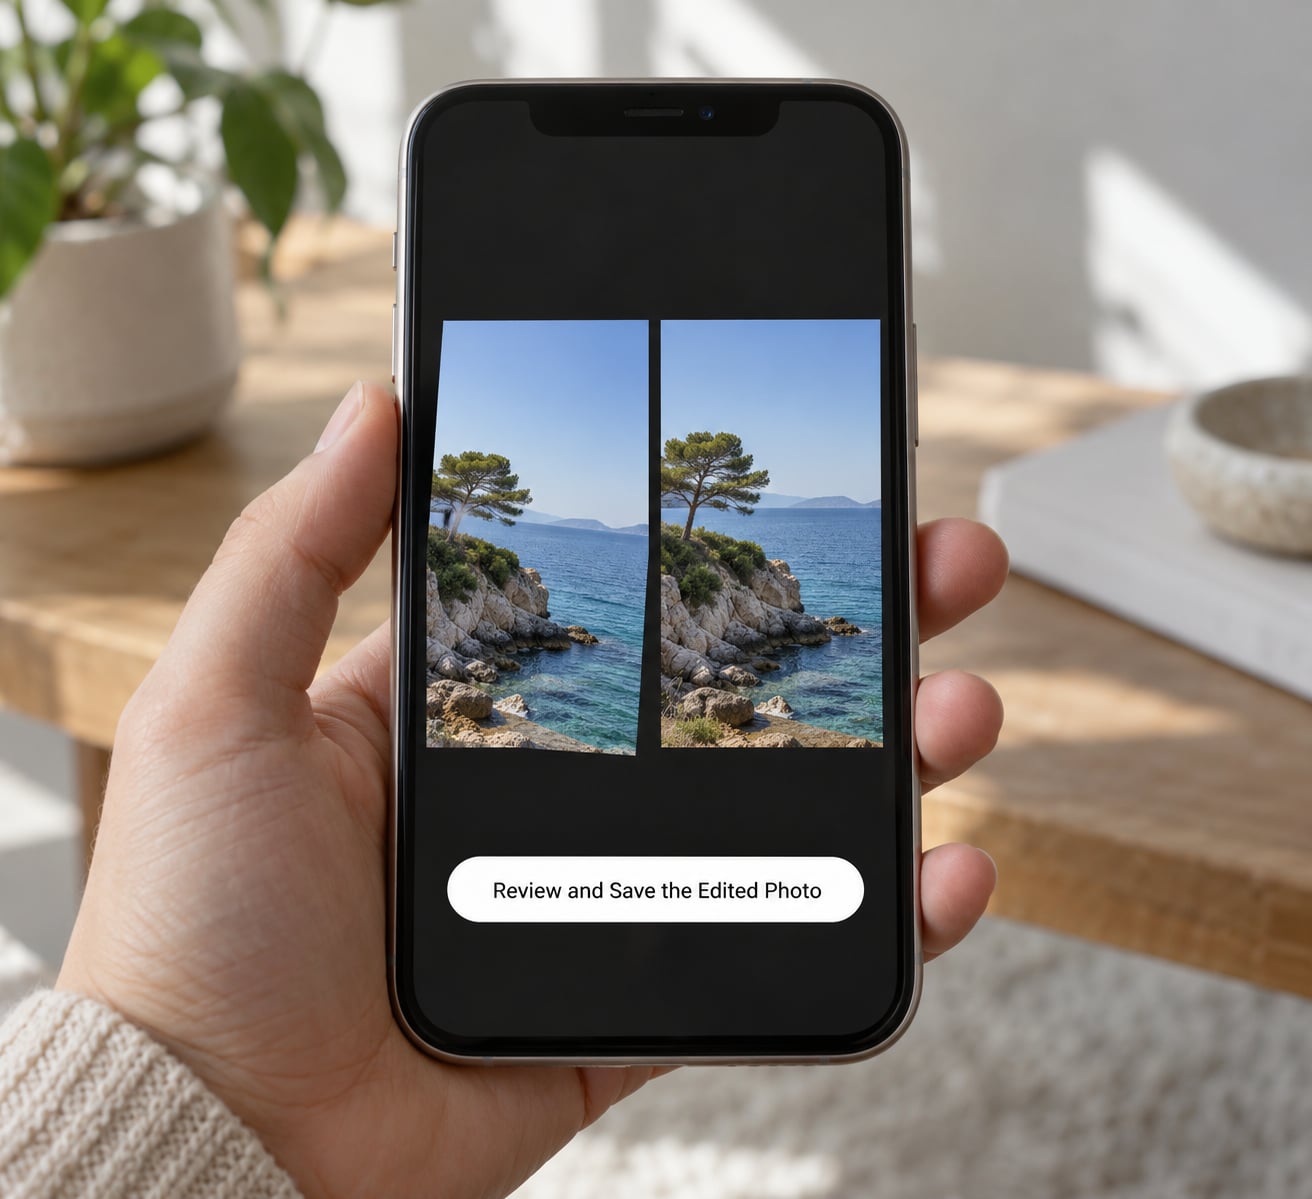
Before you save, look at the photo without the grid and at 100 percent. Check the edges for a hand or a sign that you chopped, and check the corners for that tell-tale sliver of a cut-off building. Pinch to zoom in on the face of anyone in the shot, because a tight crop taken from a small preview is where bad framing hides.
Done applies the edit and returns you to the photo. Cancel discards the whole session, and iOS asks you to confirm with Discard Changes when there is anything to lose. Reset, found in the edit menu, clears only your adjustments from this session but leaves the photo in edit mode so you can try again immediately. Revert to Original is the one that undoes a saved edit: find it under the Edit button after you have left the editor, and it strips every edit ever applied to that photo.
On iOS 18 and later, Save a Copy appears alongside Add to Photos when you tap Done. Adding to Photos replaces the version in your library while the untouched original stays tucked away in iCloud, and Save a Copy adds the edited version as a new item instead. Either way your edit is non-destructive: Photos stores it as a list of instructions rather than re-encoding every pixel, and if you have iCloud Photos switched on, the edit follows to your other Apple devices.
One honest limit: the Photos app will not straighten a whole shoot in one go. You edit one photo at a time, and for a batch of a dozen frames shot on a level surface, a desktop tool handles it faster.
Common Mistakes
Your subject got cut off. The crop frame is independent of the photo, so tap Done, reopen the edit, and drag the frame outward while keeping the subject inside it. If the pixels are not there to fill the larger frame, pinch to zoom out instead to shrink the image inside it.
The crop button seems to have vanished. You are probably looking at the wrong screen. It only appears once you are inside the editor, and in a Live Photo or video it appears in the same row as the Live Photo controls. If you are in Preview, Files or Mail instead of Photos, the editing tools there are different and more limited, so open the image in Photos and edit it there.
The photo opens sideways. Almost always a display-orientation flag carried in the file’s metadata from the device or app that produced it, not a broken edit. Rotating it once in Photos and saving clears it.
The picture looks blurry after a big crop. You took more of the image than the resolution can support. A heavy crop of a shot taken at low resolution magnifies the pixels, so back off and keep more of the frame, or reshoot closer.
The perspective fix made faces or text look wrong. Reduce the correction. It is correcting a camera angle, and anything past a degree or two stops being a fix and starts being a warp.
You saved over the wrong thing. Nothing is usually lost. The original is still in the library, and Revert to Original under the Edit button brings back the untouched file.
Two habits that help. Straighten before you crop, so the frame stays as large as possible. And switch on the Camera grid lines before you shoot, at Settings, then Camera, then Camera again for the Grid toggle, so your framing is already square to the scene.
Frequently Asked Questions
Can I undo a crop and straighten edit on my iPhone?
Yes. While you are still in the editor, tap Reset in the Edit menu to clear the adjustments from this session and start over. Tap Cancel to leave the editor, and iOS asks whether you want to Discard Changes. To undo an edit you already saved, reopen the photo, tap Edit, and choose Revert to Original, which strips every saved edit back to the untouched file. Your original image is never destroyed by a crop.
What format should I use when saving an edited photo from Apple Photos?
Leave the format alone. Edited photos save in the same format as the original, so a photo shot in HEIC stays HEIC and one from an older camera or app stays JPEG. If you need a specific format for printing or uploading somewhere, export a copy with a share sheet and save it to Files, where you can convert it there. Changing the format is rarely necessary for cropping, and re-encoding a JPEG loses a little detail.
Can I crop and straighten several photos at once on an iPhone?
Not in the built-in Photos app. There is no batch straighten or batch crop, even if you select many photos, because each edit is recorded separately for that image. You have to work through them one at a time. For a large batch of frames shot level, a desktop tool such as Lightroom handles the whole folder in one pass, and for occasional single shots the iPhone is quicker.
Why does my cropped photo look blurry?
A crop enlarges whatever part of the image you keep, so a tight crop on a photo with few pixels magnifies them and the edges look soft. Pinching to zoom out inside the crop frame also reduces the resolution available to the frame, which has the same effect. Keep more of the original frame, and check the result at full zoom before you tap Done so you catch it before saving.
Does cropping or straightening a photo reduce its quality?
No. Both are non-destructive in Apple Photos, meaning the app stores your crop and rotation as edit instructions layered on the untouched original rather than re-encoding the pixels. The saved file may be smaller because the frame is smaller, but nothing is re-compressed beyond the first save. The exceptions are generative features such as Extend or Reframe, which do generate new pixels, and Reframe rewrites the image rather than recording a crop.
Conclusion
Start at the crop button, turn on Auto for the tilt, then fine-tune with the dial if the grid is still off. Pinch back out to recover whatever the rotation trimmed, check the edges at full zoom, and save a copy until you are happy with the framing.
Once you have done it twice, it takes fifteen seconds and you stop seeing crooked horizons at all.