To shoot portrait mode photos on an iPhone, open Camera, select Portrait mode, stand two to eight feet from your subject, tap the subject to set focus, and take several shots in even light before choosing the sharpest one. Portrait mode is built into every iPhone from the XR and XS onward, so there is nothing to buy or install, and the whole routine takes about two minutes once you know where the controls are.
Most disappointing portrait shots are not a technology problem. They come from backlighting, a subject who is too close, and a photographer who takes exactly one frame and walks away. Fix those three habits and the rest of this guide mostly handles the odd failures.
The menu paths below match the camera app as it ships in 2026, and they have held steady across recent iOS versions. Where a setting is missing on your phone, I note it.
Table of Contents
- 1What You Need
- 2Step-by-Step: How to Shoot Portrait Mode Photos on iPhone
- 31. Open the Camera App and Select Portrait Mode
- 42. Use Suitable Lighting
- 53. Position the Subject and Keep the Camera Steady
- 64. Focus on the Important Part of the Subject
- 75. Capture the Photo and Check the Result
- 86. Adjust the Portrait Effect in Photos
- 9Common Mistakes and How to Fix Them
- 10Frequently Asked Questions
- 11Which iPhone models can shoot in Portrait mode?
- 12Can I turn a normal photo into a Portrait mode photo?
- 13How far away should my subject stand from the iPhone?
- 14Can I shoot a pet or a plate of food in Portrait mode?
- 15Is Portrait mode always better than Photo mode?
- 16What is the best aperture setting to take portraits?
- 17Conclusion
What You Need
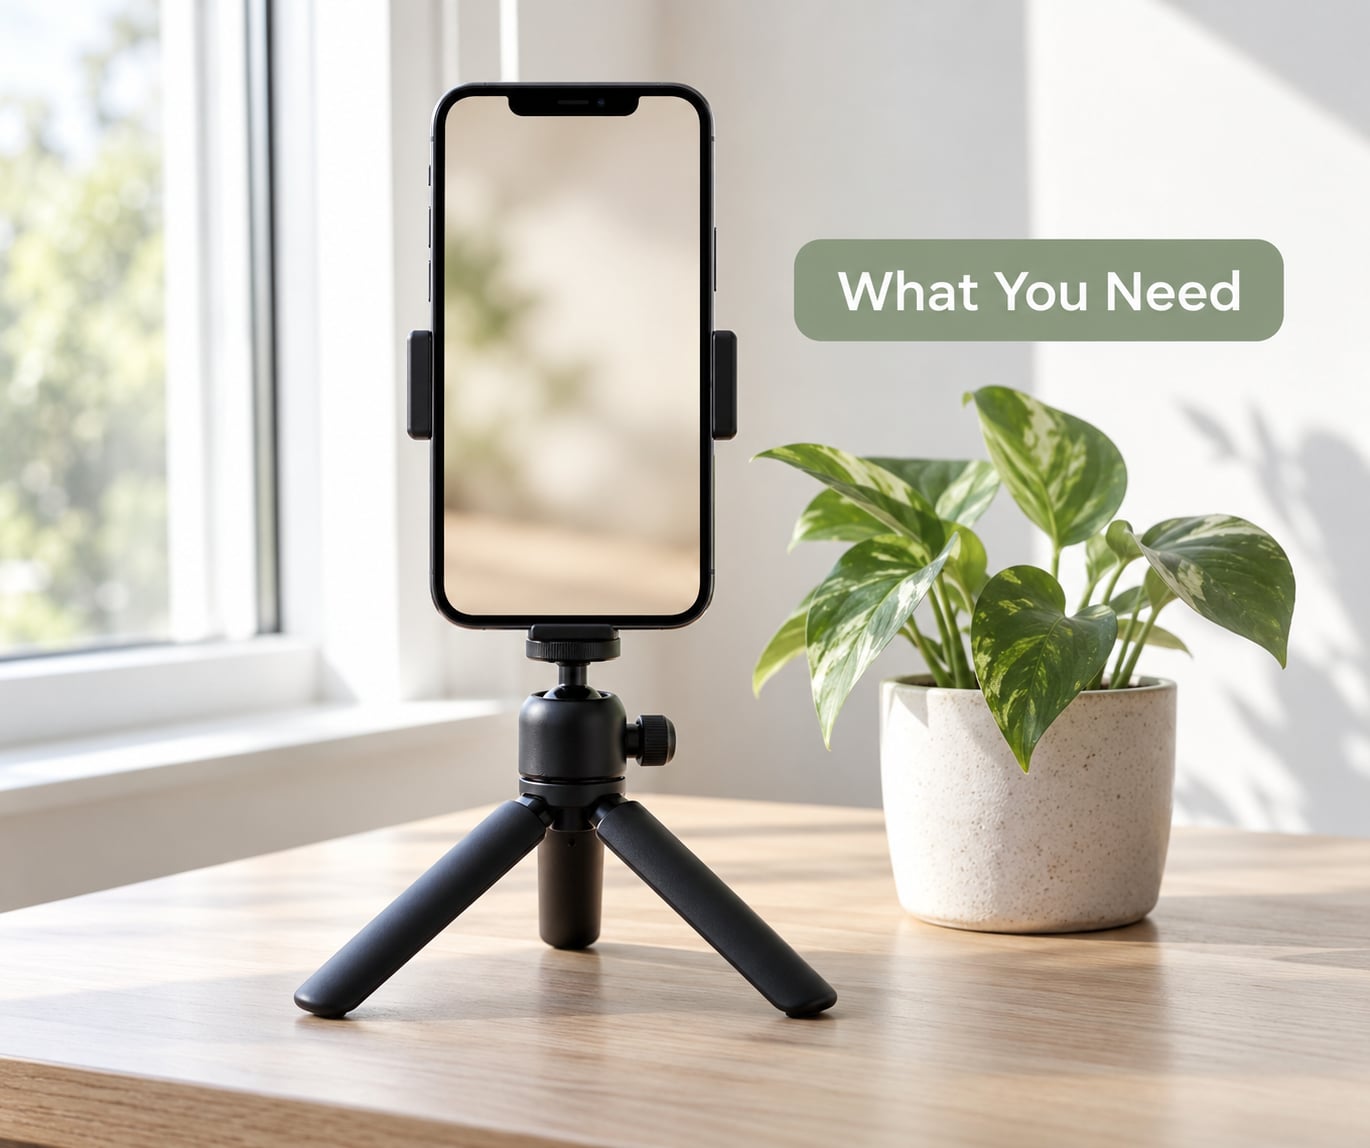
A Portrait-capable iPhone is the only hard requirement. Everything below is about giving the phone a fair chance to separate your subject from what is behind them.
- Even, indirect light. A window is the best light source most people have. Open shade outdoors works too. Flash is your last resort, not your first.
- A simple background. Portrait mode blurs detail it can measure, not clutter it cannot. A plain wall three or more feet behind the subject does more than any software setting.
- A clean lens. Wipe the camera lens with a cloth. A smudged lens softens the exact edges Portrait mode is trying to map, and the resulting blur artifacts get blamed on the phone.
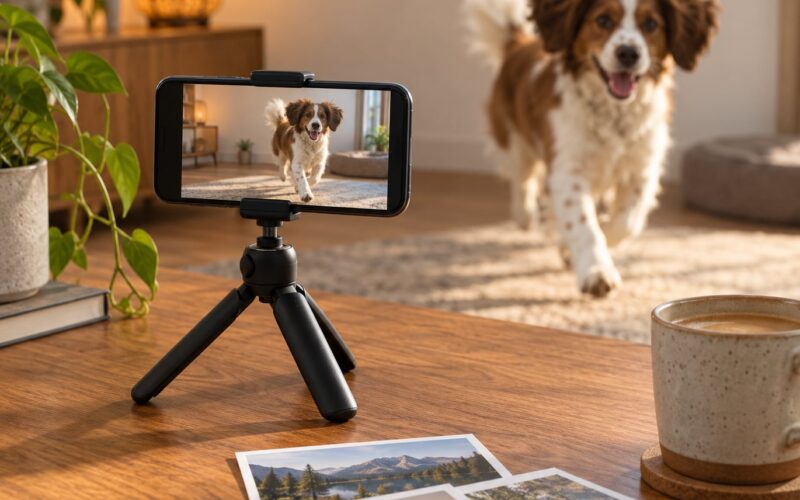
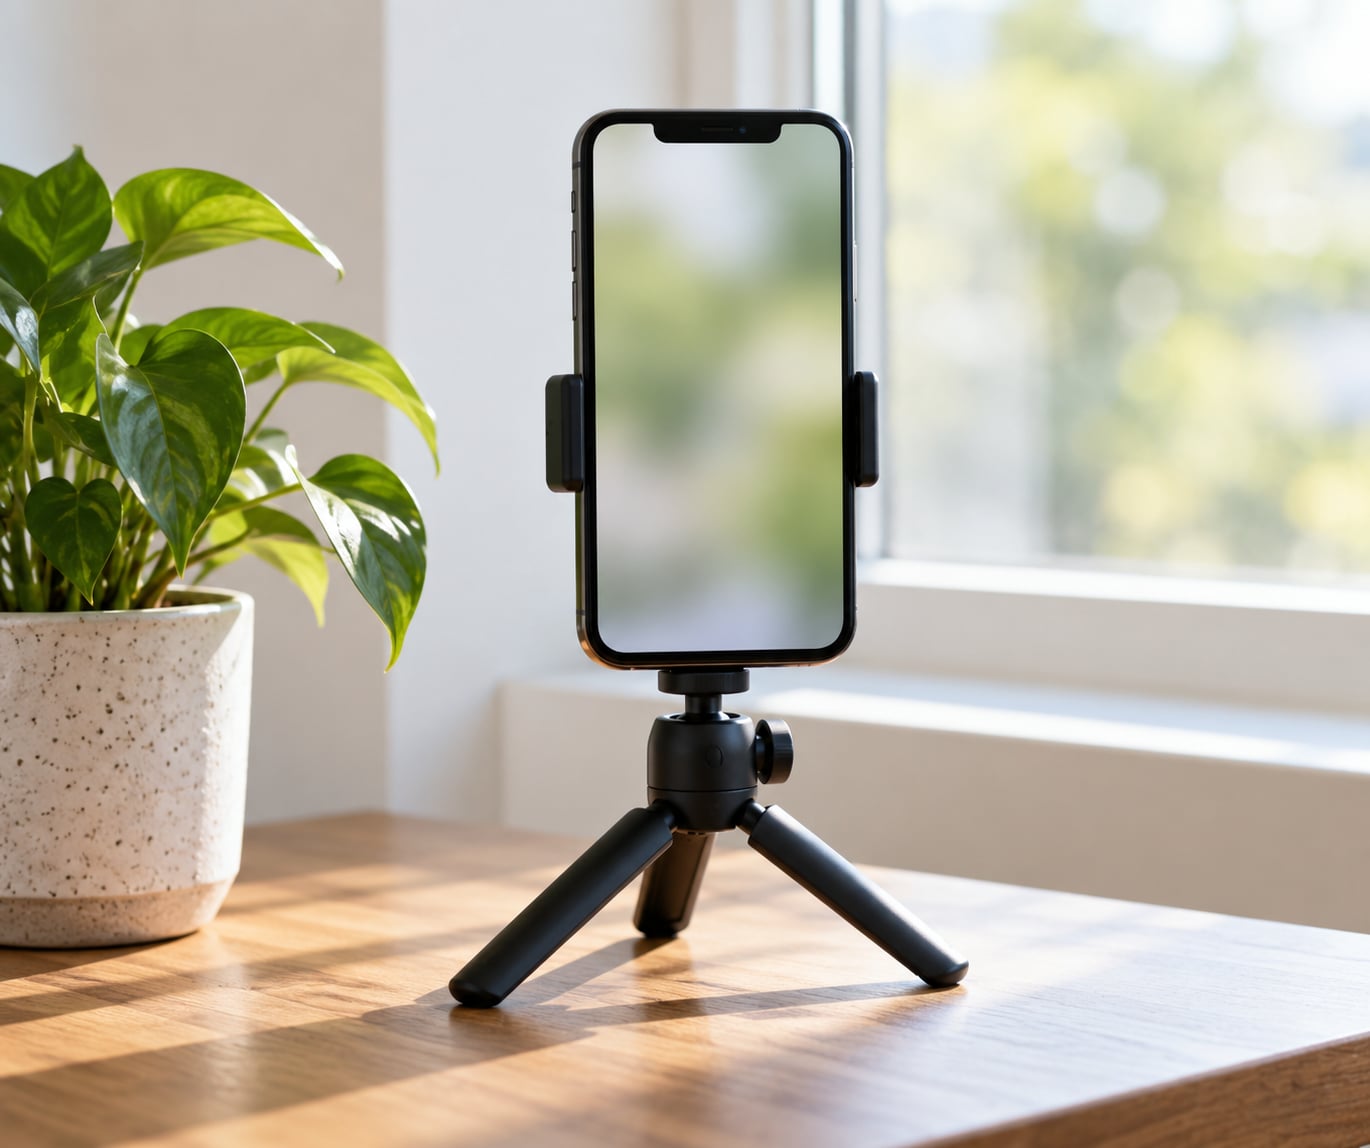
- Two free hands. One grip, elbows tucked, or a small tripod for anything that repeats or takes time.
- Room to back up. The useful working distance starts around 19 inches and settles into a 2 to 8 foot sweet spot.
Step-by-Step: How to Shoot Portrait Mode Photos on iPhone
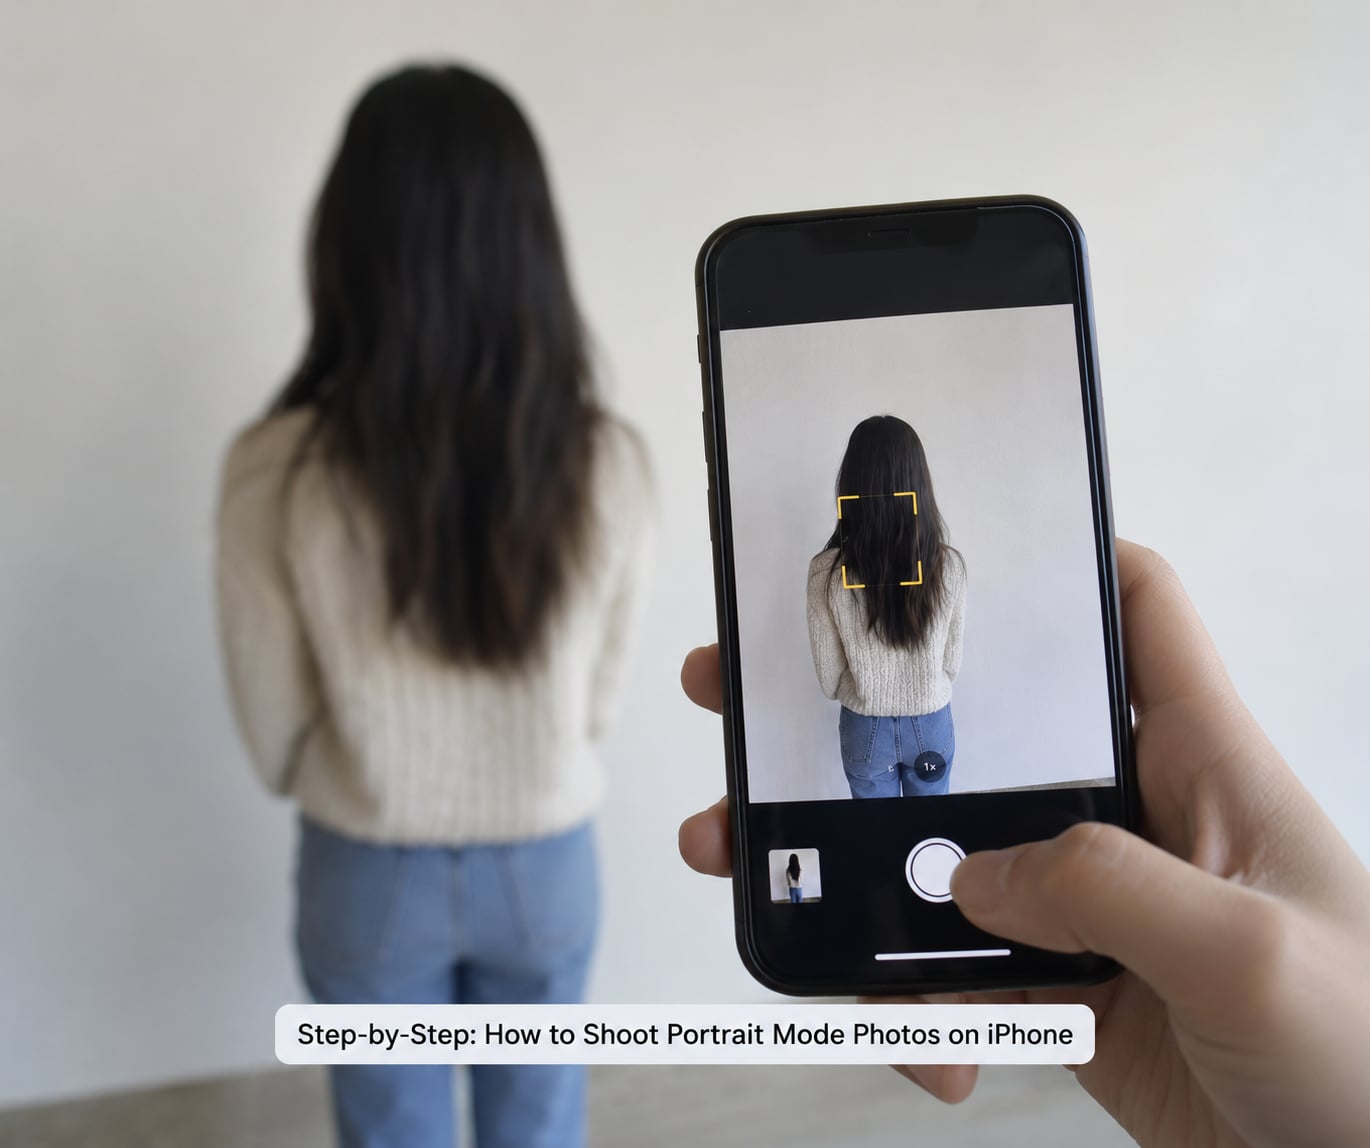
1. Open the Camera App and Select Portrait Mode
Launch Camera and swipe across the mode row beneath the viewfinder to reach Portrait mode, then tap it. The yellow Portrait icon is your confirmation that it is active rather than greyed out.
There is a second path that most guides skip. Stay in Photo mode and tap the small Depth Control icon, labelled “Depth Off”, near the shutter button. Tap your subject and the phone will decide on its own whether to convert the shot into a portrait, and it recognises people, dogs and cats without being told. People on r/iphone use this constantly once they find it, because it means you can shoot normally and still get depth data when the background deserves it.
If Portrait mode is greyed out, you are either in a video mode, in a low-light situation the camera refuses, or the phone is older than an XR or XS. Switch back to Photo mode first, then try again.
2. Use Suitable Lighting
Turn your subject toward a window, or set the window at roughly a 45-degree angle to their face, and stand so the light falls across them rather than behind them. Backlight is the single biggest reason portrait photos come out dark with glowing edges: the camera meters for the bright window and underexposes the face.
Outdoors, open shade under a tree or an awning is nearly as good as a window and far easier to keep consistent. Keep the flash off. If you must use it at night, shoot in Portrait mode, never Night mode with Portrait, and accept softer results.
3. Position the Subject and Keep the Camera Steady
Keep the subject at least about 19 inches from the phone, and aim for somewhere between 2 and 8 feet. Inside that range the depth map has room to work, and outside it the phone starts guessing at edges it cannot see.
Keep the subject on a single depth plane where you can. A person turned 45 degrees to the camera puts their nose and ears at different distances, and Portrait mode has to choose which one stays sharp. A flatter, more frontal angle is easier on the software and usually looks better.
Hold the phone with both hands, elbows in, and take a breath before the shutter. Newer iPhones also frame portraits noticeably tighter than older ones, so step back until you see the composition you wanted rather than cropping in afterwards.
4. Focus on the Important Part of the Subject
Tap the face or the main object once. A yellow focus box appears with a small sun icon for exposure, which you can drag up or down to correct a face that’s too dark or blown out.
If the focus keeps drifting, press and hold the focus box until “AE/AF Lock” appears, then recompose. That locks focus and exposure on your subject instead of chasing whatever moves. The slider you can drag before shooting, sometimes shown as an f-stop value, is Depth Control, and setting it before the shot usually gives a cleaner result than forcing it afterwards.
5. Capture the Photo and Check the Result
Take three or four shots rather than one. Depth mapping is a computed guess, and the phone will get a different read on each frame, especially around hair, glasses and pet fur.
Open the photo straight away and look at the edges of the subject rather than the middle. A sharp face with a chewed-up ear or a soft patch of hair is a reshoot, and it takes five seconds while you are still there.
6. Adjust the Portrait Effect in Photos
Open the photo, tap Edit, then tap the Depth Control control beside the bottom-left adjustment bar to reveal the slider. The numbers are aperture values: a lower f-stop means more background blur, a higher one means less and keeps more of the background in focus.
Drag it in small increments and stop before the separation starts to look painted on. Next to it, Portrait Lighting lets you drag a light source around the frame and pick a studio effect, which can rescue a flat grey face in weak indoor light. Stay near the original look unless you have a reason not to; heavy effects are the fastest way to make a real photo look artificial.
Common Mistakes and How to Fix Them
Nearly every Portrait mode complaint is one of the rows below, and all of them are fixable in under a minute except the last two.
| What you see | Likely cause | Fix |
|---|---|---|
| Portrait option is greyed out or missing | Phone older than XR or XS, or you are in a video mode | Switch back to Photo mode; check the model in Settings, General, About |
| Message asking for a person in the frame | No recognisable subject detected yet | Move back until the whole head and shoulders are in frame, then tap to focus |
| Camera freezes or hangs entering Portrait | A known glitch reported repeatedly on r/iPhone13 | Close and reopen Camera, then restart the phone |
| Stuck at a fixed zoom level such as 3x | Zoom row left in a previous selection | Tap the 1x button under the viewfinder to reset, then re-enter Portrait mode |
| Focus hunts or snaps to the background | Automatic focus plus a busy scene | Press and hold to engage AE/AF Lock, or turn off Portraits in Photo Mode in Settings, Camera |
| Blurred or cut-off edges around hair or fur | Low light, or subject too close for a clean depth read | Add light, back up past 19 inches, keep the background further away, reshoot |
| Shot looks dark with a bright background | Backlighting and exposure metering | Turn the subject toward the light and raise exposure with the sun slider |
| It froze working after an iOS update | Beta software regression, widely reported on r/apple | Install the current public update, or toggle back the settings you changed last |
One more honest point. Portrait mode is not automatically an upgrade. Groups, flat subjects like documents and wall art, wide landscapes, and anything shot in a tight room with a busy wall behind it all get worse, not better. Use Photo mode and be finished.
Frequently Asked Questions
Which iPhone models can shoot in Portrait mode?
Portrait mode arrived on the iPhone XR and iPhone XS and is available on every iPhone since. It works on the rear cameras, on the front camera, and across the available zoom levels, which run from 1x to 5x on most recent models rather than at one fixed step. It also works on the 3rd-generation iPad Pro and later.
Can I turn a normal photo into a Portrait mode photo?
Sometimes, and the method is quick. Stay in Photo mode, tap the Depth Control button marked Depth Off near the shutter, then tap your subject. The phone recognises people, dogs and cats on its own and captures the shot with depth data if it can. Once a photo is already in your library without depth data, you cannot add it, so the toggle has to be used at the moment of capture.
How far away should my subject stand from the iPhone?
At least about 19 inches, and ideally between 2 and 8 feet from the lens. Closer than the minimum, the camera cannot build a reliable depth map and edges fall apart. Much further than 8 feet, there is too little difference in distance between your subject and the background for the separation to read. Moving the background further back is the single most effective thing you can do to increase that difference.
Can I shoot a pet or a plate of food in Portrait mode?
Yes. Portrait mode auto-detects people, dogs and cats, and it works on objects, food and plants as long as there is a clear subject with distinct depth behind it. The edge artifacts that plague hair and fur show up just as readily on pet photos, so shoot several frames and check the outline of the ears and whiskers before you leave.
Is Portrait mode always better than Photo mode?
No, and pretending otherwise is how people end up with worse photos. Portrait mode helps when the subject is separated from a busy background by depth and light. It hurts in low light, on flat subjects, on groups where you want everyone sharp, and in tight spaces where the background is physically close behind the subject. Switch back to Photo mode for those shots without hesitation.
What is the best aperture setting to take portraits?
On the iPhone you adjust the simulated aperture after the shot with the Depth Control slider, and lower numbers mean more blur. The default is usually a good starting point, and most photographers get better results by moving it one or two stops rather than all the way to the extreme. A mid-range f-stop keeps the background soft while leaving enough context for the shot to read.
Conclusion
Start by putting your subject in even light near a window, standing two to eight feet away with a plain background behind them, and tapping their face to focus. Hold the phone with both hands, take four shots rather than one, and check the edges of each before you put the phone down. That habit alone puts most iPhone portraits ahead of the ones taken in plain Photo mode.