Macro mode on iPhone is not a button you hunt for in a menu. Open the Camera app, move the phone within about 2 cm of your subject, and the iPhone switches itself to the Ultra Wide lens because that lens can focus far closer than the main one. A yellow flower icon shows you when close focus is active, and you can tap it to turn it back off.
That is the whole trick, and it works on any iPhone with an Ultra Wide lens that Apple supports for close focus, which means iPhone 13 Pro and newer Pro models plus the iPhone 16, 16 Plus and 17 series. This guide walks through turning on Macro Control, taking the shot, and fixing the blur and focus-hunting problems people hit on the way.
Table of Contents
- 1What You Need
- 2Step-by-Step
- 3Step 1: Open the Camera and switch on Macro Control
- 4Step 2: Get close without touching the subject
- 5Step 3: Hold the phone steady and focus
- 6Step 4: Take the photo and check the result
- 7Common Mistakes
- 8Frequently Asked Questions
- 9Which iPhones have macro mode?
- 10How do I turn on Macro Control on iPhone?
- 11Why is my macro photo blurry?
- 12Why won’t my iPhone camera focus on close-ups?
- 13Does macro mode work in Portrait, Cinematic or Slo-mo?
- 14Why do my macro photos save at 12 MP instead of 48 MP?
- 15Conclusion
What You Need
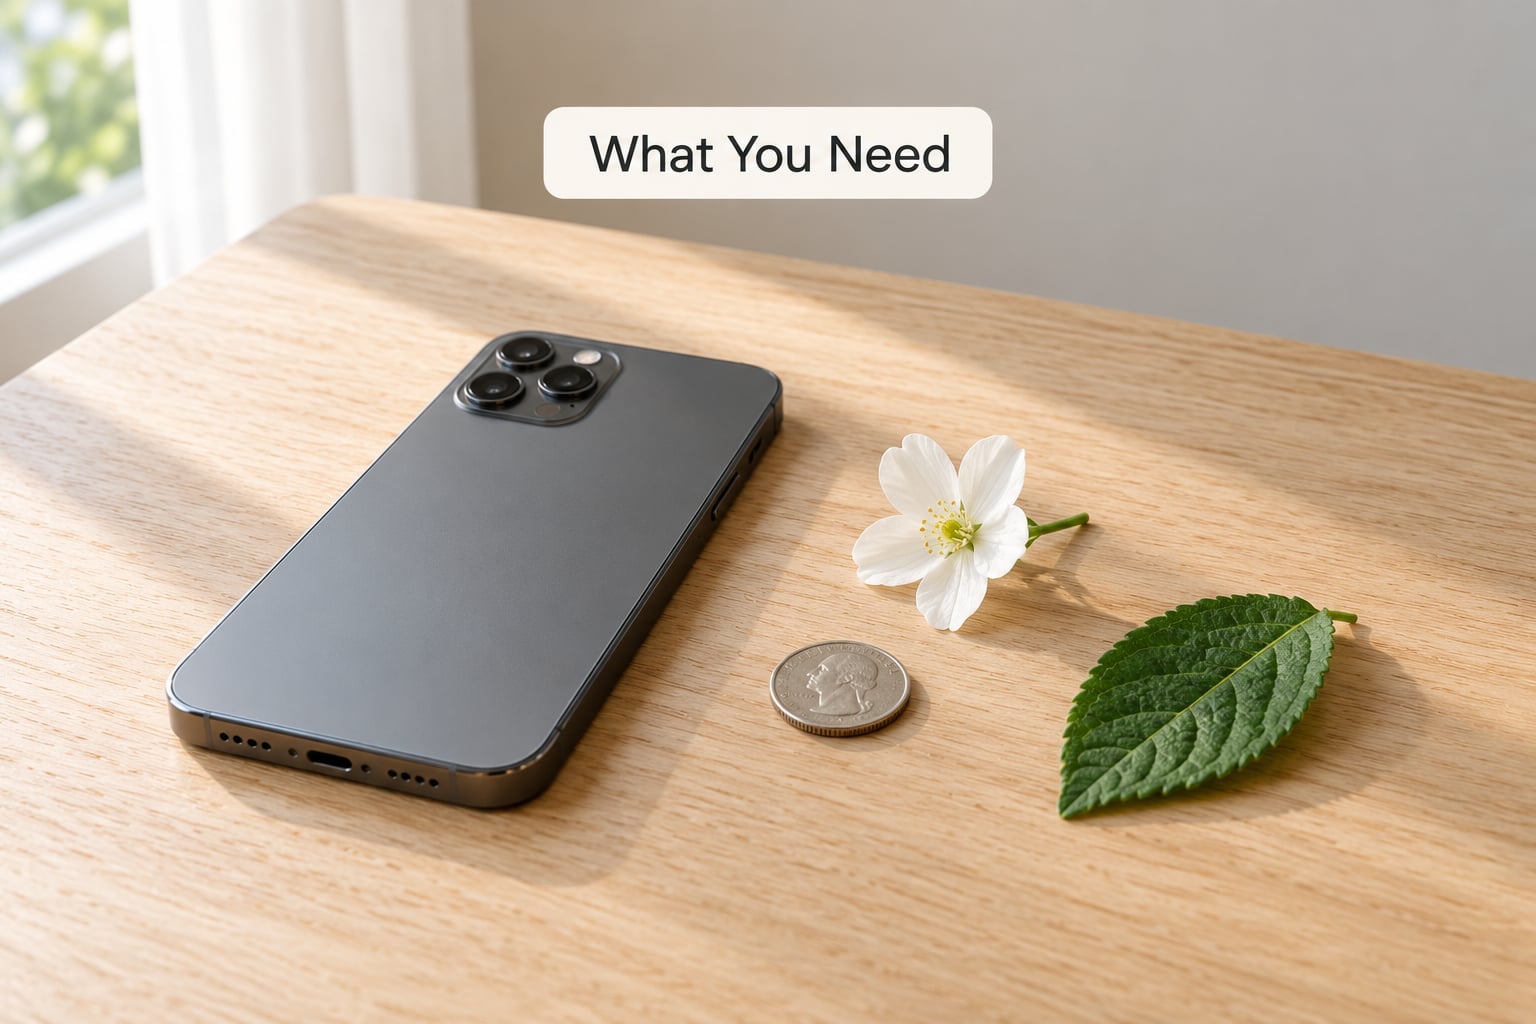
You need an iPhone with an Ultra Wide lens that Apple supports for close focus, and nothing else. No accessory, no app, no adapter. The stock Camera app handles the switch to macro on its own.
The catch is that not every iPhone with an Ultra Wide lens gets macro. Apple enabled close focus starting with the iPhone 13 Pro line and extended it to the iPhone 16, 16 Plus and the 17 series. Plenty of iPhone 15 and iPhone 16 owners assume macro is Pro-only and never test it, so check your own model before you buy anything.
| iPhone model | Macro mode | Closest focus |
|---|---|---|
| iPhone 13 Pro, 13 Pro Max, 14 Pro and 14 Pro Max | Yes, automatic | About 2 cm |
| iPhone 15 Pro and 15 Pro Max | Yes, automatic | About 2 cm |
| iPhone 16, 16 Plus, 16 Pro and 16 Pro Max | Yes, automatic | About 2 cm |
| iPhone 17 series and newer | Yes, automatic | About 2 cm |
| iPhone 15, 15 Plus, 14, 13, 12, 11 and SE | No native macro | About 16 cm on the main lens |
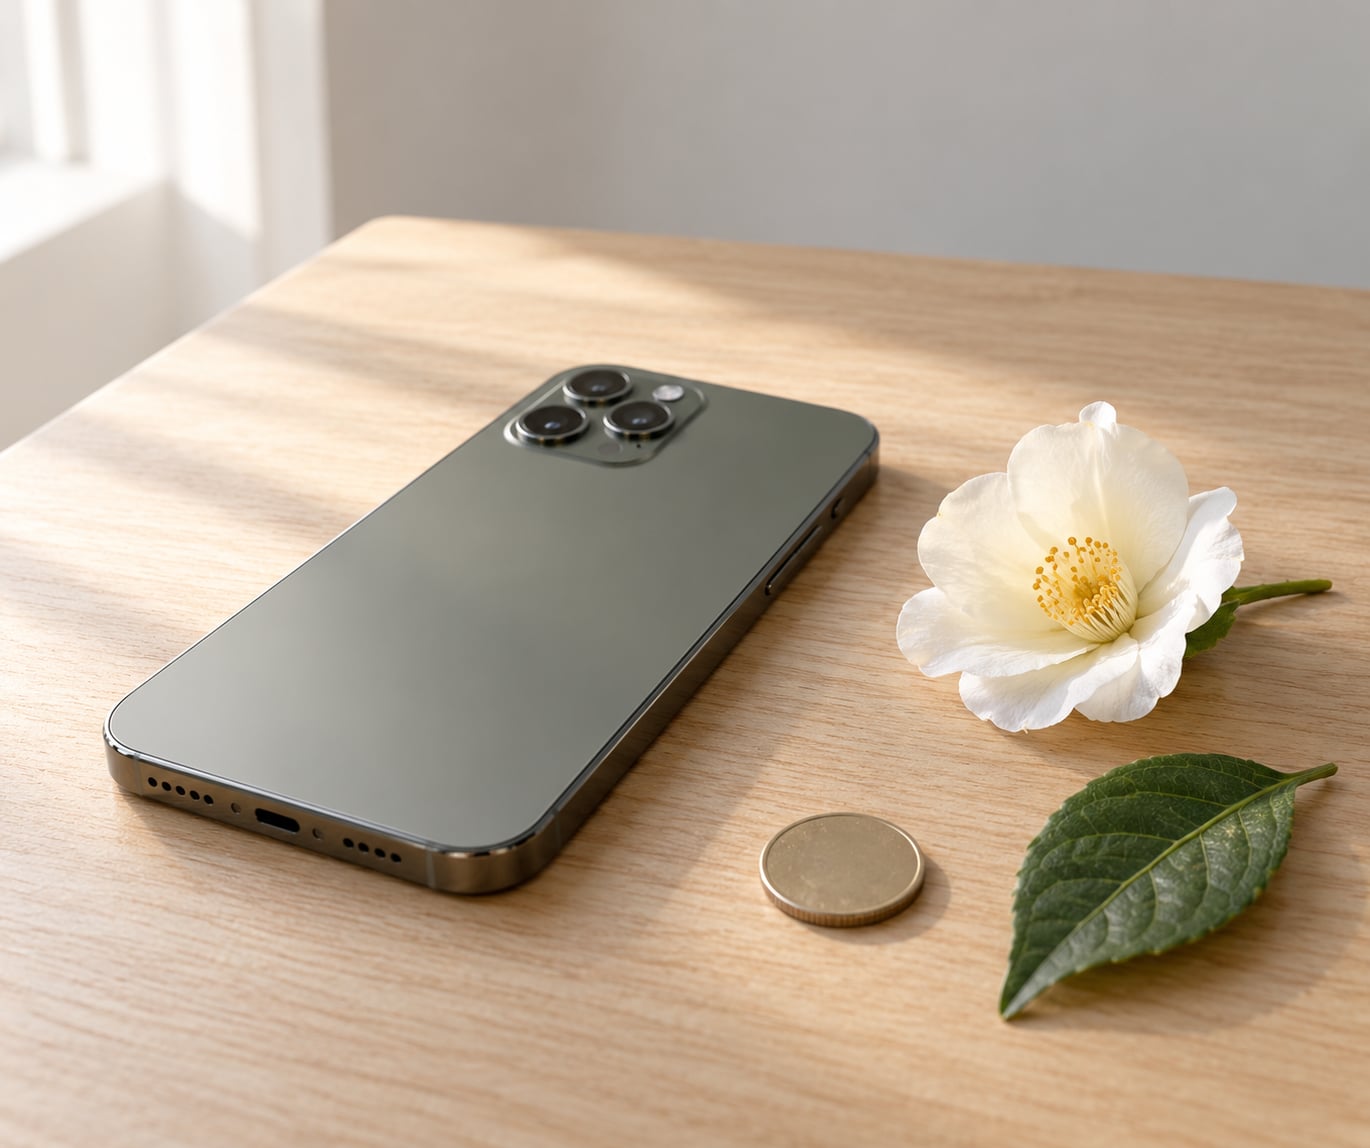
What you photograph matters less than how close you can get, but a few subjects reward the effort: the stamens inside a flower, leaf veins, a water droplet on a petal, the ridges on a coin, fabric weave, coffee foam, insect eyes. Small, textured, and lit from the side beats large and flat every time.
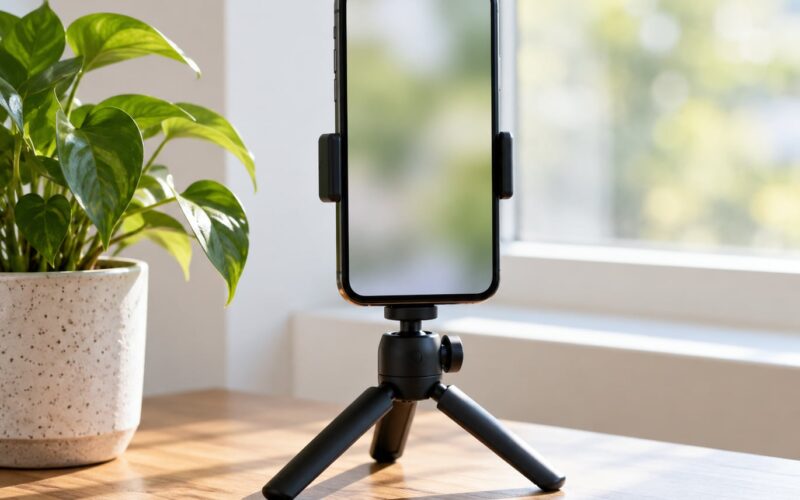
For light, a window is better than a ceiling bulb because it gives you soft, directional light that reveals texture. A small beanbag, a stack of books, or a mini tripod to rest the phone on keeps the frame still, and a ring light or small LED panel pays for itself the first time you shoot something shiny. Props, not purchases.
Step-by-Step
Step 1: Open the Camera and switch on Macro Control
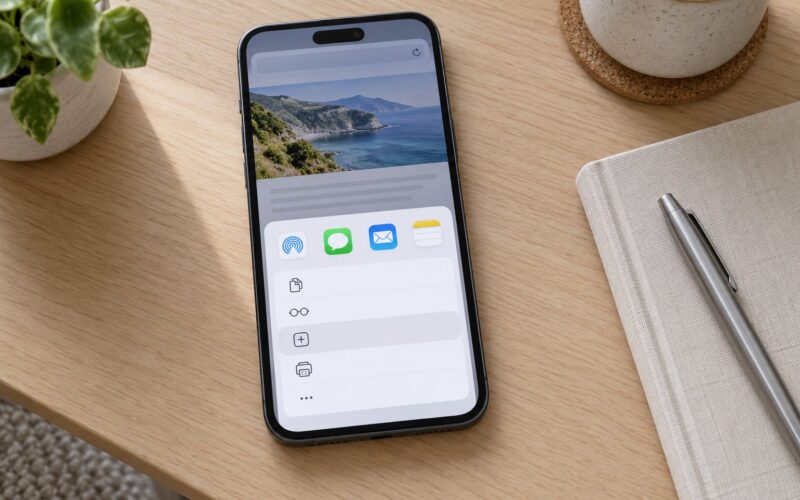
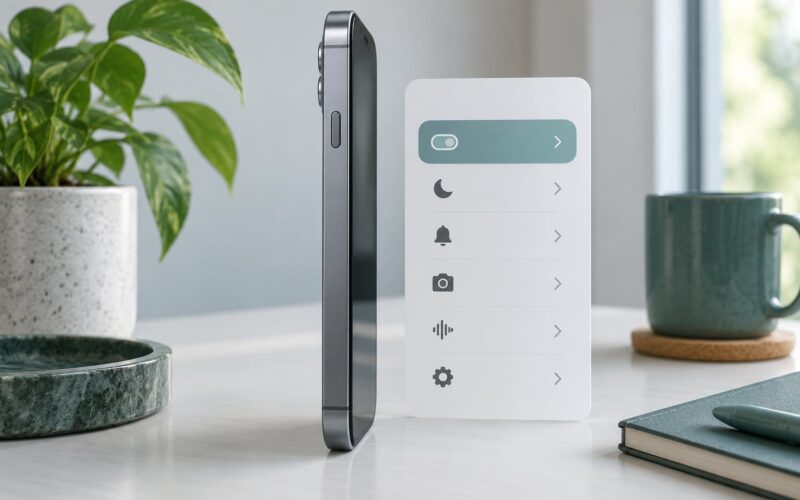
Open Settings and tap Camera. Scroll to the Camera Control group and tap Macro Control so it reads On. Do the same for Preserve Settings if you want the flower button to stay where you left it between sessions.
In the Camera app, stay in Photo mode to start. Swipe to 0.5x when you want the Ultra Wide lens held open deliberately rather than letting the phone pick.
Step 2: Get close without touching the subject
Move in until the lens is roughly 2 cm from your subject. You do not have to hit that number exactly; you only need to cross the point where the main lens can no longer focus, and that is where the switch happens.
Keep your fingers out of the frame and off the subject. Touching a petal or a coin is the fastest way to make it wobble while you shoot. Approach from slightly below and side-on so the light rakes across the texture.
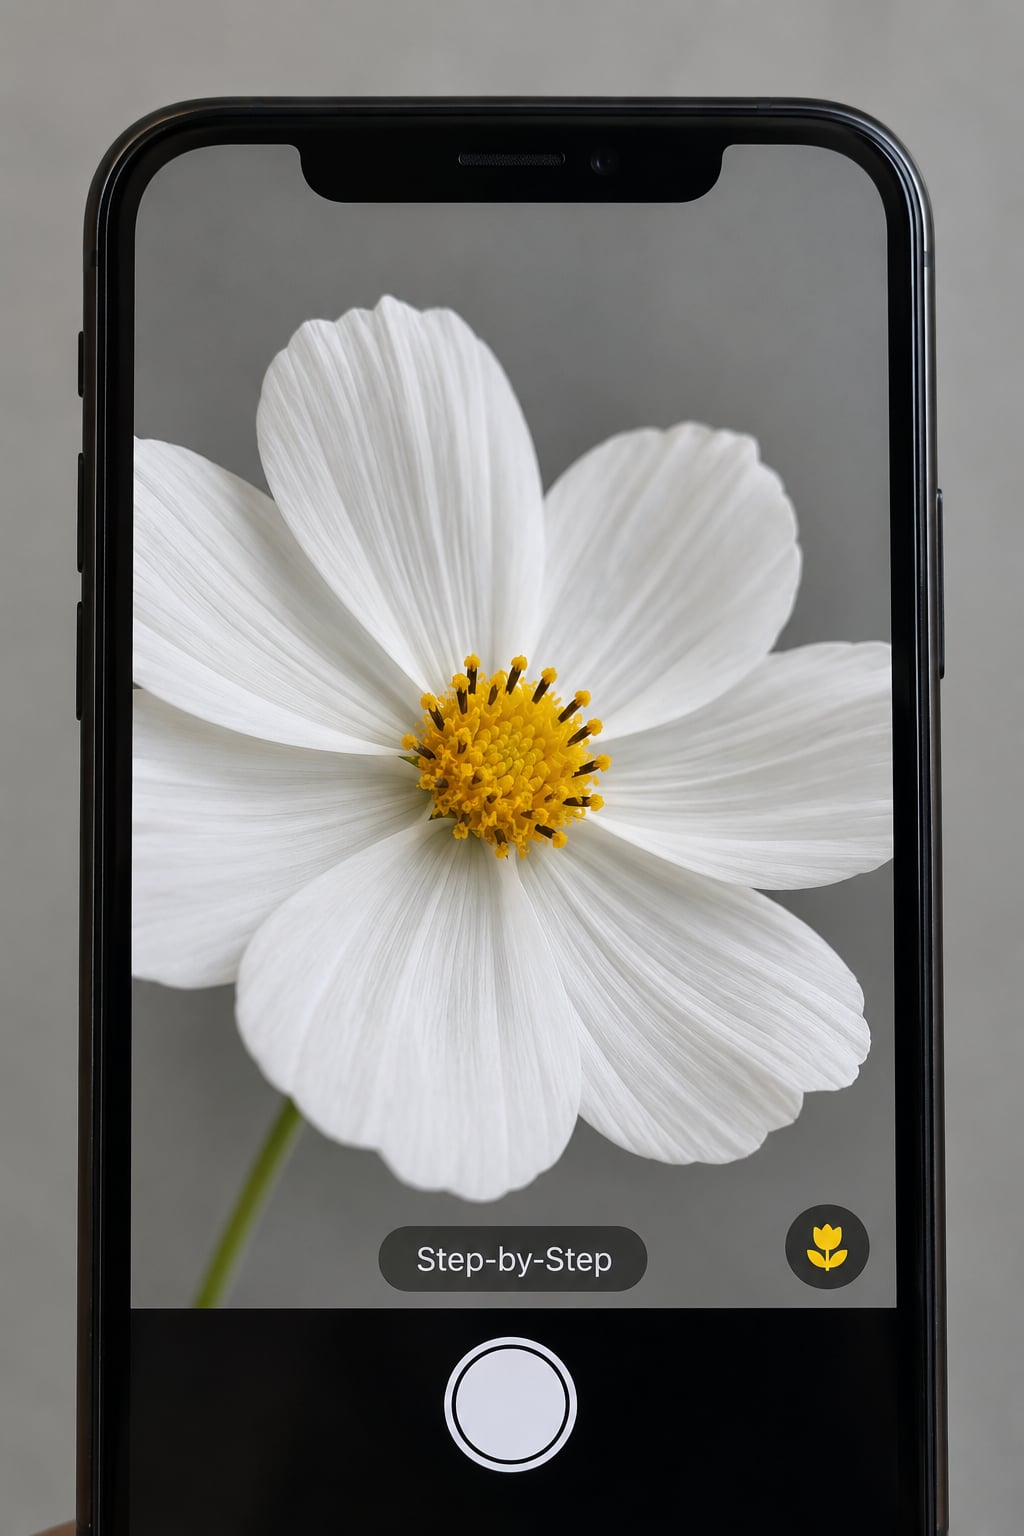
The flower icon appearing at the bottom left is your confirmation. Once it shows, macro is active and the Ultra Wide lens is doing the work. Tap the icon to switch macro back off without moving away.
Step 3: Hold the phone steady and focus
Rest your elbows on something solid or set the phone on a small tripod. At 2 cm, a tiny hand movement travels across the whole frame, and shake is usually mistaken for a focus problem.
Tap the part of the subject that matters most. A tap sets focus and exposure on that spot, which is usually a flower’s stamen or the raised rim of a coin rather than the middle of the frame. Slide the sun icon if the shot looks too dark.
Depth of field is genuinely shallow this close, so only a thin slice of the subject is sharp. That is physics, not a fault. Aim for one plane of sharp detail rather than trying to get the whole thing.
Step 4: Take the photo and check the result
Press the shutter and take two or three frames, nudging the distance slightly between each. One of them will land on the exact plane you wanted.
Zoom in on the screen to check sharpness before you walk away. If it is soft, the fix is nearly always steadier hands or a small distance change, not a different setting.
Video works the same way. Apple documents macro video in Video, Slo-mo and Time-lapse at 0.5x, so you pick the Ultra Wide lens yourself in those modes instead of relying on the flower icon. Portrait, Pano and Cinematic do not switch to macro.
Common Mistakes
Macro mode not appearing at all usually means the phone is on a model without close focus, or you have not crossed the main lens’s minimum focus distance yet. Move closer, not further. If Macro Control is greyed out in Settings, the phone is not on a supported model.
Blurry macro shots have three common causes: camera shake at extreme close range, the focus plane sitting behind or in front of your subject, and a subject too shallow to hold focus. Rest the phone, tap the exact detail you want sharp, and back off a few millimetres.
Focus that keeps hunting back and forth means the phone cannot decide which lens to use. Several iPhone 16 Pro owners traced this to automatic macro switching and fixed it by turning Macro Control off in Settings, then selecting 0.5x by hand each time.
Dark photos happen because the phone meters for the whole scene and the subject fills the frame with shadow. Tap the subject to set exposure, then slide the brightness up, and use a light source angled from the side.
If the iPhone focuses on the background instead of your subject, tap directly on the detail. If that does not take, move back a fraction, re-tap, and check on screen before shooting.
A resolution drop catches people out. Macro frames saved at 12 MP or 15 MP rather than 24 or 48 MP even with HEIF Max or ProRAW enabled is a known complaint from users. That comes from the Ultra Wide sensor and its cropping, not from a setting you left wrong.
Finally, leave Macro Control on or off depending on your habit. On is convenient. Off gives you predictable behaviour, which is why photographers who also use clip-on lenses often switch it off: add-on macro lenses confuse the proximity sensor and trigger unwanted Ultra Wide switching.
Frequently Asked Questions
Which iPhones have macro mode?
Macro mode works on iPhone 13 Pro, 13 Pro Max and every Pro model released since, plus iPhone 16, 16 Plus and the iPhone 17 series. Older phones such as the iPhone 15, 14, 13 and SE do not get native close focus. Their main lens stops around 16 cm, so you need a clip-on macro lens or a manual-focus third-party camera app instead.
How do I turn on Macro Control on iPhone?
Open Settings, tap Camera, scroll to the Camera Control group and tap Macro Control so it reads On. That switch lets the Camera app switch to the Ultra Wide lens automatically when you move in close. Turn it off if you use add-on lenses or you prefer to select 0.5x yourself every time.
Why is my macro photo blurry?
At 2 cm your hands move the image more than you think, and depth of field is thin enough that a few millimetres of drift ruins the shot. Rest the phone on a tripod or beanbag, tap the exact detail you want sharp, take several frames, and check sharpness on screen before moving on.
Why won’t my iPhone camera focus on close-ups?
Most often you have not crossed the main lens’s minimum focus distance of roughly 16 cm, so the phone simply cannot focus and never triggers macro. Move closer until the yellow flower icon appears. If it focuses but hunts back and forth, turn Macro Control off in Settings and choose 0.5x manually.
Does macro mode work in Portrait, Cinematic or Slo-mo?
Photo and Video modes switch to macro on their own. In Slo-mo and Time-lapse you select 0.5x yourself to get close-focus video. Portrait, Pano and Cinematic do not switch to the Ultra Wide lens for close focus, so switch back to Photo when you want a true macro shot.
Why do my macro photos save at 12 MP instead of 48 MP?
Macro uses the Ultra Wide sensor with a cropped field of view, so the saved file is lower resolution than a full-resolution 24 MP or 48 MP shot, even with HEIF Max or ProRAW switched on. Shoot a 0.5x frame instead if you want a full-frame 12 MP image rather than a cropped close-up.
Conclusion
Your first move is small: open the Camera app, put a flower or a coin on a table, and move the phone in until the yellow flower icon appears at about 2 cm. Tap the detail you want sharp, hold still, and take three frames at slightly different distances.
Once you know the flower icon is there, everything else is adjustment. Better light from a window, something to rest the phone on, and a habit of checking sharpness on screen before you move on. That is how to use macro mode on an iPhone properly, and it costs nothing but five minutes.