To record 4K video on iPhone, open the Camera app, switch to Video mode, and tap the resolution control so it reads 4K, then choose 24, 30 or 60 fps. You set that once and every take follows it, or you change the default under Settings > Camera > Record Video.
It takes about a minute once you know where the control is. The fiddly part is not the tap path, it is knowing whether your model actually offers 4K at the frame rate you want.
Apple spreads this across half a dozen separate support pages, so most guides stop at “go to Camera settings”. Below is the whole path in one place, with the model differences and the fixes for the errors people actually hit.
Table of Contents
- 1What You Need
- 2Which models support 4K, and at what frame rate
- 3iOS version and storage headroom
- 4Step-by-Step: How to Record 4K Video on iPhone
- 51. Confirm That Your iPhone Supports 4K Recording
- 62. Open the Camera and Choose 4K Video
- 73. Select the Best Frame Rate
- 84. Adjust Recording Settings and Stability
- 95. Record and Verify Your 4K Footage
- 10Common Mistakes
- 11There is no 4K option at all
- 12The Camera app ignores your 4K setting
- 13The phone gets hot and drops frames
- 14It says storage is full with space showing
- 15Footage is dark and noisy indoors
- 16Colour shifts between clips
- 17Frequently Asked Questions
- 18Which iPhone models can record 4K video?
- 19Does 4K video use more storage than 1080p?
- 20Should I record iPhone videos at 24 fps, 30 fps or 60 fps?
- 21Why is 4K not showing in my Camera app?
- 22Can I turn off HDR when recording 4K video on iPhone?
- 23How do I check whether a recorded video is actually 4K?
- 24Quick Checklist Before You Press Record
What You Need
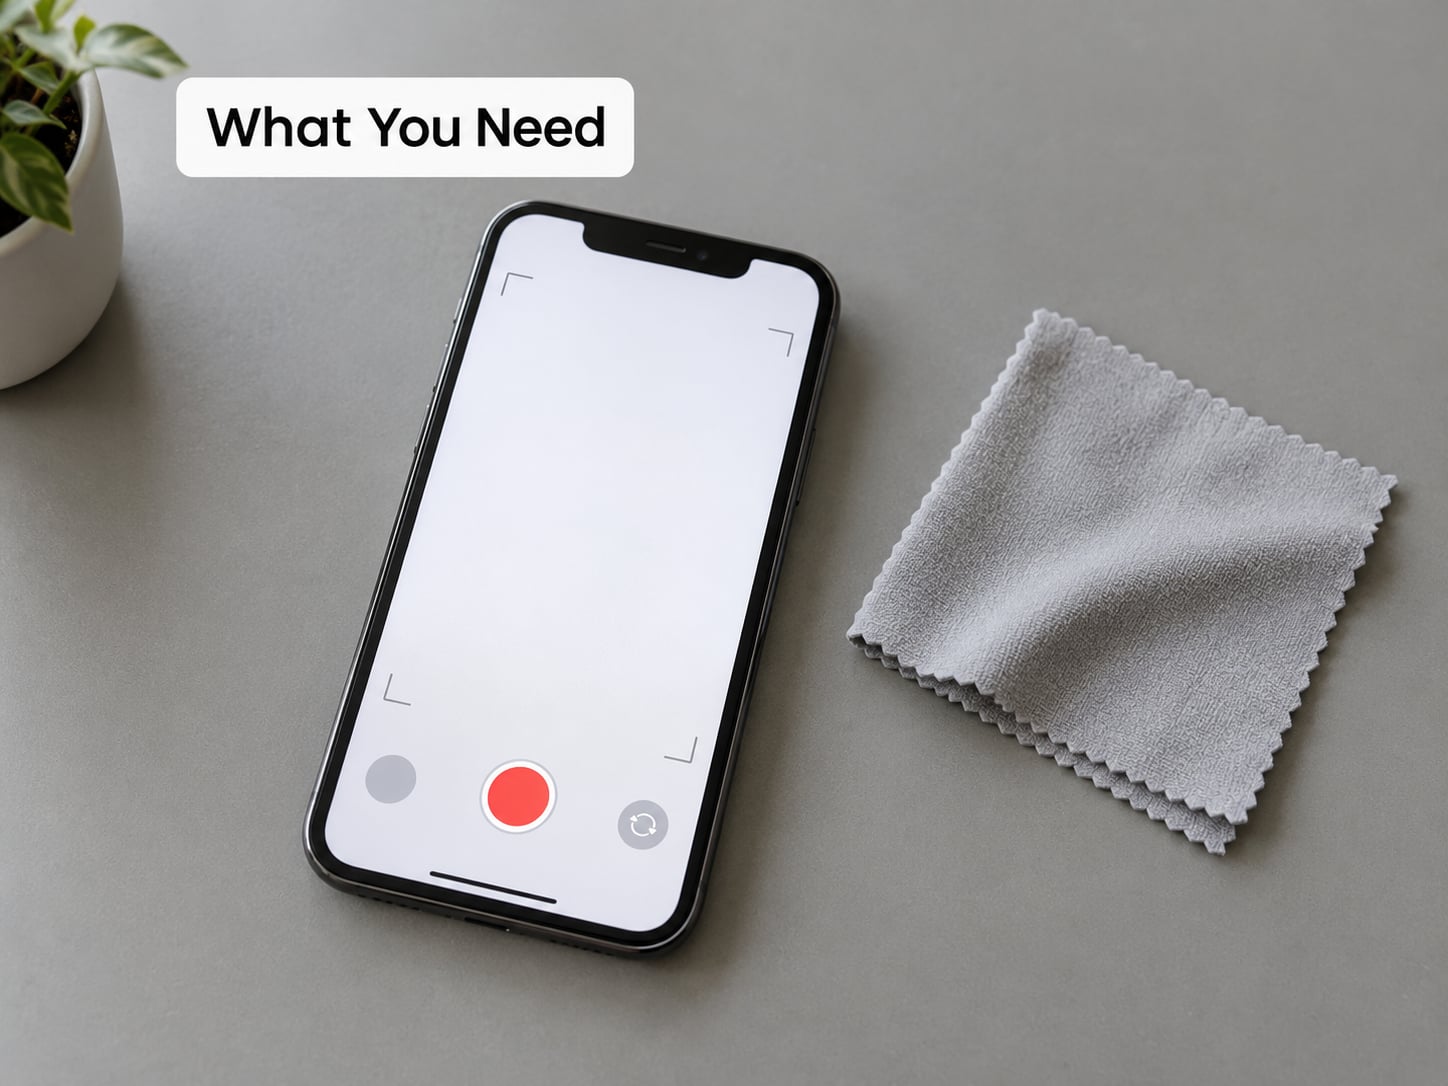
You need three things before you press record: an iPhone that shoots 4K, enough free storage for the files it produces, and a clean lens. That is genuinely it. No accessory is required, though a tripod and an external microphone will do more for your footage than any other extra gear.
Which models support 4K, and at what frame rate
Every iPhone from the iPhone 6s onward records 4K at 24 and 30 fps. The 4K 60 fps mode is the dividing line, and it arrived on the iPhone XS, XR and 11 series, then became standard. Older models have no Dolby Vision and no 4K 120 fps slow motion.
| iPhone model | 4K 24 fps | 4K 30 fps | 4K 60 fps | Dolby Vision / HDR |
|---|---|---|---|---|
| iPhone XS, XR, 11, 11 Pro, 11 Pro Max, 12 series | Yes | Yes | Yes | Yes, up to 4K 30 on iPhone 12 |
| iPhone 13 and 14 series | Yes | Yes | Yes | Yes, 4K up to 60 fps |
| iPhone 15 and 16 series | Yes | Yes | Yes | Yes, 4K up to 60 fps |
| iPhone 17 Pro and newer Pro models | Yes | Yes | Yes | Yes, plus 4K 120 fps slo-mo on Pro |
| iPhone 6s through iPhone X | Yes | Yes | No | No |
That mid-range detail catches people out. On an iPhone 12, Dolby Vision at 4K tops out at 30 fps, so switching to 60 fps quietly disables HDR for that take. People on the Apple forums have argued about this for years, and the answer is simply that the hardware cannot encode both at once.
iOS version and storage headroom
Keep iOS current. The Camera controls move between releases, and Apple adds and removes 4K options with each one, so a phone left years behind can look broken when it is only out of date.
For storage, rule of thumb: clear 20 GB free before a serious shoot, and much more for 4K 60. We cover the numbers in the FAQ, but a 128 GB phone recording 4K 60 fills up in roughly an hour of recording. Check Settings > General > iPhone Storage to see what you have, and turn off Auto-Download for the Photos library so it stops quietly refilling the space.
Step-by-Step: How to Record 4K Video on iPhone
The short version, in the exact order:
- Open Settings and tap Camera.
- Tap Record Video.
- Choose 4K, then pick 24 fps, 30 fps or 60 fps.
- Turn HDR Video on if you want Dolby Vision.
- Open the Camera app, switch to Video mode, and confirm the label shows 4K.
- Record a ten-second test clip and check the resolution in Photos.
1. Confirm That Your iPhone Supports 4K Recording
Open Settings and tap General, then About, and read the Model Name line. It tells you exactly which phone you have, which is the only reliable check. Guessing from the notch or the camera bump gets people wrong every time.
If your phone is on the list above, move on. If it is older than the iPhone 6s, you can still film and upload 4K from another device, but the phone itself will not offer it.
2. Open the Camera and Choose 4K Video
Open the Camera app and swipe right across the mode strip at the bottom until the label reads Video. Hold the phone in landscape if you want a 16:9 frame, since a 4:3 crop gives you more room to crop later but wastes screen space.
Look along the top of the preview for the resolution control. It reads HD or 4K, sometimes with a frame rate underneath like 60. Tap it and the options appear. Choose 4K and you are set for this take.
Labels differ a little between models and iOS versions. Newer phones show the frame rate as a number beside the label, older ones show a small menu with combinations such as 4K at 30 fps. If you see a single HD option with no 4K choice anywhere, your model does not support it.
One more thing worth turning on here: Settings > Camera > Preserve Settings. Without it, the camera resets to your previous mode every time you reopen the app, and a lot of people think 4K has switched itself off when it has only been forgotten.
3. Select the Best Frame Rate
Frame rate is how many images per second you capture, and it changes the feel of the footage more than most people expect. Pick the lowest rate that suits the shot.
| Frame rate | Best for | Trade-off |
|---|---|---|
| 24 fps | Narrative video, interviews, anything with music or film-like motion | Motion can look slightly juddery on fast action |
| 30 fps | Vlogs, walkthroughs, everyday shooting | Slightly less cinematic than 24 |
| 60 fps | Fast movement, sport, anything you want to slow down later | Bigger files, more heat, no Dolby Vision above 30 fps on some models |
60 fps is the one people regret choosing. It looks superb on fast subjects and you can drop it to 40 or 50 percent speed in an editor with no visible loss, which is worth a lot for a wedding speech or a skateboard trick.
Watch Auto FPS, which lives in Settings > Camera > Record Video. Leave it on and the phone drops to 24 or 30 fps automatically in dim light to keep the exposure clean. Turn it off and you get the frame rate you picked every time, at the cost of noisier footage indoors. Plenty of people leave it on and never notice.
4. Adjust Recording Settings and Stability
Six settings matter more than the rest, and all of them sit under Settings > Camera.
HDR Video is on by default on supported models and records in Dolby Vision, which holds detail in bright skies and deep shadows. Turn it off when you want predictable colour for editing, or when a 4K 60 take looks blocky. Users report banding and compression mush at 4K 60 with Dolby Vision on, and switching HDR off is the first thing to try.
Formats controls the codec. High Efficiency uses HEVC, which gives smaller files and better quality per megabyte, and it is the right choice unless you are uploading somewhere that still refuses HEVC. Most Compatible uses H.264, which plays everywhere but roughly doubles the file size for the same picture.
Action Mode is the live button in the Camera app, not a Settings toggle. Tap the little icon to engage it before you record. It works best at 30 fps and on Pro models, and it needs light. Enhanced Stabilization in Settings is a separate, crop-heavy option that smooths handheld walking shots at the cost of a digital zoom.
Lock Camera and Lock White Balance stop exposure and colour from jumping between shots. Both matter when you film a sequence in changing light, because a shot that drifts from warm to cool while you cut between takes is the most visible flaw in amateur footage.
Grid is worth enabling for anything you need to frame precisely. And turn off Record Stereo Sound if you are using an external microphone that already supplies its own audio, so you do not record both at once.
5. Record and Verify Your 4K Footage
Point, hold steady with both elbows tucked in, and tap the red record button. A red timer appears at the top and the clip saves to Photos when you stop.
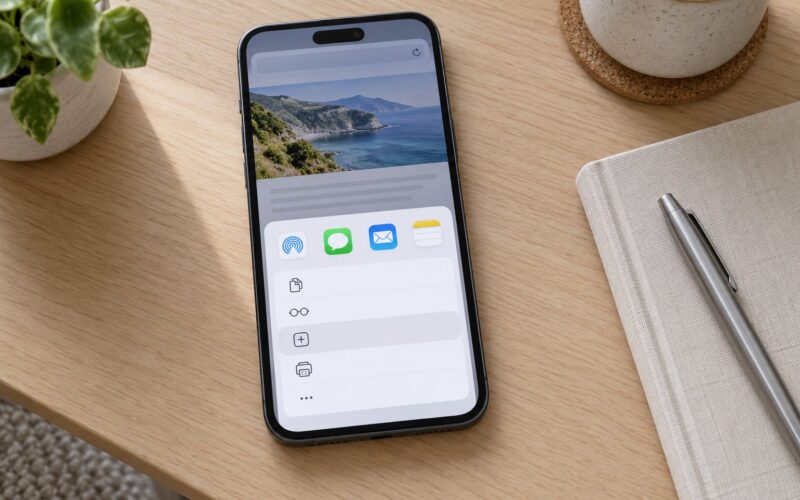
Verify it rather than assume it. Open the clip in Photos, tap the share icon, then Edit, and look at the top of the frame where iOS shows the resolution and frame rate. It should read 3840 x 2160 at 24, 30 or 60 fps. A quick look at Settings > General > iPhone Storage also shows clip sizes, so you can see at a glance whether you really recorded 4K or silently fell back.
Common Mistakes
Four of these come straight from recurring threads on r/iphone and r/iphonehelp, where people hit the same walls over and over.
There is no 4K option at all
On older phones this simply means the hardware does not support it. On newer phones it usually means the camera is being forced into another mode. Close any connected external microphone or webcam, restart the phone, and check again. A connected accessory can override the resolution choice.
The Camera app ignores your 4K setting
This is the most complained-about glitch and it is well documented on r/iphone: the phone shows 4K 60 in Settings yet the Camera app opens in HD 30. Fixes that work, in order: turn off Preserve Settings and set it again, restart the phone, check for low storage, then reset Settings > General > Transfer or Reset > Reset > Reset Camera Settings. Resetting camera settings wipes your preferences, so note them down first.
The phone gets hot and drops frames
4K 60 generates a lot of heat, and after five minutes or so the phone throttles. On r/iphone, owners describe phones becoming “really hot” after five minutes of 4K 60 and conclude this is normal rather than a fault. Practical mitigations: take the case off, keep the phone out of direct sun, shoot in short bursts rather than long takes, and drop to 4K 30 or 1080p 60 when you need a long recording.
It says storage is full with space showing
Very common on 128 GB models. System data, iCloud Photos and cached video previews all eat into the space available to the camera. Settings > General > iPhone Storage shows the real breakdown by category. Offload unused apps, clear the Recently Deleted album, and check that Auto-Download is not quietly pulling originals back down.
Footage is dark and noisy indoors
That is the sensor, not the settings. Filming at 4K in a dim room forces the camera to gather less light per pixel than 1080p does, so noise shows up. Drop to 1080p 30 indoors and keep 4K for daylight, or use Action Mode Lower Light on supported models.
Colour shifts between clips
Auto white balance re-evaluates every take. Turn on Lock White Balance under Settings > Camera and set it from a grey card or sheet of paper before you start.
Two smaller ones worth knowing: shaky footage is usually fixed by Action Mode before it starts, not in the editor, and uploading to social apps re-compresses everything, so export a 1080p copy from the Photos share sheet rather than trusting the platform to handle your 4K file.
Frequently Asked Questions
Which iPhone models can record 4K video?
Every iPhone from the iPhone 6s onward records 4K video at 24 and 30 fps. The iPhone XS, XR and 11 series were the first to add 4K at 60 fps, and every model since supports it. Check your exact phone under Settings u0026gt; General u0026gt; About u0026gt; Model Name, because Dolby Vision at 4K tops out at 30 fps on the iPhone 12 series while later models handle 4K 60.
Does 4K video use more storage than 1080p?
Considerably more. As a rough guide, 1080p at 30 fps uses around 1.5 GB per hour, 4K at 30 fps about 3 GB per hour, and 4K at 60 fps roughly 5.5 GB per hour with High Efficiency. Choosing Most Compatible instead of High Efficiency can roughly double those figures again. On a 128 GB phone, plan on about an hour of 4K 60 filming before you need to offload.
Should I record iPhone videos at 24 fps, 30 fps or 60 fps?
Use 24 fps for anything narrative, such as interviews or anything with music, because it has that filmic look. Use 30 fps as the everyday default for vlogs and walkthroughs. Choose 60 fps only when there is fast movement, or when you plan to slow the footage down in an editor. Higher frame rates cost more storage, run the phone hotter, and disable Dolby Vision on some models.
Why is 4K not showing in my Camera app?
On an older model there may be no 4K mode to show, so check Settings u0026gt; General u0026gt; About u0026gt; Model Name first. On a supported phone, disconnect any external microphone or webcam, turn off Preserve Settings, restart the device, and confirm you have free storage. If it still shows HD, reset the camera through Settings u0026gt; General u0026gt; Transfer or Reset u0026gt; Reset u0026gt; Reset Camera Settings.
Can I turn off HDR when recording 4K video on iPhone?
Yes. Open Settings u0026gt; Camera and turn off HDR Video, which switches off Dolby Vision capture for standard video. You can also toggle it per take from the Camera app controls. Turning it off gives flatter, more predictable colour that is easier to grade, and it removes the banding some people see at 4K 60, at the cost of highlight and shadow detail.
How do I check whether a recorded video is actually 4K?
Open the clip in the Photos app, tap the share button, then choose Edit, and the resolution and frame rate appear at the top of the frame. A genuine 4K clip reads 3840 x 2160 at 24, 30 or 60 fps. You can also check Settings u0026gt; General u0026gt; iPhone Storage, where each clip is listed with its file size, so a large file usually means the higher resolution was used.
Quick Checklist Before You Press Record
Do four things and you will not be guessing mid-shoot. Check your model name under Settings > General > About so you know which 4K modes you actually have. Open the Camera resolution control and confirm it reads 4K with the frame rate you want, because the app sometimes opens in HD no matter what Settings says.
Then check free storage and take a ten-second test clip, opening it in Photos to confirm 3840 x 2160. If the test comes back at 1080p, disconnect any microphone, restart the phone and reset the camera settings.
Once you know how to record 4K video on iPhone, it becomes the default and stays out of your way. Decide the frame rate and codec once, set Preserve Settings, and the phone will match them take after take.