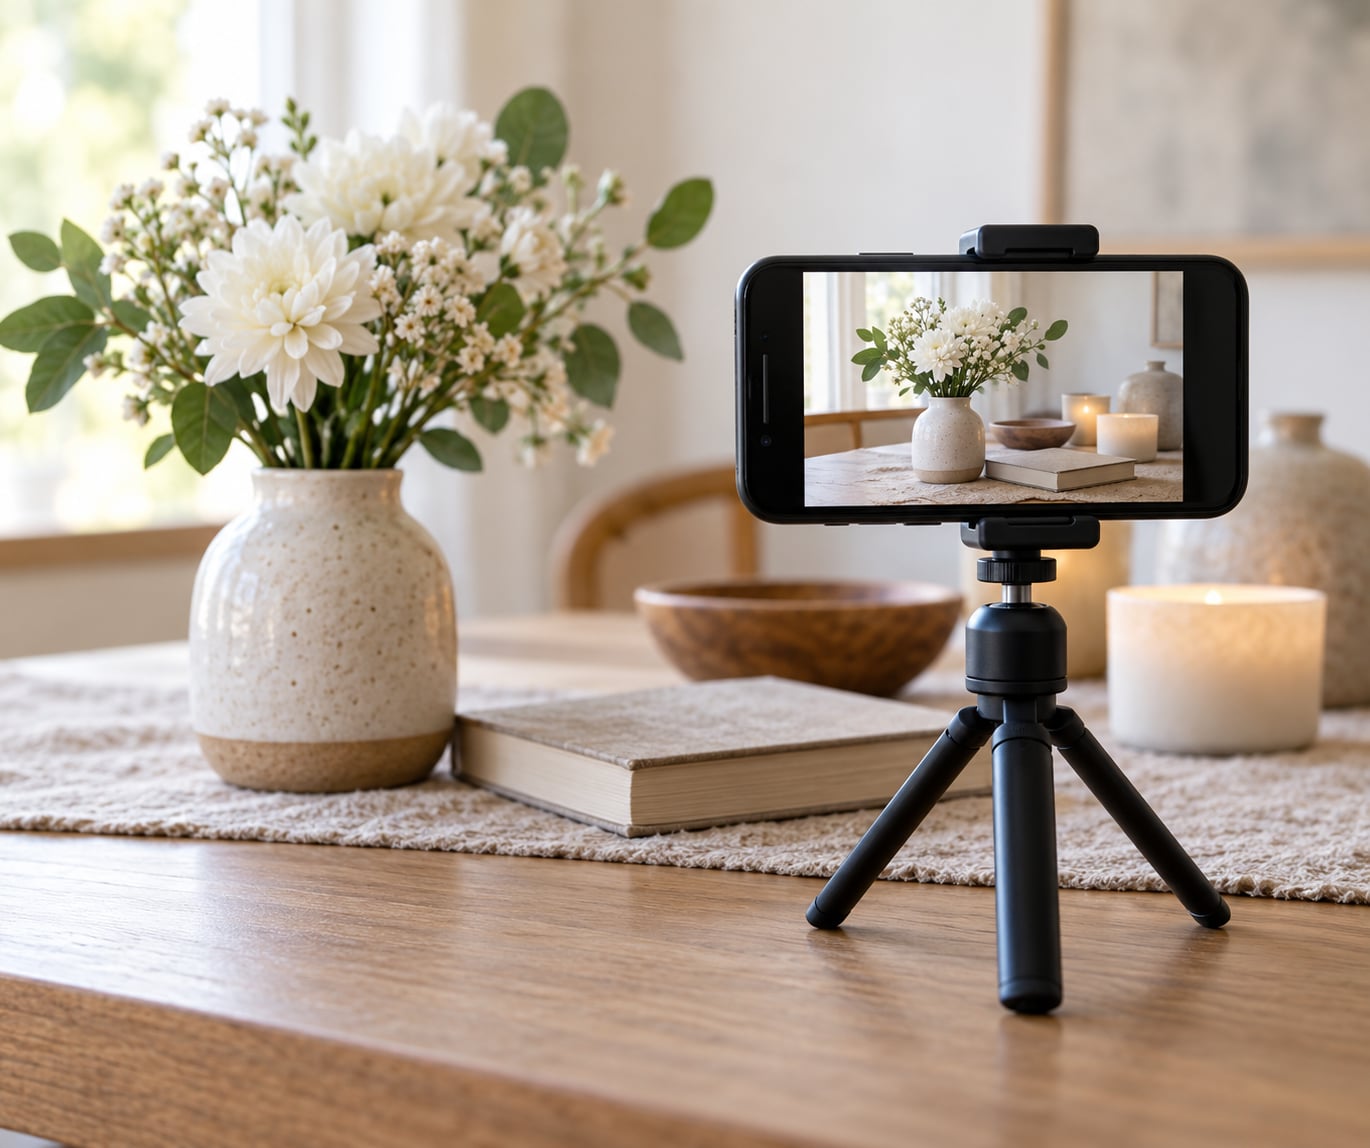
Cinematic Mode lives in the same place as every other shooting mode in the stock Camera app. Open Camera, swipe the strip of modes under the viewfinder until Cinematic is highlighted, and press record. The whole thing takes about ten seconds once you know where the button is.
What you get is the effect filmmakers call a depth effect: the background softens out while your subject stays sharp, and the focus pulls between them the way it does on a cinema camera. It needs an iPhone 13 or newer, and the quality of that blur depends far more on your lighting and subject distance than on the mode itself.
Table of Contents
- 1What You Need to Use Cinematic Mode on iPhone Video
- 2Step-by-Step: How to Use Cinematic Mode on iPhone Video
- 3Enable Cinematic Mode in the iPhone Camera App
- 4Record a Cinematic-Mode Video
- 5Adjust Focus and Exposure While Recording
- 6Save, Review, and Edit Your Cinematic Clip
- 7Common Mistakes and How to Fix Them
- 8Frequently Asked Questions
- 9Which iPhone models support Cinematic Mode?
- 10Do I need an iPhone Pro model to use Cinematic Mode?
- 11Why does my Cinematic Mode video look blurry or strange?
- 12Can I change the focus after recording a Cinematic Mode video?
- 13Can I use Cinematic Mode in iMovie on iPhone?
- 14Conclusion
What You Need to Use Cinematic Mode on iPhone Video
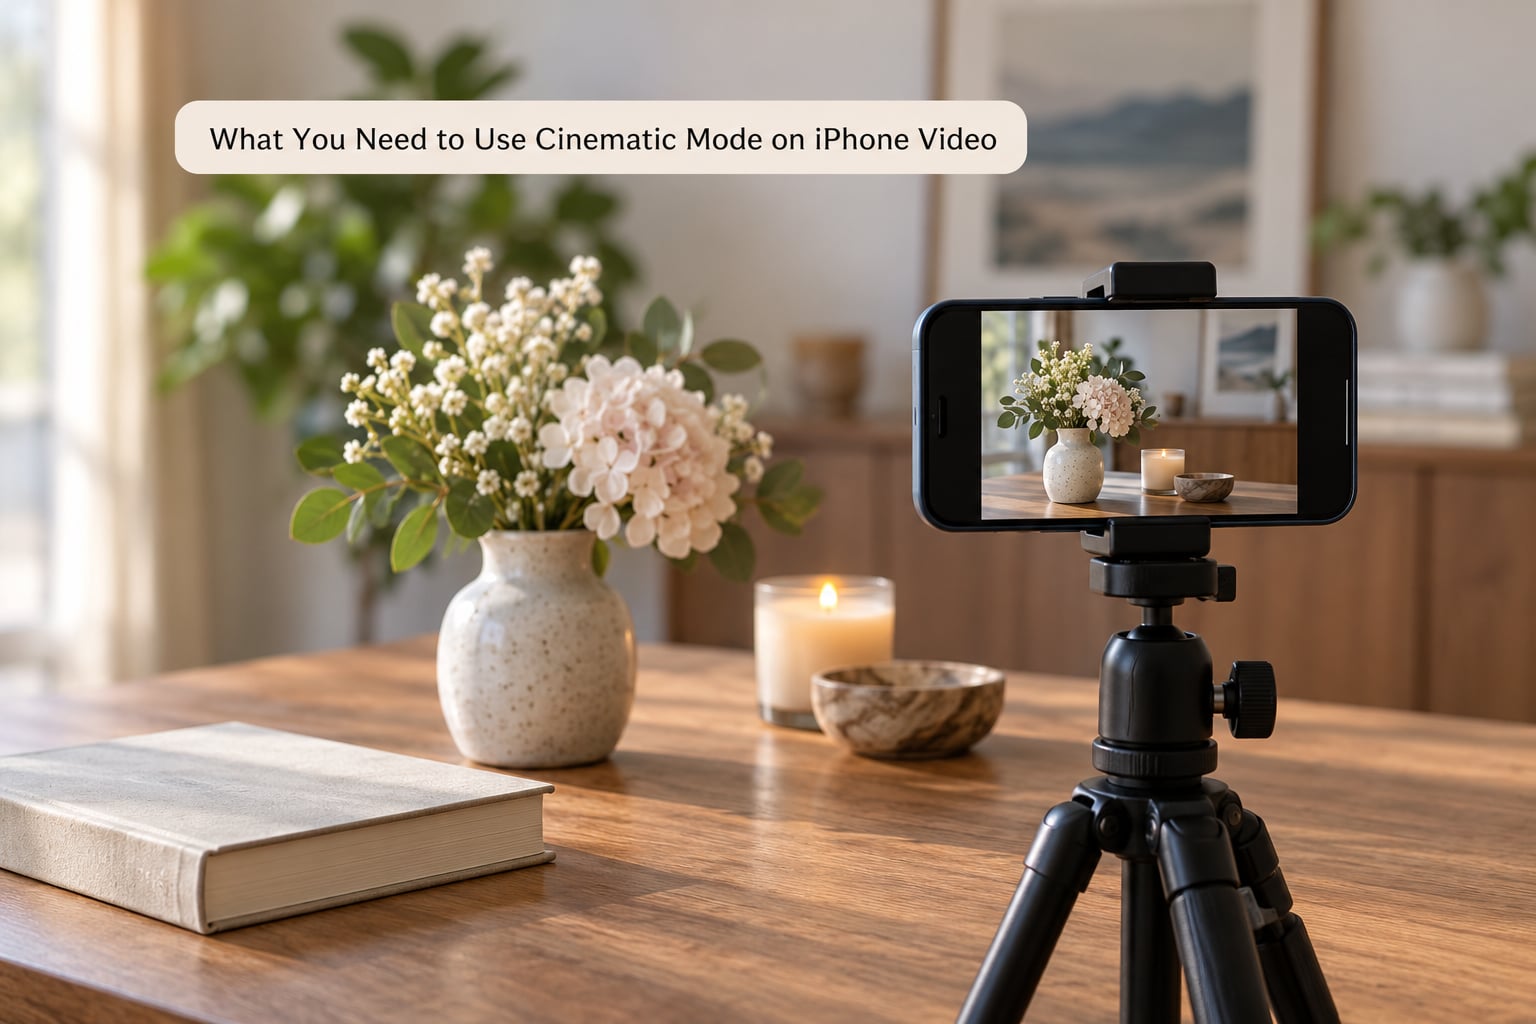
Before anything else, check that your hardware can do it. Cinematic Mode arrived with iPhone 13 and iOS 15, and it does not run on iPhone 11, 12, 12 mini, or iPhone XR, no matter how recent your software update is. That confusion sends people looking for a setting that their phone physically cannot provide.
| iPhone model | Cinematic Mode | Max Cinematic resolution |
|---|---|---|
| iPhone 13, 13 mini, 13 Pro, 13 Pro Max | Yes | 1080p |
| iPhone 14, 14 Plus, 14 Pro, 14 Pro Max | Yes | 1080p |
| iPhone 15, 15 Plus, 15 Pro, 15 Pro Max | Yes | Up to 4K on Pro models |
| iPhone 16 series and newer | Yes | Up to 4K |
| iPhone 11, 12, 12 mini, XR | No | Not available |
The 1080p cap on the iPhone 13 and 14 families is the single most common surprise. The ProRes and 4K options in the Camera app do not apply to Cinematic Mode on those phones, so if 4K matters for your project, shoot in regular Video mode or in ProRes instead.
Two more conditions decide whether a clip looks good. Cinematic Mode only records in portrait orientation with the phone held sideways, and it needs light. In a dim room the phone has to guess at the edges of your subject, and the blur starts swallowing ears, hair, and shoulders along with the background.
For a clean depth effect, put your subject at least a few feet from whatever is behind them. A wall a foot behind a shoulder gives the camera almost no separation to work with, and the result reads as a soft smudge rather than a background that falls away.
Step-by-Step: How to Use Cinematic Mode on iPhone Video
Enable Cinematic Mode in the iPhone Camera App
Open the Camera app and make sure the camera is pointed at something other than the sky, because Cinematic Mode drops out in very dark scenes. Hold the phone sideways with the home indicator on the right, and swipe the mode strip under the viewfinder from right to left.
Stop when the word Cinematic is selected. You can tell it took, because the label turns blue and a small Cinematic mode button appears at the top right of the screen. That button is the Depth Control control, and its presence is the quickest confirmation that you are in the right mode.
Record a Cinematic-Mode Video
Frame the shot before you press record. Getting separation between your subject and the background matters more than any setting, so walk backward a step or two if everything is stacked flat behind your subject.
Press the record button once to start. When the round shutter button turns into a square inside a circle, it is recording. People mix this up constantly, and the tell is simple: a round button means nothing is being captured, while a square sitting inside the circle is the stop control.
Press it again to stop, then press Done. Two things to know about the recording itself: you cannot pause and resume a Cinematic Mode clip, and the mode records in short bursts on some devices, so keep the shot simple and let it run.
Adjust Focus and Exposure While Recording
Tap anywhere in the viewfinder while recording to move the focal plane to that spot. The blur shifts with it, which is how you get the rack focus effect people are after.
| Gesture | What it does | Use it for |
|---|---|---|
| Single tap | Moves focus to that point | Pulling focus from foreground to background |
| Double tap | AF Tracking Lock on a subject | Keeping a moving person sharp |
| Long press | AE/AF Lock on the frame | Locking exposure and focus on one spot |
| Slide the sun icon up or down | Changes exposure brightness | Rescuing a backlit subject |
AF Tracking Lock follows a subject as it moves, while AE/AF Lock freezes both focus and brightness on the exact spot you touched. They look similar on screen and behave very differently, which is why mixing them up mid-take is so common.
For the blur strength, press the Cinematic mode button in the top right and drag the Depth Control slider. The small circle moves toward an f-stop icon at one end and a flower icon at the other. Closer to the f icon means a softer background; the flower pushes more of the scene into focus.
The smoothest focus transitions come from deliberate movement. Lock onto your foreground subject, start recording, then slowly tap the person in the background. The phone shifts focus across the gap over a second or two, which is exactly the transition you see in films.
Save, Review, and Edit Your Cinematic Clip
Finished clips land in your Photos library as regular videos, so nothing special has to be turned on to find them. Open the clip and tap Edit, then Edit again to reach the depth controls.
Here you can drag the Depth Control slider to soften or strengthen the blur after the fact, and you can move focus points along the timeline. A white marker is one you set yourself; a yellow one is the automatic focus the camera chose while recording. Switching between the edited and original versions lets you hear the difference before you commit.
For more control, open the clip in iMovie for iPhone. Tap the Cinematic button above the viewer to reach the same depth slider, and use the timeline to add, move, or delete manual focus points. AF Tracking Lock and AF Lock are separate commands there too, which matters if you want focus pinned to one moving subject for a whole take.
Trim the clip, share it from the share sheet, and leave it alone. Over-editing a depth effect usually makes it look less natural than the version straight out of the camera.
Common Mistakes and How to Fix Them
There is no Cinematic option in the mode strip. On an iPhone 11, 12, or XR it will never appear, because those phones lack the hardware. On a supported model it can still be missing for other reasons: the mode needs some free storage, it switches off in extreme low light, it is unavailable for the current format, and it hides entirely while a third-party camera app is open. Close that app and restart the Camera if the strip looks short.
The blur looks fake or eats your subject. That is a separation problem, not a settings problem. Move the subject away from the background, add a light behind or beside them, or pull the Depth Control slider back toward the flower so less of the frame goes soft.
Focus and brightness drift during the shot. Auto-exposure hunting mid-take is the amateur tell. Long press the viewfinder before you record to engage AE/AF Lock, and the frame will hold still even if the lighting changes.
Footage is too dark or the background blur smears. Cinematic Mode needs light. Shoot near a window, outside in open shade, or add any small light source that hits your subject’s face. A darker scene also limits the phone’s processing, and heavy compression makes the edges of the blur look muddy.
The clip is shaky. Cinematic Mode does not stabilise well, and auto-stabilisation can warp the frame if you are also moving. Rest the phone on something solid, or hold it with two hands and move slowly. Pan in one direction rather than swinging.
Colors look washed out after exporting. HDR footage often shifts when it lands in a third-party editor. In Photos, tap the clip and turn off HDR or use a compatible export, or bring it into iMovie first and grade from there.
You want a cinematic look from a clip you already shot. You cannot add real depth of field in post, but you can get close. Shoot in 4K or ProRes if you still have the original, set your edit to 24fps in iMovie, grade the contrast and warmth, and add a subtle blur on the background layer only if the clip has a locked-off subject.
Frequently Asked Questions
Which iPhone models support Cinematic Mode?
Cinematic Mode needs an iPhone 13 or newer, which means the iPhone 13, 14, 15, 16 series and later models all include it. iPhone 11, 12, 12 mini, and XR do not have the hardware, so no software update will add the mode. On the iPhone 13 and 14 families it records up to 1080p, while Pro models from the iPhone 15 onward can go to 4K.
Do I need an iPhone Pro model to use Cinematic Mode?
No. The standard iPhone 13, 13 mini, iPhone 14, 14 Plus, iPhone 15, and 15 Plus all run Cinematic Mode. What the Pro models add is 4K recording, ProRes capture, and the better sensors that hold up in low light. If your clips look noisy or the blur smears, the Pro model helps, but the mode itself is not Pro-only.
Why does my Cinematic Mode video look blurry or strange?
Nine times out of ten the background is too close to your subject. Move a few feet apart and the depth effect reads properly. Other causes include shooting in dim light, which makes the phone guess at edges and blur your subject too, and sliding the Depth Control slider too far toward the f icon. Locking focus with a long press also stops the blur from wandering mid-clip.
Can I change the focus after recording a Cinematic Mode video?
Yes. Open the clip in Photos, tap Edit, then Edit again, and drag focus points along the timeline to move where the focus sits. You can also adjust depth of field in the same place, or open the clip in iMovie for iPhone and tap the Cinematic button for a finer depth slider. Manual focus points appear white, automatic ones yellow.
Can I use Cinematic Mode in iMovie on iPhone?
You do not record in Cinematic Mode from iMovie, but you can edit clips you shot that way. Create a project, add the clip, tap it, then tap the Cinematic button above the viewer to adjust depth of field and add manual focus points. iMovie also lets you lock focus to a tracked subject or to any point using separate AF Tracking Lock and AF Lock controls.
Conclusion
Check your model first, because nothing else matters if you are on an iPhone 12 or older. Then open the Camera app, hold the phone sideways, swipe the mode strip to Cinematic, and record. Give your subject a few feet of clear space behind them and the background blur will do the work for you.
While you shoot, use a single tap to move focus and a long press to lock it. Once the clip is saved, open Photos and drag the focus points until the transitions land where you want them.