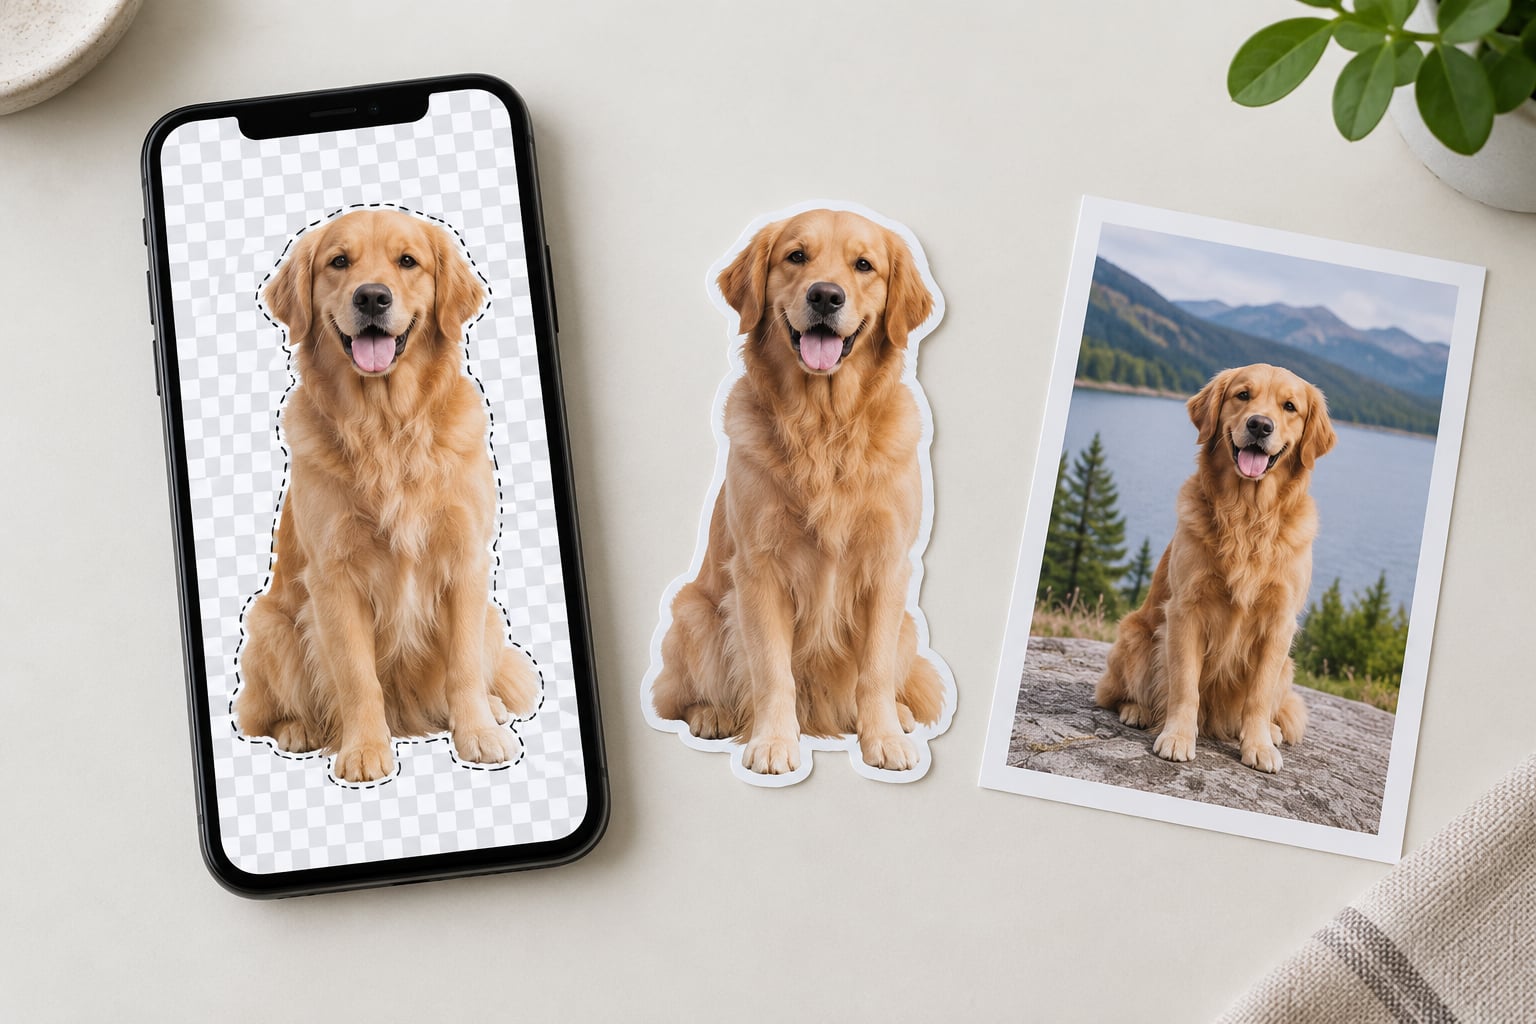
Press and hold the subject in the Photos app until it lifts off the picture, then copy it or save it as a transparent PNG. That is the whole trick, and on iOS 16 or later it takes about ten seconds with nothing to install. Below is how to remove background from a photo on iPhone using the built-in tools first, then when a free app is worth the extra tap.
Yes, Apple ships a built-in background remover. It runs on the phone, needs no account, and leaves your original photo exactly where it was.
Table of Contents
- 1What You Need
- 2Step-by-Step: How to Remove Background From a Photo on iPhone
- 3How to Remove the Background in the iPhone Photos App
- 4Refine the Cutout and Save the Photo
- 5Use a Free App When iOS Does Not Offer the Right Controls
- 6Common Mistakes
- 7Frequently Asked Questions
- 8Which iPhone models can remove a photo background?
- 9How do I save a photo with a transparent background on iPhone?
- 10Why is there no Remove Background option on my photo?
- 11Does removing the background delete my original photo?
- 12What is the difference between Remove Background and Clean Up?
- 13Is there a free background remover app for iPhone?
What You Need
A recent iPhone and iOS 16 or later. Subject isolation arrived in iOS 16, so anything older simply will not show the option. Check yours in Settings, then General, then About.
The original photo, not a screenshot of it. Compressed copies of already-compressed images give the detector less to work with, and edges come out rougher.
Optional: a free photo editor, if you need manual erasing, background replacement or batch handling. I will cover when that is worth it below.
Step-by-Step: How to Remove Background From a Photo on iPhone
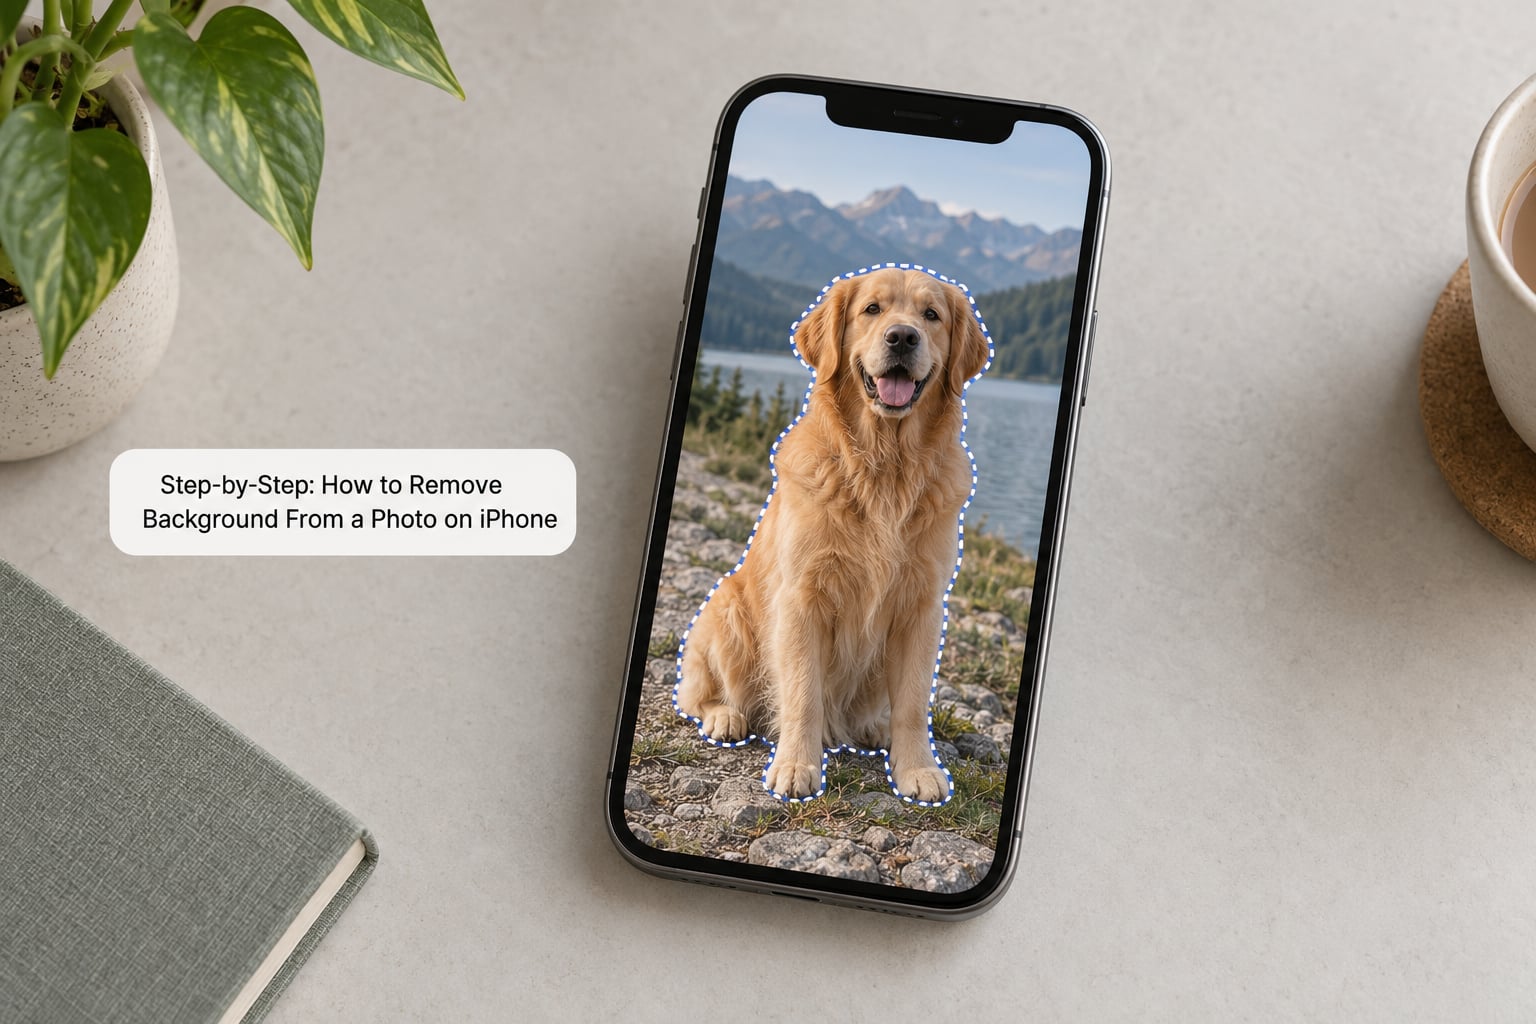
There are three native routes, and they all end in the same place: a cutout with transparency. Most people only ever need the first one.
How to Remove the Background in the iPhone Photos App
- Open the Photos app and tap the photo you want to cut out.
- Press and hold on the person or object, right on the subject rather than the scenery. Keep holding until the edges light up and the subject looks slightly raised.
- Lift your finger. The subject is now selected with the background removed. Drag the selection handles if iOS grabbed too much or too little.
- Choose what to do with it: tap Copy Subject, tap Share and pick Save Image for a transparent PNG, drag it into Notes or Messages, or add it as a sticker.
You know it worked when the background shows a light checkerboard instead of the original scenery. That pattern is transparency, not a glitch, and I explain it further down.
If the frame forms around the wrong thing, let go and start over. A second press-and-hold on a different part of the image usually re-targets the detection.
Refine the Cutout and Save the Photo
Hold the photo close and look at the edges, especially hair, glasses, hat brims and fingers. iOS is good, not perfect, and fine strands are usually where a halo shows up.
To fix a bad result, tap Done and press and hold again. Each press is a fresh detection pass, so trying twice often beats adjusting handles. If the subject was genuinely missed, part of the picture, retake it with more separation between subject and background.
To save the transparent file, tap the share button, then Save Image. Photos stores it as a PNG with an alpha channel, which is the format that keeps the background see-through. JPEG cannot hold transparency, so if you export through an app that flattens to JPEG, the background will turn solid white.
Want the cutout somewhere else without saving? Drag it straight into a Notes draft, a Messages thread, Mail, or a drawing app. The subject travels with its transparency intact.
Use a Free App When iOS Does Not Offer the Right Controls
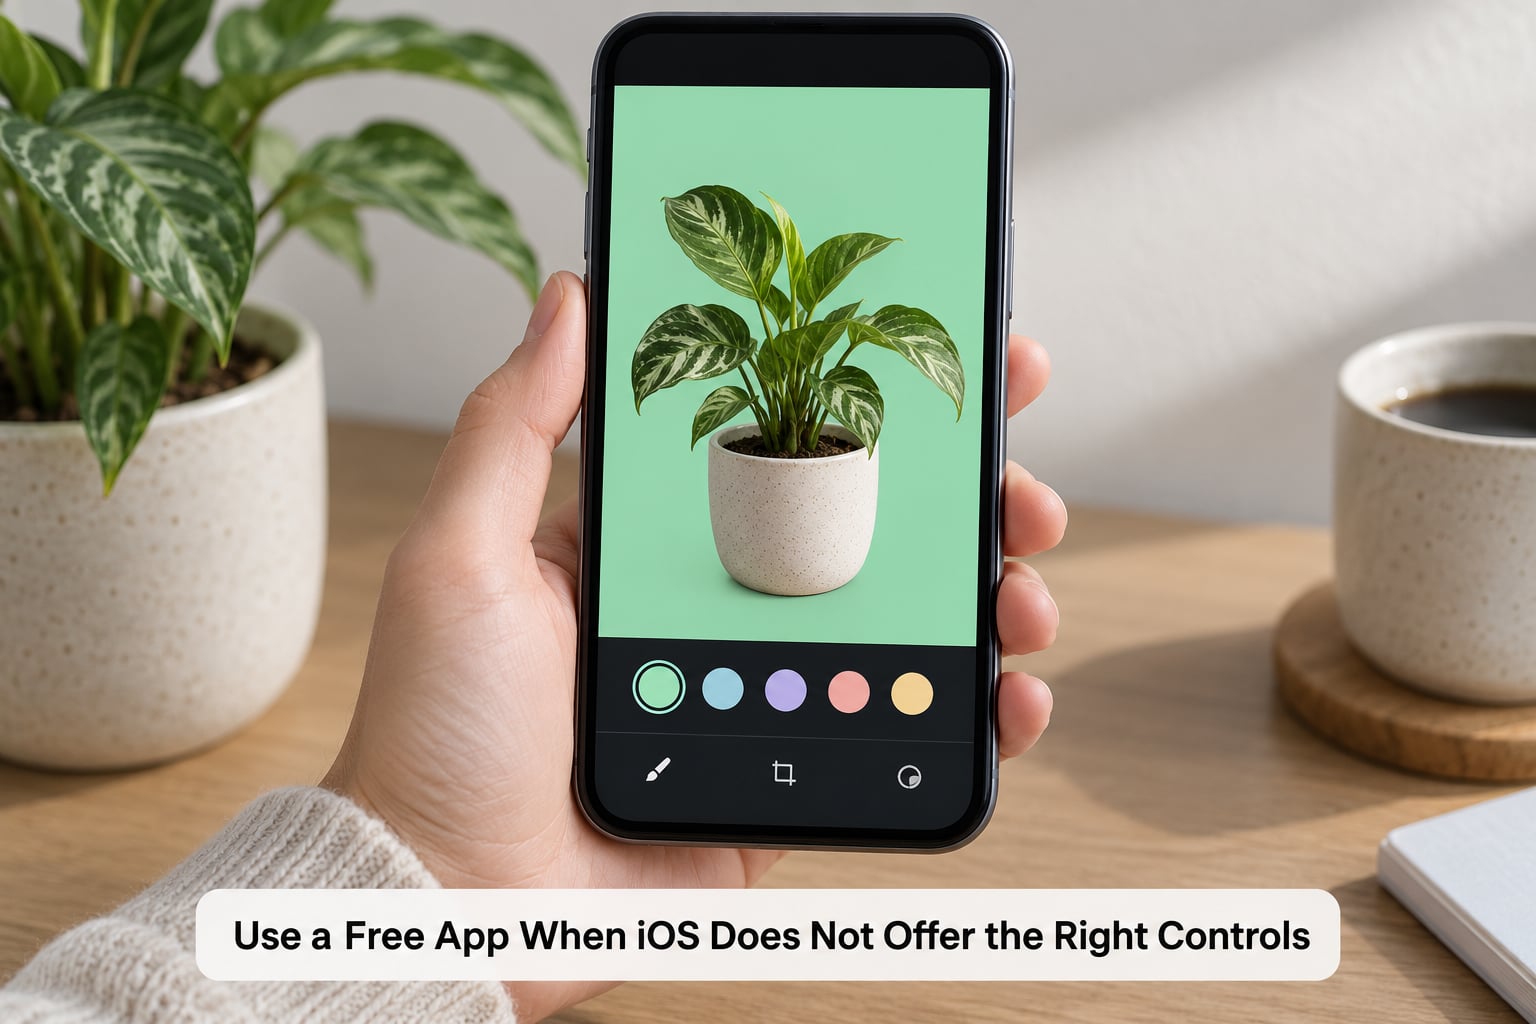
Reach for a free editor when the native route falls short in one specific way: fine edges. Flyaway hair, fur, glasses frames and semi-transparent fabric are where Apple’s on-device model gives up, and apps that let you paint the subject back in by hand handle those cases better.
Replacement backgrounds are the other reason. Photos can copy and cut out, but it does not composite your subject onto a new scene on its own. Free photo editors with a cutout and swap-background tool do, and most run the same on-device style detection first.
Batch work is the third. The native feature handles one photo at a time, so cleaning up forty product shots means forty long-presses. Some free apps process a whole album in one pass.
I would not pay for a subscription for this. The paid background erasers exist, and the free tiers of the popular editors do the same job on a single photo.
Common Mistakes
Rough or jagged edges around the subject. Almost always low contrast between subject and background, or a busy scene behind it. Shoot against a plainer backdrop, add light from the front, or paint the edge back in a free editor.
Part of the subject is missing. Detection locked onto a smaller object, such as a hand or a bag. Press and hold directly on the main body of the subject, or drag the selection handles outward.
No Remove Background option appears. Either iOS is older than 16, or the image has no clear subject for the model to find. Check your iOS version first, then try a photo with a person or object that stands apart from the background.
The background came back solid white. The file was exported as JPEG, which has no transparency. Save Image as PNG from the share sheet, and open the result in Photos to confirm the checkerboard is still there.
The original photo looks edited, or is gone. It is neither. Every native route creates a separate file and leaves your original in place. Look in Recently Deleted if you shared the wrong item by accident.
A replacement background did not save. Layers were flattened to JPEG, or the export skipped the alpha channel. Export as PNG and reopen the file to confirm the checkerboard is still there.
Someone cannot see the cutout. It was sent as an ordinary photo rather than a sticker or a transparent image. Share the cutout, then add it as a sticker in Messages so it sits on top of the conversation.
One clarification worth making, because it trips people up constantly. Removing a background and removing an unwanted person or object from a picture are two different features. The cutout tools take out everything except your subject. The Clean Up tool in iOS 18 does the opposite: it erases bystanders, cars and other distractions while keeping the scene.
If you took a photo of a product and a passerby wandered into frame, that is a Clean Up job. If you want your subject on a plain background, you have just read the right guide.
Frequently Asked Questions
Which iPhone models can remove a photo background?
Any iPhone or iPad running iOS 16 or later can use the built-in subject isolation. It is not tied to a newer chip, so older hardware that still receives iOS updates works fine. Phones stuck on iOS 15 or earlier will not show the option at all, and there is no way to bring it forward other than updating the device.
How do I save a photo with a transparent background on iPhone?
Press and hold the subject in Photos, lift your finger, then tap the share button and choose Save Image. iOS writes the cutout as a PNG with an alpha channel, which is the format that stores transparency. You can confirm it worked by opening the saved file: a light checkerboard behind the subject means the background is genuinely transparent.
Why is there no Remove Background option on my photo?
Two things cause this. First, the device may be running iOS 15 or earlier, where the feature does not exist. Second, iOS may not have detected a subject worth isolating, which happens with flat landscapes, empty rooms or a person blending into a busy background. Try a photo with a clear, well-lit subject, and check your iOS version in Settings first.
Does removing the background delete my original photo?
No. Every native method creates a separate cutout and leaves the original untouched in your library. The Photos app gesture, the Preview app button and the Files quick action all work on a copy. If you ever lose track of a cutout, the original is still exactly where you left it, at full quality.
What is the difference between Remove Background and Clean Up?
Remove Background isolates your subject and throws everything else away, giving you a cutout you can place anywhere. Clean Up, added in iOS 18, does the opposite: it erases unwanted people, objects or cars from a scene while keeping the surroundings. Use cutout tools for product shots and profile pictures, and Clean Up for a photo ruined by a passerby.
Is there a free background remover app for iPhone?
You do not need one for most photos, because the built-in tools handle a clear subject well and cost nothing. Free photo editors are worth installing for fine edges such as hair or fur, for swapping in a replacement background, and for processing a whole album at once. Paid subscriptions are rarely necessary for a single image.
Start with the long-press in Photos. It is the fastest route, it costs nothing, and it leaves your original photo alone. If the edges fall apart on hair or fur, that is the moment to open a free editor, not before.