If you have ever wondered how to use Siri to control smart home devices, the honest answer is that it is mostly setup work you do once. Siri runs any accessory that has been added to the Apple Home app on your iPhone or iPad. Add the device, give it a short distinct name, put it in a room, then say “Hey Siri, turn on the kitchen light”.
I built my home the other way round: the bulbs came first, the Siri habits came later. That mistake cost me a week of guessing which phrasing worked. This guide walks the path in the order that avoids it.
Table of Contents
- 1What You Need
- 2Step-by-Step
- 3Step 1: Check Siri and the Home App
- 4Step 2: Add Compatible Smart Home Devices
- 5Step 3: Control Devices with a Siri Command
- 6Step 4: Use Rooms, Groups, and Favorites
- 7Step 5: Create Siri Routines for Automatic Control
- 8Step 6: Control Siri from an Apple Watch or HomePod
- 9Common Mistakes
- 10Frequently Asked Questions
- 11Can Siri control any smart home device?
- 12What smart home accessories are compatible with Siri?
- 13Why does Siri say that a device is unavailable?
- 14Does Siri work when the iPhone has no internet connection?
- 15Can Siri control multiple devices in a room at once?
- 16How do I stop Siri from giving spoken confirmation?
- 17Conclusion
What You Need
Before anything else, you need an iPhone or iPad on a current iOS or iPadOS release, signed into iCloud with your Apple Account. You also need the smart device itself, powered on and joined to the same Wi-Fi network your phone uses.
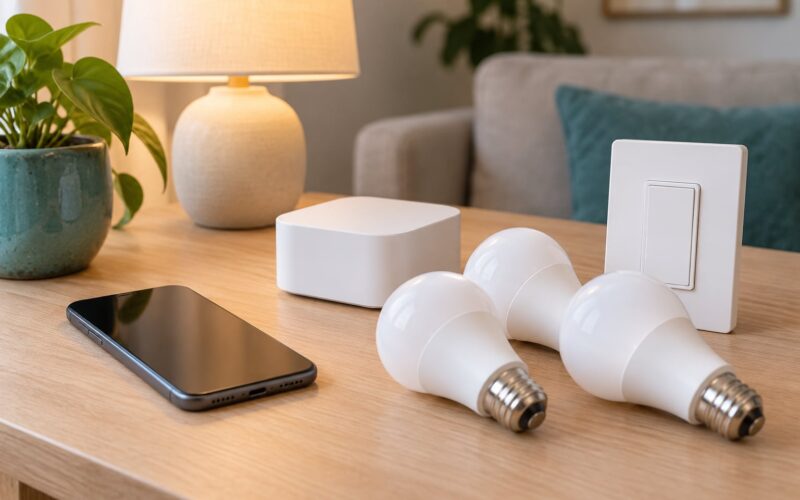
A home hub matters more than most guides admit. An Apple TV, a HomePod, or an iPad signed into your home and left on the same network lets accessories reach the internet and answer commands when your phone is out of range or the internet is down. Without one, Siri still works while your phone has a connection.
Two more things save a lot of frustration. Give each accessory a short, distinct, single-word name before you try voice control, and make sure the name does not sound like another device in the house. Owners who renamed a lamp from “Living Room Lamp Ceiling” to “Reading” report far fewer recognition failures than those who left the defaults.
| Control route | Extra hardware | Works offline | Best for |
|---|---|---|---|
| Apple HomeKit | Hub recommended | Yes, through the hub | Devices labelled Works with Apple Home |
| Matter | Usually none | Partly, over the local network | New certified bulbs, plugs, thermostats |
| iOS Shortcuts | None | Depends on the maker’s API | One device that has no HomeKit support |
| IFTTT webhook | None | No | Hardware with an open API only |
| Homebridge or Home Assistant | A machine that stays on | Yes | TP-Link Kasa, Tapo, Wyze, Zigbee gear |
If your hardware is TP-Link Kasa or Tapo, Wyze, or anything Zigbee-based with no Home badge on the box, skip to the Shortcuts route further down. Homebridge and the Home Assistant HomeKit bridge are the most commonly recommended path on the forums for those brands, and they also handle Google Home and Alexa hardware that would otherwise stay invisible to Apple.
Step-by-Step
This is the order I would use if I were starting fresh, and it is the same order whether you are learning how to use Siri to control smart home devices for the first time or adding a tenth accessory to a house that already runs on automations.
Step 1: Check Siri and the Home App
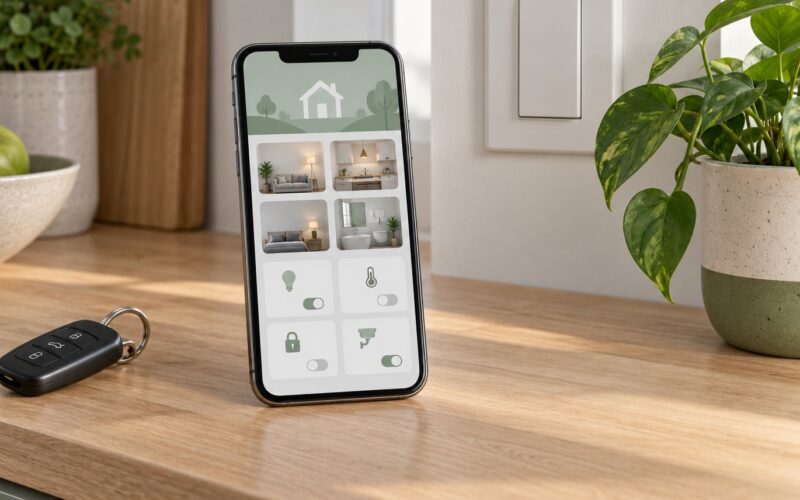
Open the Home app. If it shows a rooms grid, your home already exists and you can skip ahead. If you see a welcome screen, tap Create New Home, give it a name, and confirm.
Then check that Siri is listening. Go to Settings, tap Siri & Search, and turn on Listen for “Hey Siri”. If you skip that step, every voice command below does nothing.
You will know it worked when the Home app shows your room names and your accessories inside them. If you have more than one home, tap the house name in the top-left corner and confirm the one you want is checked, because Siri follows the home your phone is currently pointed at.
Step 2: Add Compatible Smart Home Devices
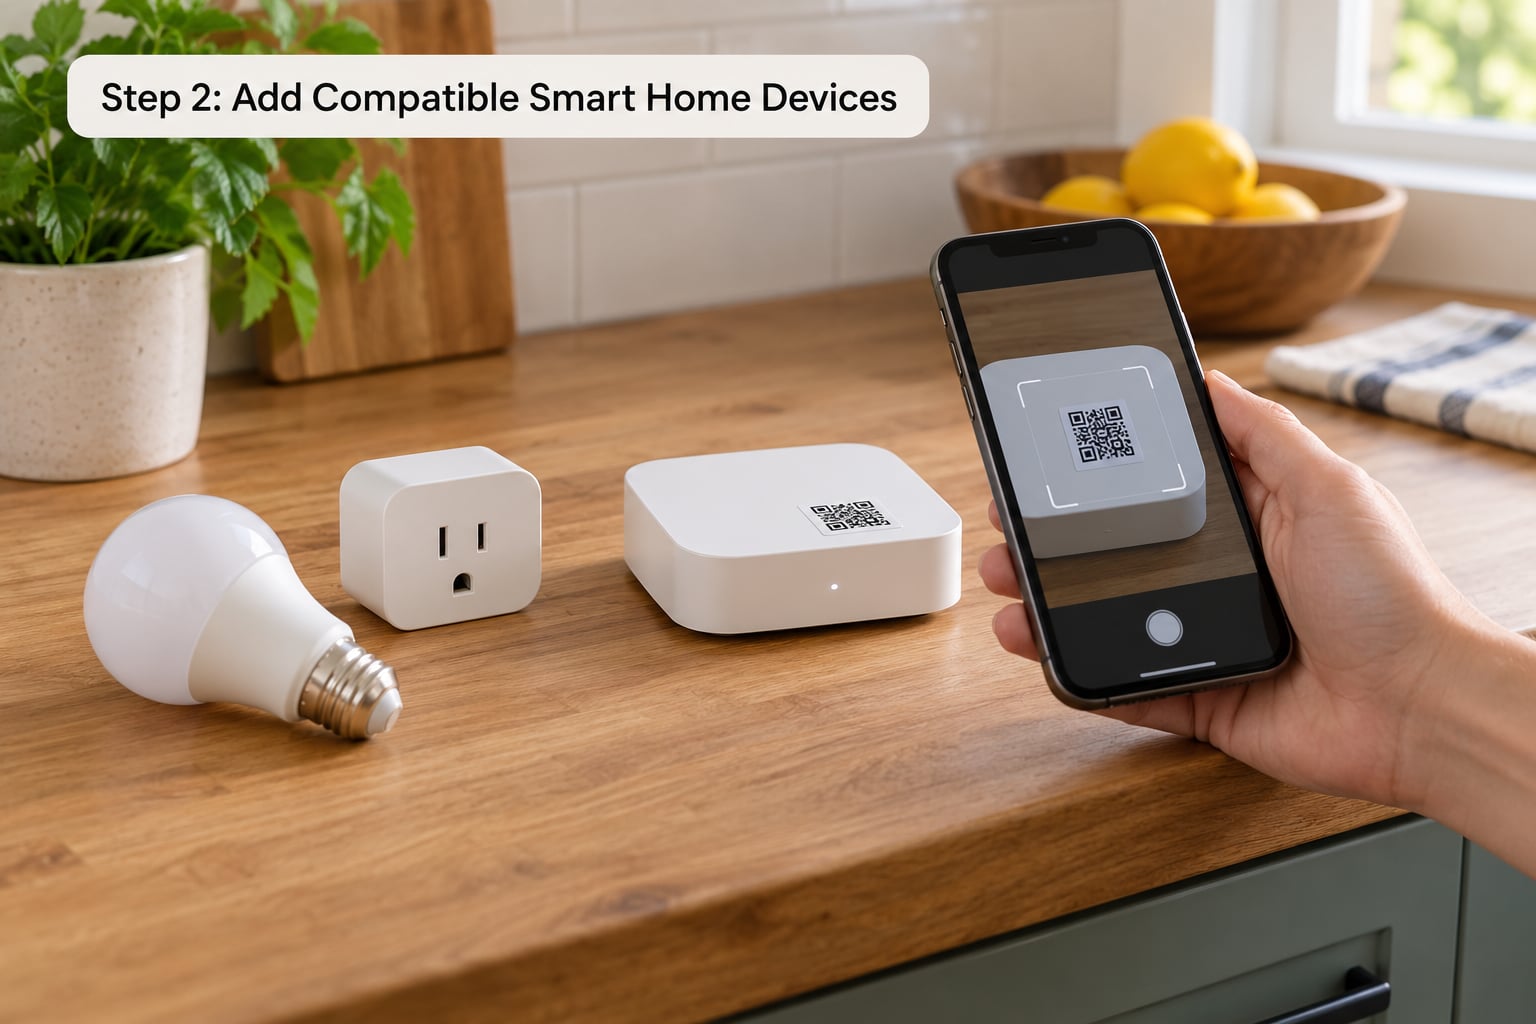
Put the device into pairing mode first. For most bulbs and plugs that means holding a button on the device or plugging it in for the first time. The manufacturer’s app is usually still needed for Wi-Fi credentials, so install it, join the device, and let it finish updating.
Now open the Home app and tap the + button in the top-right corner. If the accessory is nearby, the app offers it automatically. Otherwise tap Add Accessory, point your camera at the QR code on the device, or tap More Info and enter the eight-character setup code printed on the box.
If the accessory stays missing, move your phone closer to it and make sure both are on the same 2.4 GHz network. Some routers split the two bands, and that split is the most common reason a device pairs with the maker’s app but not with Home.
Finally, rename it and assign a room. Tap the accessory, tap the name field, and type something short. Then tap Room and pick a location. This is the step forum members blame most often when Siri says it cannot find a device that plainly works in the app.
Step 3: Control Devices with a Siri Command
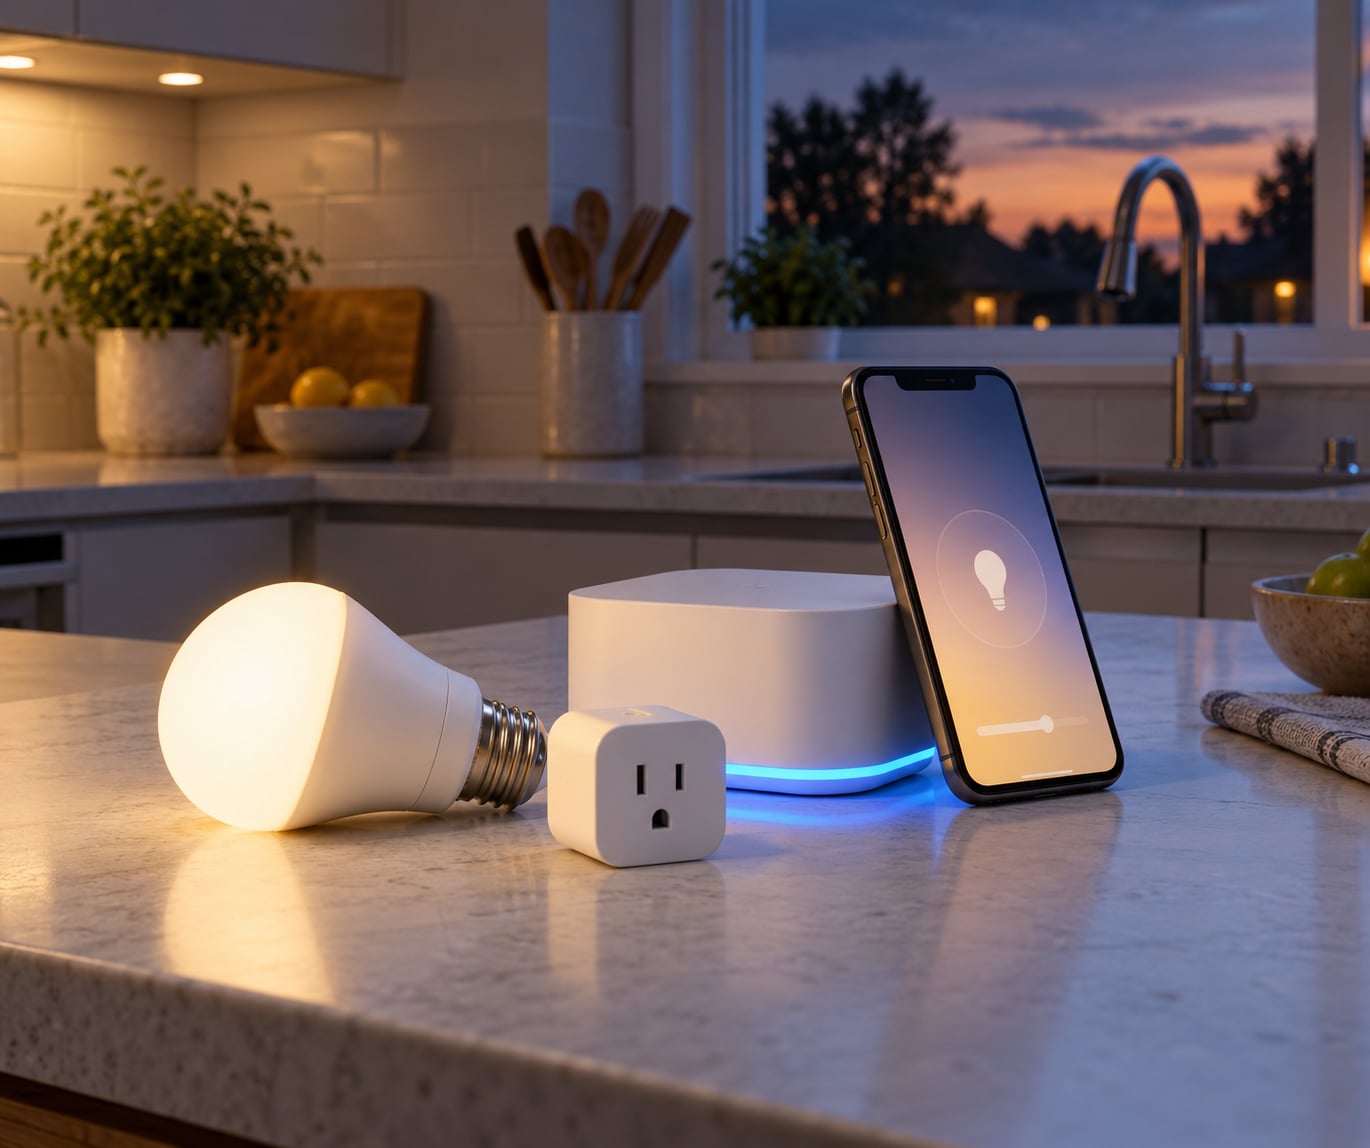
The command structure is simple: an action word, then the device or room name. “Hey Siri, turn on the kitchen light” works because turn on is the action and kitchen light is the name you chose. The same structure covers almost everything Siri can do natively.
- Lights: “Hey Siri, turn on the kitchen light”, “set the hallway to 40 percent”, “make the living room orange”
- Plugs and outlets: “Hey Siri, turn on the coffee maker”, “turn off all my plugs”
- Thermostats: “Hey Siri, set the thermostat to 68 degrees”, “what is the temperature upstairs”
- Locks: “Hey Siri, lock the front door”, “is the back door locked”
- Cameras: “Hey Siri, turn on the nursery light” works from camera triggers, while viewing a live feed usually means reaching for the app
- Scenes: “Hey Siri, run Movie Night” runs everything grouped into that scene
Siri keeps a list of supported commands per device type on iPhone, and that list is more reliable than guessing. Swipe down on your Lock Screen, tap the search field, search for your device type, and look for “View commands”.
Step 4: Use Rooms, Groups, and Favorites
Once several accessories share a room, you can skip the device name entirely: “Hey Siri, turn off the kitchen” hits everything in it. That is usually what people mean anyway.
Groups are for cross-room sets. A group called Downstairs can hold the living room lamp, the hall plug and the porch light, so one phrase runs all three. In the Home app, press and hold an accessory, tap Add to Group, and create or pick one.
Favorites is the quick-access version. Long-press an accessory and tap Add to Favorites, and it moves to the top of the Home app. Useful for the three things you actually touch during the day.
For personal phrases, open Shortcuts, create one action, and say something like “I’m going to bed”. Under Add Phrase, type what you want to say and set it to trigger when you say Hey Siri. This is how community members build phrases like “goodnight” that dim the house and drop the temperature in one breath.
Step 5: Create Siri Routines for Automatic Control
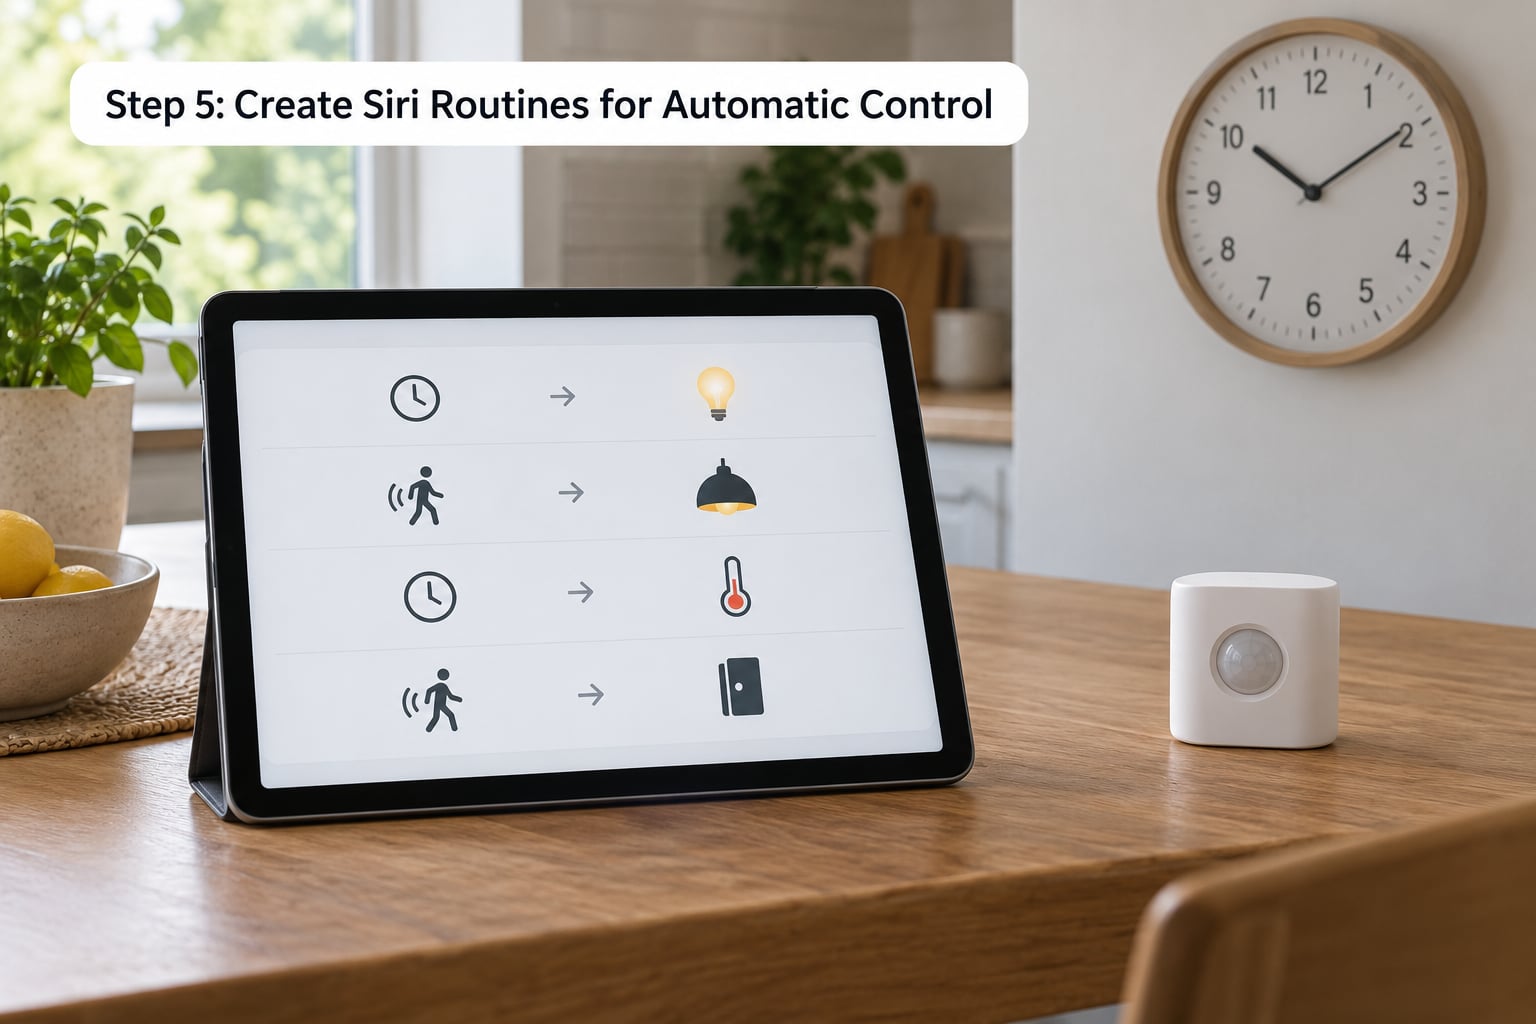
Move to the Automation tab in the Home app and tap +. The first choice is the trigger, and it determines how well the routine behaves.
A time of day trigger is the predictable one: choose Good Morning at 6:30 and the automation runs whether or not you are home. A Home or Away trigger follows your iPhone location, which is better for people who work irregular hours. Sensor triggers such as motion or contact only fire if the device is HomeKit or Matter capable, since those readings pass through Apple’s own automation system.
Now build the action list. Add the devices to control, set brightness, colour and thermostat targets, and save. Then open the automation again and tap Run to test it manually before you trust it to fire on its own. Testing costs five seconds and catches most misconfigured routines.
Step 6: Control Siri from an Apple Watch or HomePod
Commands are the same on all three devices. What changes is how you start them and how the accessories stay reachable.
On Apple Watch, raise your wrist and speak, or press and hold the side button if you disabled the wrist detection setting. The Home app view is the same as on iPhone, and actions that do not need a reply arrive as a haptics tap instead of a spoken answer.
On HomePod, say Hey Siri in the room and the request handles every accessory in that home, including ones far from the speaker. HomePod and Apple TV are also the usual home hub, which is what lets commands reach accessories while your phone is on cellular data or out of Wi-Fi range.
One rule catches people out: an accessory has to be in the home that the speaking device is signed into. If Siri finds your lights but cannot find your locks, check that both live under the same home name.
Common Mistakes
Siri says there is no device set up in the Home app, but the device works on screen. This is almost always the wrong home. Tap the house name in the Home app and pick the one holding your accessories. If that is right, sign out of iCloud on your Apple Account and back in, which forces Apple to rebuild the accessory list.
Siri is not responding at all. Check Listen for “Hey Siri” in Settings, confirm the microphone is not blocked, and remove any Bluetooth headset that may have hijacked the wake phrase. After an iOS update this is the first thing to rule out, because shortcuts and automations sometimes break while Siri itself works.
The command works only on the second try. Users report this as an intermittent fault rather than a naming problem. Usually the accessory has not finished checking in with the hub. Wait a few seconds, retry, and if it persists, toggle the accessory off and on in the Home app.
Siri mishears the name. Rename the accessory to a shorter, distinct word. All-lowercase names and names that clash with other rooms are the ones that fail, and owners who moved to single words report immediate improvement.
Custom Siri Shortcuts do nothing. Open the shortcut and tap the play button. If it runs by hand, the phrase is wrong: check Add Phrase, confirm it is set to trigger with Hey Siri, and speak the phrase exactly as typed.
An automation stopped firing after an update. Open the Automation tab, tap the automation, and tap Run. If it works by hand, the trigger is the suspect: switch a time trigger to a slightly different minute so it re-registers, and re-confirm that any location trigger still shows your phone as a recognised device.
Frequently Asked Questions
Can Siri control any smart home device?
Only the ones Siri can reach. If the accessory is added to the Apple Home app, or supports Matter and pairs to Home, Siri controls it directly. Everything else needs a bridge: an iOS Shortcut that calls the maker’s API, an IFTTT webhook, or a Homebridge or Home Assistant bridge that publishes the device to HomeKit. Check for a Works with Apple Home badge on the box first.
What smart home accessories are compatible with Siri?
Look for Works with Apple Home or Matter certified on the packaging, or an Add Accessory button inside the manufacturer’s own app. Bulbs, smart plugs, thermostats, locks, blinds, sensors and robotic vacuums from most major brands now ship with at least Matter support. Devices sold as Works with Google Home or Alexa only, including many TP-Link Kasa and Tapo models and Wyze hardware, need a bridge to reach Siri.
Why does Siri say that a device is unavailable?
The accessory cannot reach the hub or the network, or the hub itself is offline. Confirm your Apple TV, HomePod or iPad is powered on, switched to the same Wi-Fi, and still signed into the right home. If the device works in the maker’s app but not in Home, the usual cause is a dropped connection after a hub restart, fixed by toggling the accessory off and on.
Does Siri work when the iPhone has no internet connection?
Partly. If you have a home hub, accessories on the local network still respond to on, off, lock and brightness commands, because the request never leaves your house. Commands that need cloud data, like thermostat schedules, camera history or a camera live feed, will not work. Without a hub, Siri generally needs internet to reach the accessory.
Can Siri control multiple devices in a room at once?
Yes, name the room instead of the device. Put every accessory in the correct room in the Home app, then say Hey Siri, turn off the kitchen or turn on all the lights. For sets that span rooms, build a group in the Home app and use that name instead. For anything more elaborate, an automation triggered by a time or by arriving home handles the rest.
How do I stop Siri from giving spoken confirmation?
On iPhone, open Settings, tap Accessibility, then Voice Control, and turn off Show Spoken Feedback. To stop Siri replying for a specific accessory, open the Home app, tap the device, scroll to the accessory settings, and switch off Microphone. That mutes commands aimed at it while leaving every other accessory speaking normally.
Conclusion
Start with one bulb. Add it to the Home app, rename it something short, put it in a room, and say “Hey Siri, turn on the kitchen light” until it works without hesitation. Once one device behaves, rooms, groups and routines follow the same pattern, and every other accessory you add takes about two minutes.
That is the whole of how to use Siri to control smart home devices: get the naming and rooms right once, and the voice part takes care of itself. If your existing hardware shows no Works with Apple Home or Matter label, the Shortcuts route in Step 4 is where to spend your next half hour. Updated for 2026.