If you want to know how to use Mail Privacy Protection on iPhone, the whole job is one switch plus a thirty-second check: open Settings, tap Apps, tap Mail, tap Privacy Protection, then turn on Protect Mail Activity. After that, Apple fetches the hidden images inside your email through its own proxy servers with your IP address masked, so the person who sent it never learns when you opened the message. It is free, it needs no iCloud+ plan, and it works with nearly any account you have added to Apple Mail.
It takes about a minute to set up, and almost nobody needs anything more complicated than that. What trips people up is not the switch itself but what sits next to it: three separate settings that sound similar, a similarly named Apple feature that does something else entirely, and an expectation that this hides your whole IP address everywhere. This guide sorts those out.
Table of Contents
- 1What You Need
- 2How to Use Mail Privacy Protection Step by Step
- 3Step 1: Turn On Mail Privacy Protection
- 4Step 2: Use a Privacy-Protected Address for New Sign-Ups
- 5Step 3: Check Mail Privacy Protection in the Mail App
- 6Common Mistakes
- 7Frequently Asked Questions
- 8What does Mail Privacy Protection do on an iPhone?
- 9Does Mail Privacy Protection work with Gmail and other email providers?
- 10Is Mail Privacy Protection the same as a VPN?
- 11Can email senders see my real address when Mail Privacy Protection is on?
- 12Will replies from a privacy-protected address reach my inbox?
- 13Why can’t I find Mail Privacy Protection in my iPhone Settings?
- 14Conclusion
What You Need
Before you open Settings, it helps to know what the feature needs from your device and your accounts.
- A recent Apple device. Mail Privacy Protection arrived in iOS 15 on iPhone and iPadOS 15 on iPad, and it is available in Mail on macOS Monterey and later. On iPhone and iPad it has been part of the system Mail app ever since.
- At least one account in Apple Mail. iCloud, Gmail, Yahoo, Outlook.com and Exchange all work, as do any standard IMAP or POP account.
- An internet connection. Protection happens through Apple’s proxy servers, so there is nothing to switch on locally.
- No subscription. Mail Privacy Protection costs nothing. Hide My Email and iCloud Private Relay are the features that require an iCloud+ plan, and that is a common source of confusion further down.
One thing worth checking early is which app you actually read mail in. If you use the Gmail app, the Outlook app or another third-party reader, this setting does nothing for you, because Apple Mail is not handling those messages. Open a message in Apple Mail first so you know the protection is doing something.
How to Use Mail Privacy Protection Step by Step
Step 1: Turn On Mail Privacy Protection
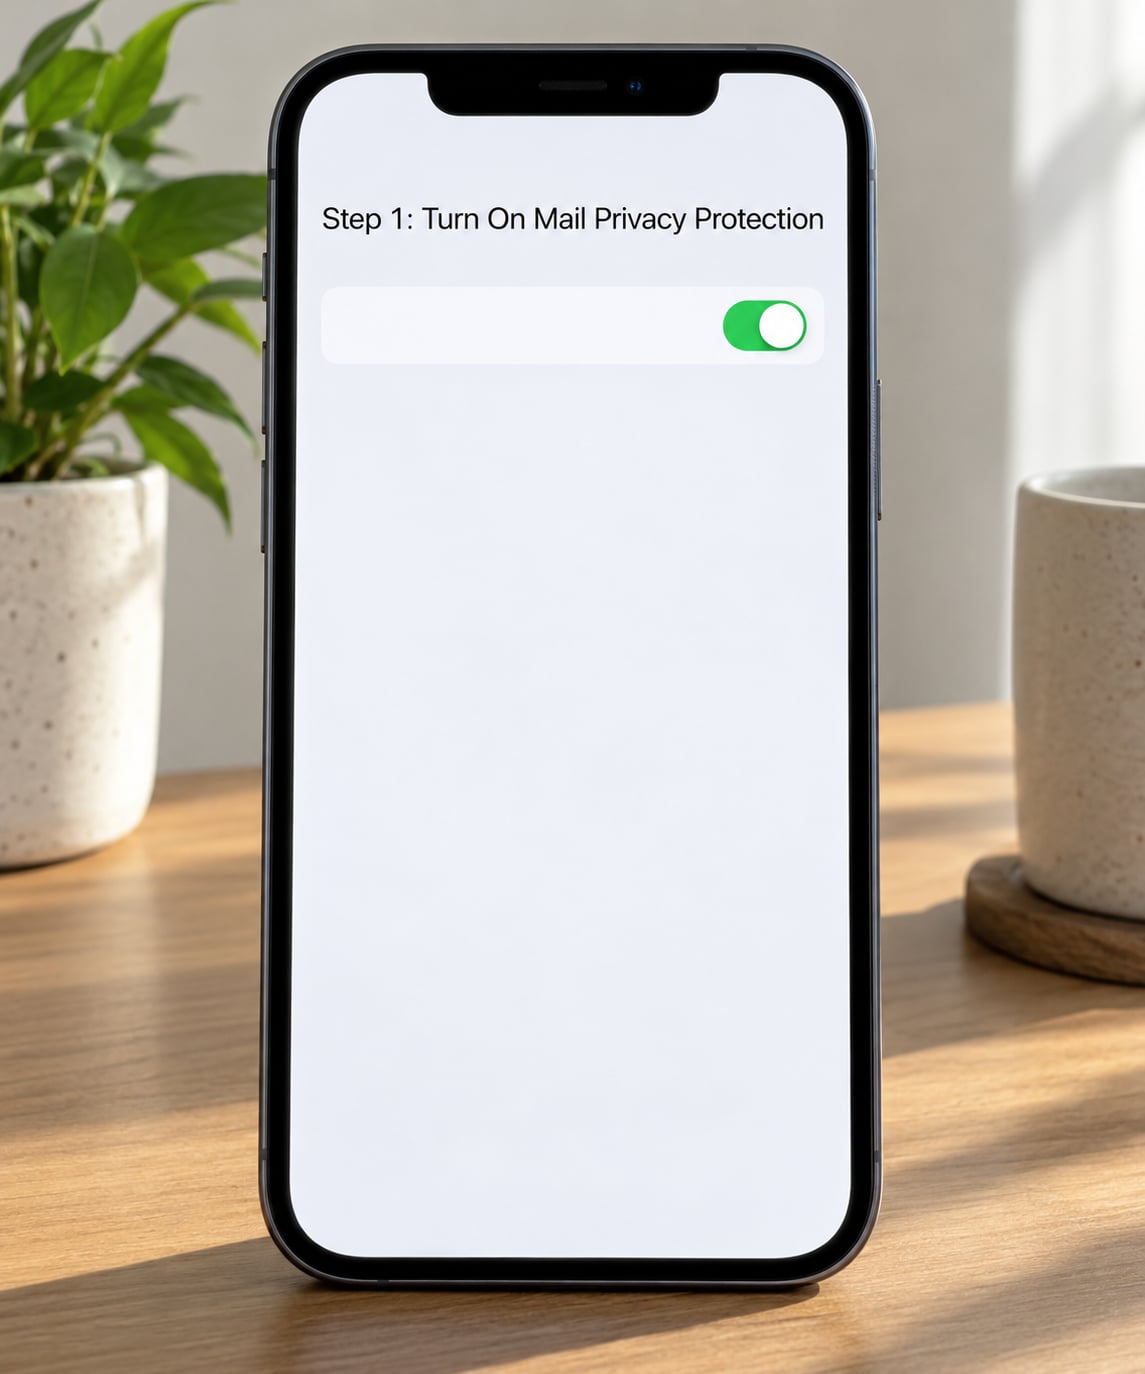
On current versions of iOS and iPadOS, tap Settings > Apps > Mail > Privacy Protection, then switch on Protect Mail Activity. On older versions the path is Settings > Mail > Privacy Protection, and the controls look the same once you arrive.
You will know it is working because the switch turns green and a View Activity button appears underneath. Apple also pulls email content in the background once protection is on, so messages you have not opened may already have their images cached.
Here is what each of the three settings actually does, because the labels do not explain it on their own.
| Setting | What it does | Use it when |
|---|---|---|
| Protect Mail Activity | Fetches remote content through Apple proxies with your IP hidden | Almost always. This is the setting Apple recommends |
| Hide IP Address | Hides your address from mail servers only, without proxy routing | You want the narrower behaviour and nothing else |
| Block All Remote Content | Stops images, tracking pixels and other outside files from loading at all | You open untrusted mail often and want nothing to load by default |
Newer versions add Link Tracking Protection to the same screen. It strips tracking parameters from links when you tap them, so the destination site does not receive the campaign tags a sender added. Some people are surprised that campaign reporting stops working, but the links still open normally.
Step 2: Use a Privacy-Protected Address for New Sign-Ups
Protecting mail activity is not the same as giving a website a fake address. Those are two different Apple features and they work on different layers.
Mail Privacy Protection acts on every message Apple Mail receives, automatically, with no setup per sender. Hide My Email instead gives you a unique random address for a specific sign-up, forwards mail to your real inbox, and needs an iCloud+ subscription. You use it when a newsletter, a store or a download site asks for an address, and you want the site to hold something disposable rather than the address that reaches everyone else.
So when should you keep your existing address? Most of the time. Keep it for colleagues, family and anyone who needs to recognise you, and use a generated address for shopping receipts, event sign-ups and trial offers. That way you can delete one site later without touching the rest of your mail.
When a protected message arrives, the sender’s address sits in the header like any other. Tap the sender name at the top of the message to open the contact card and you can see the relay details Apple attached to that delivery, which is a quick way to confirm the message was proxied rather than delivered straight to you.
Step 3: Check Mail Privacy Protection in the Mail App
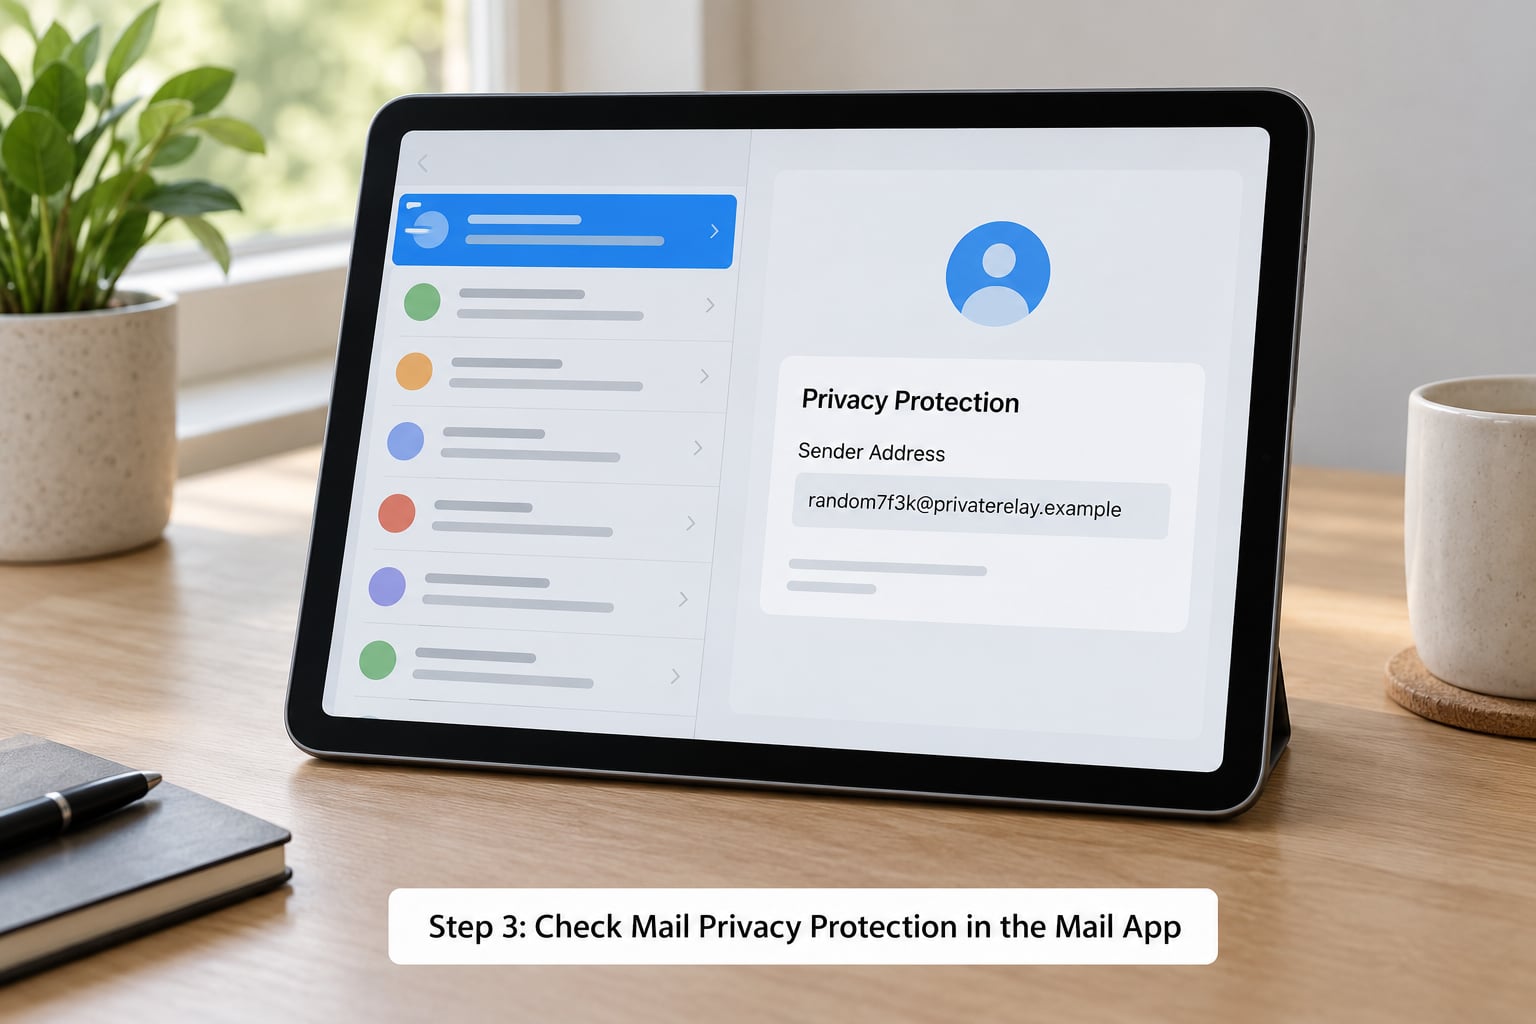
Go back to Settings > Apps > Mail > Privacy Protection and tap View Activity. You will see a list of senders who tried to load tracking content, with a count of how many times the attempt was stopped, and tapping a row shows which domains were involved. This report is the closest thing to proof that the feature is running.
A practical test takes about a minute. Subscribe to a newsletter you would not mind reading, open two or three issues, then check the report again. New entries should show up, which tells you your IP address never reached that sender.
The same check works on a Mac, where you open Mail and look for the privacy controls in its settings, and on iCloud.com Mail, which Apple extended the same protection to a few years after the iPhone version shipped. Settings do not transfer between accounts, but the protection applies per device, so set it on each one you read mail on.
Common Mistakes
The setting is not there at all. Either your device runs software older than iOS 15, or the menu moved. In recent versions Mail settings live under Apps, so look for Settings > Apps > Mail rather than Settings > Mail. Updating your iPhone also brings the Link Tracking Protection controls.
You think it is the same as Hide My Email. They solve different problems. One hides your address from senders of every message, the other hands a fake address to one website at a time. Only the second one needs iCloud+.
You expect it to work like a VPN. It does not reroute your browsing or hide your address from your internet provider. The masking applies to mail content that Apple fetches on your behalf, which is a much smaller job.
Images do not appear in some emails. That is Block All Remote Content doing exactly what it says. Load the images for that one message from the banner at the top of the email, or leave the setting off and rely on Protect Mail Activity, which blocks tracking while still rendering normal images.
You read mail in another app. Protection applies to Apple Mail only. If you read the same account in the Gmail app, that app loads remote content directly and no iPhone setting changes that.
You never check the report. Plenty of people enable it and forget it, which is fine, but once a month a glance at View Activity tells you whether it is still doing its job after an update.
Frequently Asked Questions
What does Mail Privacy Protection do on an iPhone?
It stops email senders from learning when you opened a message, or which IP address you opened it from. Apple fetches remote content such as images and tracking pixels through its proxy servers first, then shows you the cached copy, so the sender sees no open from you at all. Messages still arrive and look normal.
Does Mail Privacy Protection work with Gmail and other email providers?
Yes. It works in Apple Mail with iCloud, Gmail, Yahoo, Outlook.com, Exchange and any standard IMAP or POP account. The important detail is that the message has to be read in Apple’s Mail app rather than a third-party app, since protection happens inside Apple Mail itself.
Is Mail Privacy Protection the same as a VPN?
No. A VPN reroutes your whole internet connection through an encrypted tunnel, covering every app and website. Mail Privacy Protection only affects how Apple Mail loads remote content inside email, masking your address from the sender for that delivery. If you want connection-wide coverage, a VPN or iCloud Private Relay is the separate tool for that.
Can email senders see my real address when Mail Privacy Protection is on?
Not through remote content. The sender receives the request from an Apple proxy rather than from your device, so your IP address is not attached to the open. They can still see the address you reply from if you write back, and they still hold the email address the message was originally sent to.
Will replies from a privacy-protected address reach my inbox?
Mail Privacy Protection does not change addresses, so replies go exactly where they always did. Hide My Email works differently: the generated address forwards everything to your real inbox, and replies reach the service you signed up with rather than you. Both end up in the same place, but only Hide My Email hides the address itself.
Why can’t I find Mail Privacy Protection in my iPhone Settings?
On recent versions of iOS the Mail controls moved under Apps, so the path is Settings, then Apps, then Mail, then Privacy Protection. On iOS 15 through 17 they sit directly under Mail at the top level of Settings. If neither path exists, your device is running software older than iOS 15 and needs an update.
Conclusion
Start by opening Settings and turning on Protect Mail Activity, leaving the other two switches alone unless you have a reason to change them. It is free, it needs no iCloud+ plan, and it works with the accounts you already have. Then tap View Activity after a few days to confirm senders are being blocked, and remember to repeat the one-minute setup on your iPad or Mac if you read mail there too.