To turn on Stolen Device Protection on iPhone, open Settings, tap Face ID & Passcode (or Touch ID & Passcode on older models), enter your passcode, and switch on Stolen Device Protection. It takes about thirty seconds once your prerequisites are in place, and you can verify it is active from the same screen.
The setting exists because most iPhone thefts happen in two stages: someone takes the phone, then needs your passcode to get into anything useful. Stolen Device Protection blocks the second stage. It arrived in iOS 17.3 and still lives in the same place on current releases, so this guide works on a freshly updated phone. Apple’s own support guide is the authority if anything here ever disagrees with what your screen says.
Table of Contents
- 1What You’ll Need Before You Start
- 2How to Turn On Stolen Device Protection: Step by Step
- 3Check that your Apple Account uses two-factor authentication
- 4Open the Find My settings
- 5Turn on stolen device protection in four steps
- 6Confirm that the protection is active
- 7What Stolen Device Protection Does and Does Not Cover
- 8Common Mistakes, Including Why the Toggle Is Greyed Out
- 9Frequently Asked Questions
- 10Why is my Stolen Device Protection option greyed out?
- 11Does Stolen Device Protection work on an iPad or a Mac?
- 12Can someone still use a stolen iPhone if they know my passcode?
- 13How do I deactivate a stolen iPhone from another device?
- 14Does Stolen Device Protection drain battery or slow down my iPhone?
- 15Do I need to turn Stolen Device Protection off before I sell my iPhone?
- 16What to Do First
What You’ll Need Before You Start
If the toggle is missing or greyed out, one of these is not satisfied. Check them in this order, because it is roughly the order iOS checks them too.
- iOS 17.3 or later. Check under Settings, then General, then Software Update.
- A device passcode. A four-digit code is not enough. It has to be six digits or more with a letter or symbol.
- Working Face ID or Touch ID. Biometrics are mandatory, not optional. There is no passcode-only path.
- Two-factor authentication on your Apple Account.
- Find My switched on, with Find My iPhone already enabled for this device.
- Significant Locations allowed: Settings, then Privacy & Security, then Location Services, then System Services, then Significant Locations.
- Your Apple Account password and a second trusted device or phone number. You will need both to confirm changes.
Location Services is the item people miss. Without Significant Locations switched on, iOS cannot work out whether you are home or away, so it refuses to offer the feature at all.
How to Turn On Stolen Device Protection: Step by Step
Check that your Apple Account uses two-factor authentication
In Settings, tap your name at the top, then Password & Security. Your account shows whether two-factor authentication is on, alongside the devices trusted to receive verification codes.
If it is off, turn it on there first. This is the single most common reason the Stolen Device Protection option never appears.
Open the Find My settings
Go back to the main Settings list and tap Find My, then Find My iPhone, and make sure the switch at the top is green. If it asks you to sign in, use the Apple Account you actually use for your apps and purchases, not an old one you forgot about.
The wrong Apple Account is a common source of confusion. Stolen Device Protection protects that specific account, so it has to match the account holding your iCloud Keychain passwords and payment methods.
Turn on stolen device protection in four steps
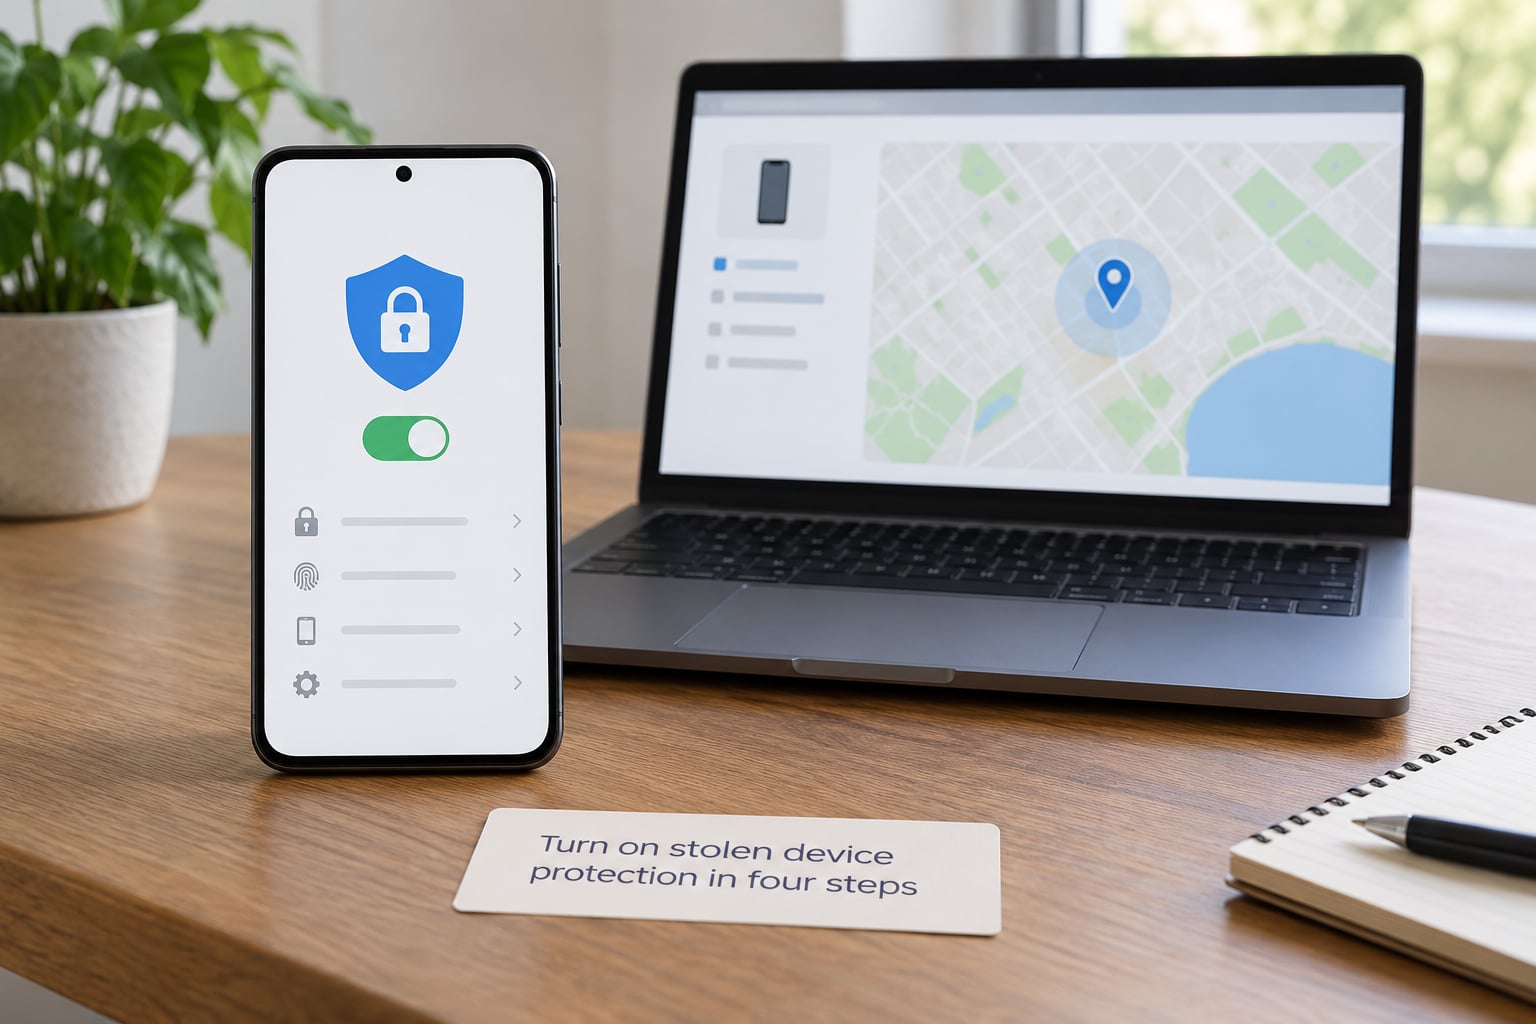
Here is the short version for anyone who just wants the path.
- Open Settings and tap Face ID & Passcode.
- Enter your device passcode.
- Tap Stolen Device Protection.
- Turn it on and pick a security delay.
On Touch ID models the menu is called Touch ID & Passcode instead. On iOS 18 and later you can also type “Stolen Device Protection” into the search field at the top of Settings, which jumps straight to it.
When you switch it on, iOS asks which security delay you want:
- When Away applies the delay only when your iPhone decides it is somewhere unfamiliar, such as away from home or work. Most people should pick this one.
- Always applies the delay no matter where the phone is, including in your own house. Pick it if you travel with work hardware or handle accounts that would be painful to lose.
Either way, the delay itself is short. Sensitive actions always require Face ID or Touch ID, and the delay applies to a smaller list of high-risk changes: changing your Apple Account password, turning off Stolen Device Protection itself, signing out of Find My, erasing the device, and moving trusted devices off the account.
Confirm that the protection is active
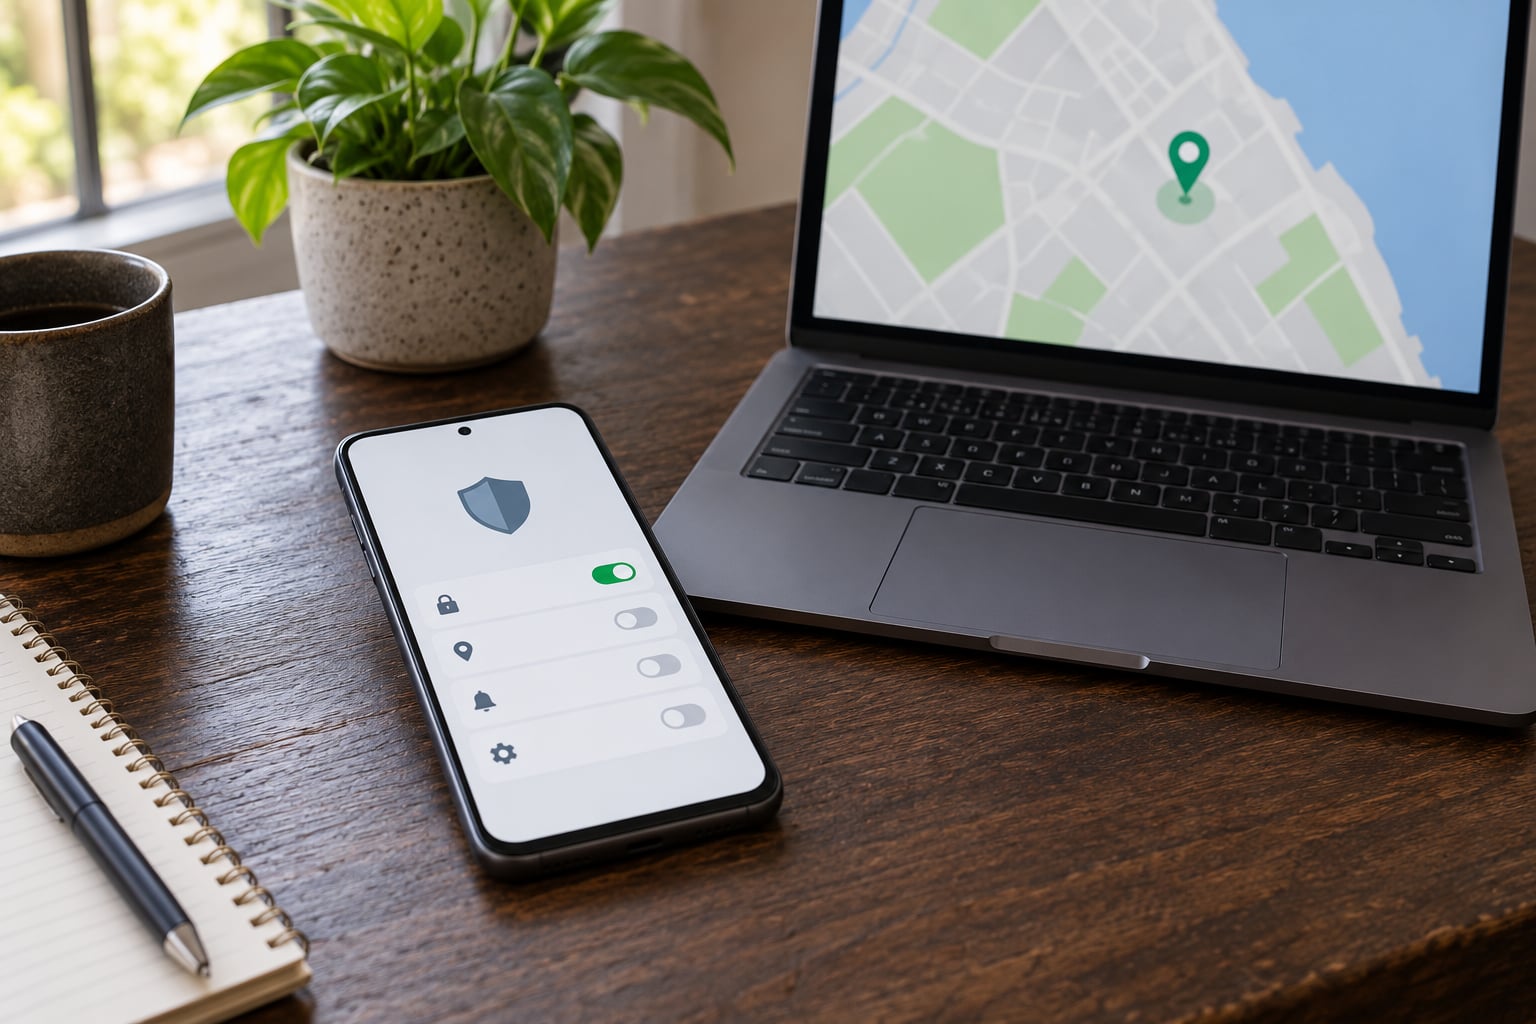
Go back to Settings, then Face ID & Passcode, then Stolen Device Protection. You should see the toggle on and the name of the delay you chose. To check it from another device, open Find My on iCloud.com or the Find My app and select your iPhone: the status line will show the protection state alongside Activation Lock.
It is worth checking once. I have seen accounts where Find My was signed into a different Apple Account than the one holding the iCloud Keychain, and the setting looked fine while protecting the wrong things.
What Stolen Device Protection Does and Does Not Cover
The feature sits above Activation Lock. Activation Lock stops a wiped iPhone from being set up by someone else. Stolen Device Protection stops a thief with your unlocked phone and your passcode from reaching the data that matters before that happens.
Requiring biometrics covers saved passwords in iCloud Keychain, passkeys, payment methods in Wallet, opening Lost Mode, erasing the device, and setting up a new phone. The security delay covers the account-level changes listed above. Watching a stranger tap extra Face ID prompts at a bar is mildly annoying. That is the feature working.
What it does not cover: someone who steals the phone while it is already unlocked, anyone with your passcode who stays inside familiar locations under the When Away option, and any app that keeps its own separate passcode. Banking apps, WhatsApp, and email accounts that use a password inside the app are outside this protection entirely. Add app-level locks where they exist.
On battery and speed, the honest answer is that it is close to free. The feature reuses sensors and hardware you already have switched on. The extra Face ID prompts are the noticeable cost, not the battery.
Common Mistakes, Including Why the Toggle Is Greyed Out
Each of these shows the same symptom: the switch is there but does nothing.
- Two-factor authentication is off. Turn it on under Settings, your name, then Password & Security.
- The passcode is old-style. A four-digit or simple numeric code will not qualify. Change it to six digits or more with a letter or symbol.
- Face ID or Touch ID has failed. There is no workaround on the device itself. You need a repair so the biometric sensor works again, or you keep the feature off until it does.
- A forgotten passcode from a previous owner blocks the page. If the Face ID & Passcode screen will not accept the code you have, a setup passcode set earlier is in the way. It has to be erased before you can reach Stolen Device Protection.
- Significant Locations is off. Settings, Privacy & Security, Location Services, System Services, Significant Locations.
- Find My is off or signed into another Apple Account. Turn Find My iPhone on using the account you actually use.
- A Screen Time or Content & Privacy Restriction is blocking changes. If the security delay locks you out of your own Apple Account changes, go to Settings, Screen Time, Screen Time Passcode, and remove the restriction before continuing.
A different mix-up: Screen Time restrictions do not disable Stolen Device Protection, but they can block you from turning it off or from editing your Apple Account, which feels like the same problem and is not.
Before you sell, trade in, or hand the phone to someone else, turn Stolen Device Protection off and remove the device from your Apple Account. Otherwise the new owner inherits a phone tied to your account.
Frequently Asked Questions
Why is my Stolen Device Protection option greyed out?
It is almost always a missing prerequisite. Turn on two-factor authentication under Settings, your name, then Password and Security; set a passcode of six digits or more containing a letter or symbol; allow Significant Locations under Privacy and Security, Location Services, then System Services; and make sure Find My iPhone is on. If Face ID or Touch ID hardware has failed, the feature cannot be enabled until it is repaired.
Does Stolen Device Protection work on an iPad or a Mac?
Yes, on iPad and Mac running iPadOS and macOS versions that include the feature, the toggle sits in Face ID and Passcode or Touch ID and Passcode in System Settings, or in Touch ID and Passcode on Mac. The prerequisites are the same: a strong passcode, working biometrics, two-factor authentication, Find My, and Significant Locations for location checks.
Can someone still use a stolen iPhone if they know my passcode?
Not much of it. Saved passwords, passkeys, Wallet payment methods, erasing the device and account changes all sit behind Face ID or Touch ID plus a delay. A thief can still call, browse, and view anything already cached. Apps with their own passcodes are not covered, so lock your banking and messaging apps separately.
How do I deactivate a stolen iPhone from another device?
Sign in to Find My on iCloud.com or the Find My app on another device, select the iPhone, choose Mark as Lost, then Remove Device from your Apple Account. Change your Apple Account password on another device or the Apple ID website, and remove every device you do not recognise. With Stolen Device Protection on, removing a device is delayed and requires biometrics on your end.
Does Stolen Device Protection drain battery or slow down my iPhone?
Barely. It rides on the location services and biometric hardware you already have enabled, so there is no measurable performance cost in daily use. What you will notice is more Face ID or Touch ID prompts when you open passwords, Wallet or the erase function. Setting the delay to When Away instead of Always keeps interruptions to a minimum at home.
Do I need to turn Stolen Device Protection off before I sell my iPhone?
Yes. Turn the feature off, erase all content and settings, and sign out of your Apple Account first. Then remove the device from your account at iCloud.com so the buyer can activate it. Skipping this leaves the phone locked to your Apple Account and Activation Lock will keep it unusable for them.
What to Do First
Open Settings, your name, then Password & Security, and confirm two-factor authentication is on. That single check resolves more greyed-out toggles than anything else. Then head to Face ID & Passcode, turn on Stolen Device Protection, and choose When Away unless you have a specific reason not to. Go back and look at the toggle once more so you know it took, and add app-level passcodes to your banking and messaging apps, since those sit outside this protection.