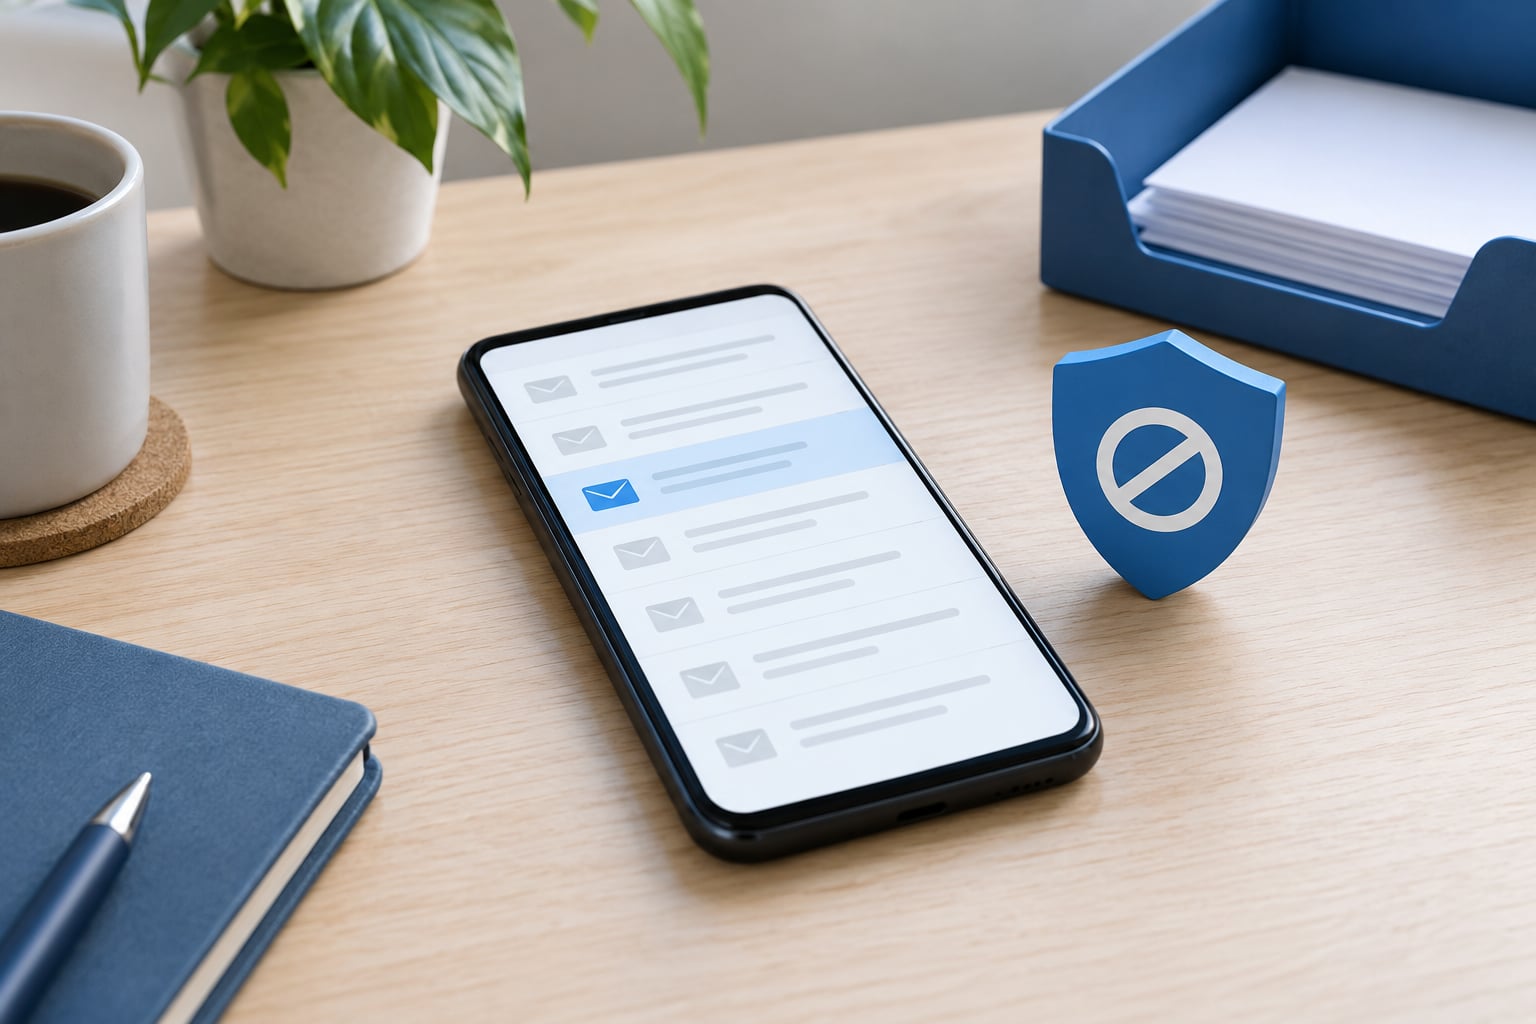
To block an email sender on your iPhone, open the message in the Mail app, tap the sender’s email address at the top, tap View Contact Card, then tap Block this Contact. That adds the address to Apple’s blocked list and every future email from it goes straight to Trash.
There is a faster route if you would rather not open the message. Swipe right to left across it in your inbox list, tap More, then tap Block Sender. Same result, about five seconds.
One thing worth knowing up front: blocking only handles future mail. Anything already sitting in your inbox stays where it is until you delete it yourself. It also covers a lot of ground at once, because the blocked list in Settings is shared with Messages, FaceTime and Phone. If all you want to do is silence marketing email without cutting off that person’s texts and calls, move it to Junk instead.
Table of Contents
- 1What You Need
- 2Step-by-Step: How to Block an Email Sender on iPhone
- 3Block the Sender in Apple Mail
- 4Block the Sender in Gmail
- 5Block the Sender in Microsoft Outlook
- 6Block a Sender Without Opening the Email
- 7Review and Manage Blocked Senders
- 8Common Mistakes
- 9Frequently Asked Questions
- 10Does blocking a contact on iPhone block their email too?
- 11Why do blocked emails still come through on iPhone?
- 12Why can’t I block email contacts on my iPhone?
- 13Where are blocked senders listed on an iPhone?
- 14How do I block an email address that never emailed me?
- 15Is blocking an email sender on iPhone permanent?
- 16Conclusion
What You Need
Just your iPhone and the app where the message actually arrives. Apple Mail is built in, and Gmail and Outlook are both free downloads from the App Store if your email lives there.
Here is the part that trips people up: how blocking behaves depends on both the app and the account type. Apple’s Mail app has its own blocked list stored on the device. Gmail and Outlook block at the server, so their filtering happens on every device you sign into, not just your phone.
Menu wording also shifts a little between iOS releases, so if a label does not match what you see on screen, look for the closest equivalent rather than assuming your phone is broken.
Step-by-Step: How to Block an Email Sender on iPhone
Start in the app where the email shows up. The taps differ slightly for each one, but the goal is the same: the address ends up on a block list and future messages from it never reach your inbox.
Block the Sender in Apple Mail
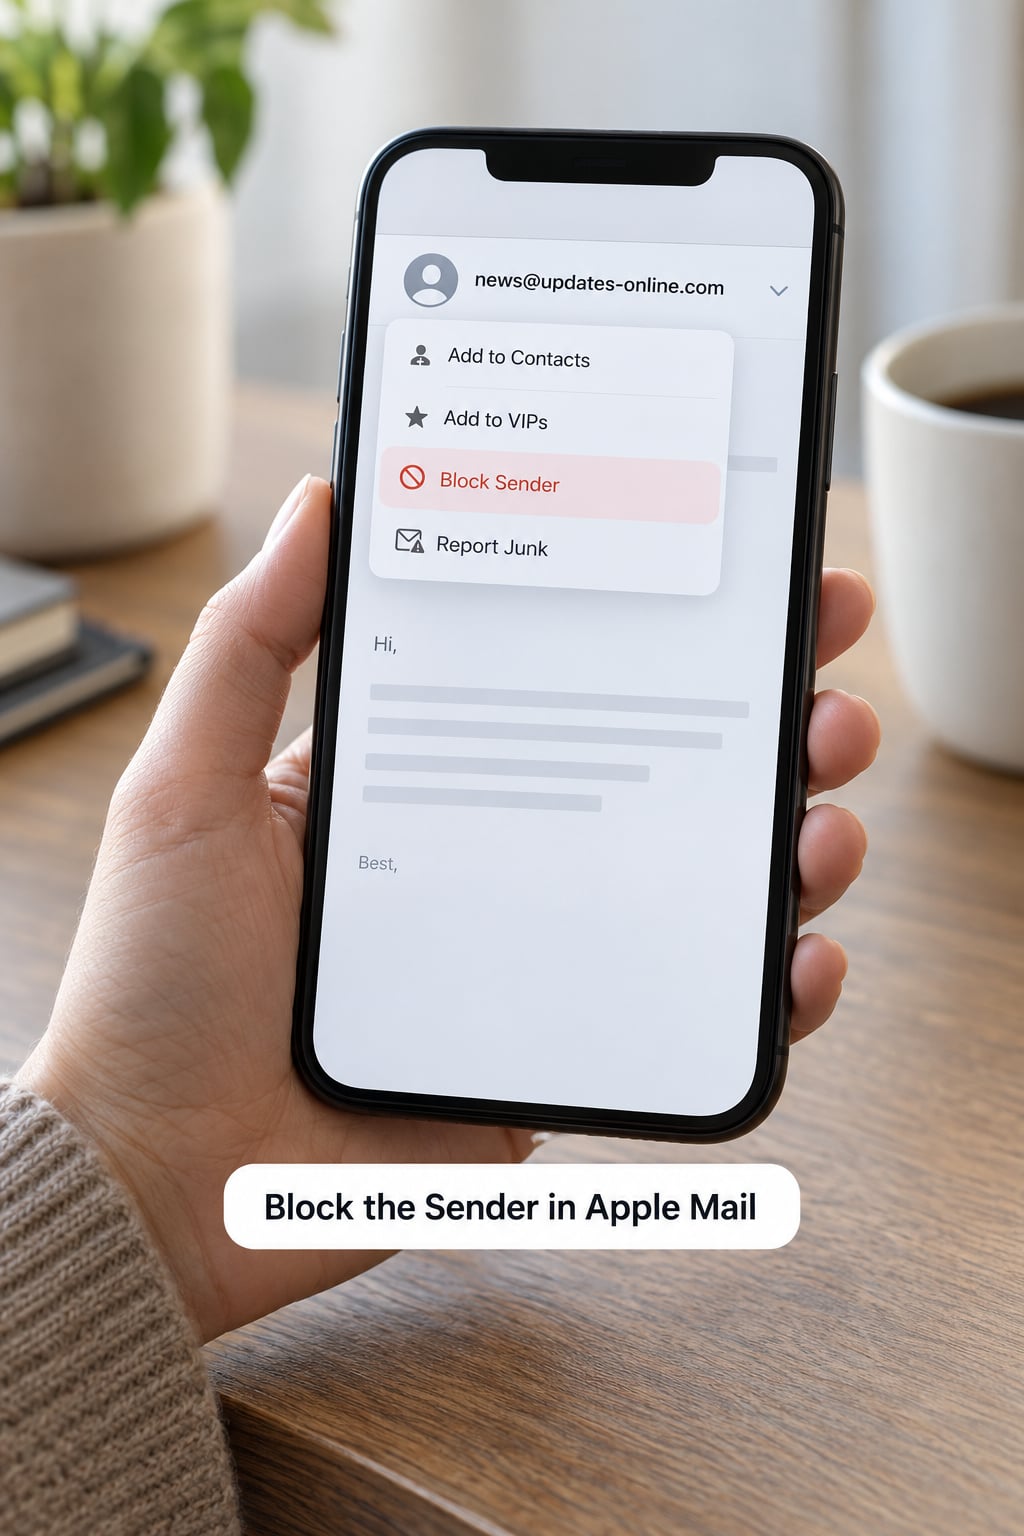
In Apple Mail, tap the message to open it, then tap the sender’s name or email address in the header. A contact card slides up. Tap Block this Contact and the address goes on your blocked list.
You can do the same thing from the inbox list without opening anything. Swipe right to left across the message preview, tap More, then tap Block Sender.
Read the wording carefully before you confirm. Block this Contact blocks that person everywhere on the device, including their calls, texts and FaceTime. If you only want to stop the email, move the message to Junk instead.
Block the Sender in Gmail
In the Gmail app, open the message and tap the sender’s name at the top of the screen. Choose Block sender to stop all mail from that address, or Report spam if it is junk you want Gmail to learn from. Both act immediately.
Report spam is usually the better choice for obvious junk, because it teaches the filter. Block sender is better for a real person or a company whose unsubscribe link is broken.
To undo it, tap your profile picture in the top corner, scroll to and tap the blocked address, then tap Unblock at the bottom of the screen.
Block the Sender in Microsoft Outlook
In Outlook, open the message, tap the three-dot menu at the top, then tap Block sender. Outlook moves the conversation out of your inbox straight away, and it does the same on every device signed into that account.
Outlook also has its own junk controls. Tap Settings, then Junk Email, and you can manage the blocked sender list and decide how aggressively junk mail gets caught.
If the message is obvious phishing, use Report junk rather than Block sender, so the rest of your inbox stays cleaner too.
Block a Sender Without Opening the Email
You never have to read a message to block it. Press and hold the message preview in your inbox list and a menu appears with a Block Sender option, which saves you a tap compared with the swipe route.
You can also block an address that has never sent you anything. Open Settings, tap Mail, scroll down to Blocked, tap Add New, and type the email address in.
If you get a lot of mail from one company through several addresses, searching the mailbox for that sender name and blocking each address one by one gets tedious fast. Rules and filters are better for volume.
Review and Manage Blocked Senders
Open Settings, tap Mail, then scroll to Blocked. This is the one list worth knowing about, because it is also where you unblock people and where you can add an address by hand.
Swipe right to left across a name in that list to unblock it or delete it. Removing a block brings back every future email from that address, so undo one you still need.
Right under Blocked sits Block Sender Options, which decides what happens to blocked mail. With it set to Move to Trash, blocked messages skip the Junk mailbox and land straight in Trash, where they clear out on their own after 30 days. Messages you have already received are untouched by any of this.
The four ways to deal with unwanted mail behave differently enough that picking the wrong one is a common cause of frustration.
| Block Sender | Move to Junk | Mail Filter | Report Spam | |
|---|---|---|---|---|
| What it does | Adds the address to a standing block list | Files one message as junk | Sorts matching mail into a mailbox automatically | Sends the message to junk and trains the filter |
| Where the message ends up | Trash, or Junk depending on Block Sender Options | Junk mailbox | The mailbox you chose | Junk mailbox |
| Can you still see it | Yes, in Trash | Yes, in Junk | Yes, in the filtered mailbox | Yes, in Junk |
| Applies to | Every future message from that address | That message only | Anything matching your criteria | That message, plus similar ones |
| How to undo | Settings, Mail, Blocked, swipe and unblock | Move it back to the inbox | Tap Toggle Filtering or edit the rule | Not reversible for that message |
| Best for | A person or company you never want to hear from again | Occasional unwanted mail from a real business | Sorting a busy inbox, or blocking many senders at once | Clear junk and phishing |
Common Mistakes
The most common mistake is expecting a block to clean up what already arrived. Blocking is forward-looking only. The ten messages from that sender already in your inbox have to be deleted by hand, one by one or with a multi-select swipe.
Second mistake is blocking in the wrong app. If you read mail in Gmail but do the blocking in Apple Mail, you have blocked nothing. Each app keeps its own list, and each one has to be set up on its own.
Third is tapping the wrong thing. Block Content in Mail is a privacy feature that blocks remote images and trackers. It has nothing to do with senders, which is why people who turned it on still get the email. Similarly, Flag, VIP and Hide My Email all do different jobs.
Fourth is forgetting that the block is standing until you remove it. People block a family member or an old colleague, calm down three weeks later, and assume the problem resolved itself. It did not. Swipe their name off the Blocked list.
Finally, expect one block to cover a whole company. Block an address and the sender simply starts again from a different one, or from a new domain. For persistent senders, mark the messages as junk a few times so the filter picks up the pattern.
A couple of habits keep things tidy. Use unsubscribe first, since it is the cleanest fix, and delete junk rather than blocking it. Reserve blocking for people and companies you have an actual reason to silence.
Frequently Asked Questions
Does blocking a contact on iPhone block their email too?
Yes, if the address is on the blocked list. Apple treats blocking as a contact-level action, so their email goes to Trash along with their calls, texts and FaceTime. That cross-app behaviour catches people out. If you only want the email to stop, move the message to Junk instead, which leaves the rest of your conversations with that person alone.
Why do blocked emails still come through on iPhone?
Usually one of four reasons. The mail arrived before you blocked the address, so it is still sitting in your inbox. The sender switched to a different address or domain. You blocked it in the wrong app, such as Apple Mail while you read in Gmail. Or the message came from a group or alias that matches no address on your list.
Why can’t I block email contacts on my iPhone?
If the Block Sender option is missing entirely, check Settings, Screen Time, then App Limits, where restrictions on Mail can remove some blocking controls. A supervised device with Mobile Device Management can have the same effect. If the option is present but does nothing, force quit Mail from the app switcher, reopen it, and confirm Block Sender Options is set to Move to Trash.
Where are blocked senders listed on an iPhone?
Open Settings, tap Mail, and scroll to the bottom to the Blocked section. Every address you have blocked appears there, whether you added it from a message or typed it in yourself. Swipe right to left across a name to unblock it or delete it completely.
How do I block an email address that never emailed me?
Go to Settings, tap Mail, scroll to Blocked, and tap Add New. Type the full email address, including the part after the at symbol, then tap Block. This is the route to use for a suspicious sender you have received a phishing attempt from but never actually corresponded with.
Is blocking an email sender on iPhone permanent?
There is no time limit, so it lasts until you remove it. That is a good thing for a persistent spammer and a nuisance if you block someone you want to hear from later. To reverse it, open Settings, Mail, Blocked, then swipe right to left across the sender and tap Unblock. Their mail resumes arriving immediately.
Conclusion
The quickest fix takes about five seconds: swipe right to left across the message in your inbox, tap More, then tap Block Sender. If you would rather see exactly who you are cutting off, open the message and go through View Contact Card to Block this Contact.
Either way, block in the app where the mail actually arrives, and use Junk for the merely annoying stuff so you do not silence someone’s calls by accident. If something keeps getting through, open Settings, Mail, Blocked and check the list first, then delete the messages already sitting in your inbox.
Last updated: October 2026. Steps apply to current iOS versions; menu labels shift slightly between releases.