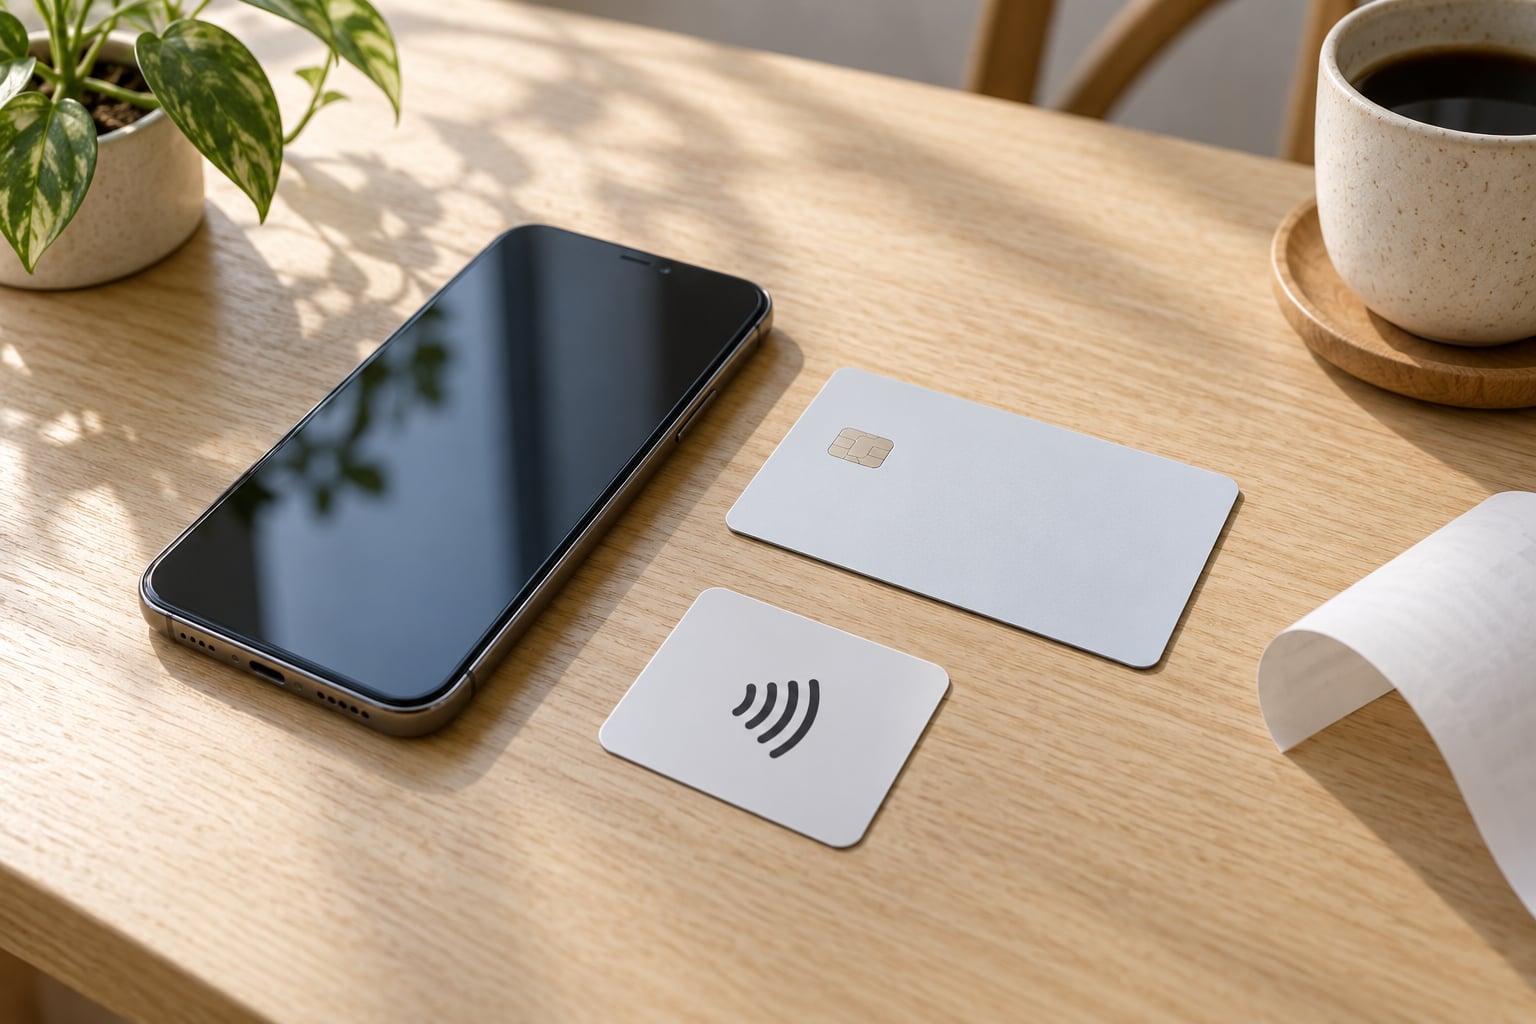
Apple Pay turns your iPhone into a contactless card. Add a supported debit or credit card to the Wallet app once, then pay by double-clicking the side button, confirming with Face ID, and holding the top of the phone near the reader. Setup takes about two minutes, most of which is waiting on your bank to send a verification code.
Apple Pay works on iPhone 8 and newer. If your phone is older than that, or your bank does not yet support it, this guide will tell you exactly where the path stops.
Menu paths below are the same across current iOS versions, and Apple keeps the Wallet screens in the same place in its own iPhone User Guide, so a screenshot taken today still matches yours.
Table of Contents
- 1What You Need
- 2Step-by-Step
- 3How to Add and Verify a Card
- 4How to Make a Contactless Payment
- 5How to Manage Cards and Default Payment Method
- 6Paying in Apps, in Safari and with Apple Cash
- 7Common Mistakes
- 8Frequently Asked Questions
- 9Which cards and banks support Apple Pay on iPhone?
- 10Does Apple Pay work without a physical bank card?
- 11Why is Apple Pay not available in my country or region?
- 12Can I use Apple Pay for online purchases and subscriptions?
- 13Why does Apple Pay ask for Face ID or Touch ID?
- 14How do I check or change my default Apple Pay card?
- 15Conclusion
What You Need
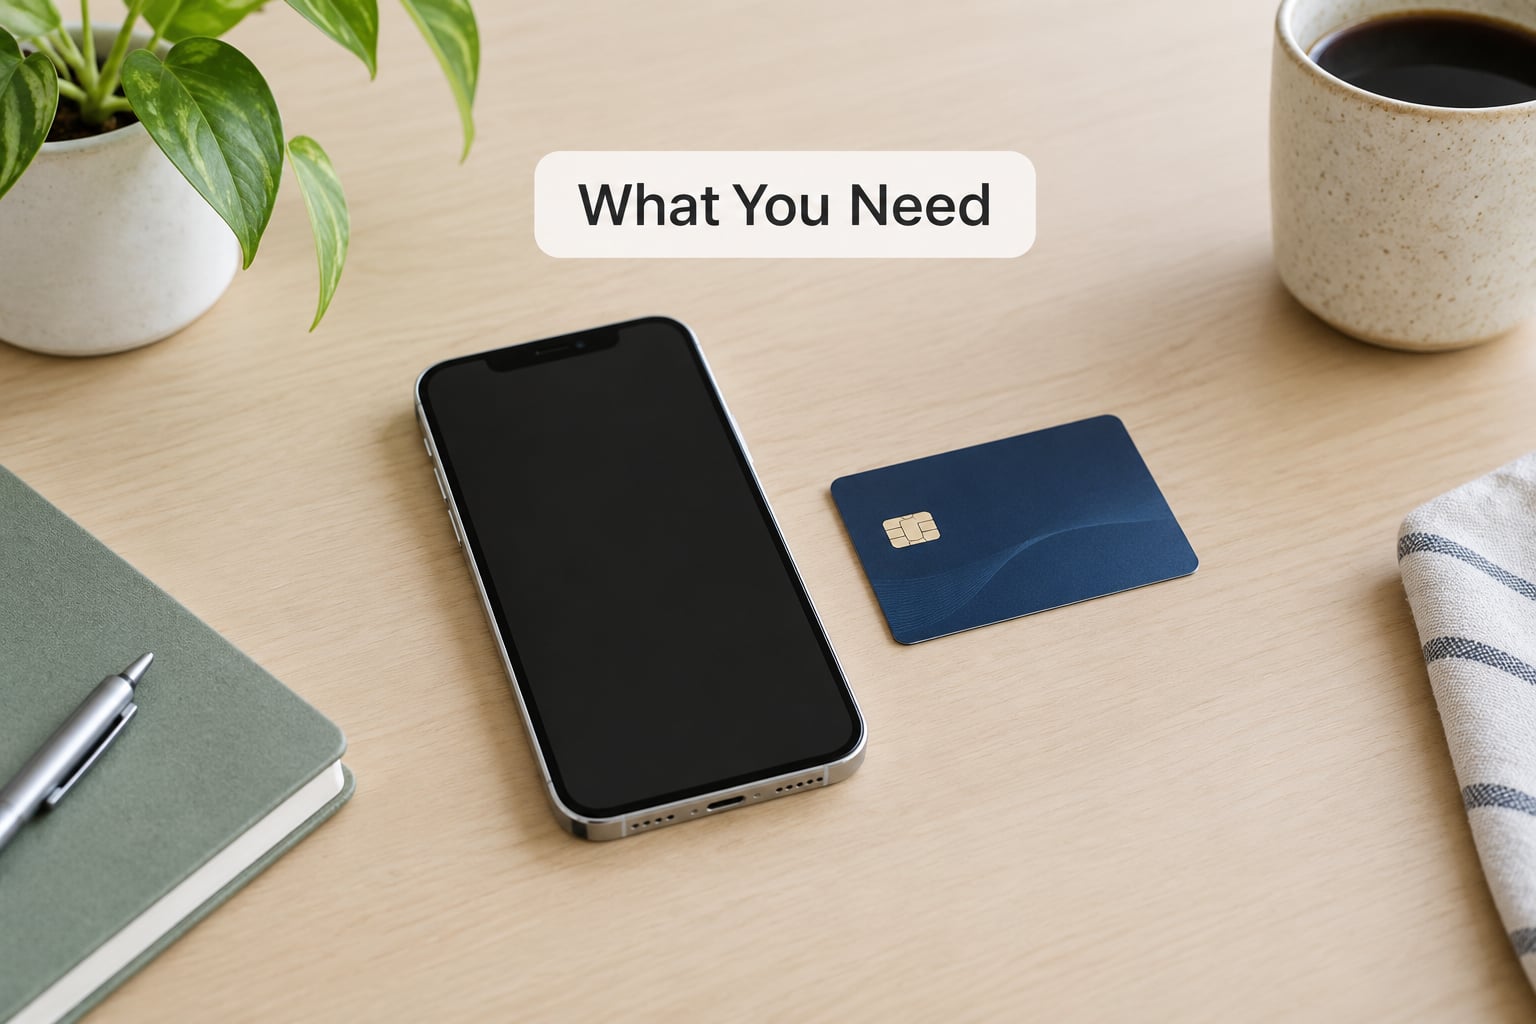
You need five things, and only one of them is the obvious one.
- An iPhone 8 or later. The NFC chip that makes tap to pay possible arrived with iPhone 8. iPhone 7 and 7 Plus have no NFC chip at all, so Apple Pay physically cannot run on them.
- Face ID or Touch ID set up. Every iPhone 8 and later has Face ID except the SE models, which use Touch ID. You cannot add a card to Apple Pay without one of the two enabled.
- A device passcode. A six-digit code at minimum. Apple Pay refuses to activate on a phone with no passcode.
- A card from a bank that supports Apple Pay. Most major banks in the US, UK, EU, Canada and Australia do. Cards from smaller or prepaid issuers often do not.
- Region support. Apple Pay only appears on an iPhone whose country or region has an active Apple Pay programme. Wi-Fi and a working internet connection are needed for the first card activation.
If you are on iPhone 8 through 11, you authenticate with Touch ID on the home button. From iPhone X onward it is Face ID and the side button. Everything else is identical.
Step-by-Step
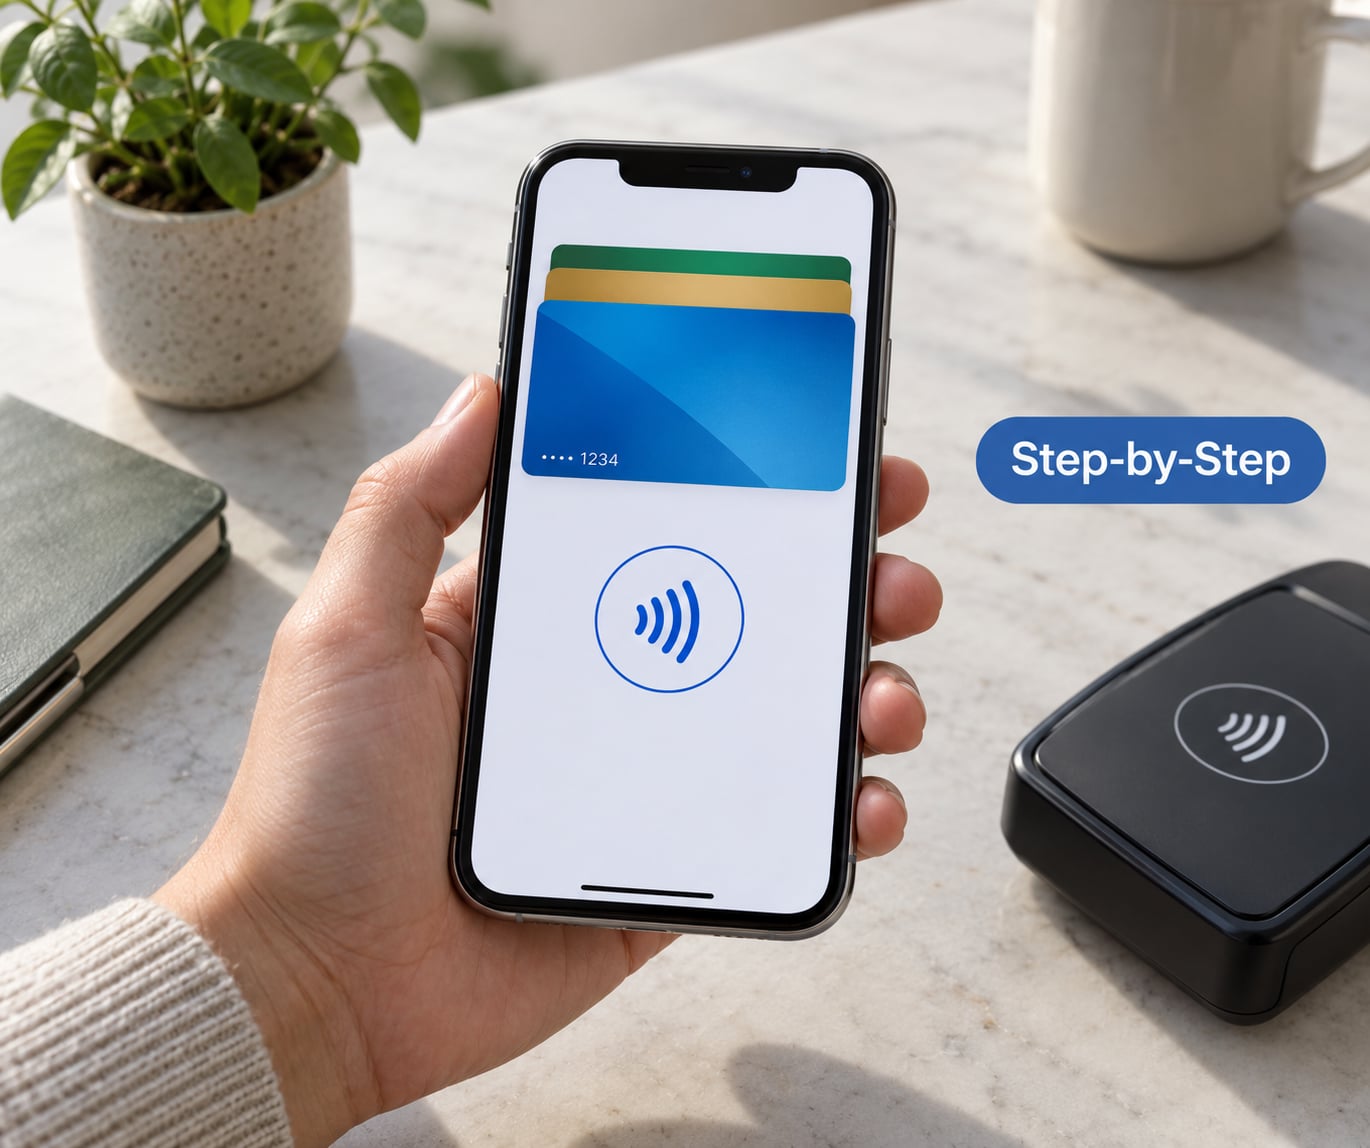
Three stages: add and verify a card, pay with it, then manage it. Do them in that order.
How to Add and Verify a Card
Open the Wallet app, tap the plus icon in the upper-right corner, choose Debit or Credit Card, and let the camera scan your card. Your bank then confirms the card, usually by code.
- Open Wallet on your iPhone. You can also go to Settings and tap Wallet & Apple Pay, then tap Wallet.
- Tap the plus icon (+) in the upper-right corner.
- Choose Debit or Credit Card, then hold your card up to the camera so the number and expiry fill in automatically. You can tap Enter Card Number and type the details instead if the scan struggles with a glossy card.
- Enter the three-digit security code from your card, usually on the back or the front for American Express.
- Choose a payment method if your bank offers one. Top up with the card balance, or request a bank account number if your card supports that.
- Verify with your bank. Most banks send a code by text or email. Some open your bank’s app and ask you to approve the card there instead. A few old cards already linked to iTunes only need the security code.
- Tap the card in Wallet to confirm the billing address, then tap Done.
You know it worked when the card appears in Wallet with the bank name in the top-right corner. If it is missing, the setup did not finish, even if no error appeared.
How to Make a Contactless Payment
At checkout, wake the phone, authenticate, and hold the top edge near the contactless symbol on the terminal until you see a checkmark.
- Double-click the side button on iPhones with Face ID, or the home button on iPhones with Touch ID. Double-click means two quick presses, not a press-and-hold. Wallet opens with your cards across the bottom.
- Tap your card, then authenticate with Face ID, Touch ID or your passcode. A second double-click switches cards without re-authenticating.
- Hold the top of the iPhone within a few centimetres of the contactless reader. Keep it there until the checkmark appears on screen and the terminal beeps.
- Wait for the checkmark before pulling the phone away. Move too early and the payment is cancelled rather than completed.
Cash machines with a contactless symbol, transit gates, vending machines and self-checkout tills all take the same gesture as a shop. Drive-through and unattended terminals are the two places where a case or a thick screen protector is most likely to block the reader.
How to Manage Cards and Default Payment Method
Open Wallet and tap the card to see its most recent transactions, or tap the three-dot button at the top-right for card options.
The card shown first in Wallet is your default. Tap and hold another card, then drag it to the top to change it, and your next payment goes to that card without extra taps. Open the three-dot button to see Remove Card, or to check for card verification updates and delivery details.
To remove every card, go to Settings, tap Wallet & Apple Pay, then Disable Apple Pay on iPhone at the bottom of the screen. Removing cards this way also removes them from any Apple Watch paired to the phone.
Paying in Apps, in Safari and with Apple Cash
To pay online, look for the Apple Pay button or a wallet sheet at checkout in an app, or on a website in Safari. Pick a card, confirm with Face ID, and the payment finishes without typing a card number.
Apple Cash is a different feature inside the same Wallet app. Turn it on, add money from a bank account, then send it to a contact or split a bill with Apple Messages. Apple Pay is for paying merchants; Apple Cash is for paying people.
Common Mistakes
Most Apple Pay problems come down to five things, and the fix is usually in the order below.
No Add Card button appears. Either the iPhone is 7 or older, your region does not support Apple Pay, or a screen-time restriction is blocking Wallet. Check Settings, then Screen Time, then Content Restrictions.
Setup ends with an error. Card verification fails more often than not because the bank blocked it, the card is already on another device, or the card is too old. Try again on Wi-Fi, or add it from inside your bank app where a Move to Apple Pay button usually appears.
The terminal never beeps. Most people are double-clicking the wrong button. On iPhones with Face ID it is the side button on the right edge, not the volume or power keys, and it is two quick clicks. Hold the phone closer too, and take a thick case off.
Works in stores but not in apps, or the other way round. These are three separate payment surfaces with separate failure points. In-store failures are usually reader distance or authentication. In-app failures often come from the merchant not supporting Apple Pay, or the app requiring a different billing country. Safari failures usually mean the site has the Apple Pay button switched off for your region.
Transactions do not appear in Wallet. A purchase can take a little while to land, and some small merchant payments never appear at all. If a charge you did make is missing, ask the merchant for the exact amount and date rather than assuming the payment failed.
Moving to a new iPhone. Cards do not always transfer automatically even when iCloud is signed in. Have the physical card with you, because you will have to scan it again and verify once more.
Resetting Apple Pay. Remove the card from Wallet, restart the iPhone, then add the card again and retry. This remove, restart, re-add sequence is the fix most people find works, and it costs you two minutes.
Lost or stolen phone. Use Find My iPhone or Find My Mac to mark the device lost or erase it. Your bank can also suspend the underlying card, which blocks Apple Pay along with everything else.
Frequently Asked Questions
Which cards and banks support Apple Pay on iPhone?
Almost every major bank supports Apple Pay in the US, UK, EU, Canada, Australia, New Zealand and several other markets, including most Visa, Mastercard, American Express and Discover credit and debit cards. Support varies for prepaid, business and small credit unions, so check your bank rather than assuming. The quickest check is your bank app, which usually has a Move to Apple Pay option, or the card issuer list inside Wallet itself.
Does Apple Pay work without a physical bank card?
Not for normal payments. Apple Pay needs a supported debit or credit card issued by a participating bank, and the card details have to be entered or scanned from something physical. The route without a card in your wallet is Apple Cash, which you fund from a bank account, or a prepaid Visa or Mastercard, which can be added to Wallet like any other card.
Why is Apple Pay not available in my country or region?
Apple Pay only activates on an iPhone set to a country or region where Apple runs the service, and each participating bank has to be live in that market too. If the Wallet app on your iPhone shows no Add Card button, the region is the first thing to check. Change your region under Settings, then General, then Language and Region, but only if you genuinely use that market.
Can I use Apple Pay for online purchases and subscriptions?
Yes. Wherever you see the Apple Pay button or a wallet sheet, in apps, in App Clips, or on websites in Safari, you can pay with a card in Wallet and confirm with Face ID or Touch ID. Note that the merchant has to support Apple Pay and that your billing country has to match the card. Subscriptions usually need Apple Pay set up once in the app settings.
Why does Apple Pay ask for Face ID or Touch ID?
That check is the security step. Each payment is authorised by your device rather than by handing over a card number, so the phone confirms it is really you before it releases the payment. Without it, anyone who picked up your unlocked iPhone could spend from your card. Face ID comes with iPhone X and later, Touch ID with iPhone 8 through 11 and the SE models.
How do I check or change my default Apple Pay card?
Open Wallet and the card shown first is your default. To change it, press and hold the card you want, then drag it to the left of the others. While Wallet is open, swipe up on a card to see its recent transactions, which is the quickest way to confirm a contactless payment actually went through.
Conclusion
Open Wallet, tap the plus icon, add your card, and wait for the bank verification. That is the whole job, and it takes about two minutes.
You know Apple Pay is ready when the card sits in Wallet with your bank’s name on it. The first tap is the only test that matters: double-click the side button or home button, authenticate, hold the top of the phone against the contactless symbol, and wait for the checkmark. If nothing happens, work down the common mistakes above, starting with the button you are pressing and how close the phone is to the reader.
This guide was checked against Apple’s current iPhone User Guide in October 2026.