How to replace an AirTag battery is a ten-second job: press the stainless steel back cover down, twist the tag counterclockwise until it stops, swap in a fresh CR2032 3V lithium coin cell with the positive side facing up, then twist the cover clockwise again. No tools, no re-pairing, no scratched cover.
The tag reconnects to your account by itself within seconds of the new cell going in. The whole job fits on a kitchen table next to your keys.
Table of Contents
- 1What You Need
- 2How to Replace an AirTag Battery, Step by Step
- 3Step 1: Find the tag and prepare it
- 4Step 2: Twist the metal cover off
- 5Step 3: Remove the old coin cell
- 6Step 4: Insert the new CR2032
- 7Step 5: Close the cover and test it
- 8What to do if the cover will not twist open
- 9What to do if the AirTag still says Low Battery
- 10Do you need to re-pair or sync the AirTag?
- 11Common mistakes when you replace an AirTag battery
- 12Frequently Asked Questions
- 13What type of battery does an AirTag use?
- 14Can I open an AirTag without damaging it?
- 15Do I need to re-pair or sync my AirTag after replacing the battery?
- 16How long does an AirTag battery usually last?
- 17My AirTag still says Low Battery after I changed it. What should I do?
- 18Does replacing the battery affect the AirTag warranty?
- 19What to Do First If Your AirTag Is Dead
What You Need
An AirTag runs on a single CR2032 coin cell, a 20mm diameter, 3mm thick lithium battery rated at 3 volts. The tray sits under the metal cover and holds it against two spring contacts, so the size has to be exactly CR2032.
- One CR2032 3V lithium coin cell, no bitterant coating
- A clean, dry work surface
- Your iPhone, with Find My open, for testing afterwards
- Optionally a rubber grip or a thin plastic card to help with the cover
Bitterant coating matters more than brand. Some coin cells carry a bitter coating to discourage children from swallowing them, and that layer can stop the AirTag making proper contact. Users on the AirTag community forums report Energizer, Panasonic, Maxell and Apple’s own cells working reliably, while Duracell is the name most often attached to a tag that refuses to connect. Any genuine non-bitterant CR2032 will do, so buy the cheapest one that says nothing about coatings on the pack.
Skip rechargeable cells, lithium button cells and any CR2032 marked as a bitter variant. If you replace a lot of these, a small strip battery holder that keeps coins out of your pocket is a nice touch.
How to Replace an AirTag Battery, Step by Step
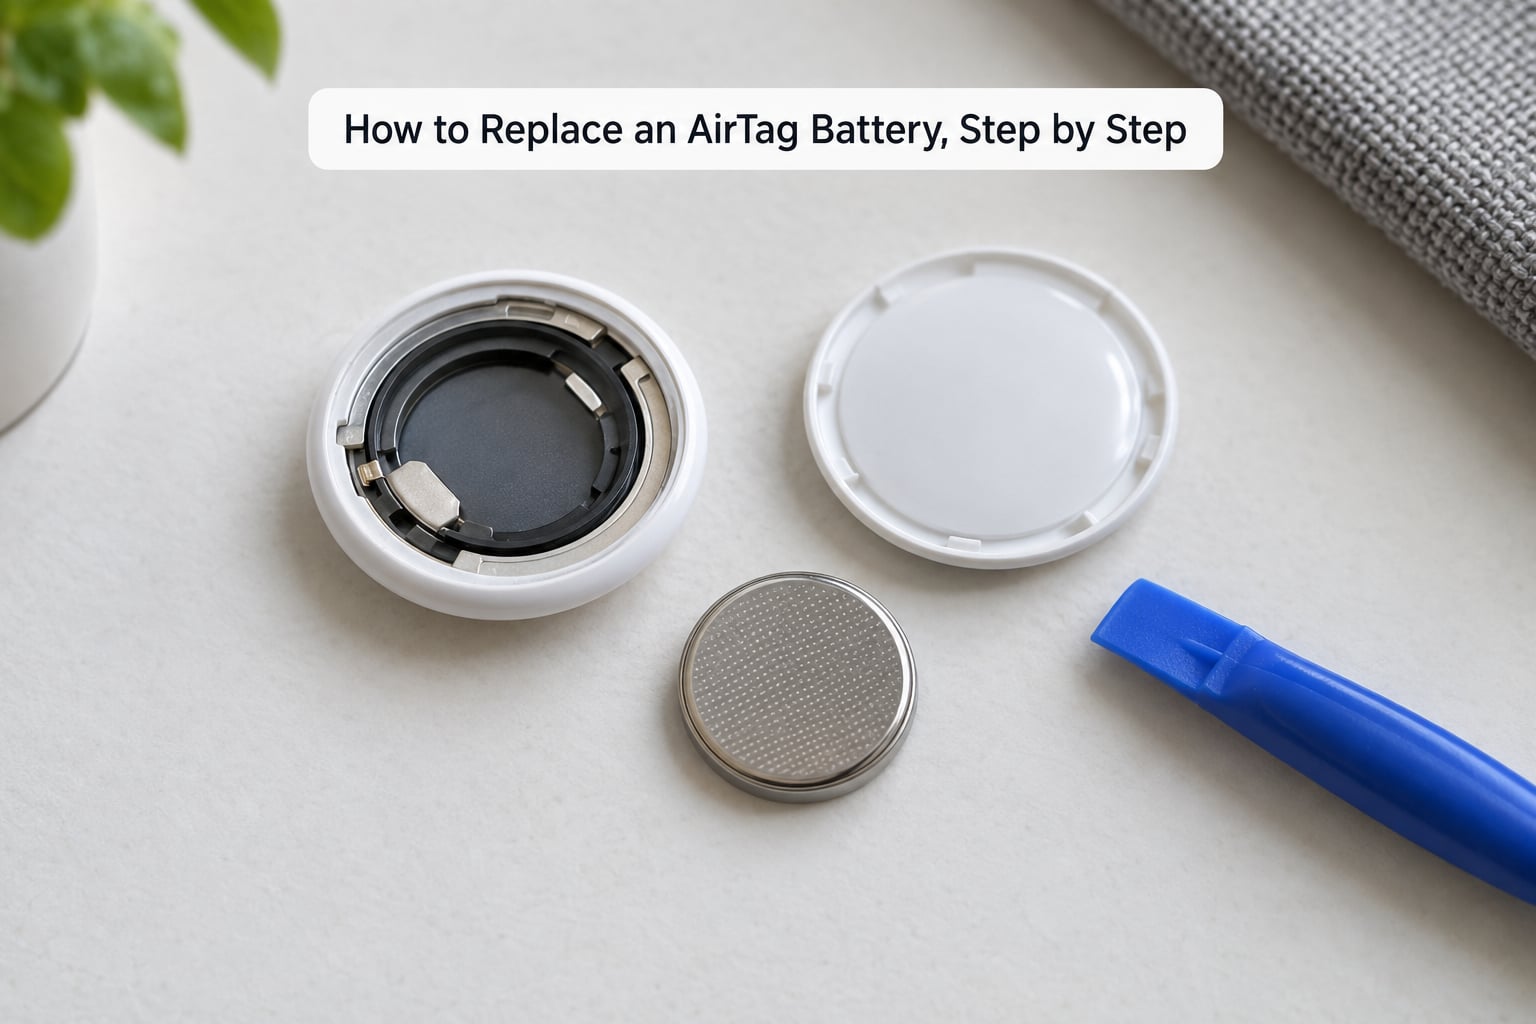
Step 1: Find the tag and prepare it
Open Find My, tap the Items tab and select your AirTag to see its name and current location. Confirm it is on your account and note which one it is before it goes back in your bag.
Set the tag on a flat surface logo side up. Working over a towel or a mat gives the small disc something to grip if it tries to skitter across the counter.
Step 2: Twist the metal cover off
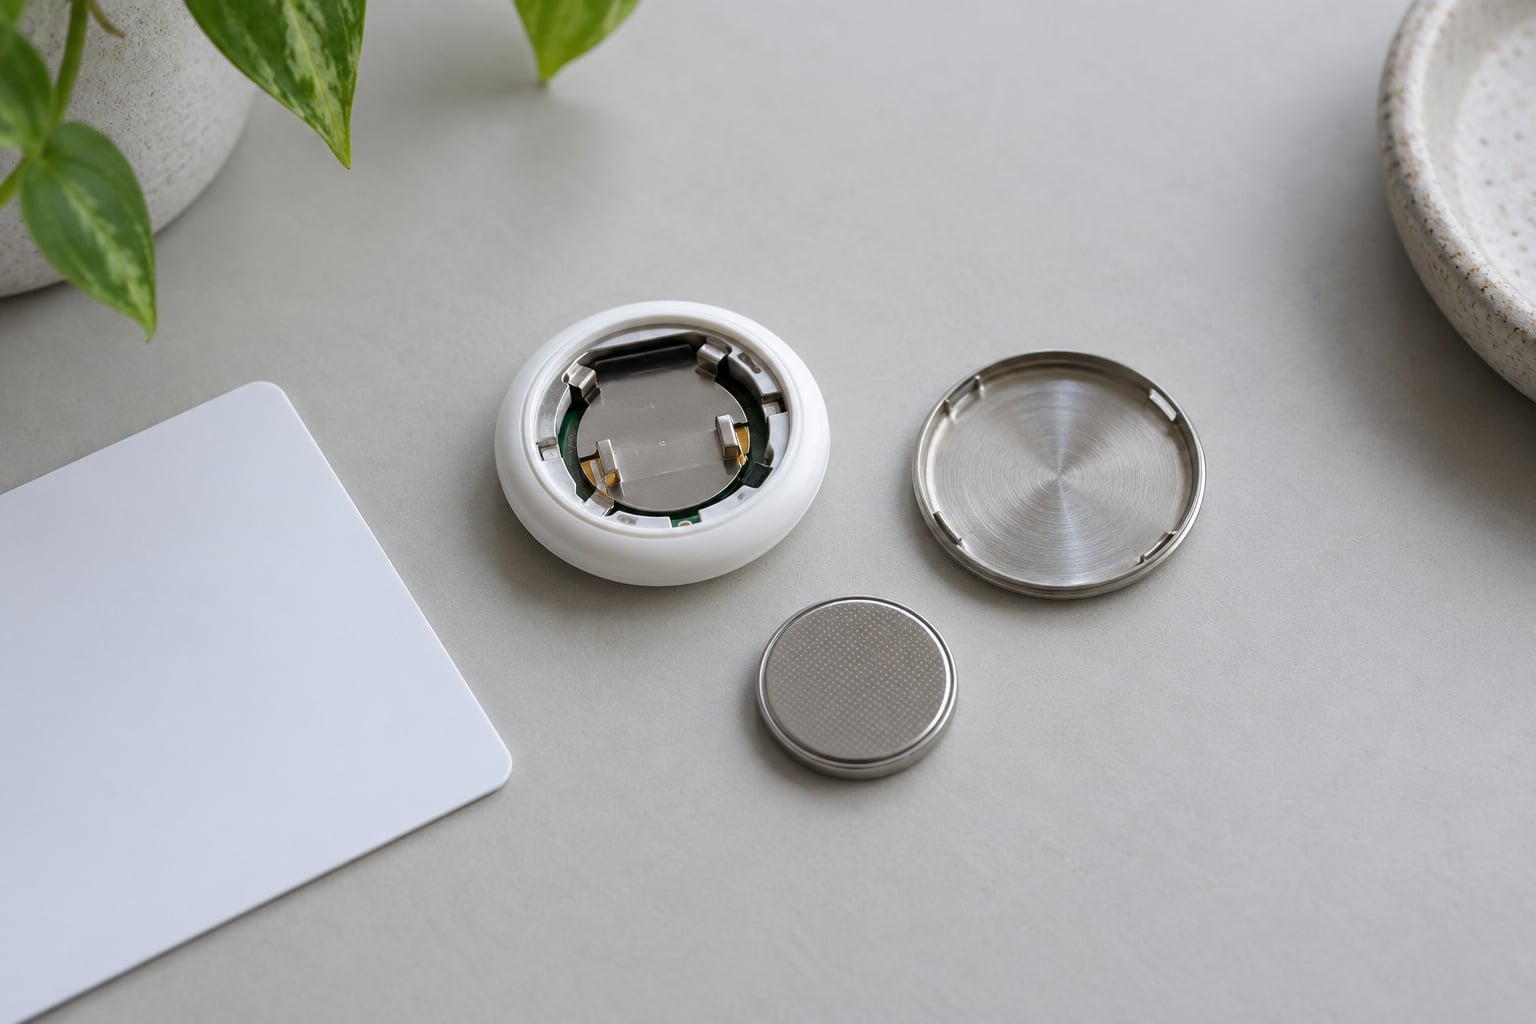
Push down hard on the stainless steel cover with your thumb and turn the whole tag counterclockwise. Keep turning until the cover stops rotating freely and starts to click around the body.
The disc is small and slippery, so cup it between thumb and index finger rather than trying to hold it with fingertips alone. If the tag is inside a case, wallet holder or keyring mount, take the mount off first, because the extra thickness stops the cover from clearing the shell.
Step 3: Remove the old coin cell
Tilt the AirTag and lift the coin out. A fingernail works, and so does the edge of a plastic card pushed gently under the rim.
Note which way up the old battery sat before you drop it, and check the fresh cell against it. Lithium coin cells are not a bin item: take the old one to a household hazardous waste drop-off or an e-waste and battery recycling point, and keep it away from children and pets, because a swallowed coin cell is a genuine choking emergency.
Step 4: Insert the new CR2032
Slide the new coin in with the positive (+) side facing up, pressing it flat with your thumb so it sits evenly and both terminals touch. Hold it there for a second. A short chirp means the tag has registered the cell.
If you hear nothing, lift the battery and press it again in the same position; a slightly raised cell is the most common reason for silence.
Step 5: Close the cover and test it
Line up the three small tabs on the inner face of the cover with the three slots on the body, drop it back on, and turn the tag clockwise until the cover stops. The ring should sit flush with no gap on either side.
Back in Find My, pull down to refresh. The tag should show a fresh location and no Low Battery banner within a minute or two. That is the whole job, no re-pairing needed.
What to do if the cover will not twist open
Most stuck covers come from not enough downward pressure, not from a fault. Press harder and try again with the tag held between two fingers rather than flat on the table.
A rubber grip, a rubber band around the disc or even a strip of tape on the cover gives your fingers something to hold. Warm the metal with your hands first; a chilled cover expands slightly and grips tighter. If a plastic card or fingernail has been used as a lever, stop there and switch to the twist method, because the shell is precision-cut and dents permanently.
What to do if the AirTag still says Low Battery
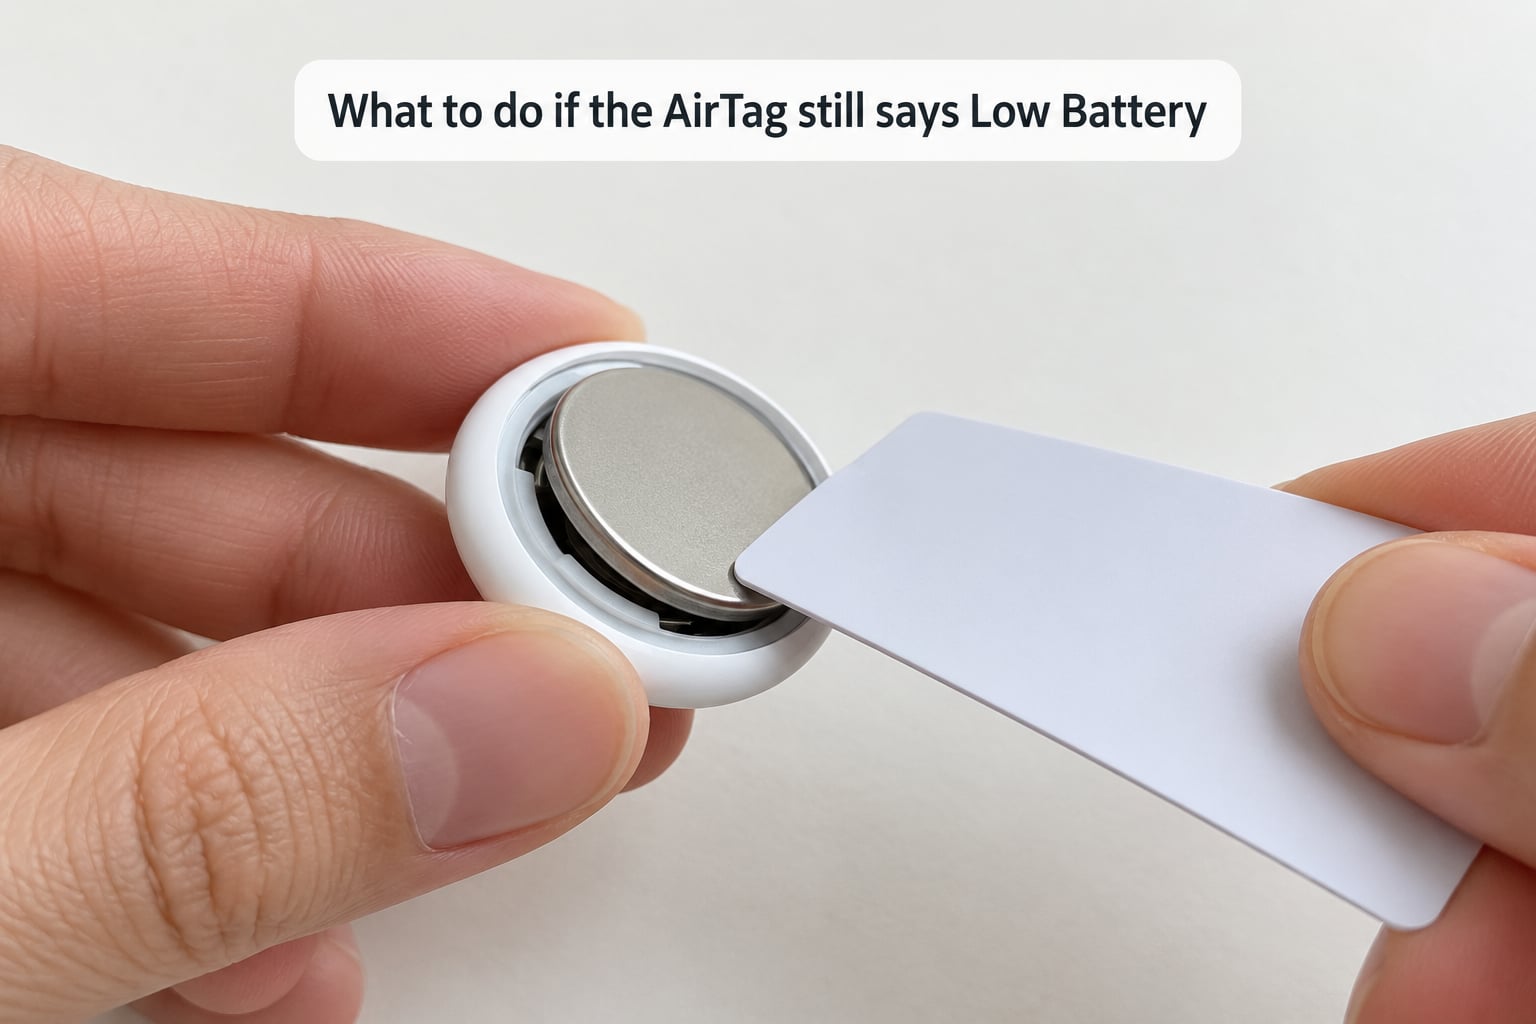
A tag can keep reporting a low battery straight after a good swap, usually for one of three reasons: the voltage reading has not caught up, the cell is a bitterant-coated one, or the contacts are dirty. Work through these in order.
- Wait a few minutes with the cover off, then close it and pull to refresh Find My again.
- Open the tray and check the cell is the + side up and lying flat, then check both contacts for lint or a dull film.
- Wipe the contacts and the cell face with a cotton swab and a drop of isopropyl alcohol, let it dry, and reassemble.
- Swap in a different known-good non-bitterant cell from a fresh pack.
- Run the battery reset: remove and reinsert the battery five times in a row until the tag chirps each time.
- Restart your iPhone, then reopen Find My. Owners of stuck tags report a second restart finally clears the stale reading.
If the tag chirps and still refuses to update, the cell was the problem. That is the outcome most people reach after step four, not step one.
Do you need to re-pair or sync the AirTag?
No. The AirTag reconnects to your Apple account on its own as soon as it has power, usually within seconds and within a minute or two for a location update. There is no reset menu to find and no pairing step to repeat.
The only thing that genuinely resets anything is the five-cycle battery removal, and that matters only if the tag has stopped chirping altogether.
Common mistakes when you replace an AirTag battery
- Turning the cover the wrong way. It opens counterclockwise and closes clockwise. Forcing it clockwise just skids the cover across the shell.
- Using the wrong size. CR2032 only. CR2020 is thinner and CR2450 is thicker, so neither sits properly against both contacts.
- Reversing the polarity. The positive side faces up, toward the cover. A reversed cell either does nothing or drains fast.
- Forcing the cover shut. If the three tabs are not lined up, the cover sits proud and the seal is gone. A warped cover is the one real damage this job causes.
- Forgetting to test. A chirp confirms the contact, and Find My confirms the battery reading. Do both before you walk out the door.
To stretch the life of each cell, turn on AirTag notifications but skip Precision Finding and Frequent Updates for the tags you do not need to the metre, and keep trackers out of hot cars and freezers, since both ends of the temperature scale shorten cell life.
Frequently Asked Questions
What type of battery does an AirTag use?
An AirTag uses one CR2032 coin cell, a 20mm diameter, 3mm thick lithium battery rated at 3 volts. Buy a non-bitterant version, because the child-deterrent coating on some cells stops the tag making proper contact with its springs. Energizer, Panasonic, Maxell and Apple cells are the ones owners report working most reliably. Rechargeable and button-cell lithium batteries are not a substitute for size or voltage.
Can I open an AirTag without damaging it?
Yes. Press the stainless steel cover down firmly and twist counterclockwise until it stops rotating, cupping the small disc between thumb and index finger so it does not shoot across the table. Take any case, wallet holder or keyring mount off first, because extra thickness stops the cover clearing the shell. Use a plastic card only to lift the battery, never to lever on the cover.
Do I need to re-pair or sync my AirTag after replacing the battery?
No re-pairing is needed. The AirTag reconnects to your Apple account on its own the moment it has power, usually within seconds, and the location refresh follows within a minute or two. There is no pairing step to repeat in Find My. The only procedure that resets anything is removing and reinserting the battery five times until the tag chirps, which is only useful when the tag has gone completely silent.
How long does an AirTag battery usually last?
Apple rates the cell at about a year, but most owners get closer to six months before the Low Battery alert appears. Cold weather, leaving a tag in a hot car, enabling Precision Finding and Frequent Updates all shorten that window. Turning off frequent location updates for tags you only need to find occasionally is the single biggest saving. If your cell dies faster than a few months, check whether you have been running a bitterant-coated battery that never reported a fault.
My AirTag still says Low Battery after I changed it. What should I do?
Wait a couple of minutes with the cover closed and refresh Find My, since the voltage reading can lag behind the swap. If it persists, reopen it and check the cell is positive side up and lying flat, then clean both contacts and the cell face with a cotton swab and isopropyl alcohol. Try a known-good non-bitterant cell, run the five-cycle battery reset, and restart your iPhone. A restart twice over is often what finally clears a stale reading.
Does replacing the battery affect the AirTag warranty?
Replacing the battery yourself does not void the Apple warranty, because the AirTag was designed with a user-changeable CR2032 cell. It can cause damage in one way: if the cover is forced, twisted at the wrong angle or left warped, the shell may no longer sit flush and the seal is compromised. Water resistance is not part of the warranty either, so keep the tag dry whichever way the cover goes back on.
What to Do First If Your AirTag Is Dead
Start at the top: confirm in Find My that it is the tag you think it is, then twist the cover off with firm downward pressure. Take the mount off first if the tag is cased, lift the cell out with a fingernail or a plastic card, and drop the new one in positive side up until you hear the chirp.
That is how to replace an AirTag battery the way Apple designed it to be done, in under a minute and with a fresh cell that costs a fraction of a new tracker. If the Low Battery warning survives the swap, the cell was the culprit, and step four of the troubleshooting list is where most people find out.
Worth re-reading the cover direction before you start, since that single twist backwards is the one thing that goes wrong for everybody at least once. Everything else on this page is 2026-current for the AirTag generation with the stainless steel back.