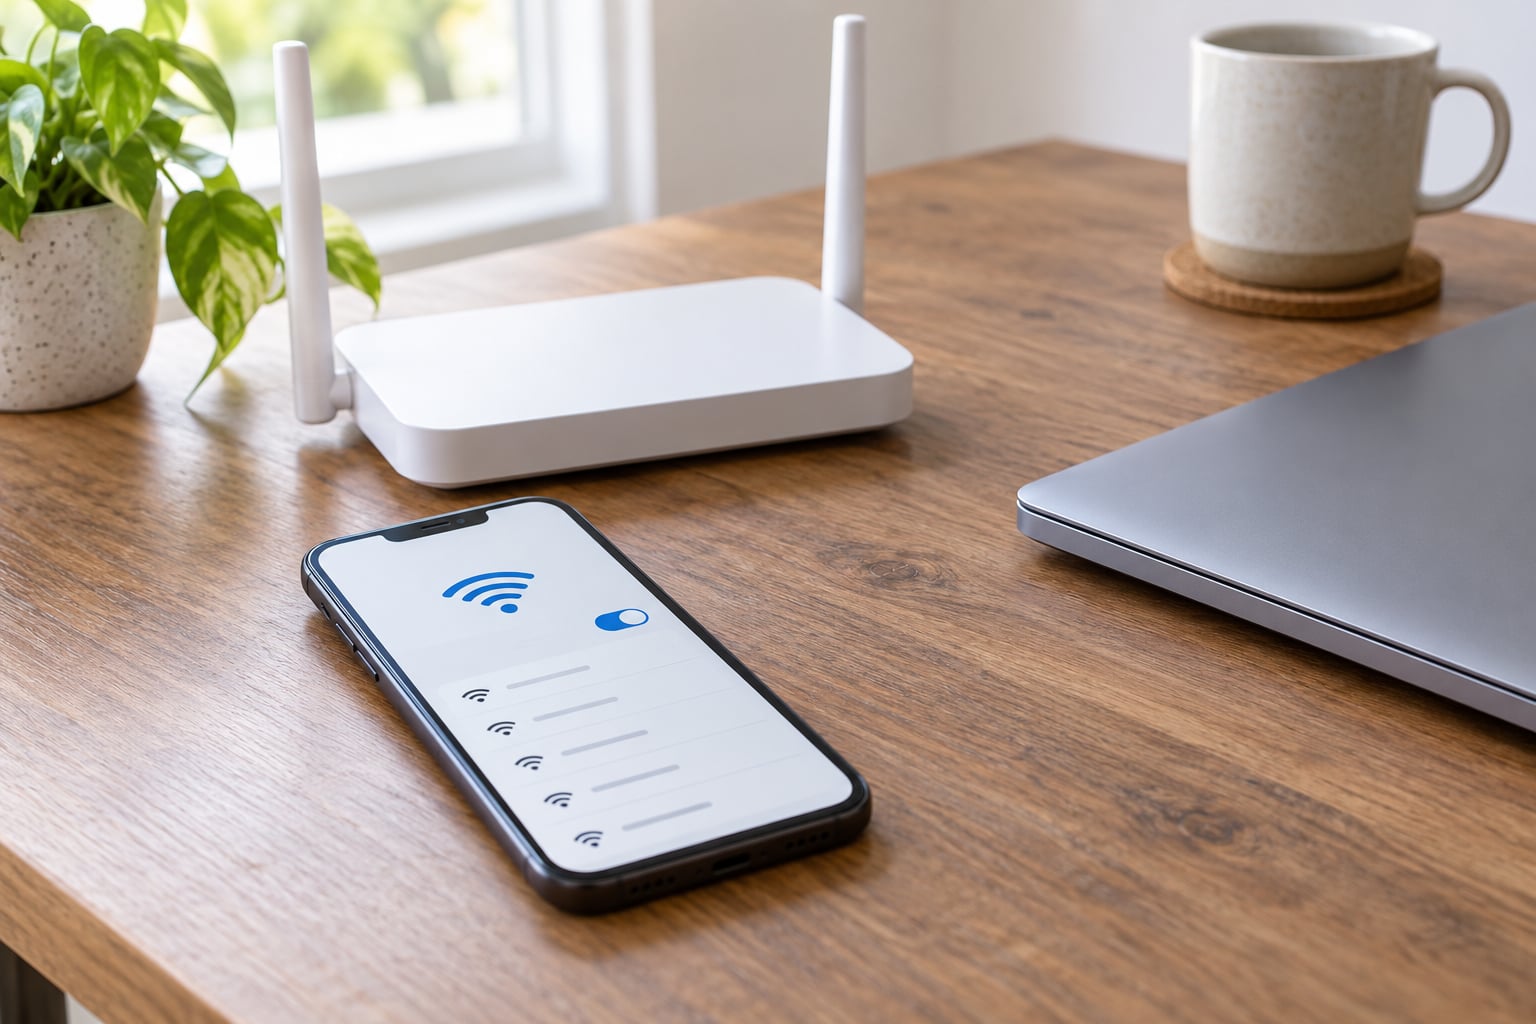
To use the private WiFi address on iPhone, open the Settings app, tap Wi-Fi, tap the blue (i) More Info button next to your network, then tap Private WiFi Address and pick Off, Fixed or Rotating. On iOS 18 or later you get three choices instead of the old on/off switch, and the change applies only to that one network.
It takes about twenty seconds, and you can undo it just as fast. The whole point of the setting is privacy: without it, your iPhone hands your router a permanent hardware identifier that follows you from the coffee shop to the airport to your own Wi-Fi.
Table of Contents
- 1What You Need
- 2How to Use Private WiFi Address on iPhone Step by Step
- 3Open the Wi-Fi Settings for Your Network
- 4How to Turn On the Private WiFi Address
- 5Choose a Private WiFi Address Mode
- 6Change or Reset the Address for One Network
- 7Verify the Setting on Your iPhone
- 8Turn the Setting Off When a Network Requires It
- 9Common Mistakes
- 10Frequently Asked Questions
- 11Do I need to update my iPhone before I can use a private WiFi address?
- 12What does turning the private WiFi address off actually do?
- 13Does a private WiFi address hide my IP address from apps?
- 14Should my private WiFi address be Fixed or Rotating?
- 15Why won’t my iPhone connect to Wi-Fi after I turned the private address on?
- 16Conclusion: Start With Your Current Wi-Fi Network
What You Need
You need an iPhone, a Wi-Fi network you can join, and a current version of iOS. Everything below works on iOS 14 and later, though the menu itself changed with iOS 18 and it is worth knowing which one you are looking at.
If you are not already connected to the network, iOS 18 still lets you change its setting. Tap Edit in the top-right corner of the Wi-Fi list and the saved networks become editable. Older versions of iOS only exposed the option for networks you were joined to at that moment.
What the setting does, in plain English: every network device has a MAC address, a twelve-digit hardware identifier, and normally that address never changes. Apple calls the replacement a Private WiFi Address. It is a network-specific address your iPhone generates, so the Wi-Fi operator sees a different device each time you join, and cannot tie your activity together across separate networks.
Apple also rotates a Rotating address on a schedule, which stops one network from tracking you over a long period either.
How to Use Private WiFi Address on iPhone Step by Step
Open the Wi-Fi Settings for Your Network
Open Settings and tap Wi-Fi at the top of the list. Your connected network appears under a Wi-Fi heading with a blue circle containing an i on the right side of the row. Tap that button to open the network details page, which is where Private WiFi Address lives along with the IP address, the router address, the DNS servers and the security type.
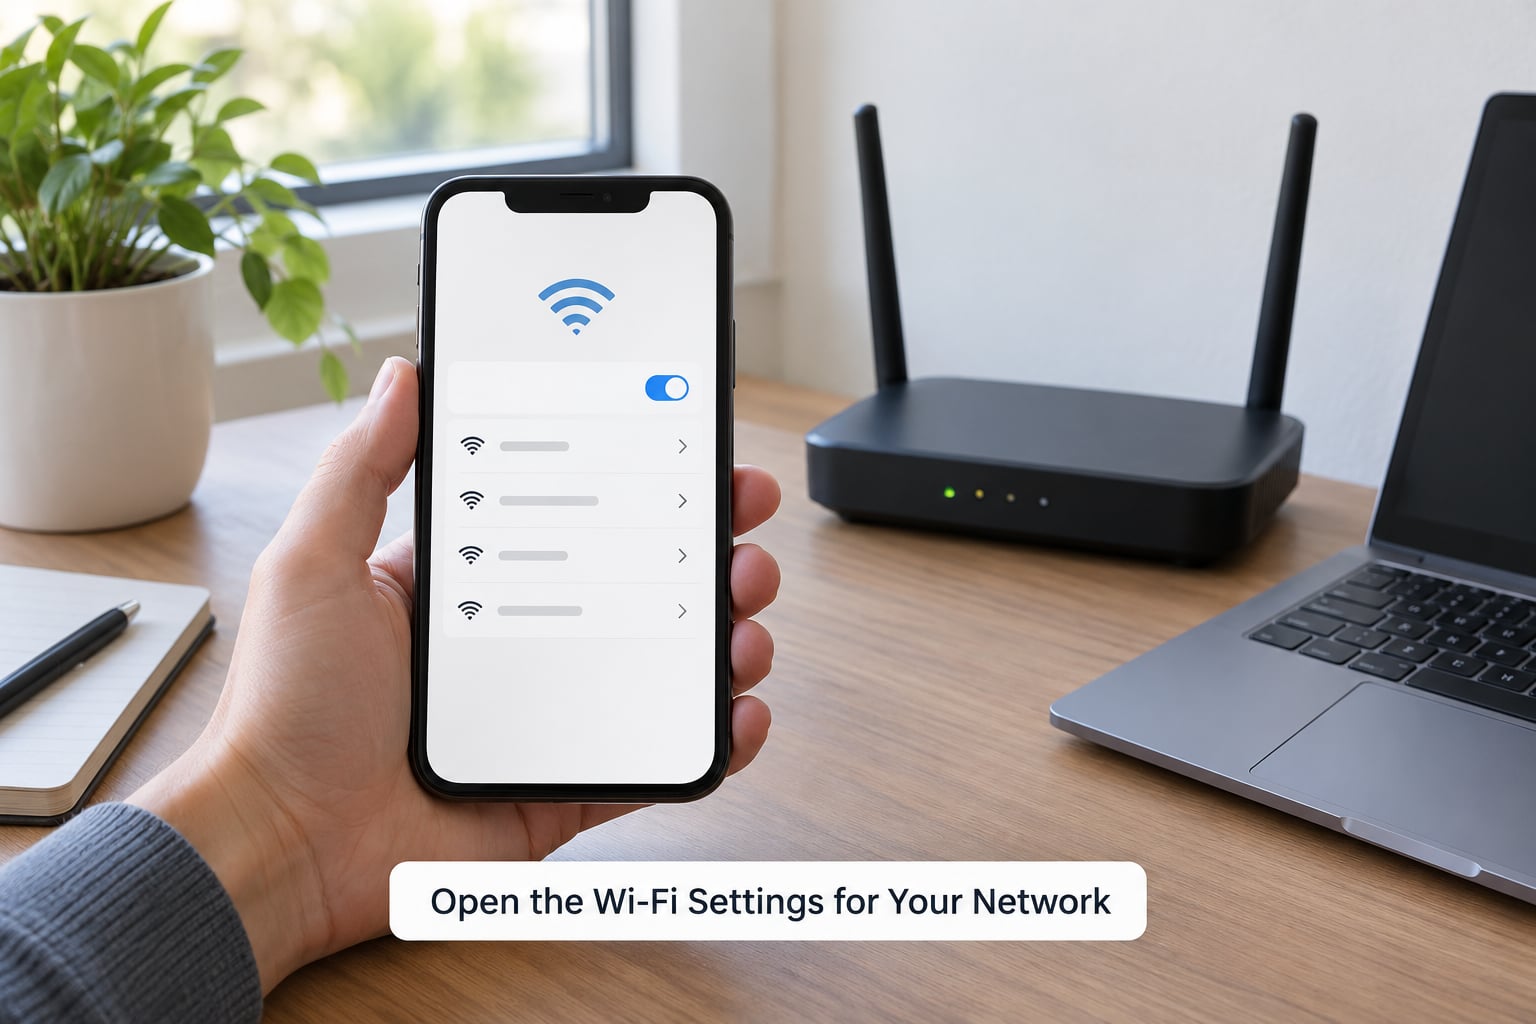
The network has to be saved on your iPhone before you can edit it. Join it once by tapping the network name, enter the password if it has one, then come back to Settings and take the same path.
How to Turn On the Private WiFi Address
On the network details page, scroll to Private WiFi Address and tap it. On iOS 18 or later three options appear: Off, Fixed and Rotating. Fixed and Rotating are both forms of the feature being on, so tapping either one enables a private address for that network only.
Confirm it worked by looking at the row itself. The label now reads Private WiFi Address followed by the mode you chose, rather than saying the feature is unavailable.
If you are on iOS 14 through iOS 17 you will see a single switch instead of the three options. Slide it on for the same privacy effect as Fixed.
Choose a Private WiFi Address Mode
Off uses the real hardware MAC address. Fixed gives you one private address that stays the same every time you join that network. Rotating gives you a private address that Apple changes periodically, so the network operator cannot build a long history for your device.
| Mode | What it uses | Privacy level | Best for |
|---|---|---|---|
| Off | Your real hardware MAC address | None, the permanent ID is exposed | Networks that allowlist by MAC address, and old or badly built equipment |
| Fixed | One private address that stays the same per network | Good, stops cross-network tracking but not long-term tracking on one network | Your home network, smart home gear, printers, casting devices, parental controls |
| Rotating | A private address that Apple changes on a schedule | Highest, the operator cannot follow the device over time either | Hotels, airports, cafes, campuses, guest networks, anywhere public |
Apple picks the default for you based on the network’s security. A network using WPA2 or WPA3 gets Fixed by default, because those are networks that generally identify individual devices. An open or weakly secured network gets Rotating by default, which is the setting that matters most for the coffee shop scenario.
That default is why the choice sometimes looks different on two devices sitting next to each other on the same Wi-Fi.
Change or Reset the Address for One Network
You can go back to the same details page at any time and switch between Off, Fixed and Rotating. Switching from Fixed to Rotating generates a new address straight away, because the old one was tied to a setting you no longer want.
Moving back to Fixed also produces a fresh private address rather than restoring the one from before. Neither of those restores your hardware MAC address; only Off does that.
There are two heavier ways to reset things. Tapping Forget This Network on the details page removes the saved network and, on iOS 18 or later, the iPhone forgets it for about 24 hours before it will auto-rejoin and negotiate a new private address. Reset Network Settings under Settings, General, Transfer or Reset iPhone wipes every saved network and every Wi-Fi password on the device. That second one fixes stubborn drops but it is a big hammer, so reach for it last.
Verify the Setting on Your iPhone
Go back to Settings, Wi-Fi, tap the (i) next to your network, and read the Private WiFi Address row. Whatever mode you picked should be named there. That is the fastest confirmation that the setting stuck.
If you need the actual address value, it sits in the same panel in the Private WiFi Address section. Long-press or tap and hold the address to bring up the copy menu if you want to paste it into a router allowlist. Note that what you copy is the address for that one network only, and it changes if you later choose a different mode or forget the network.
Keep the distinction straight in your head: the Private WiFi Address is your iPhone’s identifier on that network, while the IP address is what the router hands out for the current session. The IP address changes often, for example when you leave the house and come back.
Turn the Setting Off When a Network Requires It
Some networks simply refuse to talk to a randomized address. Older hotel or office equipment, certain corporate networks that authenticate by MAC address, and some smart home hubs are the usual suspects. For those, open the network details page, tap Private WiFi Address, and choose Off.
You are giving up some privacy on that one network, so it is worth limiting this to guest and public Wi-Fi you use occasionally rather than switching it off everywhere at once.
If you turn it off and the iPhone will not reconnect, go back and put it on Fixed first. Fixed is enough for most MAC-based authentication and keeps a layer of privacy between your device and the network.
Common Mistakes
Looking in the wrong place. Private WiFi Address is not a global switch in Settings, Privacy or General. It only appears inside the details page of a specific saved network. People hunting for a universal on/off button usually end up changing one network and assuming they have changed all of them.
Expecting one setting to cover every network. Each saved Wi-Fi network has its own Private WiFi Address setting with its own mode. Setting your home network to Rotating leaves your office network exactly as it was, which explains the surprise when a device that used to work at work stops connecting.
Confusing the private address with the router address. The same details page lists a router address, which is the address of the router itself and always the same. Copying that into a device allowlist does nothing for your iPhone.
Not being connected to the network. On iOS 14 through iOS 17 the option is hidden until the phone is joined to that network. On iOS 18 or later, tap Edit in the top-right corner of the Wi-Fi list to reach networks you are not currently on.
Reading the Privacy Warning banner as an accusation. When iOS shows a Privacy Warning on a network, it means the network uses weak or outdated security and your traffic is not properly encrypted. It is a warning about the router, not evidence that anybody is tracking you through your MAC address.
The option is greyed out. On devices managed by a school or employer, an MDM profile can lock the setting or set it for you, and the row will not respond to taps. If the setting cannot be changed at all, that profile is almost always the reason, and it needs to be changed by whoever administers the device.
Screen Time or HomeKit stops working. Parental control tools and smart home accessories that identify a device by its address lose track of the phone when the address rotates. Set that network to Fixed, which is the setting most of those problems need.
Frequently Asked Questions
Do I need to update my iPhone before I can use a private WiFi address?
No. The setting has existed since iOS 14, when it was a simple on or off switch. Updating to iOS 18 or later changes it into three options, Off, Fixed and Rotating, which is a better set of choices rather than a new requirement. Whatever your version, the path is the same: Settings, Wi-Fi, tap the blue i, then Private WiFi Address.
What does turning the private WiFi address off actually do?
It makes your iPhone use its real hardware MAC address on that network, the permanent twelve-digit identifier printed on your hardware. Networks you join can then recognize your device across sessions and link it to you over time. Turn it off only for a network that will not accept a private address, such as older hotel Wi-Fi that authenticates by MAC.
Does a private WiFi address hide my IP address from apps?
No, and this trips people up. The private WiFi Address replaces your hardware MAC address on that network. Your IP address is assigned by the router and is unaffected. If you want to limit what apps can see, look at settings such as Ask for New Location, Limit Ad Tracking and Tracking under Privacy and Security instead.
Should my private WiFi address be Fixed or Rotating?
Use Fixed on your home network and Rotating on anything public. Fixed keeps a stable identifier so parental controls, printers, casting devices and smart home accessories keep recognizing your phone. Rotating changes the address periodically, which is the strongest privacy and the right choice for hotels, airports, cafes, campuses and guest networks.
Why won’t my iPhone connect to Wi-Fi after I turned the private address on?
The network probably expects your hardware address. Try Fixed first, since many devices accept a stable private address even when they reject a rotating one. If that fails, set the mode to Off for that network. As a last resort use Reset Network Settings, though remember it wipes all saved networks and passwords.
Conclusion: Start With Your Current Wi-Fi Network
Open Settings, tap Wi-Fi, tap the blue i next to the network you are on, and look at the Private WiFi Address row. Leave it on Fixed for your home network and set Rotating for public Wi-Fi as you travel. That single adjustment covers the privacy benefit for most people without breaking anything at home.
Drop to Off only when a specific network refuses to connect, and treat it as a targeted exception rather than a new default. If Screen Time, HomeKit or a smart TV starts misbehaving after a change, Fixed on that one network usually solves it without giving up the privacy you turned the feature on for.