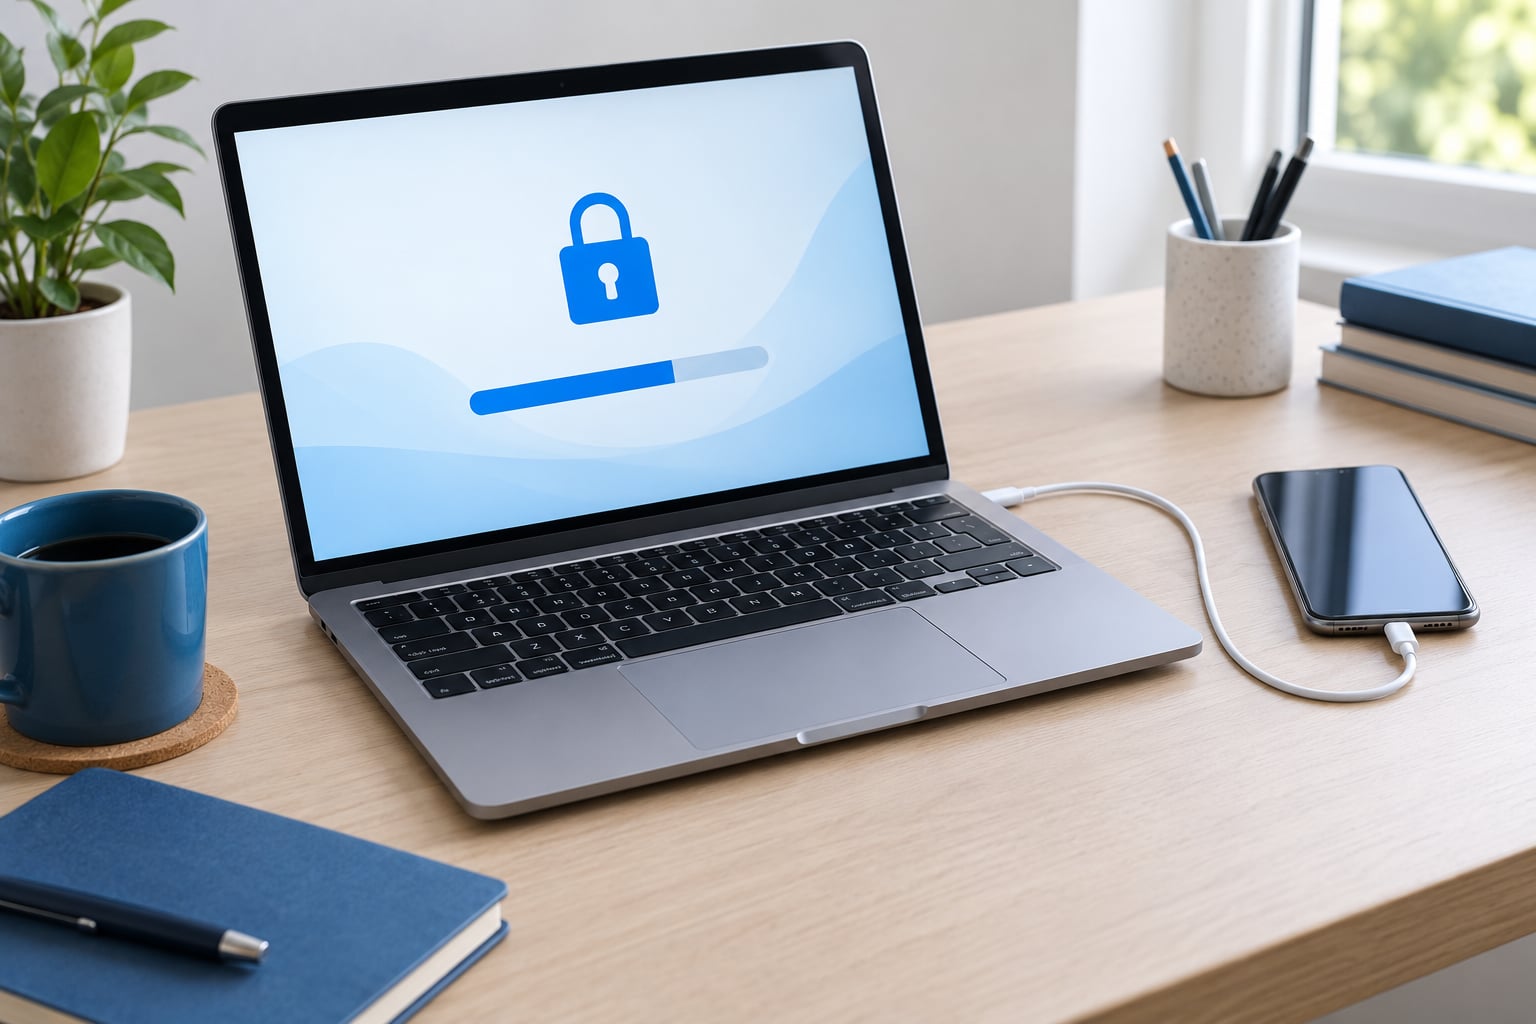
Encrypting an iPhone backup is a single tick in a settings pane: connect your phone, open Finder on a Mac or the Apple Devices app (or iTunes) on Windows, tick Encrypt local backup, and type a password you will genuinely remember. It takes about five minutes, and it is the only setting that keeps your saved passwords, Wi-Fi details, website history, health data and call history inside a local backup.
Here is the whole procedure in five lines, using Apple’s exact labels:
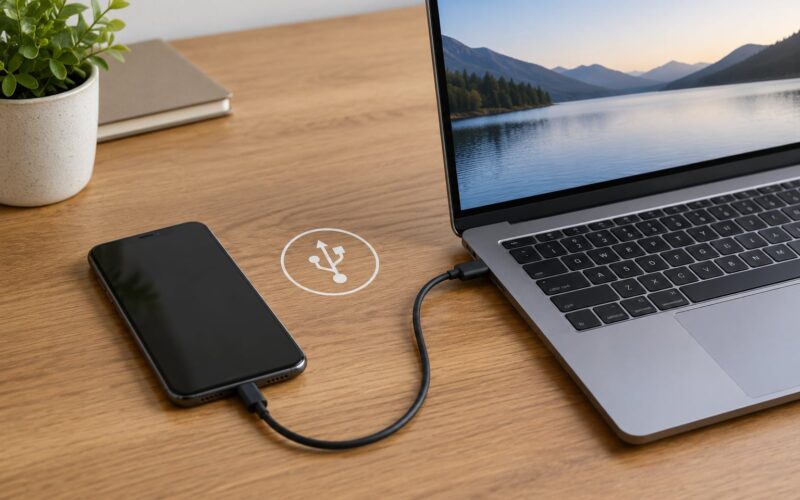
- Connect the iPhone or iPad by USB and tap Trust This Computer on the device.
- Open Finder on a Mac, or the Apple Devices app or iTunes on Windows.
- Select your device in the sidebar, then choose This Computer.
- On the General tab (Summary in iTunes), tick Encrypt local backup and set a password.
- Press Back Up Now. Every future backup for that device is encrypted automatically.
I have walked through this on both sides of the cable, and the part that trips people up is never the clicking. It is the password. Apple does not keep a copy, there is no reset link, and an encrypted backup you cannot open is worth very little. Everything below is written for the 2026 versions of macOS and Windows, and I flag where the menu names differ.
Table of Contents
- 1What You Need Before You Start
- 2Step-by-Step: How to Encrypt an iPhone Backup on Mac or Windows
- 3Step 1: Back Up the iPhone with Finder or iTunes
- 4Step 2: Turn On Encrypt Local Backup and Create a Strong Password
- 5Step 3: Verify That the Backup Is Encrypted
- 6Common Mistakes and How to Fix Them
- 7Frequently Asked Questions
- 8Can I decrypt an iPhone backup without the encryption password?
- 9Does encrypting an iPhone backup encrypt the iPhone itself?
- 10Are iCloud backups encrypted automatically?
- 11Can I use an encrypted iPhone backup on a different computer?
- 12Does turning on encryption delete my existing unencrypted backup?
- 13Conclusion
What You Need Before You Start
A recent iPhone or iPad running a current iOS or iPadOS release. Apple added support for newer devices through software updates, so an old backup tool on a new phone is a common cause of the encryption option not appearing at all.
A Mac with macOS Catalina or newer uses Finder. Anything older, including macOS Mojave, uses iTunes. On Windows, newer machines have the Apple Devices app, which is the successor to iTunes on Windows; older installs still use iTunes itself. If you upgraded from iTunes on a Mac to Finder, the existing backup and its encryption setting carry over.
A USB cable you trust, or Wi-Fi sync if you have already paired the computer with the phone. A Wi-Fi backup is slower and can drop out, so cable is the better choice for a backup you care about.
Free disk space roughly equal to the data on your device. A 128GB phone full of photos can produce a backup well over 100GB. Check the drive before you start, not after.
And a password you can hold on to. Nothing on the Mac or PC will hand it back to you, which is why I would put it in a password manager the moment the backup finishes rather than trying to remember it a year from now.
Step-by-Step: How to Encrypt an iPhone Backup on Mac or Windows
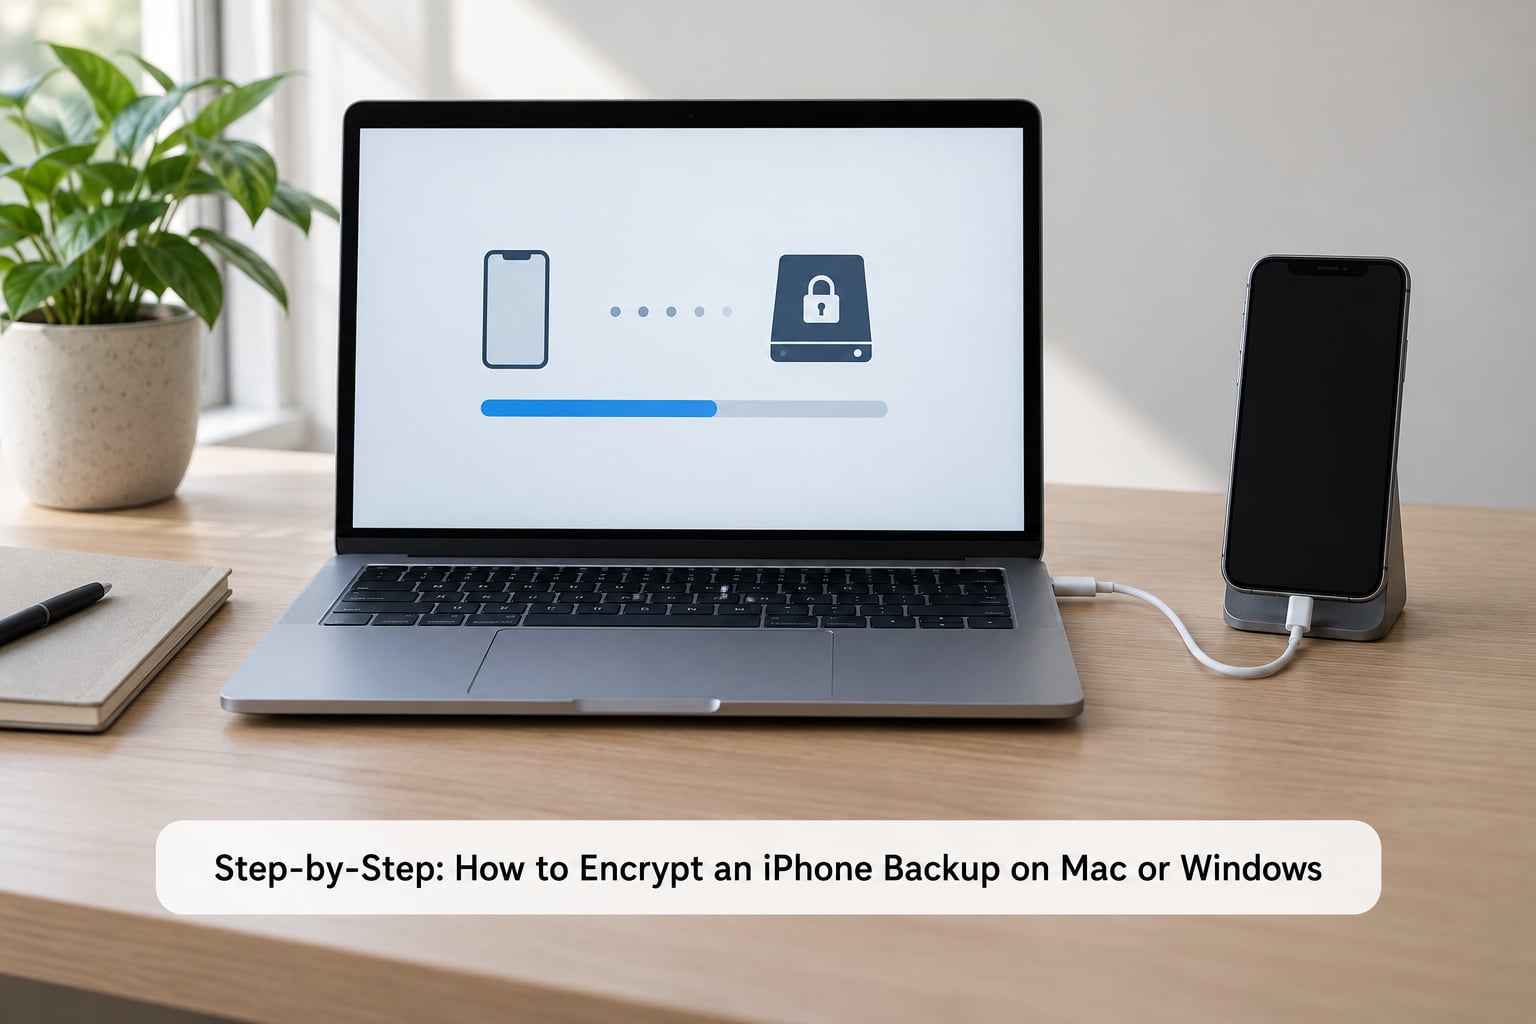
Step 1: Back Up the iPhone with Finder or iTunes
Unlock the iPhone and plug it in. A Trust This Computer prompt appears on the device; tap it and enter the passcode. Skip that prompt and nothing else works, which is why the computer often seems to be ignoring a phone that is sitting right there.
If the phone prompts you to update iOS, do it first. Then open the backup app.
On macOS Catalina or newer, open Finder and pick your device from the sidebar under Locations. On iTunes, click the small device icon near the top of the window. In the Apple Devices app on Windows, the device appears in the main list. All three land you on the same screen: a panel with tabs and a Backups section lower down.
Choose This Computer, make sure Keep local backups only is selected if you see that option, then continue down to the Backups section for the next step. If you only need a quick copy before sending the phone for repair, Back Up Now works before you touch encryption. If you need the sensitive data included, carry on.
Step 2: Turn On Encrypt Local Backup and Create a Strong Password
In Finder the Backups section sits on the General tab. In iTunes it is on Summary. In the Apple Devices app it sits in the same place on the device panel. Tick the box labelled Encrypt local backup.
A dialog asks for a password and then asks you to confirm it. This password protects the backup file. It is not your iPhone passcode, it is not your Apple ID password, and setting one does not change either of them.
Use something long rather than something clever: a generated string of 16 characters or more beats a short memorable word every time. Avoid anything you have typed into the phone itself, and never reuse your Apple ID password. Type it twice carefully, because the confirmation field will not warn you about a wrong entry, it will simply create a backup nobody can open.
One thing to know before you tick the box: turning encryption on replaces the previous unencrypted backup for that device. Apple treats it as a new backup, not a conversion of the old one. If the existing backup matters, copy the backup folder out to a separate drive first.
Press Back Up Now and leave the phone plugged in. On a large phone this can run for a long while. Once it completes, every backup you take to that computer is encrypted from then on, with no extra step.
Step 3: Verify That the Backup Is Encrypted
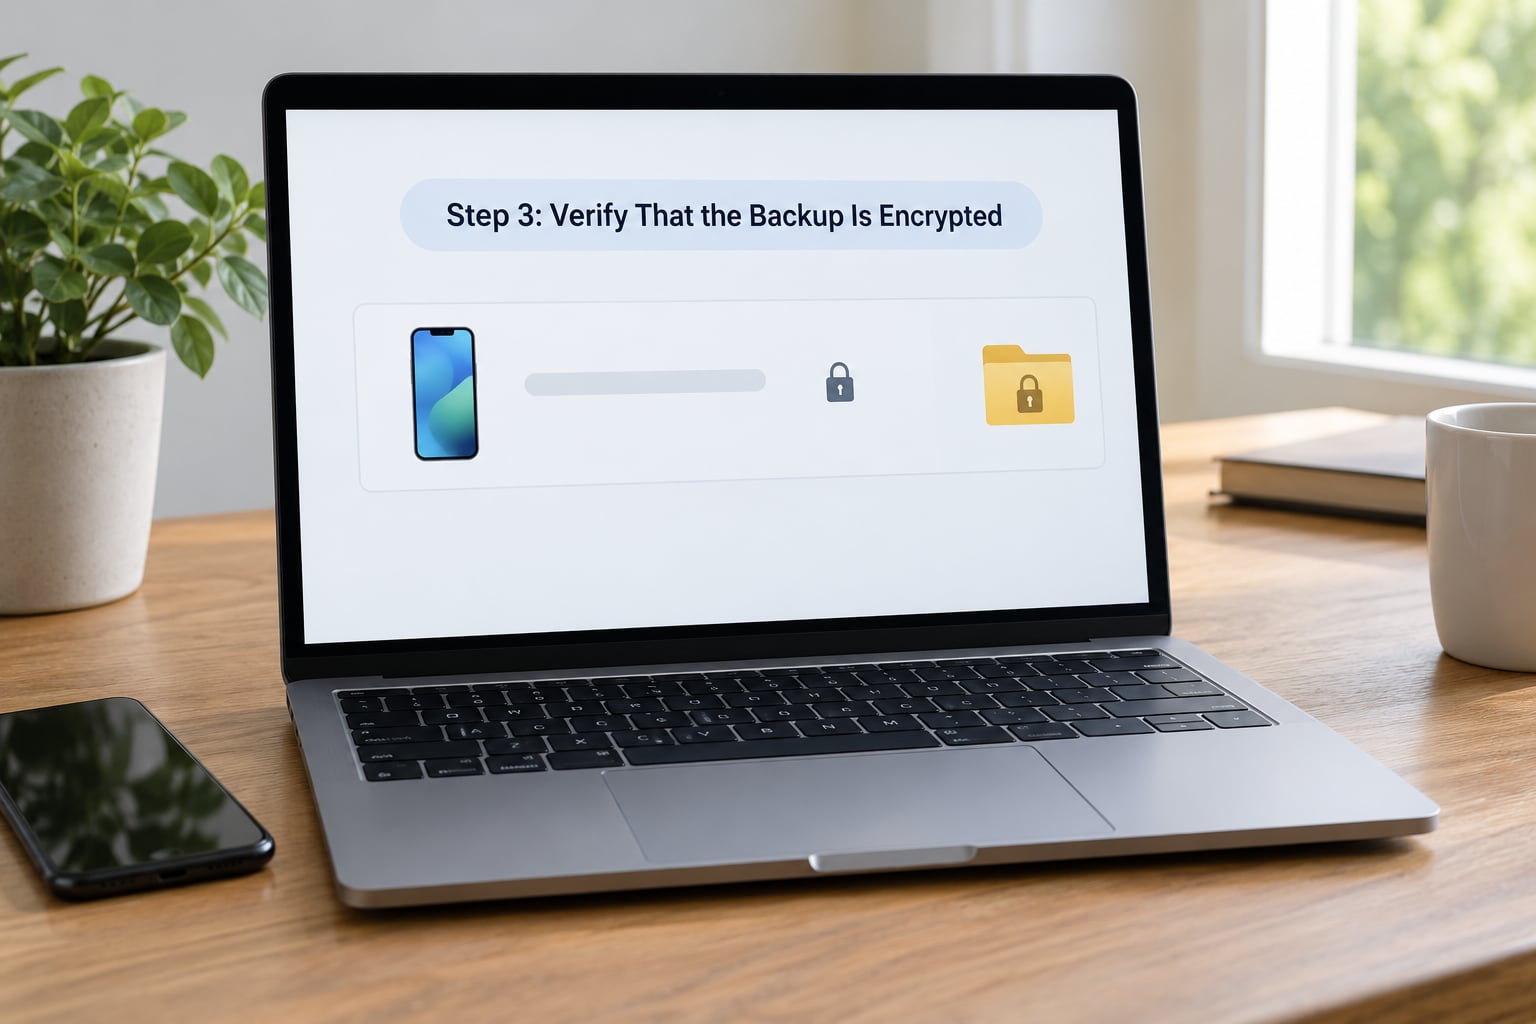
Do not assume. Open the app, go to Preferences (iTunes on Windows: Edit then Preferences, or Apple menu then Settings in Finder), choose the Devices tab, and look at the list of backups.
An encrypted backup shows a small lock icon beside the device name, and the Manage Backups button sits right there. That icon is the whole verification: if there is no lock, the backup is not encrypted, no matter what you think you ticked.
You can also check on disk. Backups live in a folder with a long device identifier as its name. The current format is a single package with the extension .ipswoma, where oma stands for encrypted. An unencrypted folder still contains the older Manifest.db and Info.plist files, so the file listing tells you which you have even without opening the app.
If the lock icon has not appeared straight away, close the backup app completely, reopen it and check again. A backup that failed partway through does not register as encrypted. Running it once more with the phone unlocked on a trusted computer is usually enough.
Common Mistakes and How to Fix Them
The checkbox is greyed out or missing. This is the most reported problem, and it is almost never a removed feature. The usual causes are that no device is selected, the phone is not trusted, the backup target is set to iCloud instead of This Computer, or you are on the wrong app version for the platform. Close and reopen the app, confirm the phone is trusted, and check that you are in Finder, iTunes or the Apple Devices app rather than the iCloud settings pane on the phone.
No backup password prompt appears. If you ticked the box on a backup that was already encrypted, Apple keeps the password that is already on file. Look for the lock icon before assuming anything went wrong.
Your backup is encrypted and you have no idea why. More common than it sounds. People inherit backups from a previous Mac, restore settings onto a new computer, or ticked the box years ago on a prompt they did not read. The Manage Backups list will tell you, and the fix is in the next section.
You forgot the backup password. Check the password manager first, then the saved-password list in the app, then the macOS keychain if you are on a Mac. Try any password you have used before on that machine. If none of those work, the backup stays shut; see below for what you can still recover.
You assumed iCloud and the local backup are the same thing. They are not. iCloud backups are encrypted by Apple automatically and do not use a password you create. The password-protected backup only exists on the computer.
The drive filled up mid-backup. A partial backup does not complete and may not show the lock icon. Clear space, run it again, and keep the drive with headroom rather than filling it to the edge.
The backup stopped early. An unlocked phone, a loose cable and a sleep timer all interrupt a transfer. Unlock the iPhone, disable Auto Lock temporarily, and keep the screen awake for the duration.
Frequently Asked Questions
Can I decrypt an iPhone backup without the encryption password?
No. The encryption password is required to open or restore an encrypted local backup, and Apple cannot recover it for you. Recovery tools that advertise decryption without it are not able to do it. If the password is genuinely lost, treat that backup as unrecoverable and fall back on iCloud, where the data is still available to you through your Apple ID.
Does encrypting an iPhone backup encrypt the iPhone itself?
No. Backup encryption protects the copy stored on the computer, not the device. Your iPhone keeps its own protections: the device passcode, Find My, Activation Lock and the data-protection settings tied to your passcode. Tick the backup box and nothing about the phone’s lock screen behaviour changes at all.
Are iCloud backups encrypted automatically?
Apple encrypts iCloud backups at rest and uses protected handling while they move between your devices and its servers, with no password of your own. Advanced Data Protection extends that to end-to-end encryption, where your device holds the keys. This is a different system from the local backup password you create yourself, which is why there is no matching toggle inside iPhone Settings.
Can I use an encrypted iPhone backup on a different computer?
Yes, as long as you bring both the complete backup folder and the password. Copy the whole folder, install a compatible version of Finder, the Apple Devices app or iTunes on the second computer, connect a supported device, and use Restore from Backup. You will be asked for the password, and a partial copy of the folder will not restore.
Does turning on encryption delete my existing unencrypted backup?
In practice, yes. Apple treats an encrypted backup as a new backup, so the previous unencrypted one for that device is replaced. If you want to keep it, copy the existing backup folder to another drive before you tick the box. This is the single most common regret people bring to the Apple Communities forums after the fact.
Conclusion
Start by opening your backup app, selecting your iPhone, and looking at the Backups section on the General tab in Finder or the Summary tab in iTunes. If the Encrypt local backup box is there, tick it, set a long password, and copy that password straight into your password manager before you walk away from the computer.
That last part is the whole job. Backing up and encrypting are different things: the backup is your safety copy, the encryption decides who can open it. An unencrypted backup you can actually read may be the better choice if you are the kind of person who loses passwords, and an encrypted one is worth doing the moment the backup lives on a shared, portable or external drive. Just make the decision deliberately, not by clicking through a dialog you have read halfway.