If you want to know how to stop iPhone from saving HEIC photos, it takes about thirty seconds in the Settings app. Open Settings, tap Camera, tap Formats, and choose Most Compatible instead of High Efficiency. Every photo you take after that saves as a JPG file that opens on any computer, phone or website.
Two things to know before you start. The change only applies to photos you take from that moment on, so your existing HEIC library stays exactly as it is. And the same toggle also controls video, which surprises a lot of people.
Table of Contents
- 1What You Need
- 2Step-by-Step: How to Stop iPhone From Saving HEIC Photos
- 3Change the iPhone camera format to Most Compatible
- 4Confirm that new photos are saved as JPEG, not HEIC
- 5Choose between Automatic, High Efficiency and Most Compatible
- 6Convert HEIC photos you already taken to JPEG
- 7Keep HEIC on the camera and send JPEGs when it matters
- 8Common Mistakes and Fixes
- 9Frequently Asked Questions
- 10Will changing the iPhone camera format delete my existing HEIC photos?
- 11Can I convert HEIC photos to JPEG on my iPhone without a third-party app?
- 12Why does my iPhone still save photos as HEIC after I change the setting?
- 13Does choosing Most Compatible reduce photo or video quality?
- 14Will HEIC photos work if I send them by email or upload them to Instagram?
- 15Can I switch an individual photo from HEIC to JPEG without changing the camera setting?
- 16Conclusion
What You Need
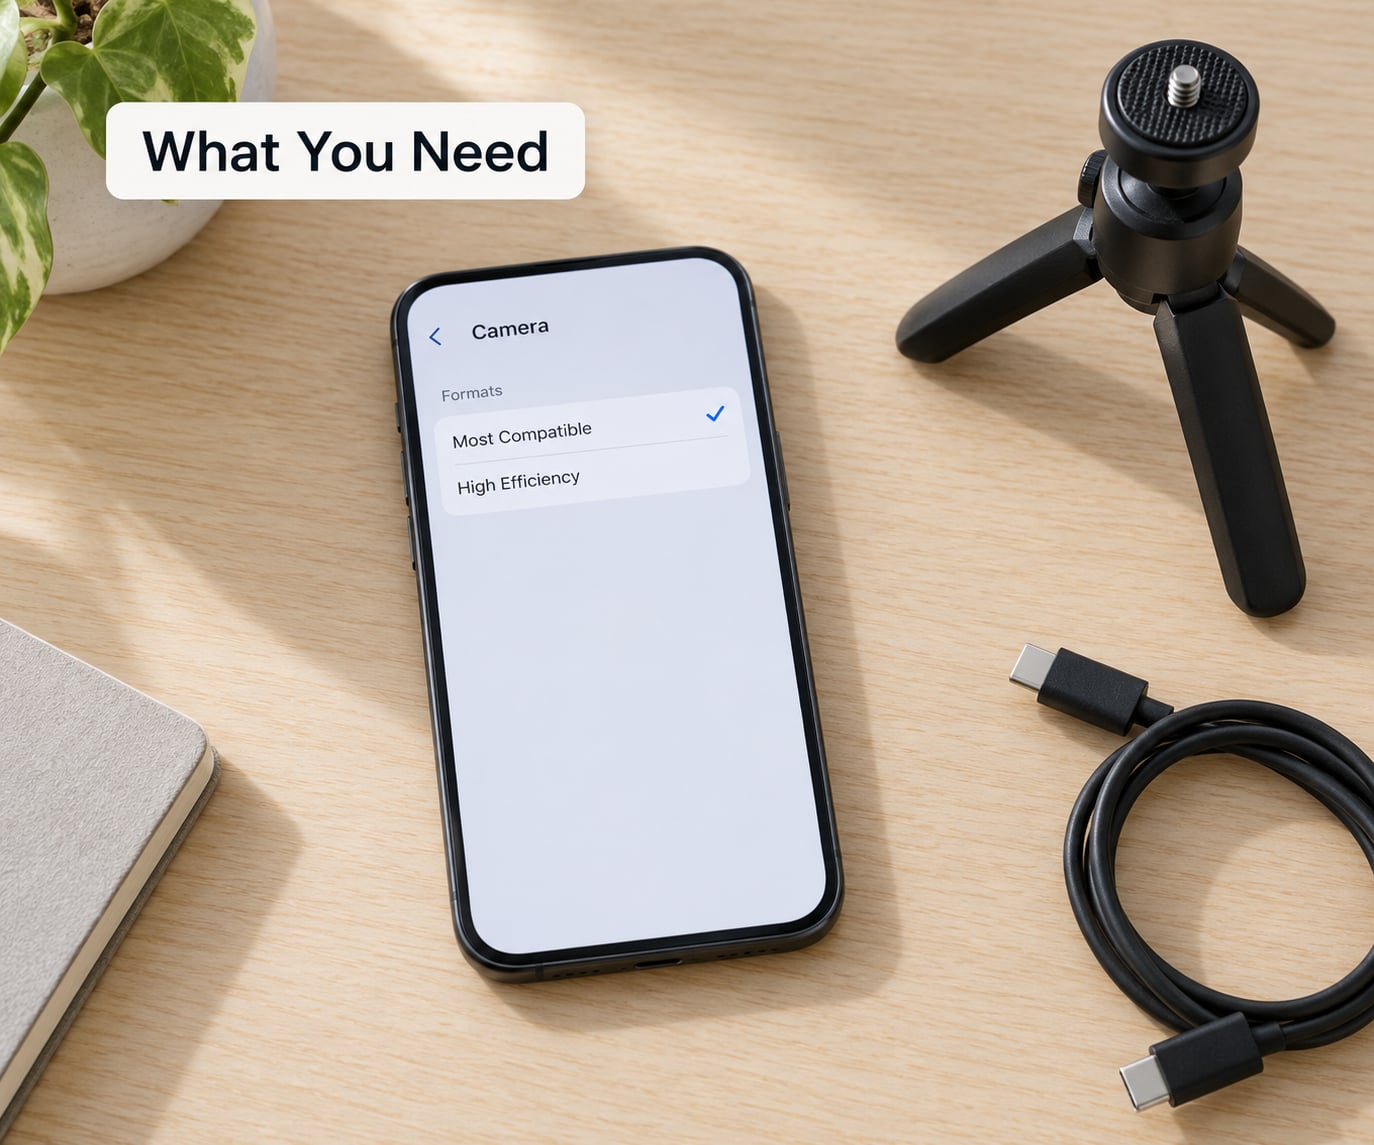
You need an iPhone running iOS 18 or later and nothing else. The whole process happens inside the built-in Settings and Camera apps, so there is no app to download and no subscription to start. The same path works on iPad, though iPads without a rear camera sometimes skip the Formats row entirely.
That missing row is normal on hardware that cannot capture media in HEIF. Older iPhones and some iPads simply never had the underlying capability, so Apple hides the option. If you cannot see Formats under Camera, check your iOS version first, then read the troubleshooting section below.
It also helps to know what this change will not do. It does not convert photos already in your library, it does not touch anything in iCloud Photos, and it does not change how screenshots are saved. Treat it as a switch for future captures rather than a fix for the whole library.
Step-by-Step: How to Stop iPhone From Saving HEIC Photos
Change the iPhone camera format to Most Compatible
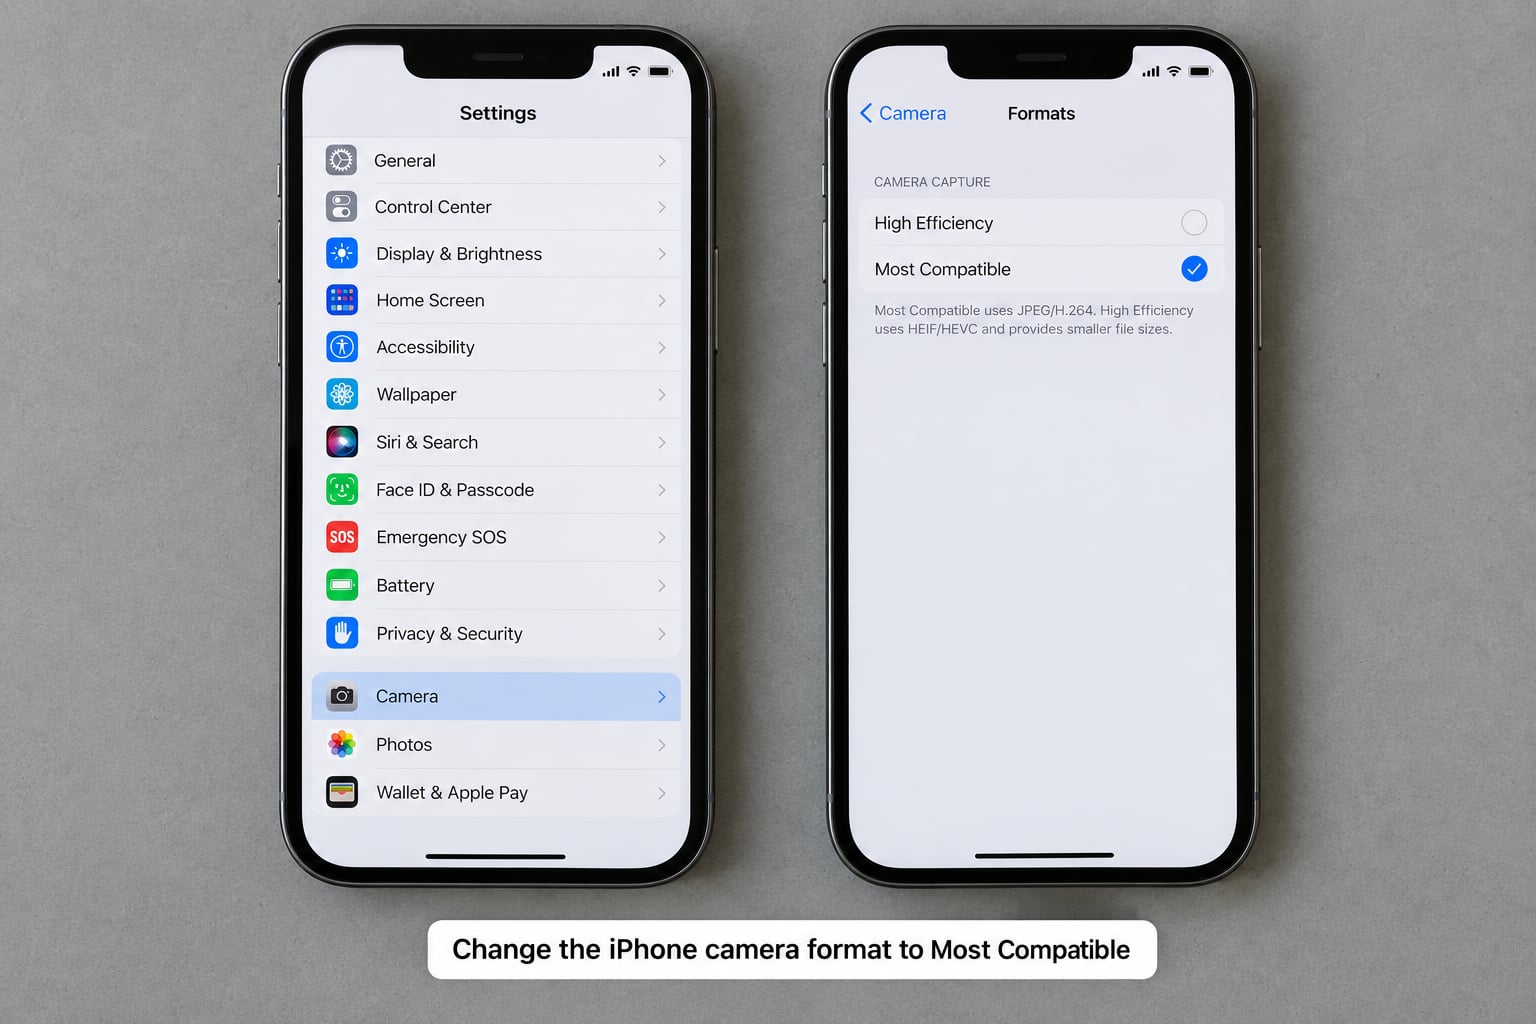
Open the Settings app and scroll down until you find Camera. Tap it, then scroll to the bottom of that screen to a row labelled Formats. Tap Formats and two options appear: High Efficiency, which is the default and produces HEIC, and Most Compatible, which produces JPG.
Tap Most Compatible. There is no confirmation dialog and no save button, so the moment the checkmark moves, new photos are captured as JPG. The camera features you already use, including HDR, Portrait mode, Live Photos and ProRAW, all keep working exactly as before.
Give it ten seconds of your life. That is genuinely the whole fix for how to stop iPhone from saving HEIC photos going forward.
Confirm that new photos are saved as JPEG, not HEIC
Take one throwaway photo and open it in the Photos app. Tap the small info button, the circled i near the bottom right of the photo, and look through the details for the file name or the format line. A JPG shows a .JPG extension where a HEIC would show .HEIC.
The Files app gives you a clearer view because it sorts by actual file type. Open Files, go to On My iPhone, find your camera roll folder, and switch the view to List. Photos saved as JPG sort into a .jpg group, and anything you took before the change still sits in the .HEIC group.
On a Mac, open the photo in Preview and check the title bar, or select the file in Finder and read the Get Info panel. If you see .HEIC on a photo you just took, something is off, and the fixes are listed further down.
Choose between Automatic, High Efficiency and Most Compatible
Newer iOS versions add a third option called Automatic, which decides per photo whether the extra efficiency is worth it. Most Compatible is the only choice that always gives you JPG. Here is how the three behave when a photo reaches the other devices you use.
| Where the photo ends up | High Efficiency (HEIC) | Most Compatible (JPG) |
|---|---|---|
| iPhone and iPad Photos app | Opens | Opens |
| Mac with a recent macOS | Opens | Opens |
| Windows 11 and Windows 10 | Needs the free HEIF Image Extension from the Microsoft Store | Opens |
| Android phone | Usually will not open | Opens |
| Older Photoshop, Word or desktop software | Often rejected | Opens |
| Website uploads such as blogs and page builders | Frequently rejected or converted silently | Accepted |
| Email attachments | Converted by many mail apps before sending | Sent as is |
The second setting people miss sits under Settings, then Photos, then Transfer to Mac or PC. That row has two choices, Keep Originals and Automatic. Set it to Automatic and iOS converts your images to JPG as it copies them to a Windows PC or Mac, even though the HEIC originals stay on the phone.
Automatic is the right pick if you want small files on the iPhone but ordinary files on your desktop. Most Compatible is the right pick if you share photos constantly and the phone has room to spare.
Convert HEIC photos you already taken to JPEG
For a single photo, open it in Photos, tap the share button and look for Save as JPEG in the share sheet. Tap it and the iPhone drops a JPG copy into your library. The original HEIC file stays put, so remember to delete it yourself once you are happy with the copy.
For several photos, select up to thirty at a time in the Photos grid, tap the share button and choose Save as JPEG when your iOS version offers it. If that option is not listed, copy the selection instead, paste it into a folder in the Files app, and the pasted files arrive as JPG.
On a Mac, open an image in Preview, choose File then Export, and pick JPEG as the format. Dragging a folder of HEIC files onto Photoshop or Affinity will convert them in one pass, which is the practical route for a library in the thousands.
Keep HEIC on the camera and send JPEGs when it matters
Plenty of people never change the camera setting at all. They stay on High Efficiency for the storage savings and convert only at the moment of sharing, which keeps half the space free on the phone.
AirDrop to a Mac, AirPlay or sharing to a device that supports HEIC keeps the original format. Sharing to something that does not support it, such as an older Windows machine or a generic upload box, prompts iOS to send a JPG automatically. That behaviour annoys people who wanted to keep the original, so Save as JPEG from the share sheet gives you control.
Sharing controls shift a little between iOS releases and between apps, so look at the share sheet each time rather than assuming. If you need the HEIC file specifically, share it to Files or to iCloud Drive and pull it from there.
Common Mistakes and Fixes
Photos are still HEIC after the change. Look at which app took them. Third-party camera apps, including many of the popular ones, use their own settings and ignore the Camera app preference entirely. Screenshots and screen recordings are also unaffected by the toggle, and anything syncing from iCloud Photos keeps the format it was captured in.
Files land on your PC as HEIC anyway. Camera formats control new captures, while transfers are handled by Transfer to Mac or PC. Set that row to Automatic and your originals stay HEIC on the phone while JPG copies land on the desktop.
You checked the wrong photo. Existing HEIC files do not change format retroactively, so opening a photo from last month tells you nothing about the setting. Take a fresh one and check that instead.
The Formats row is missing. Either the device cannot capture HEIF, or your iOS version is old enough that the layout differs. Update iOS first. On older versions the choice may sit under Camera then Formats Camera Control, with the wording slightly different.
Storage got tight after switching. JPG files are roughly twice the size of HEIC ones at the same setting. Switch back by returning to Settings, Camera, Formats and choosing High Efficiency, or leave the camera alone and use Save as JPEG on the handful of photos you actually send.
You expected existing files to convert. Nothing in this setting touches your library or your iCloud account. Converting thousands of photos takes a deliberate batch run on a Mac, and the original files stay unless you delete them.
Frequently Asked Questions
Will changing the iPhone camera format delete my existing HEIC photos?
No. The Formats setting only decides the format of photos taken after you make the change. Every existing HEIC file stays exactly where it is, in your library and in iCloud Photos. If you want those files as JPG, convert them separately with Save as JPEG in the share sheet, or export them from Preview on a Mac, and delete the originals yourself.
Can I convert HEIC photos to JPEG on my iPhone without a third-party app?
Yes. The built-in Photos share sheet has a Save as JPEG option, and on recent iOS versions you can select up to thirty photos and convert them in one pass. If that option is missing, copy the photos and paste them into a folder in the Files app, and they arrive as JPG. No download required.
Why does my iPhone still save photos as HEIC after I change the setting?
Most often the photo did not come from the Camera app. Third-party camera apps use their own settings, and screenshots and screen recordings are never affected by the Formats toggle. Photos that sync down from iCloud Photos keep their original format too. Take a fresh photo with the stock Camera app and check its file name in Files to confirm the change worked.
Does choosing Most Compatible reduce photo or video quality?
Not in any way you would notice day to day. JPEG holds plenty of detail at the quality the iPhone captures at, and HDR, Portrait mode, Live Photos and ProRAW all keep working. The trade-off is file size, since JPG files are roughly twice as large as HEIC ones. Video switches from HEVC to H.264 under the same toggle.
Will HEIC photos work if I send them by email or upload them to Instagram?
Often, because iOS converts automatically when the destination cannot handle HEIC. Mail and Messages will usually send a JPG without asking. Social apps and website upload boxes vary, and some quietly reject the file or strip it down. If you need predictable results, save a JPEG copy first with Save as JPEG in the share sheet.
Can I switch an individual photo from HEIC to JPEG without changing the camera setting?
Yes, and this is the sensible approach if you want to keep HEIC for storage. Open the photo in Photos, tap the share button, choose Save as JPEG, and the phone creates a JPG copy alongside the original. Delete the HEIC version if you no longer want it. The camera setting stays on High Efficiency for everything you shoot next.
Conclusion
That is how to stop iPhone from saving HEIC photos for good: open Settings, tap Camera, tap Formats and choose Most Compatible. Then take one photo and check its file name in Files, because verifying beats assuming. If HEIC files already on your computer bother you, set Settings, Photos, Transfer to Mac or PC to Automatic so every future transfer arrives as JPG too.