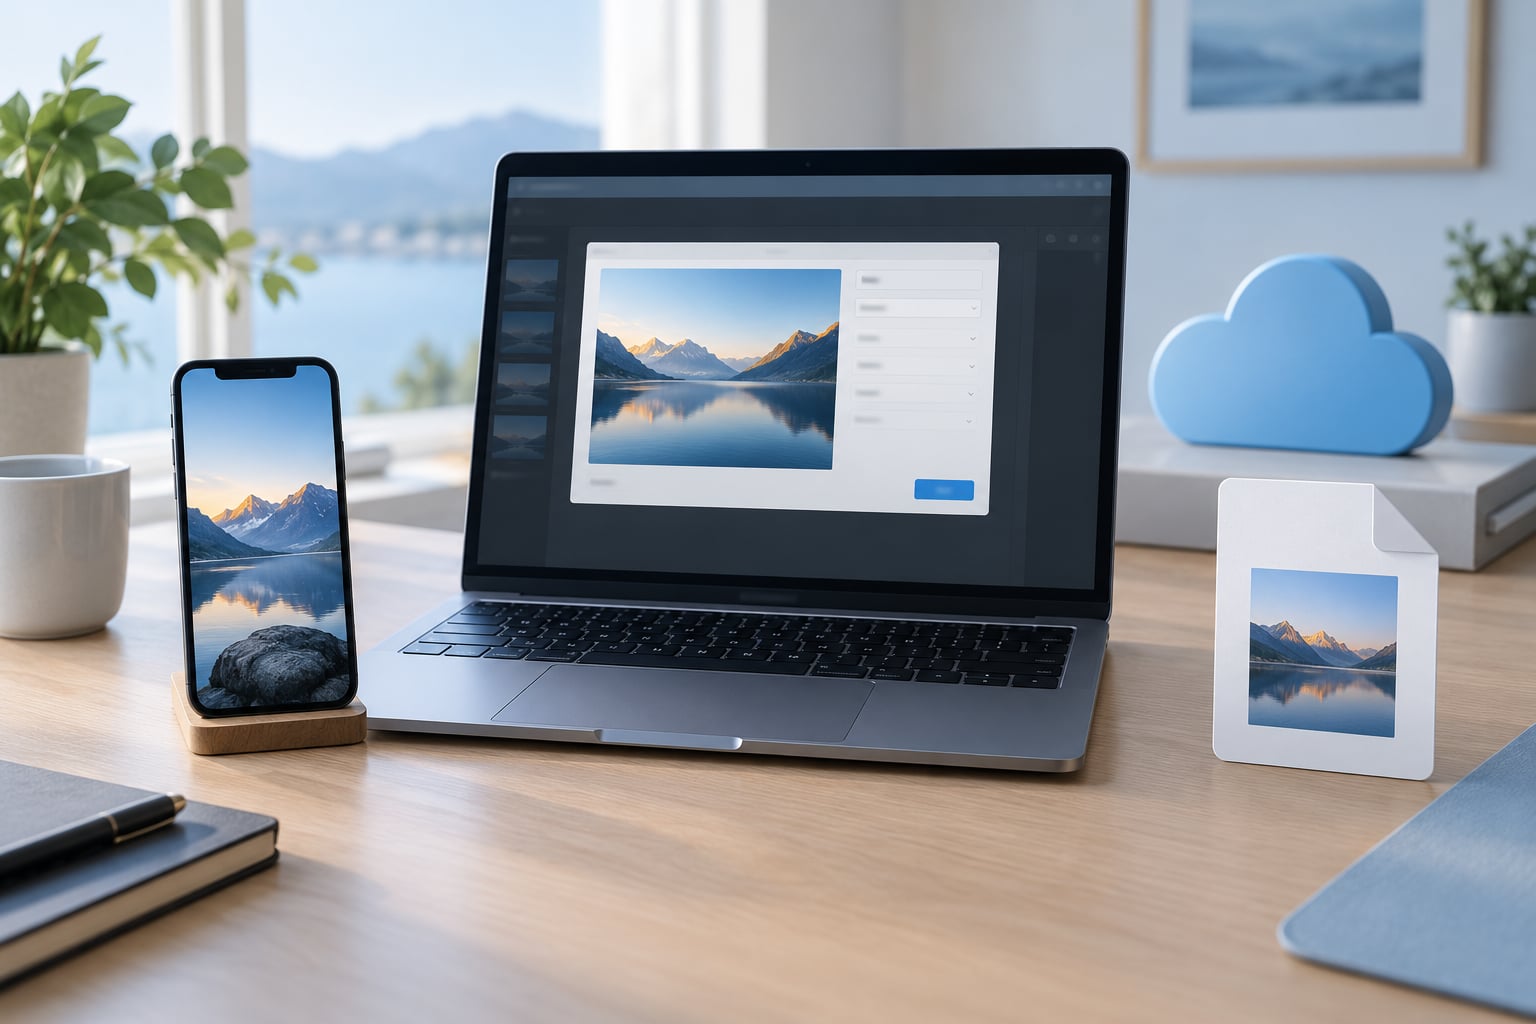
To convert HEIC photos to JPG, iPhone and iPad users tap the Share Sheet or run a Shortcut, while Mac users open the file in Preview and export it as JPEG. The whole thing takes under a minute per batch, costs nothing, and leaves the original HEIC files untouched.
That last part is the bit most guides skip. Converting creates a copy. You end up with HEIC and JPG versions of the same photo side by side, and you decide later which one to delete.
Apple has used HEIC (High Efficiency Image Format) as the camera default since iOS 11. It stores more detail than JPG in roughly half the file size, which is why a 12-megapixel iPhone photo lands around 1.5 MB instead of 3 MB. The catch is compatibility: Windows, Android, older printers and most web upload forms still expect JPG.
Here is how to do the conversion on each platform, plus the mistakes that trip people up.
Table of Contents
- 1What You Need
- 2Step-by-Step: How to Convert HEIC Photos to JPG
- 3How to Convert HEIC Photos to JPG on iPhone or iPad
- 4How to Convert HEIC Photos to JPG on Mac
- 5How to Convert HEIC Photos to JPG with an App
- 6Common Mistakes
- 7Frequently Asked Questions
- 8Can I convert HEIC photos to JPG on an iPhone without installing an app?
- 9Does converting a HEIC photo to JPG reduce its quality?
- 10How do I convert multiple HEIC photos to JPG at once?
- 11Why are my JPG photos larger or blurrier than the original HEIC files?
- 12Can I open HEIC photos on a Windows or Android device after converting them?
- 13Should I delete the original HEIC photos after converting them to JPG?
- 14Conclusion
What You Need
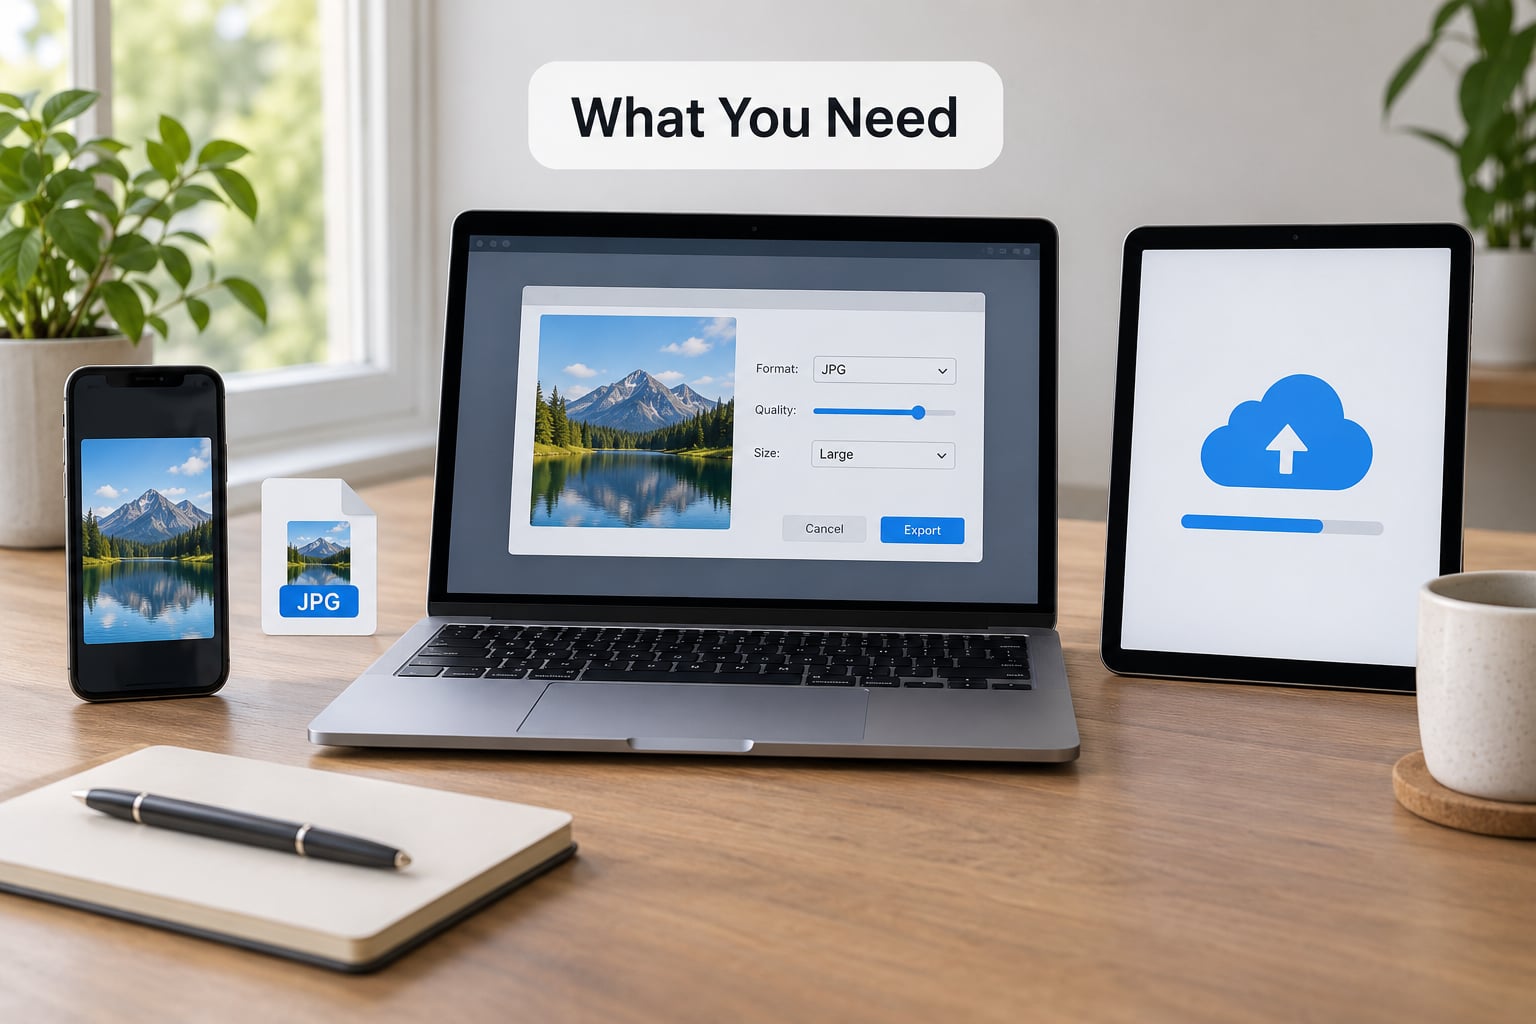
On iPhone and iPad, you need nothing extra. The Share Sheet, the Files app and the Shortcuts app all ship with iOS and can produce JPEG files from HEIC originals.
On Mac, Preview comes with the system and handles single files. For dozens of files at once, macOS Monterey and later have Quick Actions built into Finder. Older Macs can still batch convert through Automator, which is also pre-installed.
An app or an online converter is only worth it when you need to convert hundreds of files, or when the files are arriving from another device and you want one tool that handles Windows or Android as well.
Two things worth setting up first. In Settings, tap Camera, then Formats, and choose Most Compatible if you want new photos to save as JPG from the start instead of HEIC. And if the photos are synced to iCloud Photos, know that converting does not delete the originals from the cloud, so your iCloud storage use stays the same until you delete them yourself.
Step-by-Step: How to Convert HEIC Photos to JPG
How to Convert HEIC Photos to JPG on iPhone or iPad
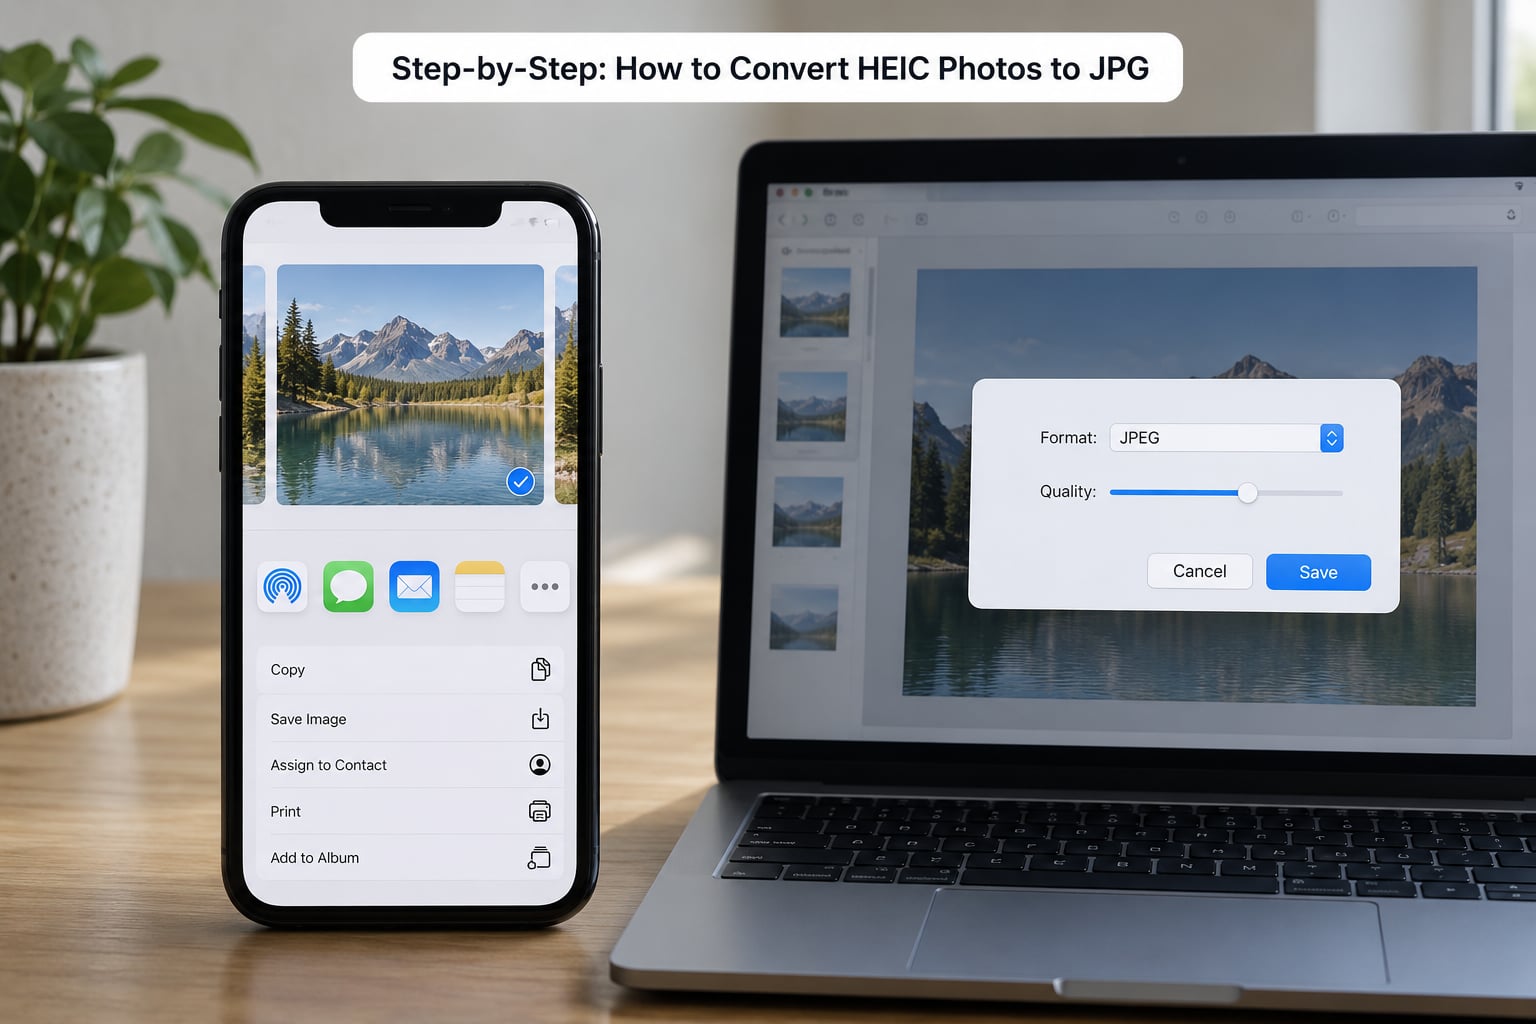
The quickest route for a single photo is the Share Sheet, and it takes four taps.
- Open the Photos app and tap the HEIC photo.
- Tap the Share button, the square with an arrow pointing up.
- Choose Mail or Messages and pick the contact.
- The photo arrives as a JPEG, because the receiving side asked for a compatible format.
To check what you actually got, open the attachment on another device or in an email client. The filename ends in .jpg instead of .heic. If it still says .heic, the recipient device handles HEIC natively, so you will need one of the methods below instead.
For more than a few photos, use Shortcuts, which is Apple’s own automation app and is already on the phone.
- Open Shortcuts, tap the plus sign at the top right, and name the shortcut Convert to JPG.
- Tap Add Action and search for Convert Image.
- Set Format to JPEG and Quality to High or Highest. Leave the image size untouched so nothing is downscaled.
- Tap Share, choose Save to Files, and pick an output folder such as On My iPhone or iCloud Drive.
Run the shortcut once and you have the recipe. Tap it again on any photo or batch of selected photos and it repeats automatically, which is how you convert a 200-photo library without touching each file.
How to Convert HEIC Photos to JPG on Mac
Preview is the built-in answer, and the menu path has not changed in years.
- Find the HEIC file in Finder. If Preview is not the default app for it, right-click the file, choose Open With, then Preview.
- In the menu bar, click File, then Export.
- In the Format dropdown, choose JPEG.
- Leave Quality High or set a specific number. Higher means a bigger file and a closer match to the original.
- Use File Name to keep the same name, then click Save and choose a folder.
The exported file ends in .jpg. Preview keeps the original file in place, so nothing is overwritten.
For batches on macOS Monterey and later, skip Preview. Select the HEIC files in Finder with Command-click, right-click, choose Quick Actions, then Convert Image. Pick JPEG from the format menu, set the quality slider, choose where the files go, and click Convert. One pass handles an entire folder.
On older versions of macOS, Automator does the same job. Open Automator, choose New Document, then Application, add a Get Files action, add Convert Type of Images, set the output format to JPEG, and run it. It is clunkier than Quick Actions and worth setting up only if you convert regularly.
How to Convert HEIC Photos to JPG with an App
An app is the sensible pick when you are converting on Windows or Android, or when you want a progress bar and a single output folder for hundreds of files. Plenty of options do the job well; what matters is that the app runs locally and tells you whether it keeps metadata.
Look for these three things before you commit to one.
- Local conversion. Files are converted on your device, not uploaded to a server. That keeps your photos off someone else’s computer.
- A quality setting. Anything under 80 percent is throwing detail away on purpose. Look for a slider so you can set it yourself.
- Metadata handling. EXIF data carries the date, camera model and GPS coordinates. A good app copies it across; some skip it.
Expect one permission prompt for photo access the first time you import. Deny it and the app sees an empty library, which is the most common reason a conversion appears to do nothing.
Set an output folder before you start. Leaving it on the default Downloads folder is how you end up with 60 files scattered across two directories and no idea which are which. If the app offers a naming pattern, use one that adds a suffix rather than overwriting, so a second run cannot quietly destroy the first.
Online converters work the same way: upload, convert, download. They are fine for a handful of non-personal photos. I would not send family pictures or anything with location data through a free converter site, because the file leaves your machine and you have no control over what happens to it next. Converters from Microsoft Store and the App Store are held to more review than random websites, which is the standard most people apply.
Common Mistakes
Renaming the extension does nothing. Typing .jpg over .heic in Finder creates a file that is still HEIC inside, with a name that lies about it. Programs that trust the extension will fail to open it. Real conversion rewrites the data.
The JPG looks blurrier than the original. That is repeated compression. Converting a JPG to JPG, or exporting twice at low quality, degrades it each pass. Always convert from the original HEIC file, and set quality to 90 or higher.
The JPG is larger than the HEIC. Expected. HEIC is efficient; JPEG is not. A 2.4 MB HEIC typically becomes a 3.8 MB JPEG at equivalent visible quality. File size is not a quality measurement.
Nothing downloads from an online converter. A dozen common causes: the file exceeded the site’s size limit, the browser blocked a pop-up, an ad blocker interfered, the upload stalled, or you hit convert before the upload finished. Check the upload progress bar, try a private window with extensions off, and convert fewer files per batch.
Duplicates everywhere. Both Photos on iPhone and Photos on Mac will happily import a converted JPG beside the HEIC and show you two of the same picture. Turn off duplicate detection only if you know what you are doing, or delete the HEIC after checking the JPG looks right.
Windows says it cannot open the file. Windows 10 and 11 need the HEIF Image Extension from Microsoft Store to view HEIC. Install it and the problem disappears. To print, many shops still ask for JPG, which is the real reason to convert in the first place.
One habit saves future you trouble: convert from a copy of the library, not the library itself, and keep the originals until you have printed or shared the JPG at full size.
Frequently Asked Questions
Can I convert HEIC photos to JPG on an iPhone without installing an app?
Yes. iOS can produce JPEG files from HEIC photos using only built-in tools. Share a photo from the Photos app through Mail or Messages and it arrives as a JPEG on devices that cannot display HEIC. For files you plan to keep, use the Shortcuts app with the Convert Image action set to JPEG, then save the result to Files. Both ship with iOS, so no download is needed.
Does converting a HEIC photo to JPG reduce its quality?
Converting at a high quality setting is visually lossless to the eye. JPEG cannot match HEIC’s efficiency, so the JPG file is usually larger, but the visible detail survives when you export at 90 percent quality or higher from the original file. Quality drops when you convert an already-compressed JPG again, or export twice at a low setting. Always start from the untouched HEIC.
How do I convert multiple HEIC photos to JPG at once?
On iPhone and iPad, build a Convert to JPG shortcut once using the Convert Image action, then tap it on any group of selected photos and choose Save to Files. On Mac, select the files in Finder, right-click, and choose Quick Actions, then Convert Image. On Windows, a conversion app with drag-and-drop batch mode is the fastest route for hundreds of files.
Why are my JPG photos larger or blurrier than the original HEIC files?
Larger is normal and not a problem. HEIC stores the same image in fewer bytes, so a matching JPEG runs one to two megabytes bigger. Blurry means the converter re-compressed an already-compressed file, or you exported at a low quality setting. Fix it by setting quality to 90 or above and always converting from the original HEIC rather than from a JPG copy.
Can I open HEIC photos on a Windows or Android device after converting them?
Yes, and that is the whole point of converting. A JPG opens in every Photos app, browser and print shop on any platform, while HEIC needs an extension on Windows and often a third-party app on Android. If you are viewing an unconverted HEIC on Windows, install the free HEIF Image Extension from Microsoft Store. For sharing, keep a JPG copy of anything that matters to you.
Should I delete the original HEIC photos after converting them to JPG?
Keep them until you have checked the JPG at full size on the screen or in print that you care about. HEIC holds more detail, so it is the better master copy for editing or large prints, and deleting it cannot be undone from Photos unless iCloud still has it. Once the JPGs look right and the HEIC files are backed up, removing the originals is safe.
Conclusion
Start with what your device already has. On iPhone and iPad, build the Convert to JPG shortcut and run it on a batch. On Mac, use Quick Actions in Finder for several files, or Preview’s File, Export for a single one. Save an app or an online converter for the times you are working on Windows or Android, and set quality to 90 or better so the JPG holds up in print.