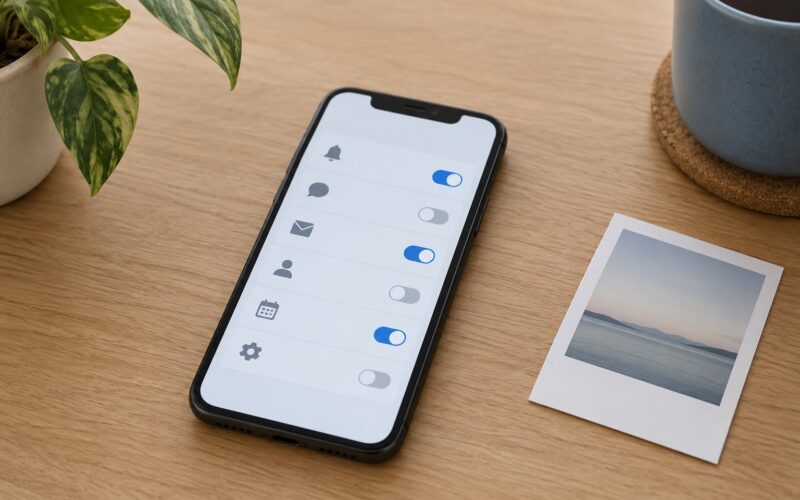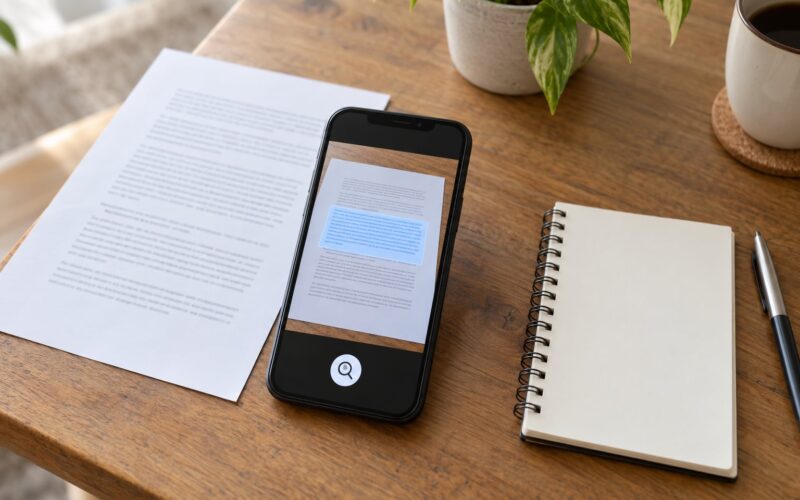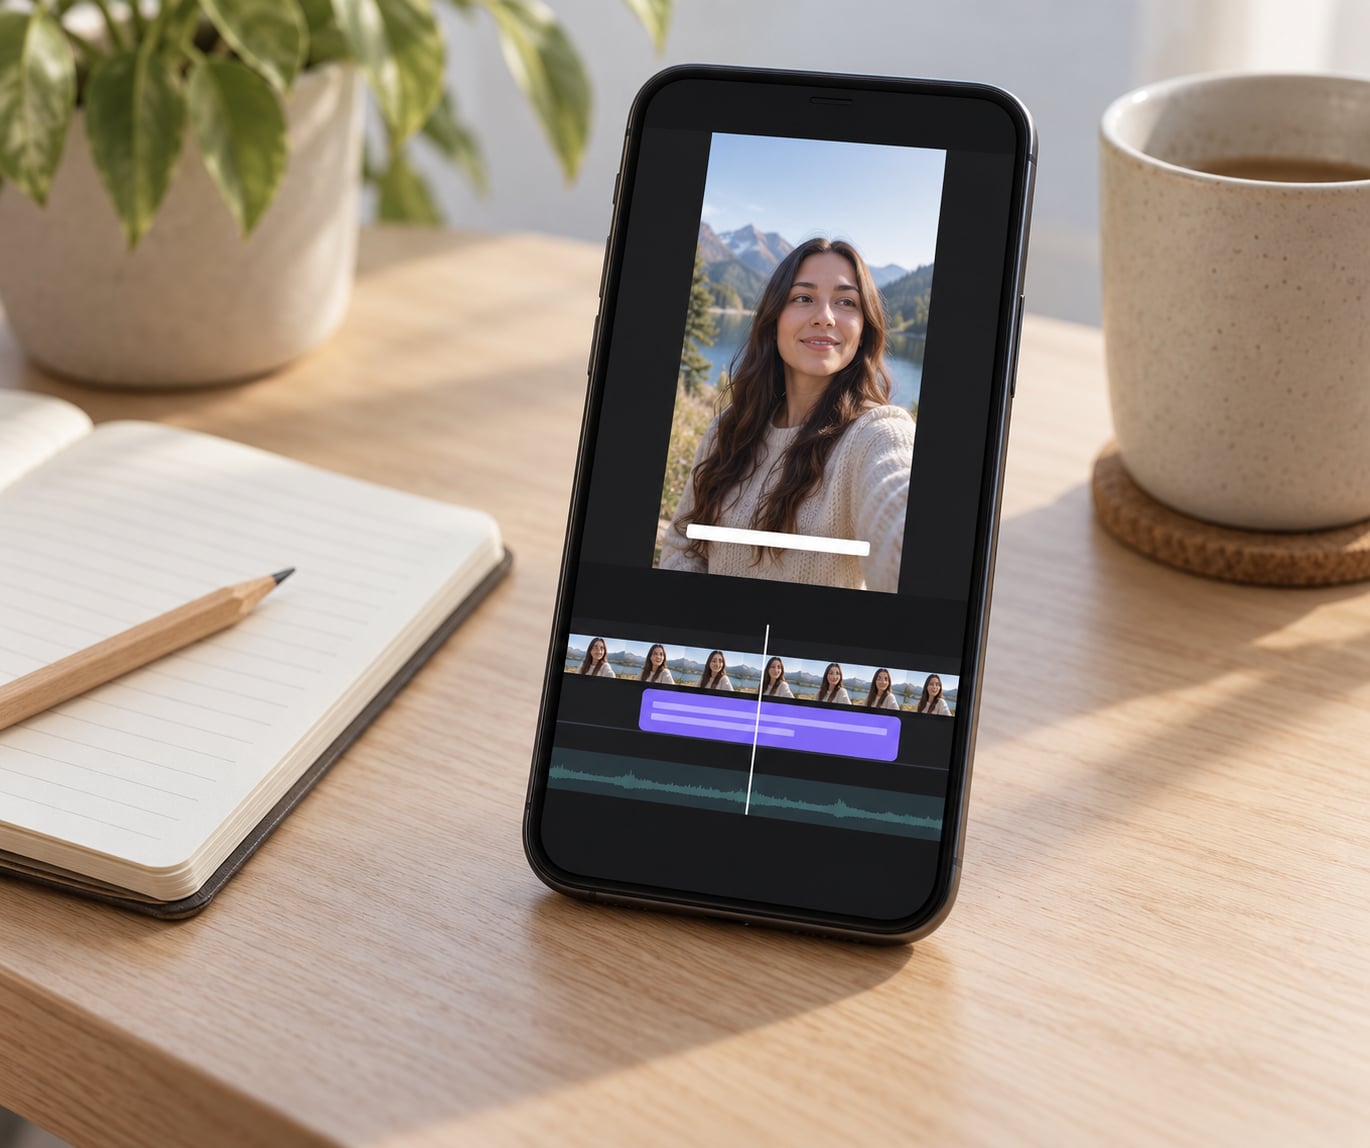
There are three separate jobs people mean when they search “how to add captions to videos on iPhone,” and iOS handles them very differently. To watch captions on someone else’s video, turn on Settings > Accessibility > Subtitles & Captioning > Closed Captions + SDH. To caption a clip you already recorded, you need a third-party app such as CapCut, because Apple ships no native burned-in caption editor.
The honest answer first, since it saves people a lot of hunting around: the Photos app has no caption button. There is nothing hidden. iOS can display caption tracks that already exist and it can transcribe live audio, but adding new text into the picture of a finished video always means an app.
I keep this distinction straight because the two get blended into one confusing question constantly. Turning captions on is a viewing setting that costs nothing and takes about fifteen seconds. Adding captions to your own video is an editing job, it takes five to fifteen minutes depending on length, and for anything you publish, burned-in is the version you want.
Table of Contents
- 1What You Need
- 2Step-by-Step
- 3How to Add Captions to a Video Already in Photos
- 4How to Add Captions While Recording a New Video
- 5How to Check and Correct Automatic Captions
- 6Common Mistakes
- 7Frequently Asked Questions
- 8Can I add captions to a video on my iPhone without an app?
- 9Why is there no caption button in the iPhone Photos app?
- 10How do I turn on closed captions on my iPhone?
- 11Is there a difference between subtitles and captions?
- 12How do I add captions before posting to a Reel or TikTok?
- 13Which video player is best for using an SRT subtitle file?
- 14Conclusion
What You Need
For watching captions, you need iOS 13 or later and a video that already has a caption track. Streaming services, Netflix, YouTube and most broadcast content ship with them, and Apple’s own Movies and TV app adds tracks for many titles.
For adding captions to your own footage, you need three things:
- The video on your iPhone. It should be in Photos, or you can import it from Files, iCloud Drive or a cloud app.
- An app that can burn in text. CapCut is the one I’d start with for short vertical clips; iMovie works if you want more control and it is already on the phone.
- Somewhere to read the transcript. This sounds trivial, but proofreading on the phone screen is where the real work happens. Names, brands and jargon get mangled.
Two optional extras change the result. If your audio is quiet, has background music or features two speakers, record or use a clip with clear single-speaker audio, because automatic transcription does much worse on overlapping speech. If you already have a subtitle file, an SRT or VTT, you can skip generating text entirely and just import it.
One hardware note worth stating plainly: Live Captions in Accessibility needs an iPhone 11 or later with iOS 16 or later. Older phones do not show that menu item, which is one reason older tutorials send you to a dead end.
Step-by-Step
Pick the branch that matches what you actually want. Reading captions, recording with captions on screen, and adding captions to a finished video are three separate operations, and only the third one needs an app.
How to Add Captions to a Video Already in Photos
First, the native route. This displays captions that already exist in the video; it does not create new ones. Open Settings, tap Accessibility, tap Subtitles & Captioning, then tap Closed Captions + SDH. Turn on the top toggle and pick a style from the list, Default is usually the most readable. Tap Style to change the font, background and edge treatment.
You can reach the same screen faster from Control Center. Depending on your layout, there is a subtitles button in the expanded Control Center panel, and it is the quickest toggle of the three. It works in the Photos app, Safari, streaming apps and AirPlay to an Apple TV, which is the answer if you have been wondering how to AirPlay with subtitles.
Now for a video you recorded yourself. Apple gives you no in-Photos caption editor, so the work moves to an app. Here is the route I use in CapCut, which is free and writes text into the picture rather than attaching a toggleable track:
- Open CapCut and tap New project, then select the clip in your camera roll.
- At the bottom of the timeline, tap Text, then Auto captions and choose your language.
- Tap Generate. A transcript appears as separate blocks tied to timecodes on the timeline. Longer clips take a minute or two.
- Tap any block to edit the words. Correct names, brand spellings and anything the transcription guessed wrong.
- Tap Style to change the font, size and background. Pick a solid background box rather than plain text for anything shot outdoors.
- Drag each block along the timeline so it starts when the line is spoken, not before it.
- Tap the export button in the top right, choose 1080p, and save. The captions are now part of the image.
When it works, the exported file plays in Photos, Messages, Instagram and TikTok with the text baked in, and no other app is needed to read it. That is the part people want, and it is the reason to burn captions in rather than attach a track.
If you want a toggleable track instead, that is a different tool. Players such as VLC and Infuse will load an SRT or VTT file sitting next to the video in Files, and you can turn subtitles on inside the player. That track can be switched off, but it disappears the moment the video reaches a platform that does not read it. For Reels, Shorts and TikTok, burned-in is the safe choice.
How to Add Captions While Recording a New Video
There are two ways to get text onto a video as you shoot it, and one of them is a different iOS feature from the other. This part depends on your iPhone model, language, region and iOS version, so check the menu actually exists before planning around it.
Live Captions is a transcription window, not video text. Go to Settings > Accessibility > Live Captions and turn it on, then pick a source such as Microphone or iPhone Audio. Speech appears as live text you can move, resize or hide, and you can screenshot or screen record it. It is designed for in-person conversations and for transcribing audio already playing.
It is genuinely useful when you need the words, not the video. It will not put subtitles on a recording.
Live Titles in the Clips app will. Open Clips, record your clip, tap the speech bubble icon at the top of the screen, and Live Titles appears over the video as you talk. You pick a style, and the words follow the speech. Because it happens during recording, the text is already part of the clip when you share it.
The catch people complain about is real: Clips records inside the app only. It is square-framed and awkward for footage you have already shot in 9:16 or 16:9. If the clip is on your camera roll, CapCut or iMovie is the better route.
How to Check and Correct Automatic Captions
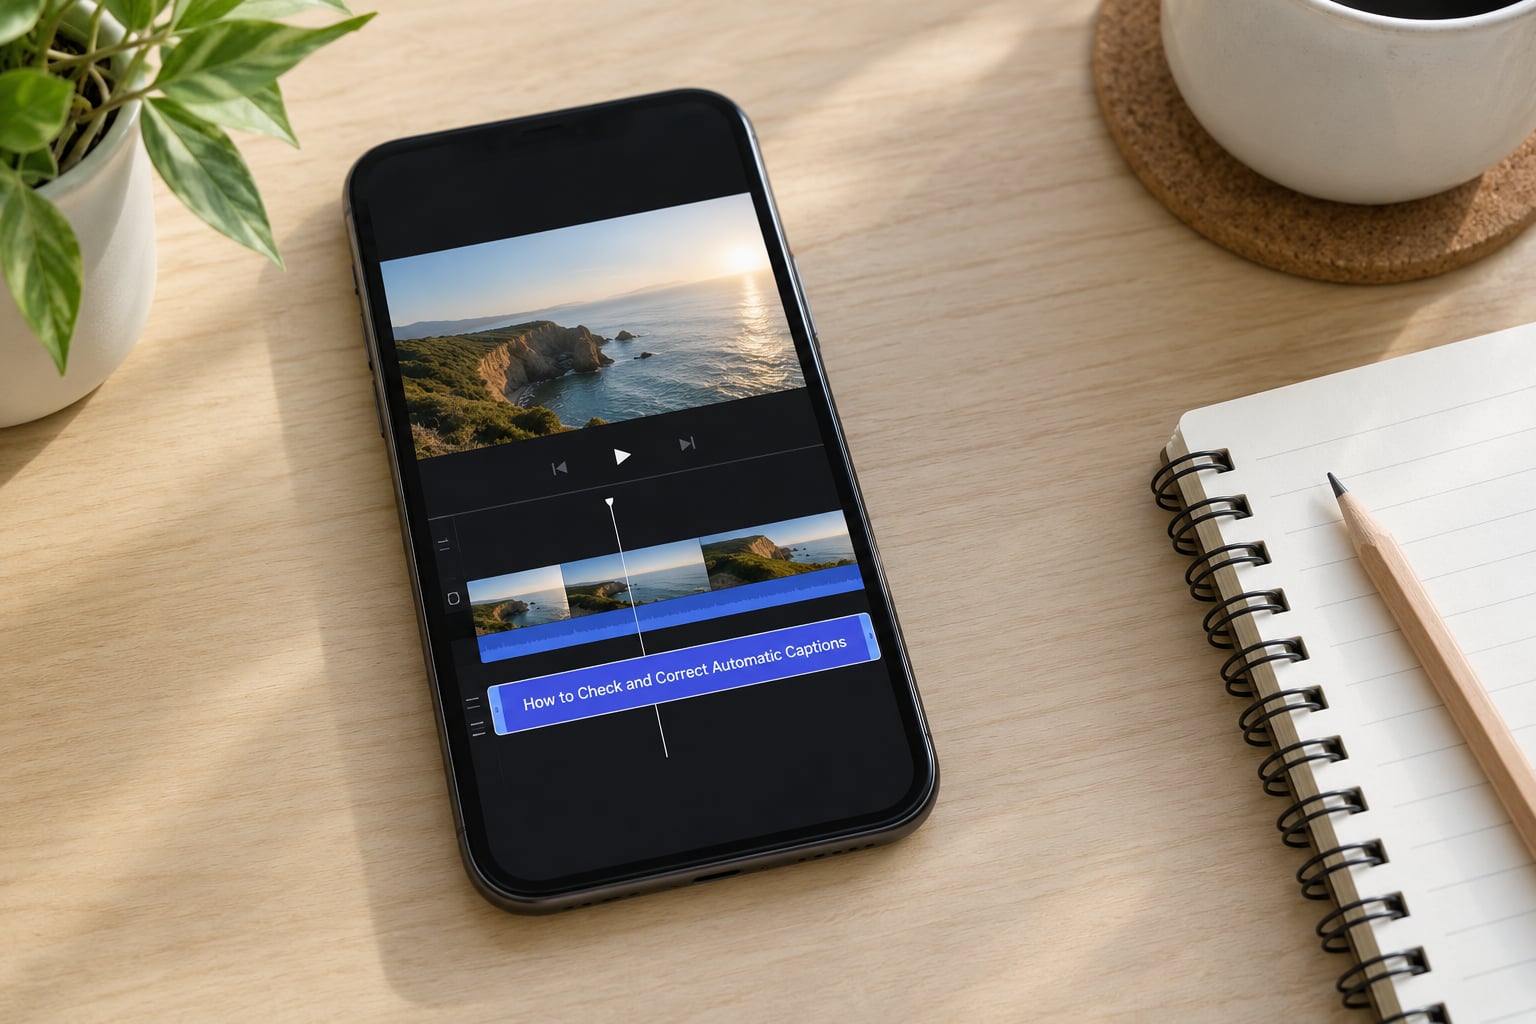
Automatic transcription is fast, not accurate. It gets clean, single-speaker English roughly right and it will happily turn a product name into a foreign phrase. Always play the clip from start to finish at full speed before you export.
What I check every time:
- Proper nouns. Company names, usernames, place names and technical terms. These are where auto-captions fail most often.
- Timing. A block that appears two seconds late feels broken to a viewer. Drag it to start with the first word spoken.
- Line length. Keep each caption to about two lines and break at a natural phrase, not mid-sentence. An orphan line with one word on it looks careless.
- Punctuation. Commas change how a sentence reads when it appears word by word.
- Non-speech cues. For accessibility, add sound descriptions in brackets: [upbeat music], [door slams]. Name speakers where two people talk: [Sarah]: or [Marcus]:.
For vertical video, keep captions inside the safe zone. Reels and TikTok place the profile name, caption text and buttons along the right edge and bottom of the frame, so text sitting there gets covered. Keeping caption text centred and above the bottom third avoids the problem.
Save the corrected project inside the app before exporting. If you close the project and reopen it, unsaved transcript edits are the first thing you lose, and you end up retyping work you already did.
Common Mistakes
There is no caption button in Photos. This is not a bug and it is not something hidden behind an update. Apple does not ship an app for burning text into video. Check for captions on the video first through Accessibility, and use an editing app for your own footage.
Captions are not showing when I watch a video. Turn on Closed Captions + SDH in Subtitles & Captioning, then confirm the source actually has a caption track. A lot of user-uploaded clips have none, so there is nothing for iOS to display. You can also check that the Style setting has not been set to Transparent, which hides the text while leaving the toggle on.
Subtitles & Captioning is missing from Accessibility. You are either on a very old iOS version or reading a stale tutorial. On older versions the settings sat in different menus, and some versions placed Live Captions directly in the Accessibility menu instead. Update the phone and check the current iPhone User Guide on Apple’s site for your exact version.
Live Captions is not in my menu. That feature needs iPhone 11 or later running iOS 16 or later. On older hardware it simply does not appear, no matter how many tutorials you follow.
The captions are in the wrong language. Pick the language manually in the app’s caption generator instead of trusting auto-detection. Mixed-language speech, a common case with product names and music, is where detection picks the wrong one.
The exported video has a watermark. Some free tiers stamp their name across the frame, and that is the most common complaint about phone caption apps. CapCut and iMovie do not add one on export. If you hit a watermark, check whether the app has moved your clip behind a paid export.
My transcript edits vanished. Save the project in the app first. Export is a separate action, and closing a project discards unsaved caption edits.
Captions look fine on my phone and terrible on someone else’s. Small, thin text on a bright background disappears on a washed-out screen. Use a heavier weight and a solid background box rather than outline-only text.
One more habit that pays off: if a video is going anywhere public, keep the caption file as well as the export. Uploading an SRT alongside the video to YouTube or to a team folder takes a minute and lets you fix a spelling later without re-editing on your phone.
Frequently Asked Questions
Can I add captions to a video on my iPhone without an app?
Not to your own video, no. iOS can display caption tracks that already exist through Settings u0026gt; Accessibility u0026gt; Subtitles u0026amp; Captioning u0026gt; Closed Captions + SDH, and Live Captions can transcribe speech as a floating window. But Apple does not ship a burned-in caption editor, so adding new text to the picture of a finished clip needs a third-party app such as CapCut or iMovie.
Why is there no caption button in the iPhone Photos app?
Because the Photos app has never included a video captioning or text overlay editor, on any iOS version. Photos can play a caption track that a file already contains, and you can turn those on in Accessibility settings, but creating new captions happens elsewhere. Every tutorial that claims otherwise is describing an app, not a Photos feature.
How do I turn on closed captions on my iPhone?
Open Settings, tap Accessibility, then Subtitles u0026amp; Captioning, then tap Closed Captions + SDH and turn on the toggle. Tap Style underneath to pick a font, size and background. There is usually also a subtitles button in the expanded Control Center panel, which is faster for switching them on during a video.
Is there a difference between subtitles and captions?
They overlap heavily. Subtitles carry the dialogue only. Captions carry dialogue plus non-speech information such as speaker names, sound descriptions and music cues, which is why CC and SDH tracks are the ones used for accessibility. On an iPhone both arrive through the same Subtitles u0026amp; Captioning setting, so there is nothing to switch between.
How do I add captions before posting to a Reel or TikTok?
Caption the clip first in an editing app, then upload the finished file. Open CapCut, import the video, tap Text and then Auto captions, generate the transcript, fix any errors, check the timing and choose a style with a solid background. Export at 1080p and post that exported file, keeping text away from the right edge and bottom third where the app overlays its buttons.
Which video player is best for using an SRT subtitle file?
VLC for iOS is the most capable free option. Save the video and its .srt or .vtt file in the same folder in Files, open the video in VLC and enable subtitles from the playback menu. Infuse handles the same files and is a good pick for library playback. Remember that a track loaded this way only appears in that player, so export burned-in versions for social posts.
Conclusion
The fastest route depends on what you are holding. To watch captions, go to Settings > Accessibility > Subtitles & Captioning > Closed Captions + SDH and turn it on. To caption a clip you already shot, open it in CapCut, run Auto captions from the Text tab, fix the transcript, and export.
If the caption option is missing, check your iOS version first, then your iPhone model for Live Captions, then use an app that does not watermark the export.