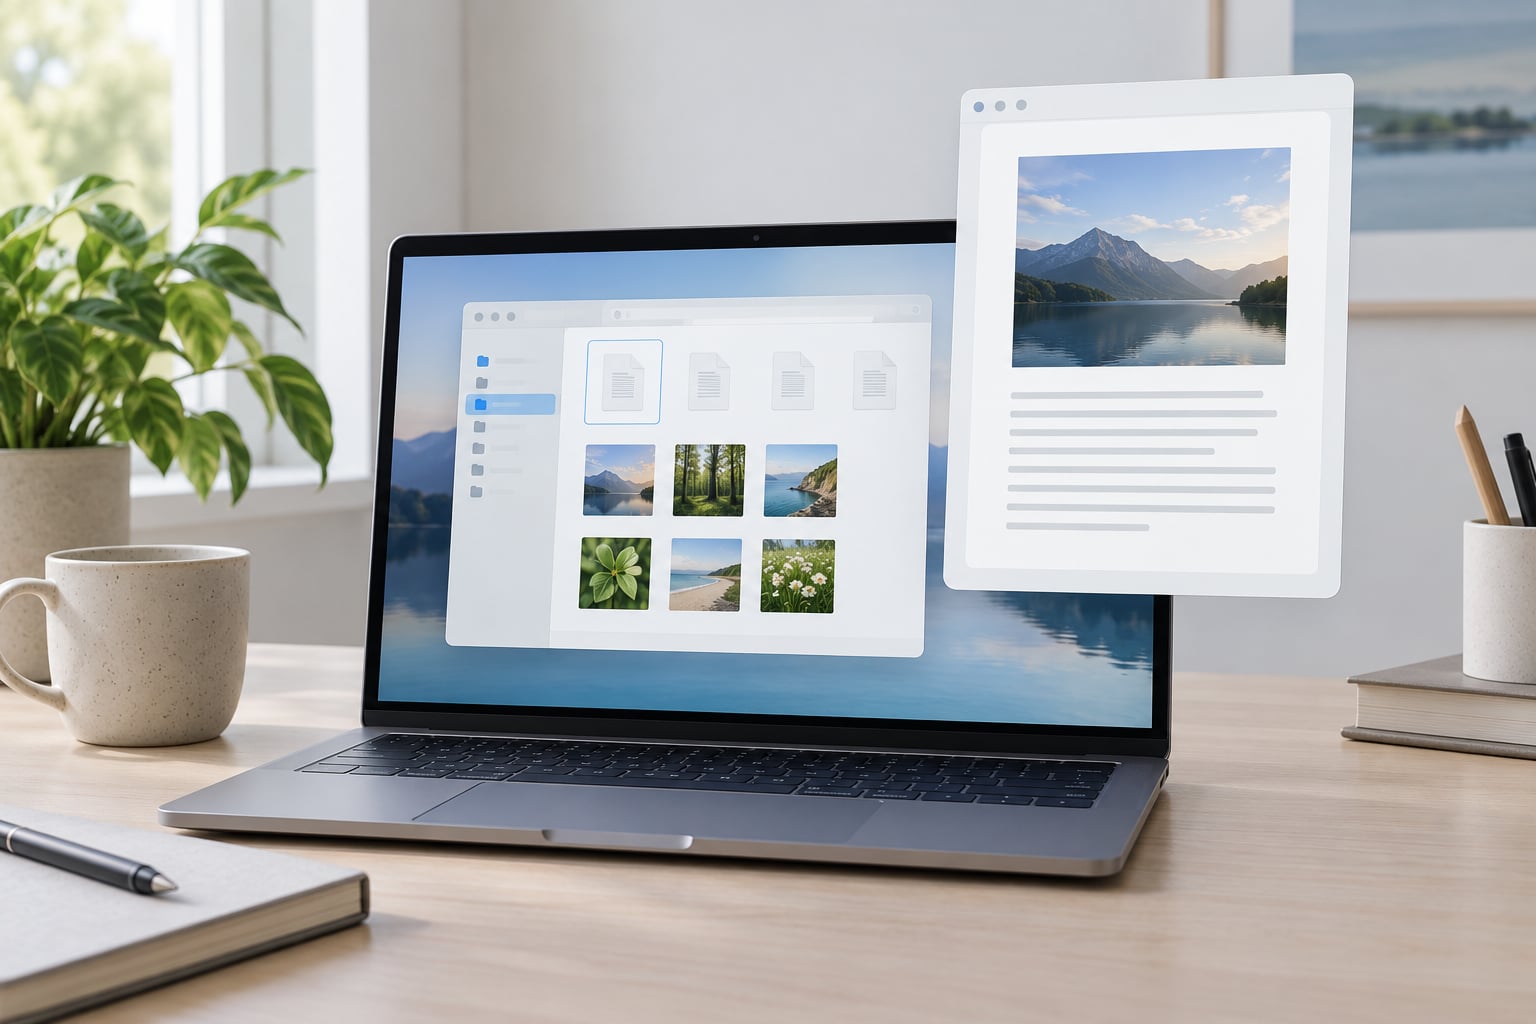
To use Quick Look on Mac, click a file in Finder and press the Space bar. A floating preview window opens on top of everything, showing the contents without launching an app. Press the Space bar again, click the close button, or hit Escape to dismiss it. That shortcut is the whole feature in one sentence.
It sounds too small to need a guide, but the Space bar only gets you halfway. Getting Quick Look to open, moving between a hundred selected photos, opening a PDF full screen without the extra window in the way, and fixing the blank preview that shows up after a macOS update are where most people get stuck. Those are the parts below.
Table of Contents
- 1What You Need
- 2Step-by-Step
- 3Open Quick Look for a File
- 4Move Through and Adjust a Quick Look Preview
- 5Open or Save a Previewed File
- 6Use Quick Look from the Trackpad or Keyboard
- 7Common Mistakes
- 8Nothing happens when you press the Space bar
- 9The preview window is blank or shows a generic icon
- 10The previewed file is not what you expected
- 11Extensions misbehave or you want fewer of them
- 12Quick Look freezes or crashes while trimming video
- 13Frequently Asked Questions
- 14What is Quick Look on Mac and how do I open it?
- 15What file types can Quick Look preview on macOS?
- 16Why is Quick Look not working when I press the Space bar?
- 17How do I preview multiple files or pages in Quick Look?
- 18Does Quick Look on Mac require an internet connection or upload my files?
- 19Can I edit a file directly inside Quick Look?
- 20Conclusion
What You Need
Quick Look is built into macOS. There is nothing to download, no setting to switch on first, and no menu to hunt for. It has worked this way since OS X 10.5 and still ships on current releases. If you can press the Space bar, you have Quick Look.
What varies is how many formats it can render. macOS ships generators for most everyday files:
| Format | Preview behaviour | Notes |
|---|---|---|
| Full page view with page thumbnails | Markup and signing tools appear on the toolbar | |
| JPEG, PNG, HEIC, TIFF | Full image | HDR images only render as HDR when the preview is in the foreground |
| Live Photos | Image that plays its video automatically | The sound is off unless you raise the volume |
| MP4, MOV, audio | Plays in the preview window | Trimming lives on the toolbar |
| Text, RTF, HTML, Markdown, code | Rendered as styled text | Markdown and LaTeX often need a third-party generator |
| Pages, Numbers, Keynote, Word, Excel, PowerPoint | Renders without opening the app | Editing needs the real app or Quick Look editing tools |
| Fonts | Specimen sheet with sample text | Handy when picking a typeface |
| Folders, zip archives | Generic icon unless a generator is installed | The most common gap people hit |
When a format has no generator, the window still opens and shows a large generic file icon instead of the contents. That icon is the tell. macOS is asking the system for a preview, getting nothing back, and falling back to the placeholder. A third-party Quick Look extension fixes exactly that problem, and you turn them on in System Settings, under General, then Login Items and Extensions.
Step-by-Step
Open Quick Look for a File
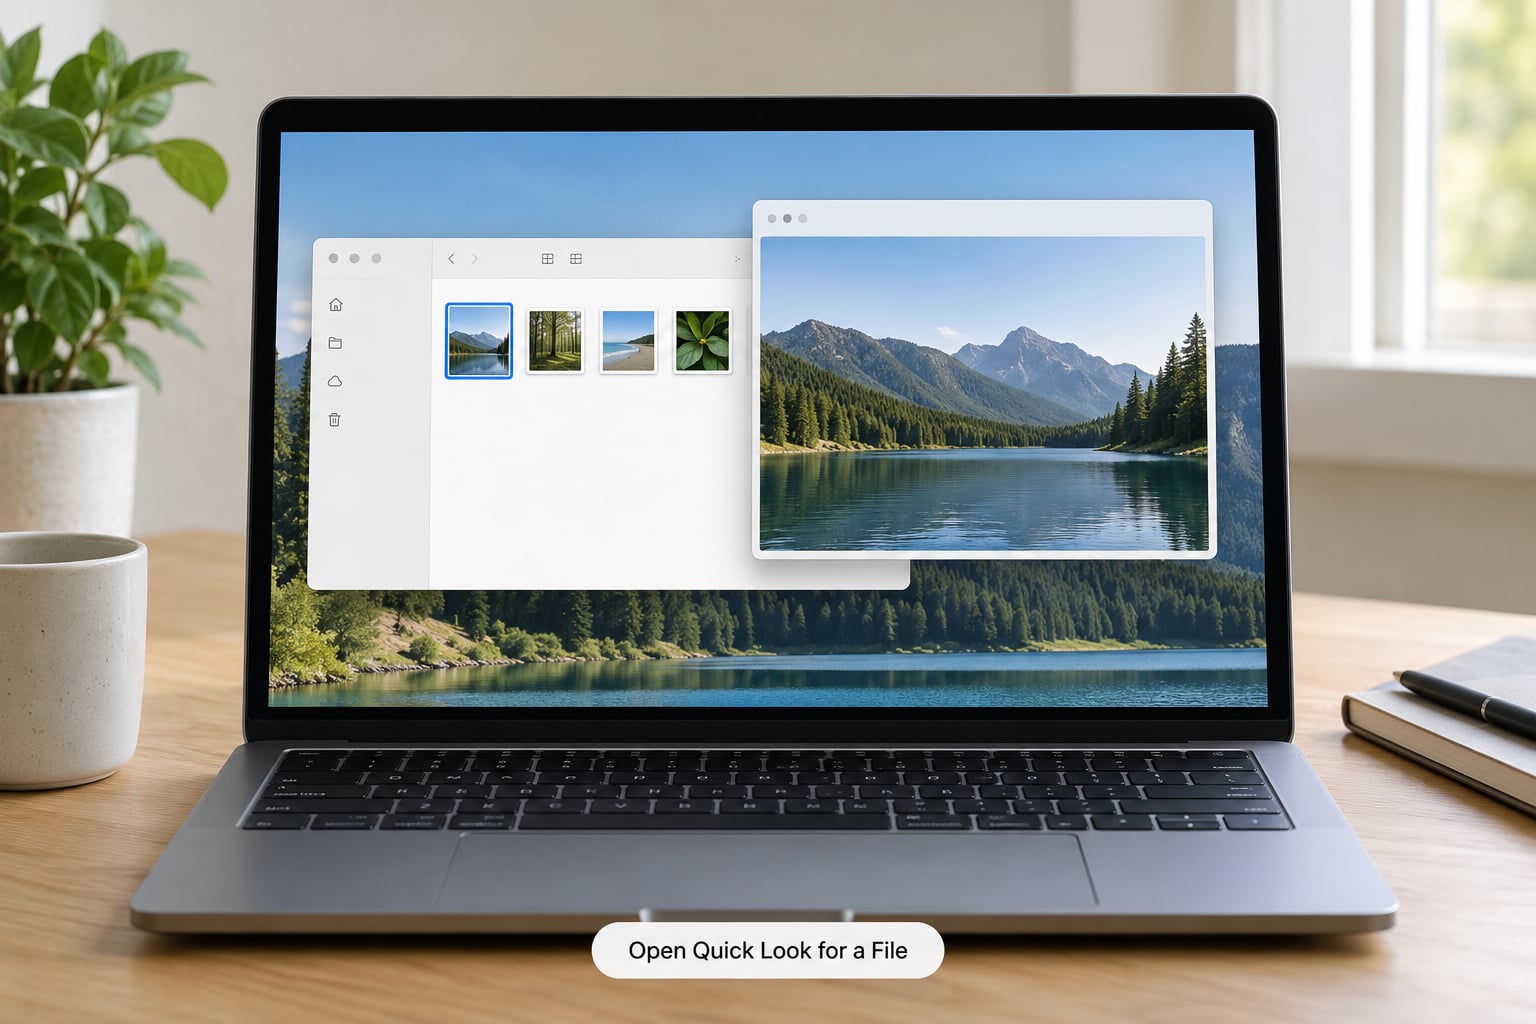
Click a file once in Finder. One click selects it, it does not open it, which is the whole trick. Press the Space bar and the preview appears centred over your windows. The title bar of the window names the file, so if you have three similar screenshots open you can confirm which one you grabbed.
There are three other ways in. Command-Y does the same thing for anyone who does not want to move to the end of the keyboard. On a MacBook with Force Touch, press firmly on the trackpad and the preview pops up under your finger. Several apps render their own Quick Look button, including Mail, Messages, DEVONthink and EasyFind, so you can preview an attachment without ever touching the Finder.
Spotlight counts too. Press Command-Space, type part of the filename, arrow down to the result and press the Space bar. You get a preview without knowing where the file lives.
Move Through and Adjust a Quick Look Preview
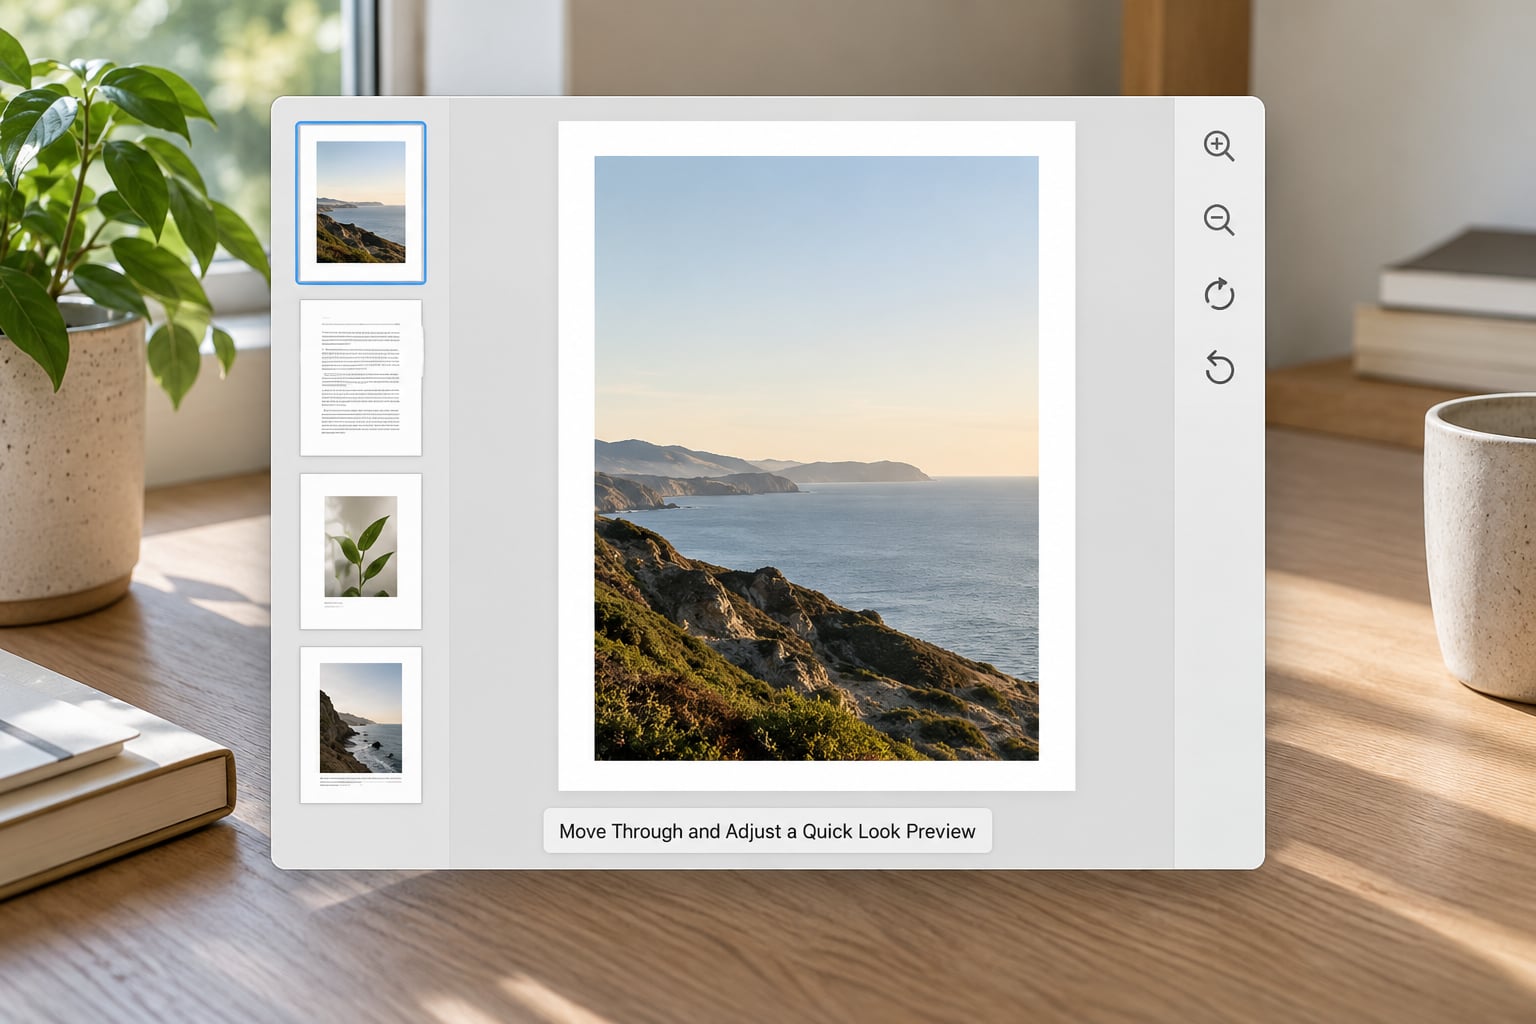
Select several files at once, Command-click or Shift-click, then press Space. Now the left and right arrow keys step through your selection one item at a time. The thumbnail strip along the bottom shows everything you picked, so you can spot the one shot you want without closing anything. Press Command-Return to switch that strip into an index sheet, a grid of every item at once, which is the fastest way to grab one frame from a big selection.
Inside the window, the toolbar changes with the file type. Images get rotate and markup controls. PDFs get the markup tools for signing and highlighting. Audio and video get a trim bar with the in and out handles. Video and audio play right in the preview, with the arrow keys jumping in fixed increments.
For zooming, use Command-plus and Command-minus. With an image open, Command-Down Arrow fills the screen with it, and the same shortcut snaps it back. Holding the Option key while pressing the Space bar goes full screen without the intermediate window at all, which is the version I use for images that need a second look.
Keep these in one place, because no single menu lists them:
| Action | Shortcut | Where it works |
|---|---|---|
| Open preview | Space bar | Finder, Spotlight, Mail, Messages, most file apps |
| Open preview, alternative | Command-Y | Finder and most apps with a File menu |
| Open preview, trackpad | Force Touch, press firmly | MacBook trackpads with Force Touch |
| Close preview | Space bar or Escape | Quick Look window |
| Next or previous item | Left and Right arrows | When more than one item is selected |
| Show index sheet grid | Command-Return | Multi-item selection |
| Full screen | Option and Space bar | Quick Look window |
| Start or stop slideshow | Space bar in full screen | Multi-item selection in full screen |
| Exit full screen | Escape | Full-screen preview |
| Zoom in or out | Command-plus and Command-minus | Images and documents |
| Fill the screen with the image | Command-Down Arrow | Images |
| Open the original file | Command-Down Arrow, or Open With button | Quick Look window |
Open or Save a Previewed File
When the preview is the right file, hit the Open With button in the top-right corner to choose the app, or press Command-Down Arrow to open it in the default one. Return closes the preview and drops you back in Finder, or opens the file directly, depending on which of those you used.
Saving is different from what people expect. You cannot save over the original from Quick Look. Markup changes on a PDF, a rotated photo and a trimmed clip live in a copy until you explicitly export them, and Quick Look tells you so with a Saved from Quick Look label when you do. The original stays untouched on disk.
You can also act on the file without leaving the preview. Press Command-Delete while Quick Look is open and the selected item goes to the Trash, which is handy when culling a batch of photos you have already flipped through.
Use Quick Look from the Trackpad or Keyboard
If you never touch a mouse, this works end to end: Space to open, arrows to move between items, Command-Return for the grid, Option and Space for full screen, Escape to leave. Every step of a preview is reachable from the keyboard, including opening the file and closing the window.
Force Touch is the trackpad route. On a MacBook that has it, press down harder than a normal click on a file and the preview opens in place, no selection needed. On trackpads without Force Touch, three-finger or four-finger gestures do not map to Quick Look, so the Space bar is the way.
Worth knowing that Quick Look is not a Finder-only feature. It works in Spotlight results, in the Open and Save dialogs where you can preview a file before committing to open it, in Time Machine when you are checking an old version before restoring, and inside remote file transfer apps browsing a server. Mail and Messages both preview attachments the same way.
Common Mistakes
Nothing happens when you press the Space bar
This is the number one complaint on the Apple forums and it usually follows a macOS update. First check that the file is actually selected in Finder and that Finder has focus, since the shortcut only goes to the active app. Then restart Finder: hold Option and Command, click the Finder icon in the Dock, and choose Relaunch. Previews usually come straight back.
If that is not enough, clear the preview cache from Terminal, in Applications then Utilities. Run qlmanage -r cache and press Return, then qlmanage -r cache and rebuild to force the system to regenerate previews from scratch. It takes a minute and fixes most post-update breakage.
The preview window is blank or shows a generic icon
Either the format has no generator, or the file is a cloud placeholder. Synced files from Box Drive, Dropbox or OneDrive open a window but show the icon instead of the contents, because Quick Look is trying to read a file that is not on the disk yet. Open the file once in its own app to pull it down, or turn on the sync app’s option to keep files on the drive locally. Folders and zip archives also show a generic icon until you install an extension for them.
A quick fix for missing thumbnails in Finder: open Finder, go to View, then Show View Options, and confirm Preview is set to All Files rather than Icon Only. If thumbnails are missing everywhere, restart Finder as described above.
The previewed file is not what you expected
Some formats, especially Office documents with layered layouts, render differently in Quick Look than in Word or Pages. If you need pixel accuracy, annotations that will print, or a file you are about to edit, open it in the real app. Quick Look is for deciding whether to open something. Preview, the app, is for working on it.
Extensions misbehave or you want fewer of them
Go to System Settings, General, then Login Items and Extensions. Every installed Quick Look generator appears under the Extensions section with a toggle. Turn one off when it renders a file badly, which happens more often with old generators after a major macOS release. If nothing appears there, the format is being handled by a generator built into macOS, and there is nothing to switch off.
Quick Look freezes or crashes while trimming video
Long clips and unusual codecs are the usual triggers. Try the file in Preview or QuickTime Player instead, both handle trimming more reliably. If Quick Look stalls on a specific file every time, that file is telling you its format has an unhappy relationship with the generator.
Frequently Asked Questions
What is Quick Look on Mac and how do I open it?
Quick Look is a macOS feature that shows the contents of a file in a floating window without opening it in its app. Click a file in Finder to select it and press the Space bar, or use Command-Y. Press the Space bar again, click the close button or hit Escape to dismiss the preview.
What file types can Quick Look preview on macOS?
Out of the box it previews PDF, JPEG, PNG, HEIC and TIFF images, Live Photos, MP4 and MOV video, audio, text, RTF, HTML, font files, and iWork and Microsoft Office documents. Folders, zip archives, Markdown, LaTeX and many code formats have no built-in generator and show a generic icon until you install a third-party Quick Look extension.
Why is Quick Look not working when I press the Space bar?
Usually the file has no Quick Look generator for its format, or the preview cache is damaged after a macOS update. Select the file in Finder, restart Finder from the Dock, then run qlmanage -r cache and qlmanage -r cache and rebuild in Terminal. Cloud-synced files that show only an icon need opening once in their own app so they download fully.
How do I preview multiple files or pages in Quick Look?
Select several files at once, then press the Space bar and use the Left and Right arrow keys to move between them. Command-Return switches the thumbnail strip into an index sheet, a grid showing every selected item. Inside a multi-page document, the arrow keys and Page Up and Page Down move through pages. Holding Option while pressing the Space bar starts a slideshow in full screen.
Does Quick Look on Mac require an internet connection or upload my files?
No. Quick Look renders previews entirely on your Mac using a built-in or installed generator, so it works in airplane mode and nothing is uploaded anywhere. Previews are cached locally, which is also why a damaged cache can be cleared with qlmanage -r cache.
Can I edit a file directly inside Quick Look?
You can mark up a PDF or image, rotate a photo, and trim audio or video, but those changes apply to a copy rather than the original. Clicking Open With or pressing Command-Down Arrow hands the file to its real app, which is where you make permanent edits and save. Quick Look is built for deciding whether a file is worth opening, not for working on it.
Conclusion
Select the file in Finder, press the Space bar, look at it, then press Space again or Escape. That is how to use Quick Look on Mac for ninety percent of what anyone does with it. Add Option and Space for full screen, Command-Return for the grid, and the qlmanage cache reset when a preview comes up blank after an update, and you have covered everything that trips people up.