Parental controls on iPad are built into Screen Time, the settings panel inside the iPad’s Settings app. Turn it on, mark the device as a child’s iPad, add a passcode only you know, and then set Downtime, App Limits, Content & Privacy Restrictions and Ask to Buy. The whole setup takes about fifteen minutes if you have an adult Apple Account and the child’s Apple Account ready.
This guide covers iPadOS 26. Apple renames a few menu items between versions, so where a label has moved I’ll say so rather than leave you hunting.
Table of Contents
- 1What You Need
- 2Step-by-Step: How to Set Up Parental Controls on iPad
- 3Step 1: Create or Select the Child’s Apple Account
- 4Step 2: Set Up Family Sharing So You Can Manage the iPad Remotely
- 5Step 3: Turn On Screen Time and Mark ‘This is My Child’s iPad’
- 6Step 4: Set a Screen Time Passcode Only You Know
- 7Step 5: Schedule Downtime and Pick Always Allowed Apps
- 8Step 6: Set App Limits by Category and Age Ratings
- 9Step 7: Turn On Content & Privacy Restrictions for Web, Apps and Purchases
- 10Step 8: Manage Communication, Location, Privacy and What Screen Time Cannot See
- 11Common Mistakes That Lock Parents Out
- 12Frequently Asked Questions
- 13How can I remotely control my child’s iPad?
- 14How do I set parental controls on my child’s device?
- 15Do parental controls turn off at 13?
- 16How can I monitor my child’s iPad?
- 17How do I reset my Screen Time passcode if I forgot it?
- 18What is the Screen Time passcode for?
- 19Conclusion
What You Need
Four things, and two of them you have to sort before the iPad comes out of the box.
- The child’s own Apple Account. Not yours. Every restriction you set sticks to the account, so limits survive a restore and a reset.
- Your adult Apple Account, which becomes the family organiser in Family Sharing and approves purchases.
- A Family Sharing group with both accounts in it, so you can change limits from your own phone later.
- The Screen Time passcode, a four-digit code different from your iPad unlock passcode. Write it down somewhere your child cannot reach.
If the child is under 13, create the Apple Account with Create Child Account rather than an adult one. Apple asks for a birth date and it governs which age ratings apply.
Step-by-Step: How to Set Up Parental Controls on iPad
Step 1: Create or Select the Child’s Apple Account
Open Settings, tap your name at the top, then tap Family. If there is no child in the group yet, tap the plus sign and choose Create Child Account for a Child Under 13, or Create a Child Account for a Teen. Enter a birth date, let Apple generate the Apple Account name, and set a password the child does not know.
Why the account matters so much: Screen Time limits live on the account, not the device. Parents on Reddit and Apple forums report the same thing repeatedly — limits set on one iPad vanished after a restore or an erase because nobody had signed the child into their own account.
How to tell it worked: the child’s name appears under Settings > Your Name > Family, and the child is signed in on the iPad under Settings > Your Name.
Step 2: Set Up Family Sharing So You Can Manage the iPad Remotely
Still in the Family menu, tap the child’s name and choose Purchase Sharing. This lets the child buy and download apps using your payment method while the App Store asks you first. Then, on your own iPhone or iPad, open the Family app or Settings > your name > Family.
From your device, tap the child’s name and you will see Screen Time, Location, Purchases, App Limits, Screen Distance and Communication Safety. Tap Screen Time to set or change anything from across the room.
How to tell it worked: your device shows the child’s Screen Time chart, not an empty screen or a prompt to set up Screen Time first.
Step 3: Turn On Screen Time and Mark ‘This is My Child’s iPad’
On the iPad, go to Settings > Screen Time and tap Turn On Screen Time. Apple offers two paths: Continue and set it up on this iPad, or set it up on another device through Family Sharing. Pick the first.
When asked who is using the iPad, choose This is My Child’s iPad. Forum users treat this as the step most guides skip. It is a device-level flag that tells iPadOS the limits belong to a child, which changes what the App Store, Siri and Safari will allow.
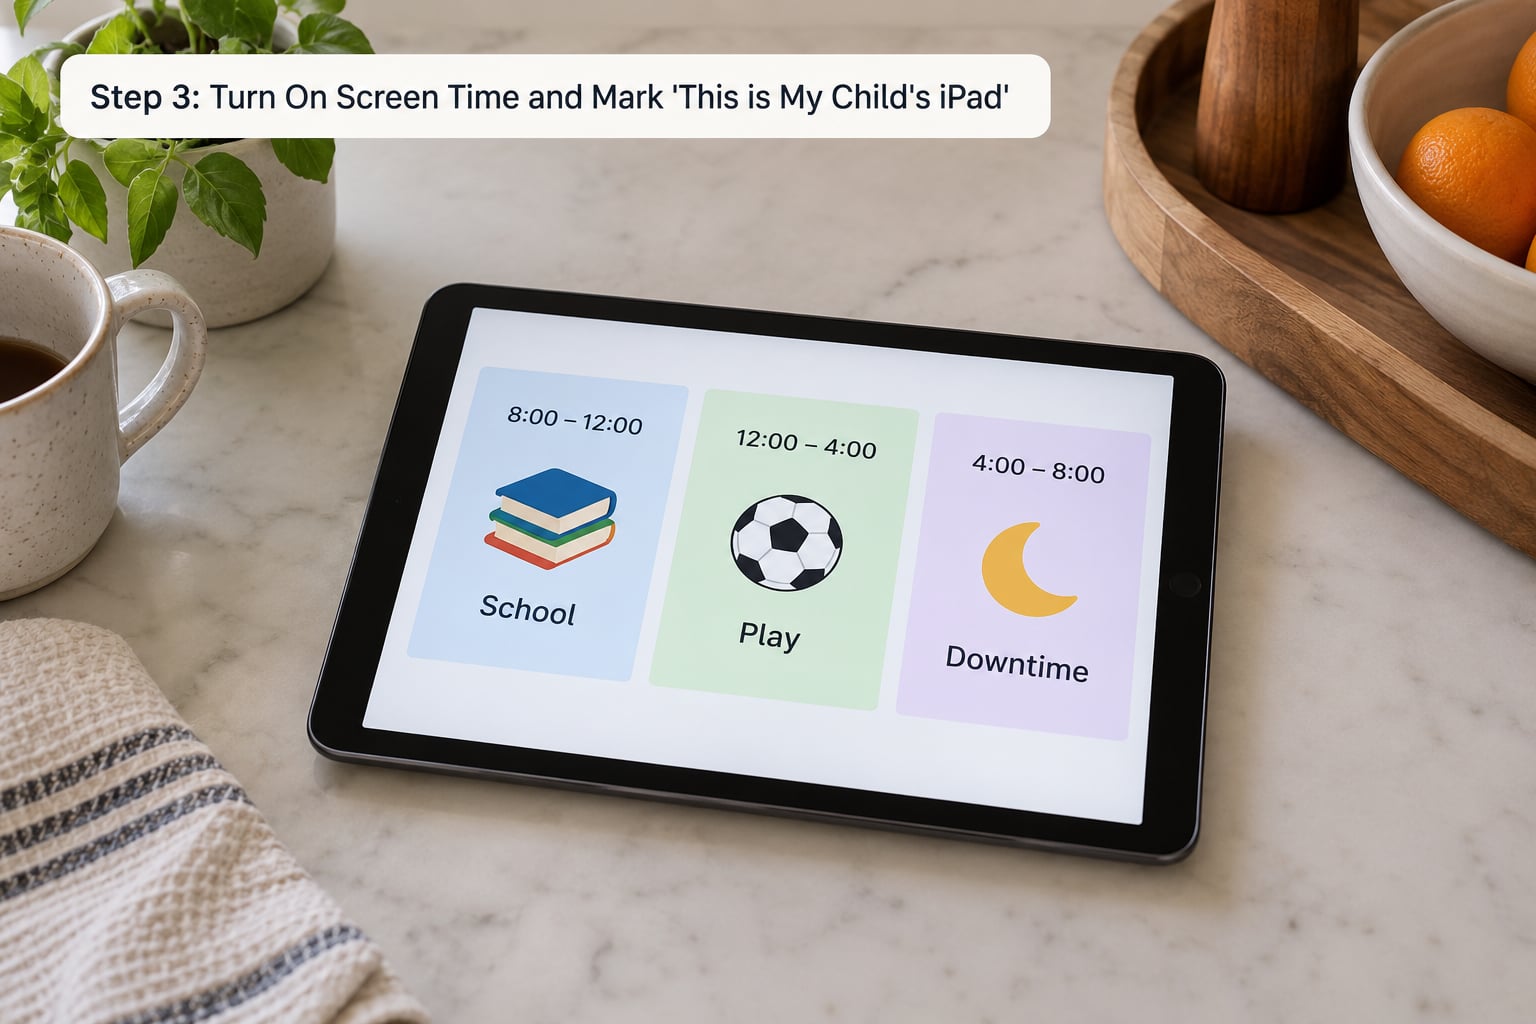
How to tell it worked: Settings > Screen Time now opens straight to the report and a pie chart of this week’s usage, with no passcode prompt yet.
Step 4: Set a Screen Time Passcode Only You Know
In Screen Time, tap Manage Screen Time, then Lock Screen Time Settings. Apple asks twice for a four-digit passcode. Do not use your iPad unlock code.
That single decision causes most of the trouble I see in parents’ questions. If the Screen Time passcode matches the device passcode, anyone who can unlock the iPad can open Screen Time and delete every limit in under a minute. Choose a code your child could not guess by trying four numbers, and keep it off the passcode the child knows.
How to tell it worked: tap Back out to the Screen Time report, tap it again, and you are asked for the passcode before the charts open.
Step 5: Schedule Downtime and Pick Always Allowed Apps
Back in the Screen Time menu, tap Downtime and set at least one schedule: bedtime and school hours. Tap Block at Downtime for the nights you want notifications silenced too. Choose Start and End times, pick the days, and repeat for a second schedule if school and bedtime differ.
Then tap Always Allowed under App Limits. Choose Phone, Messages, Maps and any school or learning app. Those stay reachable during Downtime and after an app limit expires, so a school login never gets locked out at the wrong moment.
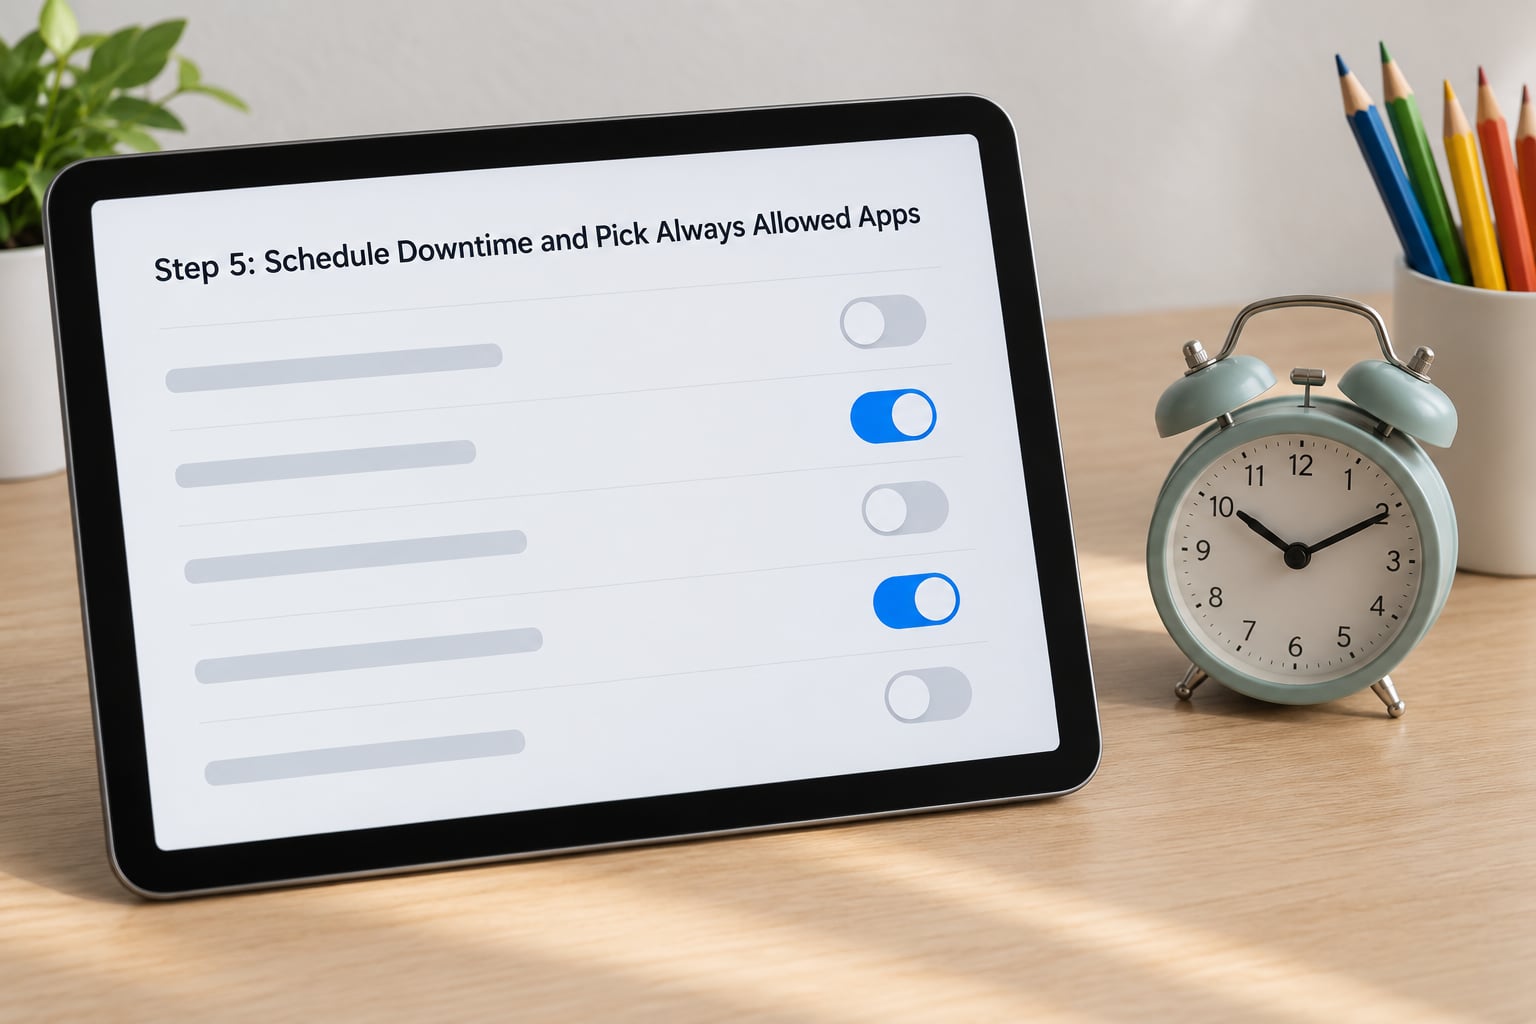
How to tell it worked: start Downtime now from Control Center and see the apps grey out. Turn it off again straight away so you do not lose an evening to a test.
Step 6: Set App Limits by Category and Age Ratings
Tap App Limits, then Add Limit, and pick a category: Games, Entertainment, Social Networking, Productivity or Education. Set a time and a day, or set a daily total. You can also tap All Apps & Categories to set one limit across everything, with exceptions carved out underneath.
For content by age rather than time, go to Content & Privacy Restrictions > App Store > Age Ratings and set the rating that matches your child. Set it a little under their real age so borderline apps stay out. A 9-year-old set to 5+ is the setting most families find too loose after a few months.
Screen Distance works here too. An older child can hold up a top-rating game close to your face and it stops playing until the iPad moves back, which handles the trick of gaming right next to you.
How to tell it worked: open the category you limited and the limit icon sits next to it with the time remaining. Opening an app past its limit shows a grey overlay asking for the passcode.
Step 7: Turn On Content & Privacy Restrictions for Web, Apps and Purchases
Open Screen Time > Content & Privacy Restrictions and turn on the master switch first. Everything below stays grey until you do. Then work down the list.
- App Store — set Installing Apps to Don’t Allow, Deleting Apps to Don’t Allow, and In-App Purchases to Don’t Allow. Deleting Apps off stops the delete-then-reinstall trick that parents describe constantly.
- Web Content — choose Limit Adult Websites, then add specific sites under Add Website under 18+. Choose Allow Adult Websites only if you filter every browser yourself.
- Siri, Siri Suggestions & Privacy — turn off Siri when Locked and set the web search to Limit Adult Websites, otherwise Siri will happily look things up for you.
- Game Center — set Adding Friends to Allow Friends to Add, or turn on Multipayer Games to Stop.
- Communication Safety — the built-in filter that warns before images or links describing nudity or violence, on Mail, Messages, Safari, FaceTime and AirDrop.
Ask to Buy is separate. Turn it on in Settings > your name > Family > the child’s name > Purchase Sharing. It has to be enabled there rather than inside Screen Time, and it only works if your adult account is the family organiser.
How to tell it worked: open the App Store and search for an app. If Installing Apps is off you get the greyed-out overlay instead of a download, and tapping Ask to Buy sends a request to your phone.
Step 8: Manage Communication, Location, Privacy and What Screen Time Cannot See
From your own device, Family > the child’s name opens Location, Communication Safety and Screen Distance. Location has three options: share nothing, share while using, or share always. Under 13 accounts default to nothing, which surprises a lot of parents.
Now set your own expectations, because this is where most disappointment comes from. Screen Time shows app usage in minutes, daily and weekly averages, pickups, notifications, and for some apps a count of how often they were opened. It does not show messages, who a child is texting, what they searched beyond the adult-content filter, a photo library scan, or a location history. Parents on parenting forums open a paid monitoring app expecting those and then go back to Screen Time once they realise the built-in report never promised them.
Talk to your child about what you are turning on before you turn it on. Constant checking of a family member’s device can replace trust with resentment, and parents describe that on community forums often enough to be worth taking seriously.
For younger children, hold the side or top button until the slider appears, then triple-click the top button and confirm Guided Access. The iPad is then locked into a single app until you turn it off. It is the fastest lockdown for restaurants, exams and travel, and you do not need Screen Time switched on to use it.
How to tell it worked: ask for an extension from a limited app. The request should land on your device, and the child’s own passcode entry should not approve it.
Common Mistakes That Lock Parents Out
Reusing the device passcode. The most common one. Change Screen Time passcodes under Screen Time > Manage Screen Time > Change Screen Time Passcode, and pick something unrelated to your unlock code.
No ‘Forgot passcode’ option. Parents report this link missing on the Screen Time page. It appears only when the Screen Time settings belong to a child Apple Account inside a Family Sharing group, which is another reason Step 1 comes first. Without that link, the recovery path is to reset the device passcode through Find My or restore on a computer, and those options can wipe the settings you were trying to protect.
Setting everything on the iPad instead of through Family Sharing. On-device limits reapply slowly and inconsistently after a restart or an update. Managed limits come back from the account.
Not turning off app deletion. A child deletes a game and redownloads it from the App Store, and the daily limit restarts. Under Content & Privacy Restrictions > App Store, set Deleting Apps to Don’t Allow.
Child self-approving Ask to Buy. If the child is signed into your adult account, the request can be approved without you. Make sure they are on their own child account.
Limits vanish after a restore. Reported constantly across Reddit and Apple discussions. Almost always the same cause: the child is signed in on an adult account or on no account, so the limits had nowhere to be stored.
Setting a limit the child cannot live with. A two-hour limit on a game a child plays daily at three o’clock every day gets beaten by one late request. Set Always Allowed generously, or pick a limit you will not renegotiate daily.
Expecting Screen Time to stop every bypass. An erase all content and settings wipes local limits, and a VPN can route traffic around a web filter. Neither is fixable from the Settings app alone. What closes the gap is the child account, disabled app deletion, and a Screen Time passcode the child does not have.
Frequently Asked Questions
How can I remotely control my child’s iPad?
Add the child to your Family Sharing group, then open the Family app on your own iPhone or iPad and tap the child’s name. Screen Time, Location, Screen Distance, Purchases and Communication Safety all appear there, and you can change limits without touching the iPad itself. It also works in reverse through Quick Start, which lets you configure a brand new child’s iPad by holding it near yours. You still need the Screen Time passcode for anything locked.
How do I set parental controls on my child’s device?
Go to Settings, sign in with the child’s own Apple Account, open Screen Time and tap Turn On Screen Time. Choose This is My Child’s iPad, set a Screen Time passcode that differs from your unlock code, then configure Downtime, App Limits and Always Allowed. Turn on the master switch in Content and Privacy Restrictions and block in-app purchases, adult websites and app deletion. Finish with Ask to Buy in the Family settings.
Do parental controls turn off at 13?
No. Screen Time limits do not expire when a child turns 13, and nothing resets automatically on the birthday. What changes is the account itself: an Apple Account created as a child under 13 moves to standard adult status, some restrictions default to off, and the parent can approve or decline a request to join a family group as an adult member. Any limits you set explicitly stay exactly as you left them, so review them around the birthday rather than expecting Apple to do it.
How can I monitor my child’s iPad?
Screen Time shows daily and weekly app minutes by category, average pickups, notification counts and some app-open counts. It does not show messages, who your child is talking to, a location history, or activity inside social apps. For location, use Find My or Family and pick between sharing while using and sharing always. If you need message or contact-level visibility, that comes from third-party monitoring apps rather than anything Apple builds in.
How do I reset my Screen Time passcode if I forgot it?
The Forgot passcode link only shows when Screen Time is managed through Family Sharing on a child Apple Account, so that is the first thing to check. Without it, sign in to Family on your own device and manage the child’s Screen Time from there instead. As a last resort, reset the device passcode through Find My or restore on a computer, then set a new Screen Time passcode. Expect local limits to be lost, which is why they belong to the account.
What is the Screen Time passcode for?
It locks the Screen Time settings so a child cannot lift their own limits. Without one, anyone holding the unlocked iPad can open Screen Time, turn everything off and delete the passcode before handing it back. Keep it different from the device passcode, and different from anything your child could work out by trying combinations. It is four digits, so avoid birthdays, repeated digits and short runs like 1234.
Conclusion
Start with the account, not the settings. Create the child their own Apple Account, add it to your Family Sharing group, and every limit you set afterwards has somewhere to live.
Then turn on Screen Time, mark This is My Child’s iPad, set a passcode that is not your unlock code, and block app deletion before anything else. Leave that running for a week, then look at the report together and decide what to change.
Come back to it every two or three months, and again after every iPadOS update, since Apple moves settings around between versions. Limits that suit a seven-year-old will not suit a thirteen-year-old, and the ones you set on a Friday evening will not survive a forgotten passcode on a Sunday.