You can trim a video on your iPhone with the editor built into the Photos app, no download needed. Open the clip, tap Edit, drag the two white handles inward to set a new start and end point, then save. It takes about a minute for a short clip.
The short version, in five steps:
- Open the Photos app and tap the video you want to shorten.
- Tap Edit, the button with the icon of adjustment sliders.
- Drag the handle at the beginning of the timeline to the right to cut off the start, then drag the handle at the end to the left to cut off the tail.
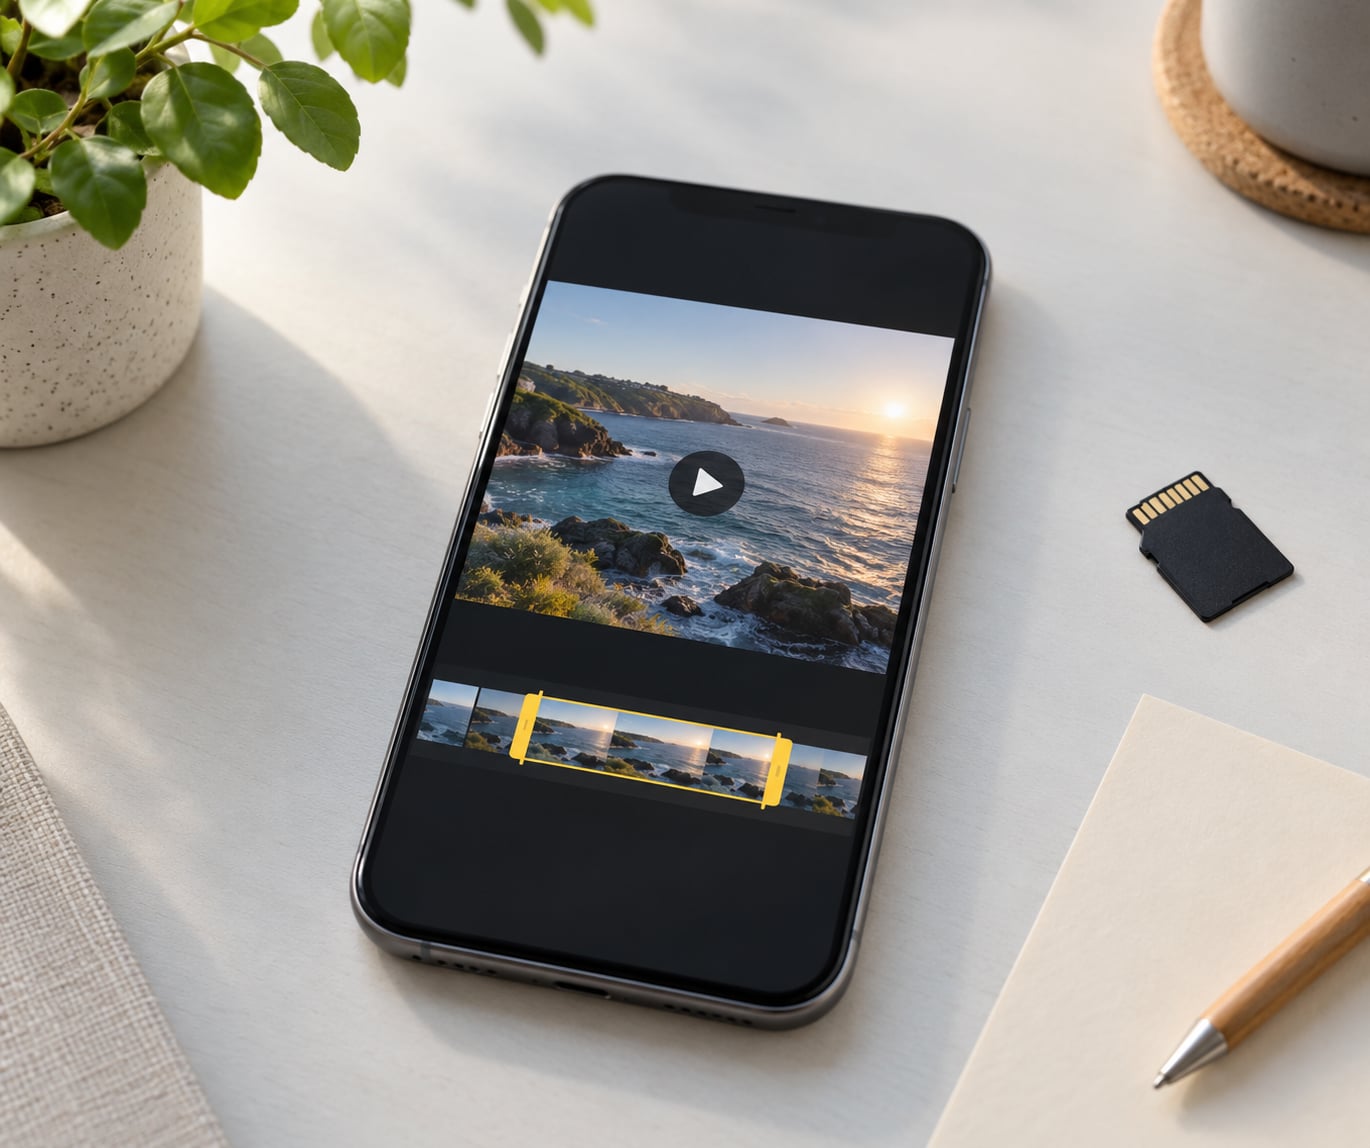
- Check the yellow section between the two handles. That highlighted part is what you keep.
- Tap Done, then choose Save Video as New Clip so the original stays untouched.
Two details most guides skip. First, the native editor only trims from the two ends of a clip, never from the middle, so a blooper halfway through needs iMovie or a third-party app. Second, Save Video replaces your original file while Save Video as New Clip keeps it, and that difference matters more than anything else on this page.
Table of Contents
- 1What You Need to Trim a Video on iPhone
- 2Step-by-Step: How to Trim a Video on iPhone
- 3How to trim a video on iPhone in the Photos app
- 4How to save the trimmed video
- 5How to trim a video on iPhone with iMovie
- 6When the Photos editor is enough
- 7Common Mistakes and Quick Fixes
- 8Frequently Asked Questions
- 9Can I trim a video on my iPhone without downloading an app?
- 10Will trimming a video on iPhone reduce its quality?
- 11Does trimming a video delete the original clip?
- 12How do I trim the middle or remove a section of an iPhone video?
- 13Why is the trim option missing in my iPhone Photos app?
- 14Can I trim a video on iPhone and save it to my camera roll?
- 15What to Do First
What You Need to Trim a Video on iPhone
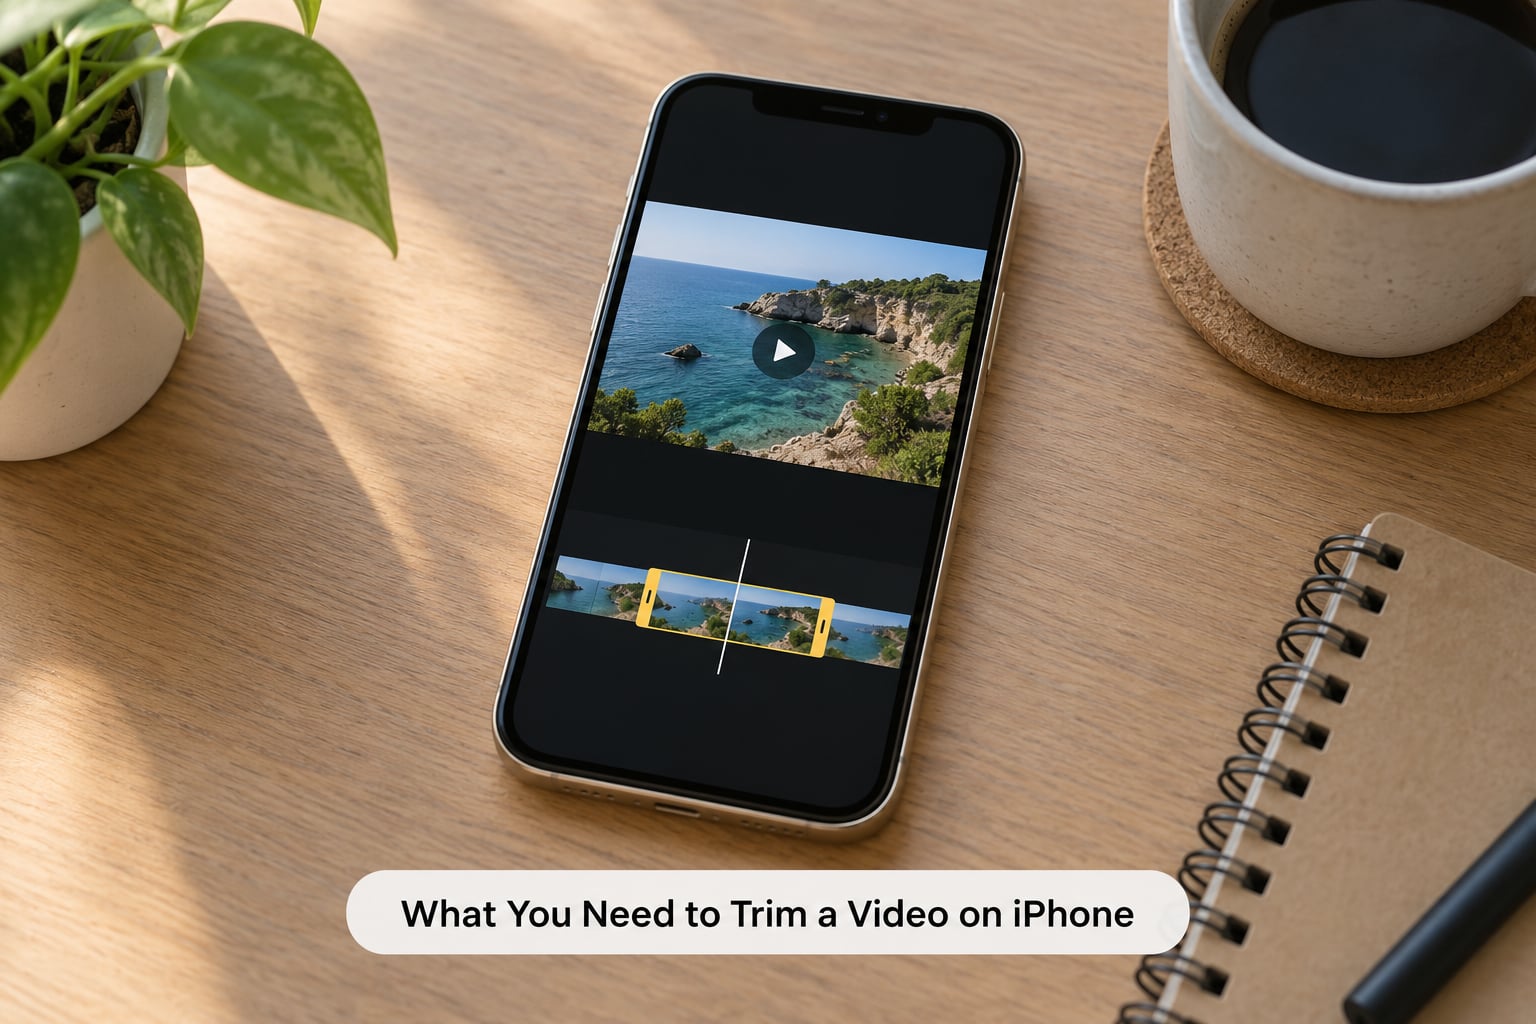
You need very little. Any iPhone or iPad running iOS 15 or later has the video editor in Photos, including models well past their support window. The method below works without an additional app.
A few things worth checking first:
- The video has to be in Photos. If it is still in the Camera app, tap the thumbnail in the lower corner to save it, or just record and then open it.
- It does not matter where the video came from. Clips you recorded, received through AirDrop or Messages, pulled out of WhatsApp, or saved from the internet all open in the same editor.
- Free up storage before a long clip. Saving a trimmed copy creates a second file, so a long 4K recording needs roughly its own size again as headroom.
- Check your iOS version. The Edit button sat in the top-right corner up to iOS 17 and moved into the bottom toolbar afterwards, which is why older tutorials point at the wrong spot.
Step-by-Step: How to Trim a Video on iPhone
How to trim a video on iPhone in the Photos app
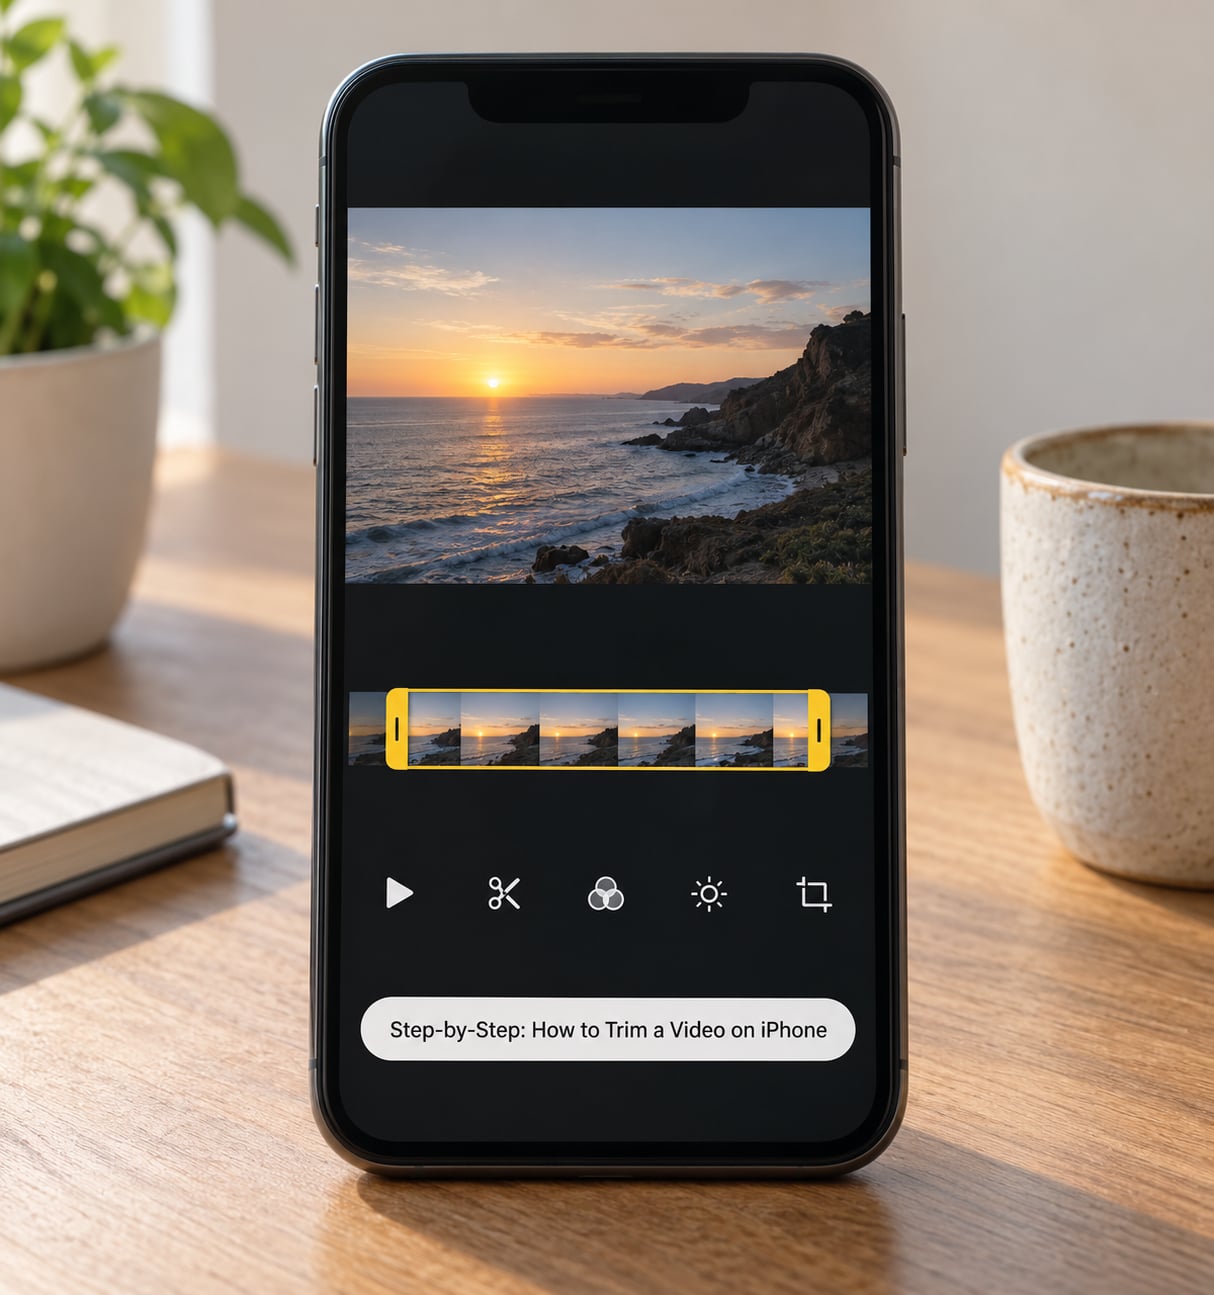
Open Photos and tap the thumbnail of the video. Tap Edit at the bottom of the screen, or at the top-right on iOS 17 and older. The editor loads the clip with a play button, a preview window, and a timeline along the bottom with a handle at each end.
Play the clip once before you cut anything. On a longer video, scrub the timeline to find where you actually want to start and stop, rather than guessing at the thumbnail.
Drag the handle at the far beginning to the right to remove the opening, and drag the handle at the far end toward the left to remove the tail. The area between the handles turns yellow, and that yellow section is exactly what your trimmed video will contain.
If you overshoot, drag the handle back the other way. There is no undo for a trim, so move slowly and check the duration each time.
For a cut that has to land on an exact moment, play the preview, pause on the frame you want, and then nudge the handle while watching the preview rather than the timeline. On clips longer than a few minutes the handles move quickly, so pause first and work in short drags.
How to save the trimmed video
Tap Done in the corner when the handles sit where you want them. A panel appears with your save options, and this is the point where most people make the wrong pick.
Save Video as New Clip writes the trimmed version as a separate video and leaves your original alone. Save Video overwrites the original file with the trimmed one. Pick the first one unless you are deliberately cleaning up your library, and say so here because losing the full-length original is the number one regret people come back with.
The trimmed clip lands in your main Photos library at the date you saved it, not at the date it was recorded, so scroll to the very top of the Library view to find it. Open it and look at the duration under the thumbnail to confirm the length is right.
While you are still inside the editor, a Revert button at the top undoes every edit you made in that session. Once you have saved and closed the video, Revert is gone, which is another good reason to save as a new clip first.
How to trim a video on iPhone with iMovie
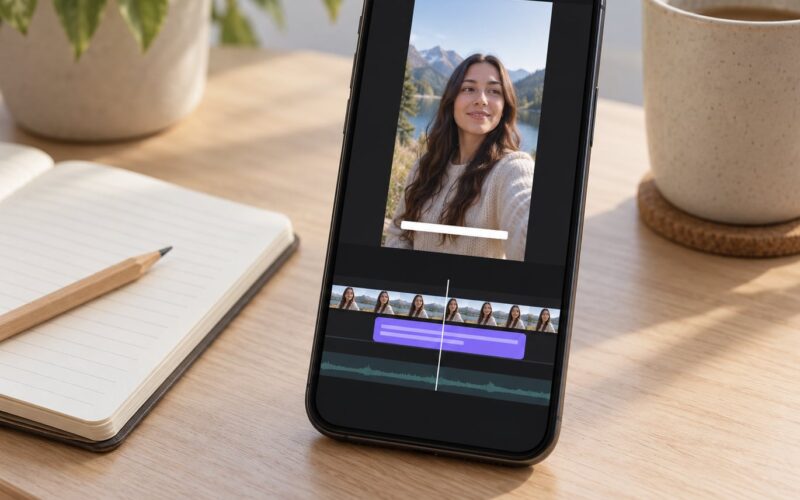
iMovie is Apple’s free editor and the fix for the one thing Photos cannot do: cutting a section out of the middle. It is built into iPhone and iPad, so there is nothing to install.
Open iMovie, tap Create Project, and choose your clip from the picker. Once the clip sits on the timeline:
- Play to the exact second where the unwanted section starts, then tap the clip to select it.
- Tap Split at the bottom of the screen. The clip becomes two pieces at that frame.
- Play to the end of the section you want gone and tap Split again.
- Tap the middle piece and hit Delete. The two remaining pieces join up.
- Tap the arrow in the top corner, choose Save Video, and pick Save to Photos or Export.
Split works on the frame nearest to where the playhead is sitting, so pause a moment before you tap it. Review the finished clip before you leave the project, then delete the project itself from the iMovie library if you only wanted the exported file.
When the Photos editor is enough
For cutting dead air off the front, trimming a long trailing pause, or shortening a clip before you send it, Photos handles it in under a minute. Reach for iMovie or a dedicated editor like CapCut or VN only when you need to cut the middle, split one recording into several clips, or land a cut frame-exact on a long take.
Cropping is a separate tool from trimming, sitting next to the filters icon in the same bottom toolbar. Cropping changes the framing and aspect ratio, useful for turning a horizontal clip into a vertical one for Reels, TikTok or Shorts, while trimming changes the length. You can do both in the same session and save once.
Common Mistakes and Quick Fixes
The Edit button is not where the tutorial says. On iOS 18 and later it sits in the bottom toolbar; on iOS 17 and earlier it is in the top-right corner. Check Settings, then General, then Software Version to see which instructions apply to you.
Your video looks unchanged after trimming. Check the date under the thumbnail. Saved clips sort to the top of the library under today’s date, so the trimmed version is probably sitting above the original rather than replacing it.
You cannot remove a section from the middle. This is a genuine limit of the Photos editor, not a mistake on your part. Use the iMovie split-and-delete method above, or a third-party app.
The saved file is blurry or smaller than expected. The Photos editor re-encodes the video when it saves, which can shrink the file and drop resolution slightly. For a 4K clip, trim in iMovie instead, or check Settings, then Camera, then Formats and confirm you are recording at 1080p or below.
Saving fails or hangs. Almost always storage. Free up space in Settings, then General, then iPhone Storage, and save again. Long clips also take a while to process, so leave the app open rather than switching away.
You accidentally overwrote the original. If iCloud Photos is on, the deleted item stays recoverable for about 30 days in the Recently Deleted folder. Open Photos, then Albums, then Recently Deleted, and restore it there.
The handles are hard to control on a long video. Slow the clip down, pause on the frame you want, and drag in short movements while watching the preview. Trimming a very long recording frame-by-frame in Photos is genuinely painful, which is the moment iMovie starts earning its keep.
The clip came out rotated or oddly framed. Your phone flipped during recording and the metadata confused the editor. Use the Rotate tool in the bottom toolbar, or the Crop tool and pick one of the standard aspect ratios.
Frequently Asked Questions
Can I trim a video on my iPhone without downloading an app?
Yes. The Photos app that already sits on your iPhone includes a video editor with trim handles, crop, rotate, filters and a mute option. Open the video, tap Edit, drag the handles at each end of the timeline inward, and tap Done. Nothing needs installing, and the built-in editor handles any clip in your library, including ones you received or downloaded.
Will trimming a video on iPhone reduce its quality?
Usually only slightly. Trimming in Photos re-encodes the file, so a very long or high-resolution clip can come out smaller and a touch softer than the original. For most phone recordings the difference is invisible on a phone screen. If the clip is 4K, trimming in iMovie preserves the resolution better because it works with the original footage rather than rebuilding the file.
Does trimming a video delete the original clip?
It depends which save option you pick. Save Video overwrites your original with the trimmed version. Save Video as New Clip creates a separate video and leaves the original alone. Choose the second option unless you want to replace the file. If iCloud Photos is enabled, an overwritten original can still be restored from Recently Deleted for about 30 days.
How do I trim the middle or remove a section of an iPhone video?
The Photos app cannot do it. Its trim handles only cut from the beginning and the end of a clip. Open iMovie, create a project, place the clip on the timeline, then use Split at the start and end of the section you want gone and delete the piece between. Tap Share and choose Save Video to put the result back in your Photos library.
Why is the trim option missing in my iPhone Photos app?
On iOS 18 and later, Edit appears in the bottom toolbar under the video, while on iOS 17 and earlier it sits in the top-right corner, so an old tutorial may send you to the wrong place. If it is genuinely absent, the video is probably still syncing from iCloud or is too large to edit, so wait for it to finish downloading or free up storage space and try again.
Can I trim a video on iPhone and save it to my camera roll?
Yes, and that is the default behaviour. After trimming, tap Done and the save panel appears; choosing Save Video as New Clip adds the shortened clip straight to your library where you can find it at the top of the Albums view, dated today. If you also have iCloud Photos on, the new clip syncs to your other Apple devices automatically.
What to Do First
Open the video in Photos, tap Edit, drag both handles inward while watching the yellow section between them, and tap Done. Then choose Save Video as New Clip so your original survives. That single habit covers the majority of trims, and it takes about a minute.
If you need to cut a section out of the middle of the clip, stop there and open iMovie instead. It is free, already on the phone, and the only native way to split one recording into separate pieces.