Setting up a HomeKit accessory takes about five minutes: power the device on, open the Home app on your iPhone or iPad, tap the + button in the top right, choose Add Accessory, then scan the setup QR code or hold your iPhone next to the accessory. The pairing happens over Wi-Fi, Bluetooth or Thread, and the last step is naming the device and dropping it into a room.
You do not need a HomePod or an Apple TV to start. You do need your iPhone on the home Wi-Fi network and the accessory sitting within arm’s reach. That is where nearly every setup fails, and the reason is almost always one of four things: the accessory was never in pairing mode, the setup code was already used or had timed out, the iPhone was on the 5 GHz band or a guest network, or the device was still claimed by the manufacturer’s own app.
The steps below follow the current Home app design on iOS and iPadOS, with the literal button labels Apple puts on screen so you can match them screen to screen. It also covers the paths almost every guide skips: entering the eight-character code by hand, pairing Matter devices that came from another smart home app, and what to do when nothing will pair at all.
Table of Contents
- 1What You Need
- 2Step-by-Step: How to Set Up HomeKit Accessories
- 31. Check That Your Accessory Supports HomeKit
- 42. Prepare Your iPhone or iPad for Setup
- 53. Put the Accessory in Pairing Mode
- 64. Add the Accessory in the Home App
- 75. Assign It to a Room and Check Its Controls
- 86. Set Up Automations or Siri Controls
- 9Common Mistakes and Fixes When the Home App Will Not Pair
- 10Frequently Asked Questions
- 11Why can’t I add an accessory to the Home app?
- 12What accessories work with Apple HomeKit?
- 13Do I need a home hub to set up HomeKit accessories?
- 14How do I add an accessory without a QR code?
- 15Can I set up HomeKit accessories on Mac?
- 16How do I share my HomeKit home with family?
- 17Conclusion
What You Need
Gather these before you start, otherwise the Home app will stall halfway through and leave you guessing.
- An iPhone or iPad running a current version of iOS or iPadOS, signed in to your Apple Account. Accessories cannot be added from a Mac, and the Home app needs the account to reach iCloud for syncing.
- Two-factor authentication on for that Apple Account. Home access is tied to iCloud, and an account without two-factor can fail silently during setup.
- The accessory, plugged in and nearby. Some devices need a few seconds after power-up before they answer.
- Your home Wi-Fi on the 2.4 GHz band. Most smart home accessories will not join a 5 GHz-only network, and guest or hotel networks usually block device pairing entirely.
- Bluetooth and Wi-Fi switched on on the iPhone or iPad, and Location Services or camera access allowed for the Home app if you plan to scan a code.
- The setup code. Either the QR sticker on the device, or the eight-character code printed as three letter pairs, like ABC-12-DEFG.
- Optional: a home hub. A HomePod or Apple TV gives you remote access when you are out, automations that run without your phone, and a Thread border router for Thread-based accessories.
Step-by-Step: How to Set Up HomeKit Accessories
Run these steps in order. If you already have your iPhone open on the Home screen with the accessory in front of you, the whole process takes five to ten minutes including naming and room assignment.
1. Check That Your Accessory Supports HomeKit
Look on the box or the back of the device for a Works with Apple HomeKit badge, or a Matter certification mark. If you see only Works with Alexa or Google Home, the Home app will never list it.
Next, find the pairing label. It is usually a small QR sticker on the back, the bottom, or inside the battery cover, and most manufacturers also print the eight-character code next to it. Keep the sticker somewhere safe: you need that same code again if the device ever has to be re-added.
Bundles and multipacks often print one code that covers several identical devices. If you have four bulbs in a box and a single sticker, you can add them one at a time or in a group depending on how your iPhone and the accessory version handle it. Newer releases handle multipack pairing automatically, so start with one device and see how it behaves.
2. Prepare Your iPhone or iPad for Setup
On an iPhone, open the Home app. On an iPad or Mac you can view a home, but the Add Accessory flow only runs on iPhone and iPad.
Before you tap anything, check three settings:
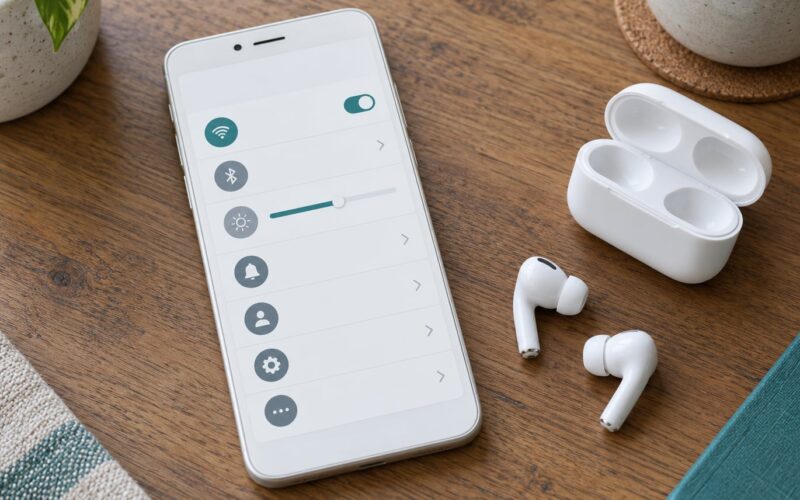
- Wi-Fi. Settings > Wi-Fi, connected to your home network. Tap the network name to confirm it is your home SSID and not a guest network or a phone hotspot.
- Bluetooth. Settings > Bluetooth, switched on. Many accessories use Bluetooth for the handshake before the real connection happens.
- Home app access. Settings > Privacy & Security > Home, with the toggle on. Some iOS versions will also prompt for camera access the first time the Home app scans a code.
If this is a brand-new Apple Account or a newly restored iPhone, give the Home app a minute to finish syncing with iCloud before you start pairing.
3. Put the Accessory in Pairing Mode
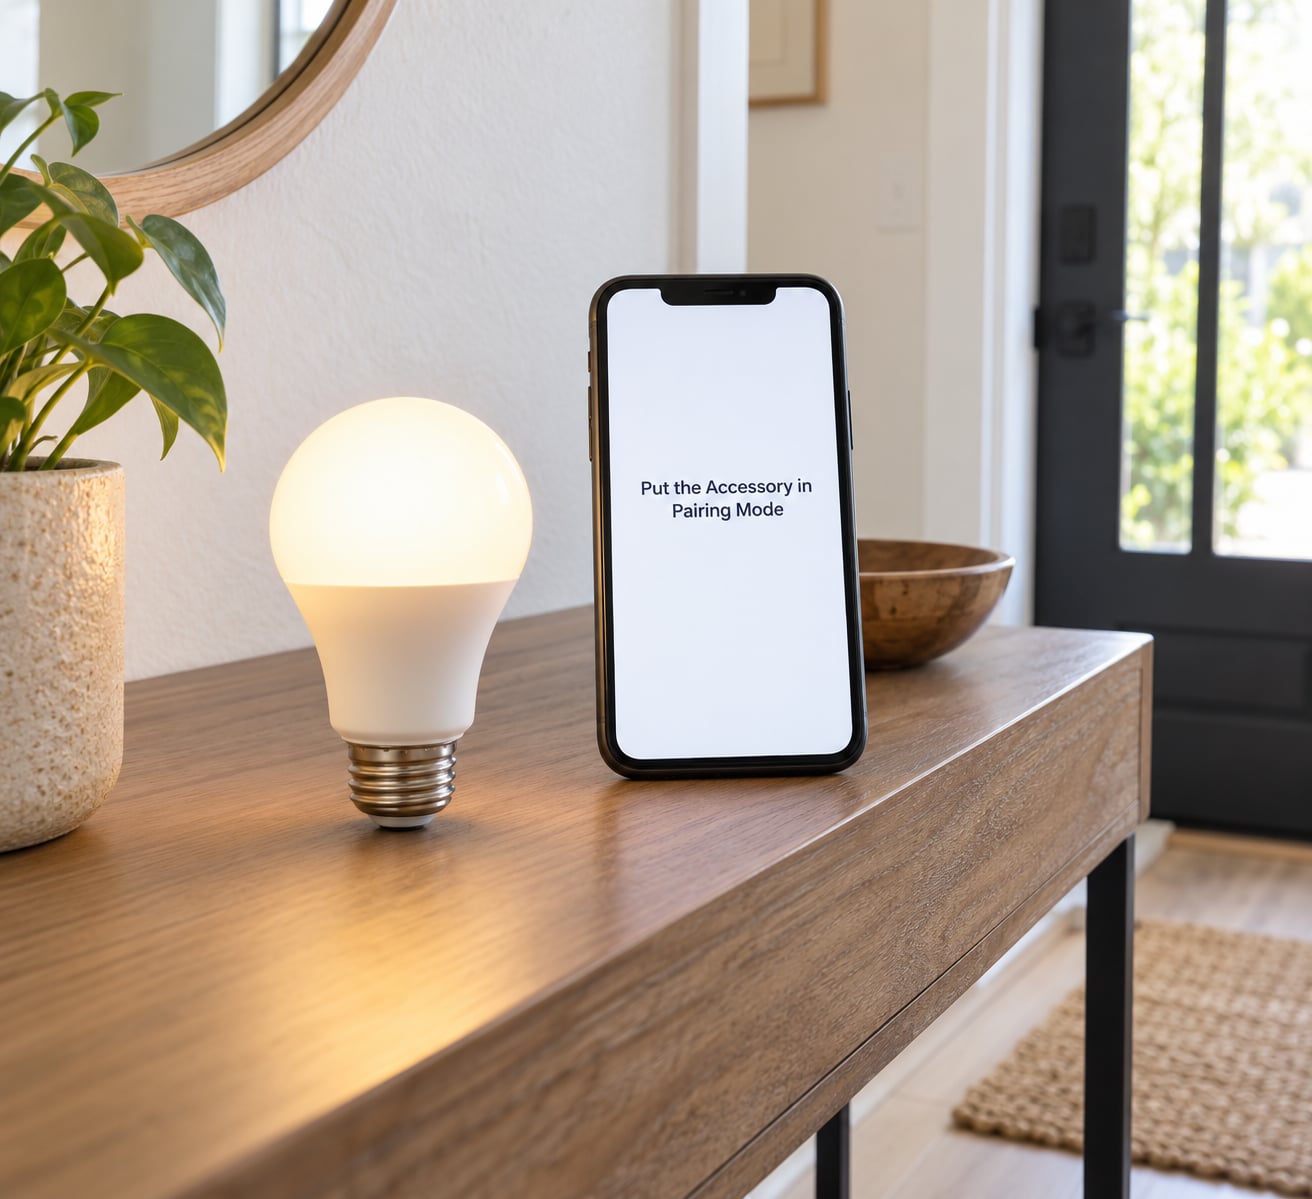
Most accessories ship already in pairing mode for the first few minutes. If yours has been plugged in a while, or you are re-adding a device that was used before, you have to reset it.
The usual method is a physical reset: press and hold the pairing or reset button on the device for about five to ten seconds until the light starts blinking rapidly or you hear a repeated beep. For plugs and bulbs this is often the same button that turns it on. For locks and cameras, check the manufacturer’s instructions, since a forced reset can also factory-clear the device.
A fast blink or repeating beep means it is advertising and waiting to be paired. A solid light usually means it is already connected to something. Matter devices announce themselves automatically and may ask your iPhone for permission to join the nearby network.
Thread devices are different in one useful way: they carry no Wi-Fi password at all. They join through a Thread border router, which is usually a HomePod mini or an Apple TV that has been updated to current software.
4. Add the Accessory in the Home App
Open the Home app, tap the + button in the top right corner, then tap Add Accessory. The camera view opens straight away.
Point it at the QR code on the accessory, a few inches away and flat to the sticker. If the device has no readable code, hold the top of your iPhone near it instead: HomeKit accessories broadcast a pairing signal over Bluetooth that the app can pick up on its own. The accessory should appear within a few seconds as a card near the bottom of the screen.
If nothing shows up, tap More options, then Accessory Settings for a thread-only device, or I Don’t Have a Code or Cannot Scan followed by Enter Code. Type the eight characters exactly as printed, including the dashes or spaces.
A third path worth knowing: when a Matter accessory has already been set up in another smart home app, it shows up under More options as a device you can move into your home. Tap it and follow the prompt to hand it over.
Tap the accessory card, give the Home app permission when it asks, and it appears in your home. Tap Allow on the notification prompt so alerts from that device reach your iPhone.
5. Assign It to a Room and Check Its Controls
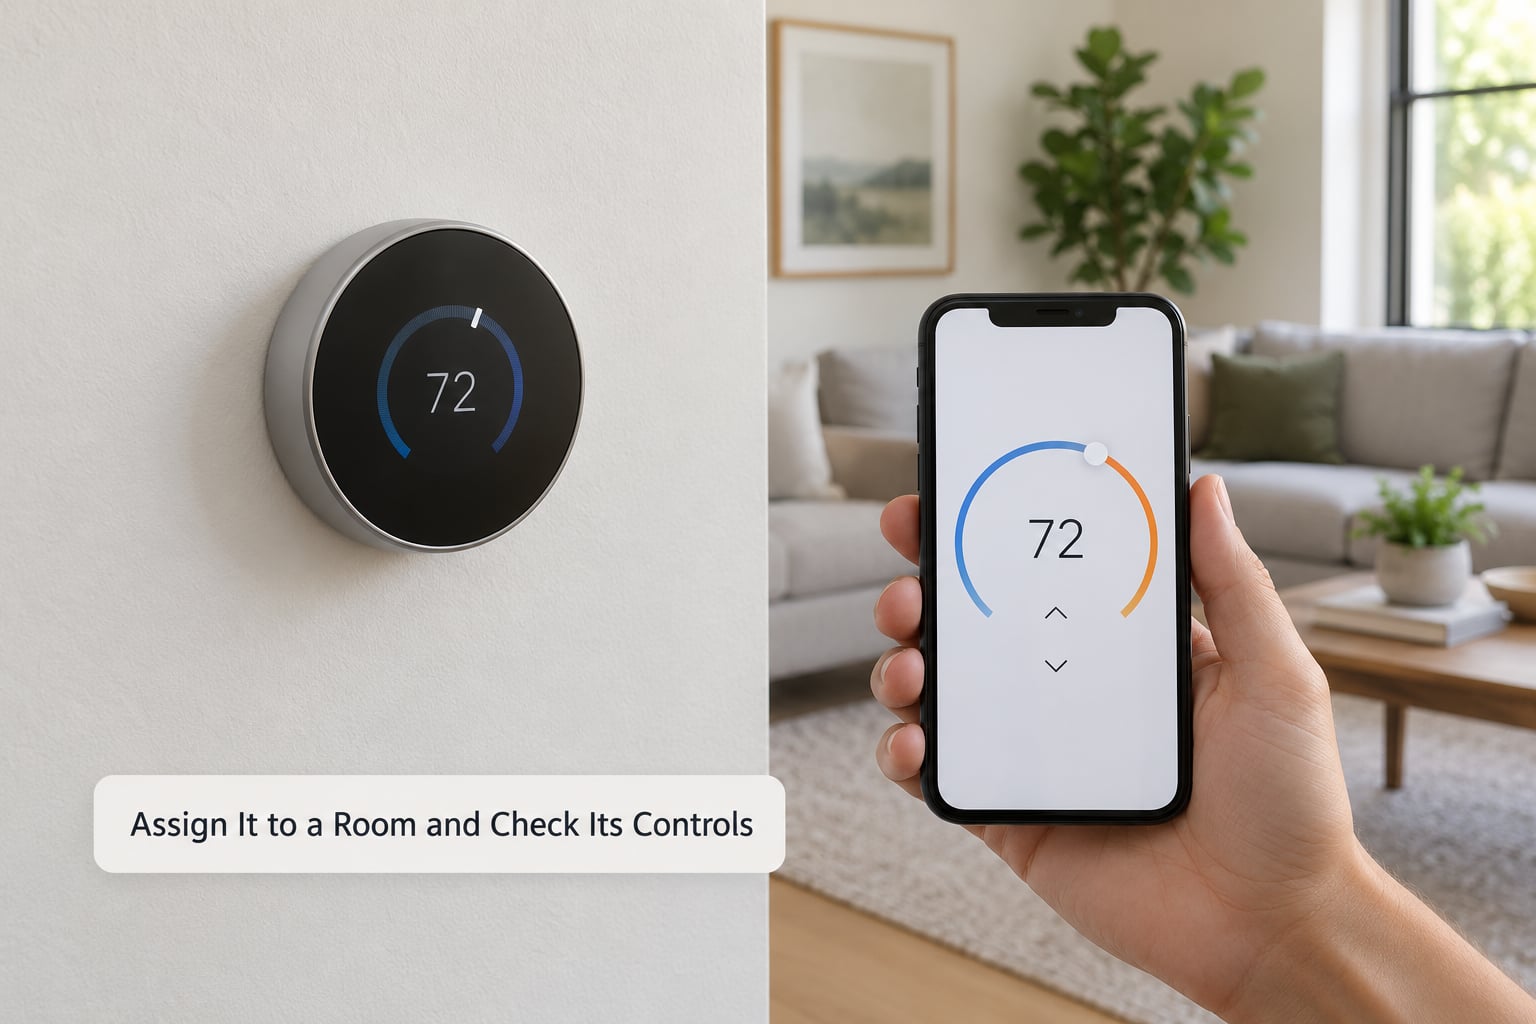
Give the accessory a name and pick its icon while the setup card is still open. Names matter more than they look: Siri matches on words, and Kitchen Lamp responds far better than Device 4.
Choose the room it lives in. Rooms drive group control, so putting the bulb in the correct room now saves work later. You can also put one accessory in several rooms if you want it to follow a scene.
Now test it. Tap the toggle in the Home app and confirm the physical device responds, or for a sensor watch the state change from No Response to an update. Then check the accessory’s own settings page, where you can rename it, change its icon, confirm its firmware, and read the setup code again later.
6. Set Up Automations or Siri Controls
Before you build anything complex, try the simple path. Stand in the room and say Hey Siri, turn on the kitchen light. If the accessory answers, pairing and naming are both working.
For automations, open the Automation tab at the bottom of the Home app, tap the plus button, and pick a trigger: a time of day, a person arriving or leaving, a sensor detecting motion, or another accessory switching state. Then choose the action and the accessories involved.
A useful first automation is a motion sensor near the entry turning on the hallway light at sunset. Another is every window and door contact sensor reporting open at the same time, which sends a notification when you leave home. Keep the first one small, because testing four conditions at once makes failures hard to read.
You can also control accessories from Apple Watch and the Control Center on iPhone, without opening the Home app at all.
Common Mistakes and Fixes When the Home App Will Not Pair
If you’re asking why you can’t add accessories to HomeKit, it helps to know that the error messages are vague by design. Nearly every one of them means one of the following.
The accessory never appears in the list. Put it back into pairing mode with the reset button, hold your iPhone closer, and reopen the Home app. Restarting the iPhone clears a Home app that is stuck searching, which happens more often than it should.
The code is rejected as incorrect. Setup codes expire after a short window, and a code already used by another home is dead. Reset the accessory to factory settings to generate a fresh pairing session, then pair it immediately. Codes are also case-sensitive and easy to mistype, so enter them letter by letter.
Setup fails partway through. This is nearly always the network. Confirm the iPhone is on the 2.4 GHz band, that the password is correct, and that you are not on a guest network or a network using a web sign-in page. Networks that require you to log in through a browser almost never accept accessories.
You get duplicate or greyed-out accessories. One device can only live in one home at a time. Open the accessory’s settings in the old home, tap Remove Accessory, then add it again in the new home. If it is bridged through Homebridge or still registered in the manufacturer’s app, remove it there first or factory-reset it.
Nothing pairs at all, anywhere. The complete lockout case shows up on Apple Community and Reddit threads regularly. Check that iCloud and your Apple Account are working on another device, confirm your home hub is online if you have one, then remove the stuck accessory and restart everything before trying again. A failed pairing session that never completes can leave the Home app in a bad state, and deleting the accessory that half-paired usually clears it.
You lost the setup code. After a successful setup, the Home app keeps the code under the accessory’s settings, so open it there and write it down. If the accessory is not yet added, the manufacturer’s own app or its support line is the next place to look.
Write each code into a note or a password manager as you go, labelled with the device and the room. Ten minutes of bookkeeping saves a very long evening later.
Frequently Asked Questions
Why can’t I add an accessory to the Home app?
Most failed pairings come down to four things: the accessory was never put into pairing mode, the setup code was wrong or already used, your iPhone was on the 5 GHz band or a guest network, or the device is still claimed by the manufacturer’s app or a Homebridge bridge. Reset the accessory, force it back into pairing mode, join the 2.4 GHz network, then try again.
What accessories work with Apple HomeKit?
Look for a Works with Apple HomeKit mark on the box, or a Matter certification on the label. Lights, plugs, thermostats, locks, cameras, sensors, blinds and speakers from many brands support HomeKit or Matter, and Matter devices are recognised by the Home app without extra apps. If the packaging says only Alexa or Google Home, it will not appear in the Home app.
Do I need a home hub to set up HomeKit accessories?
No. You can add and control everything from an iPhone or iPad on the same Wi-Fi network. A home hub such as a HomePod or Apple TV is what gives you remote access when you are away, automations that run while nobody is home, and a Thread border router for Thread accessories. You can add one later and existing accessories keep working.
How do I add an accessory without a QR code?
Tap + in the Home app, tap Add Accessory, and when nothing is detected, tap More options, then I Don’t Have a Code or Cannot Scan, then Enter Code. Type the eight-character setup code printed on the device or its box in the format XXX-XX-XXX. After a successful setup the Home app also shows the code under the accessory’s settings, so check there before hunting for the sticker.
Can I set up HomeKit accessories on Mac?
No. Accessories can only be added from the Home app on iPhone or iPad. On Mac you can view and control an existing home, and an Apple TV used as a home hub is usually running on that Mac or connected to it, but the Add Accessory button is not there. If you need to pair something new, use an iPhone or iPad, even briefly.
How do I share my HomeKit home with family?
In the Home app, tap the house name, scroll to People, tap Add Person, and enter their Apple Account email or phone number. They get an invitation and can control the accessories you allow. Share individual rooms rather than the whole home if someone should only reach the hallway and garage. Each person needs their own Apple Account, not a shared login.
Conclusion
Start with three things and most accessories pair on the first attempt. Confirm the box says Works with Apple HomeKit or Matter, connect your iPhone to the home 2.4 GHz Wi-Fi network rather than a guest network, and scan the setup code in the Home app with Add Accessory.
Give every accessory a real name and a room as you go, and note down the setup code while the sticker is still in front of you. When pairing does fail, the cause is one of four: pairing mode, an expired code, the wrong Wi-Fi band, or a device still claimed by another app.
That is how to set up HomeKit accessories in 2026, whether you are adding one smart bulb or a dozen devices across a whole house.