Hide My Email on iPhone gives you a random icloud.com address that forwards mail to your real inbox, so an app or website never learns where you actually receive email. The short version of how to use Hide My Email on iPhone: open the Settings app, tap your name at the top, tap iCloud, then tap Hide My Email. From there you can tap Create New Address, or generate one on the spot from Safari, Mail, or any app that offers the sharing menu.
The whole process takes about thirty seconds once you know where the panel lives. The catch is the subscription: Hide My Email requires an active iCloud+ plan, and it cannot be found by searching the Settings app.
Table of Contents
- 1What You Need
- 2Step-by-Step: How to Use Hide My Email on iPhone
- 3How to Turn On Hide My Email for Apps and Websites
- 4How to Create an Email Alias on iPhone
- 5How to Manage or Disable Hide My Email Aliases
- 6Common Mistakes
- 7Frequently Asked Questions
- 8Where is the Hide My Email setting on my iPhone?
- 9How does Hide My Email work?
- 10What is email masking, and how is it different from an alias?
- 11Do I need iCloud+ to use Hide My Email?
- 12Can I send email from a Hide My Email address?
- 13Conclusion
What You Need
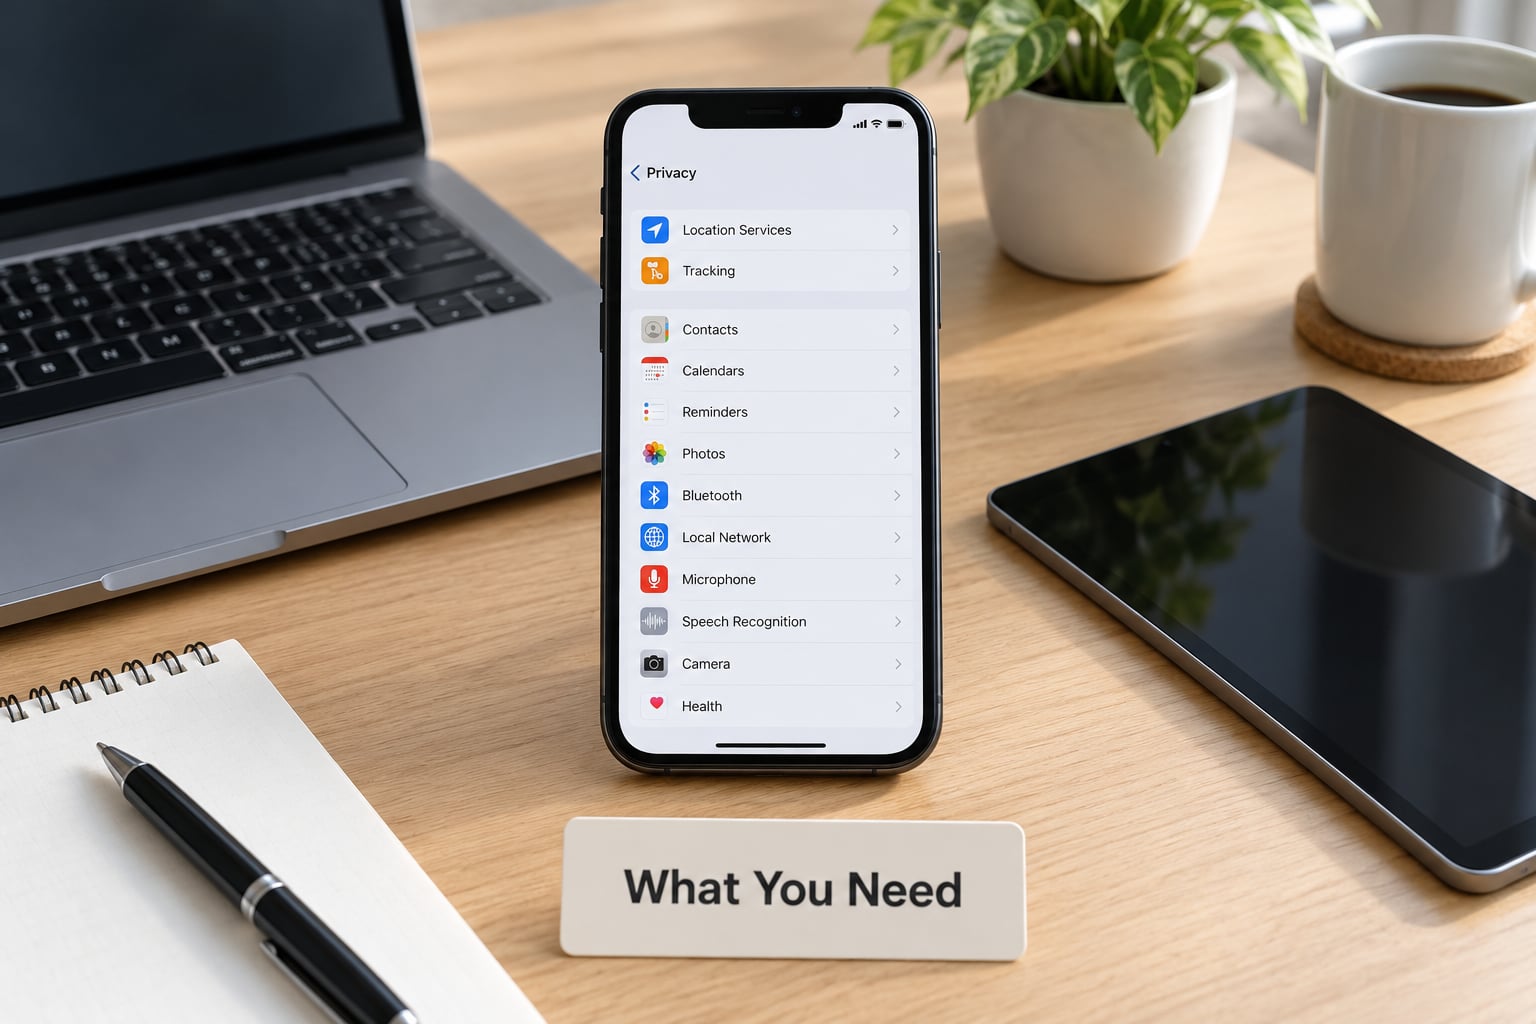
Before you start, check four things.
- An iPhone running iOS 15 or later. The feature has been in iOS since version 15 and the panel has barely moved since.
- An Apple Account with iCloud switched on.
- An active iCloud+ subscription. Every iCloud+ storage tier includes Hide My Email, and the free 5GB iCloud tier does not.
- An internet connection. Creating an alias is a server-side action, so it fails on a dead connection or a captive Wi-Fi page.
The same aliases are managed from an iPad or a Mac under Apple Account or iCloud settings, and you can see every alias and its forwarding destination at icloud.com in a browser. Apple Watch has no Hide My Email panel of its own, but an alias created on the paired iPhone works anywhere email is typed.
Step-by-Step: How to Use Hide My Email on iPhone
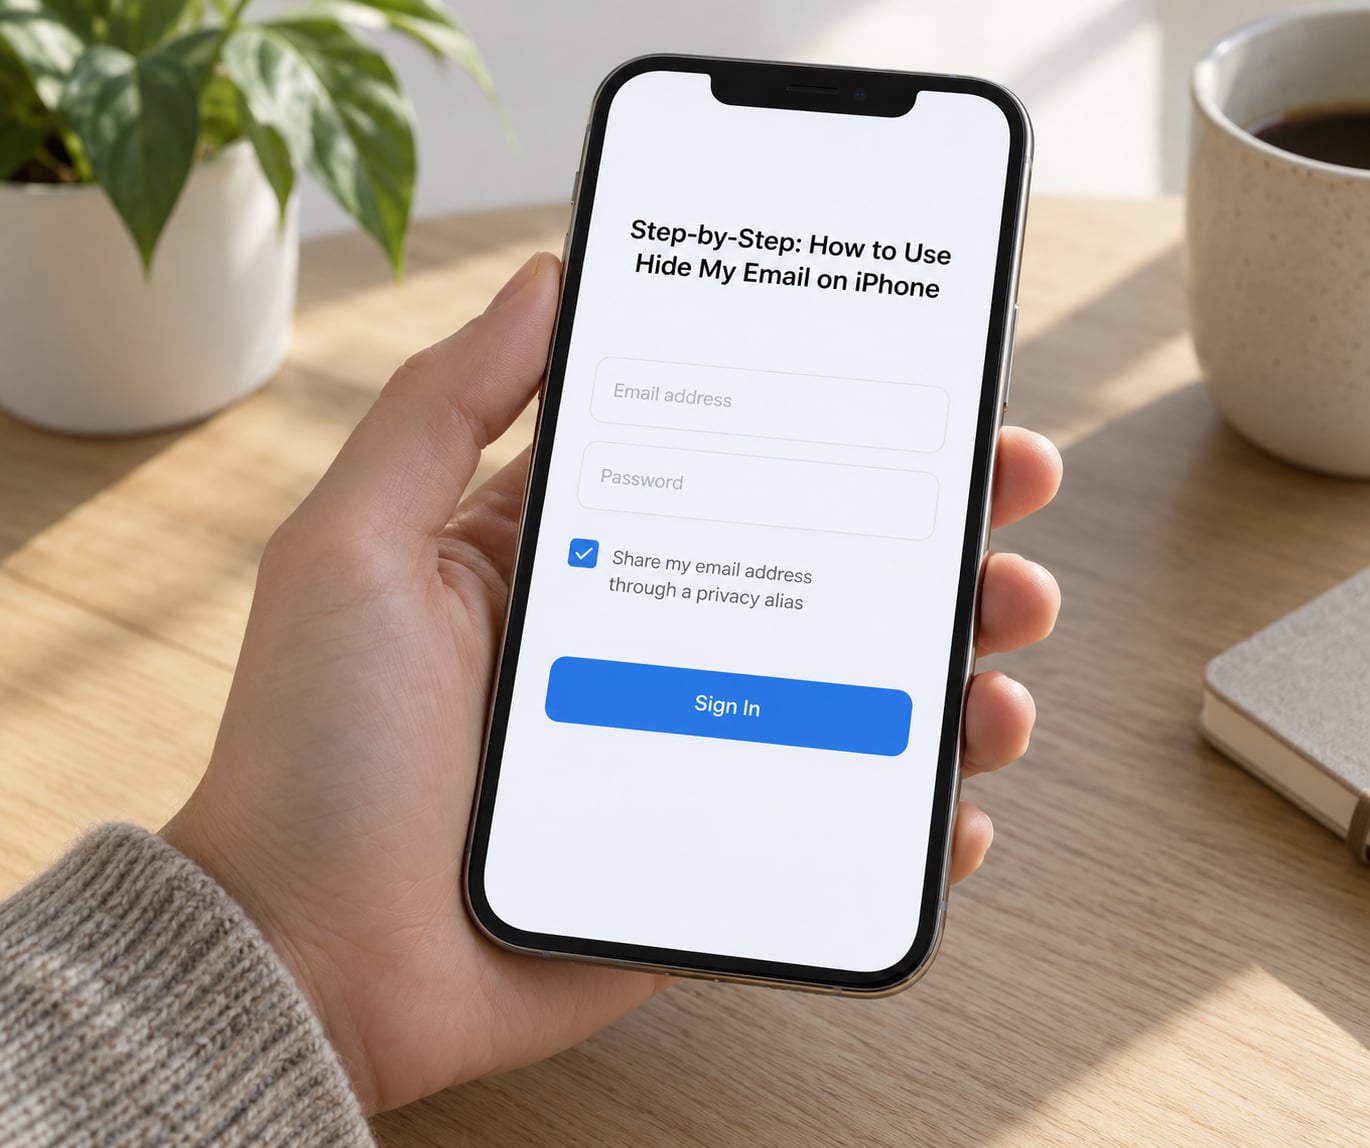
Start in Settings. Tap your name in the top row, tap iCloud, scroll down, and tap Hide My Email. You should land on a page with a short description and a blue Create New Address button, plus a toggle at the top that switches alias creation on or off.
- Open the Settings app and tap your name at the top of the list.
- Tap iCloud, then scroll until you see Hide My Email. It sits below iCloud+ storage, near Find My and Custom Email Domain.
- Tap Hide My Email. If the panel is missing, the toggle at the top controls whether new addresses can be generated from the share sheet.
- Tap Create New Address. Apple creates a random alias on the icloud.com domain and links it to your real inbox.
- Tap the new address in the list, then tap the label next to it and rename it to something you will recognise later, such as shopping-delivery or gym-newsletter.
- Tap Forward To to confirm or change which personal address receives mail for this alias.
- Tap Copy to put the alias on the clipboard, then paste it into whatever form you were filling in.
To confirm it worked, go back to the Hide My Email panel. Anything you created appears in the list with its label and forwarding destination. There is no separate confirmation email, so the panel is your source of truth.
How to Turn On Hide My Email for Apps and Websites
There are two switches people confuse. The one in Settings decides whether the option appears at all; the one inside an app decides whether you use it right now.
In Safari, tap a field that asks for email, expand the suggestion row above the keyboard, and look for Hide My Email in the row of options next to Share My Email and None. Same pattern in Mail when you compose to someone for the first time. Most third-party apps that build their own sign-up forms offer the same three choices.
When you tap Hide My Email, iOS generates the alias instantly and fills it into the form. That is the whole flow: no confirmation, no separate step to come back to.
How to Create an Email Alias on iPhone
You have three routes, and they all end in the same list.
The Settings route is Create New Address from the Hide My Email panel. The share-sheet route is faster: tap Hide My Email in the keyboard suggestion row of a sign-up form, and iOS creates one on the spot without leaving the form. The third route is Sign in with Apple, where the same email-sharing choice appears during authentication; picking Hide My Email there gives you an alias tied to that account.
Each tap creates a new address. There is no fixed cap on how many you can make, but dozens of unnamed aliases become unmanageable within a year, so label them as you go.
How to Manage or Disable Hide My Email Aliases
Tap any alias in the Hide My Email panel to open it. From there you can rename it, copy it, check where it forwards, or deactivate it.
- Rename: tap the label text and type a new name. Names are local to your account, so you can make them as descriptive as you like.
- Copy: copies the icloud.com address for pasting elsewhere.
- Forward To: switches which personal inbox receives this alias. Every alias can point somewhere different.
- Deactivate Email Address: switches off mail delivery to that alias. Mail sent to it stops arriving, which is how you sever a leaking account.
Deactivation is reversible. Reactivate the address later and forwarding resumes, though anything sent while it was off is gone for good. It is very different from deleting the Apple Account: aliases live inside the account, so removing one alias does not affect any other, and deleting an account would take every alias, every subscription and all your iCloud data with it.
Common Mistakes
Hide My Email cannot be found in Settings at all
Two causes account for almost every case. If the iCloud+ subscription lapsed or was downgraded to the free tier, the entire panel disappears until the plan is active again. If you are on iCloud+, the panel is present but the Settings search bar returns nothing for the phrase Hide My Email, so scroll manually instead of searching.
The alias was created but nothing arrives
Check that the alias is still active and that Forward To points at an inbox you actually read. Mail sent to a deactivated address is dropped silently. A company that captured your alias before you changed your forwarding destination will keep sending to the same alias while the mail lands in a different place.
You shared your real address by accident
Nothing in iOS lets you edit an address after a form is submitted, so the fix is upstream: open the app’s settings, change the account email, or delete the account and start again with the Hide My Email option selected.
Refunds and password resets never reach you
Hide My Email addresses receive mail, they cannot send from. A seller who needs you to email them from the address on the purchase cannot receive anything you send, because iOS gives you no send-from option for an alias. The same applies to recovery links for accounts you no longer own. Use your real address for shopping receipts, banking, anything with a support ticket attached, and any account where a password reset matters.
You thought hiding it everywhere was better
That instinct is understandable, and it is also where people get stuck. Hide My Email is one of the most argued-about features in Apple’s own support forums, and a large share of those threads are people asking how to turn it off completely. A handful of labelled aliases beats forty anonymous ones. Keep separate aliases for shopping, newsletters, and gaming, and leave identity-linked accounts alone.
One more note on maintenance: Apple ships iOS security and privacy fixes regularly, and alias behaviour can shift between releases. Update to the current iOS release, and if you are relying on an alias for something sensitive, create a fresh one rather than trusting an address you made years ago.
A quick way to see the damage is to open Settings, tap your name, tap iCloud, tap Hide My Email, and read your list top to bottom. Anything you cannot name gets deactivated.
Frequently Asked Questions
Where is the Hide My Email setting on my iPhone?
It sits at Settings, then your name at the top of the list, then iCloud, then Hide My Email near the bottom of that page. Searching the Settings app for Hide My Email returns no results, so scroll instead. If the whole panel is absent, your iCloud+ subscription has lapsed and Hide My Email is unavailable until the plan is active again.
How does Hide My Email work?
Apple generates a random address on the icloud.com domain and links it to your real inbox. Anything sent to that alias is relayed by email forwarding to whichever personal address you chose. You can create a different alias per service, label it, change where it forwards, or deactivate it to stop delivery instantly without deleting the account.
What is email masking, and how is it different from an alias?
Masking hides part of your real address while keeping the visible part working, so replies still reach a mailbox the sender already knows. A Hide My Email alias shows nothing of your real address and is a separate address in its own right. Masking is convenience plus a little privacy; aliasing is genuine separation that you can switch off.
Do I need iCloud+ to use Hide My Email?
Yes. Hide My Email is bundled with every paid iCloud+ storage plan, from the smallest tier upward, and it is not included in the free 5GB iCloud tier. If you cannot see the Hide My Email row under iCloud, check your subscription status first. Downgrading below a paid tier removes the panel, though existing aliases stop forwarding.
Can I send email from a Hide My Email address?
No. Aliases receive mail only; iOS offers no send-from option. That is why an alias is a poor choice for shopping accounts, refunds, or anything that needs you to email a company back from the address on file. Sellers have reported being unable to process refunds this way. Use your real address for purchases and support threads.
Conclusion
Do one thing now: the next time an app asks for your email, tap Hide My Email in the keyboard suggestion row instead of Share My Email. That takes one tap, and it is the whole habit.
Then open Settings, your name, iCloud, Hide My Email and read your list. Rename anything cryptic, and deactivate the aliases for services you have not used in a year. Hide My Email on iPhone works best as a small set of labelled addresses for shopping, newsletters, and trials, not as a wall between you and every account you own.