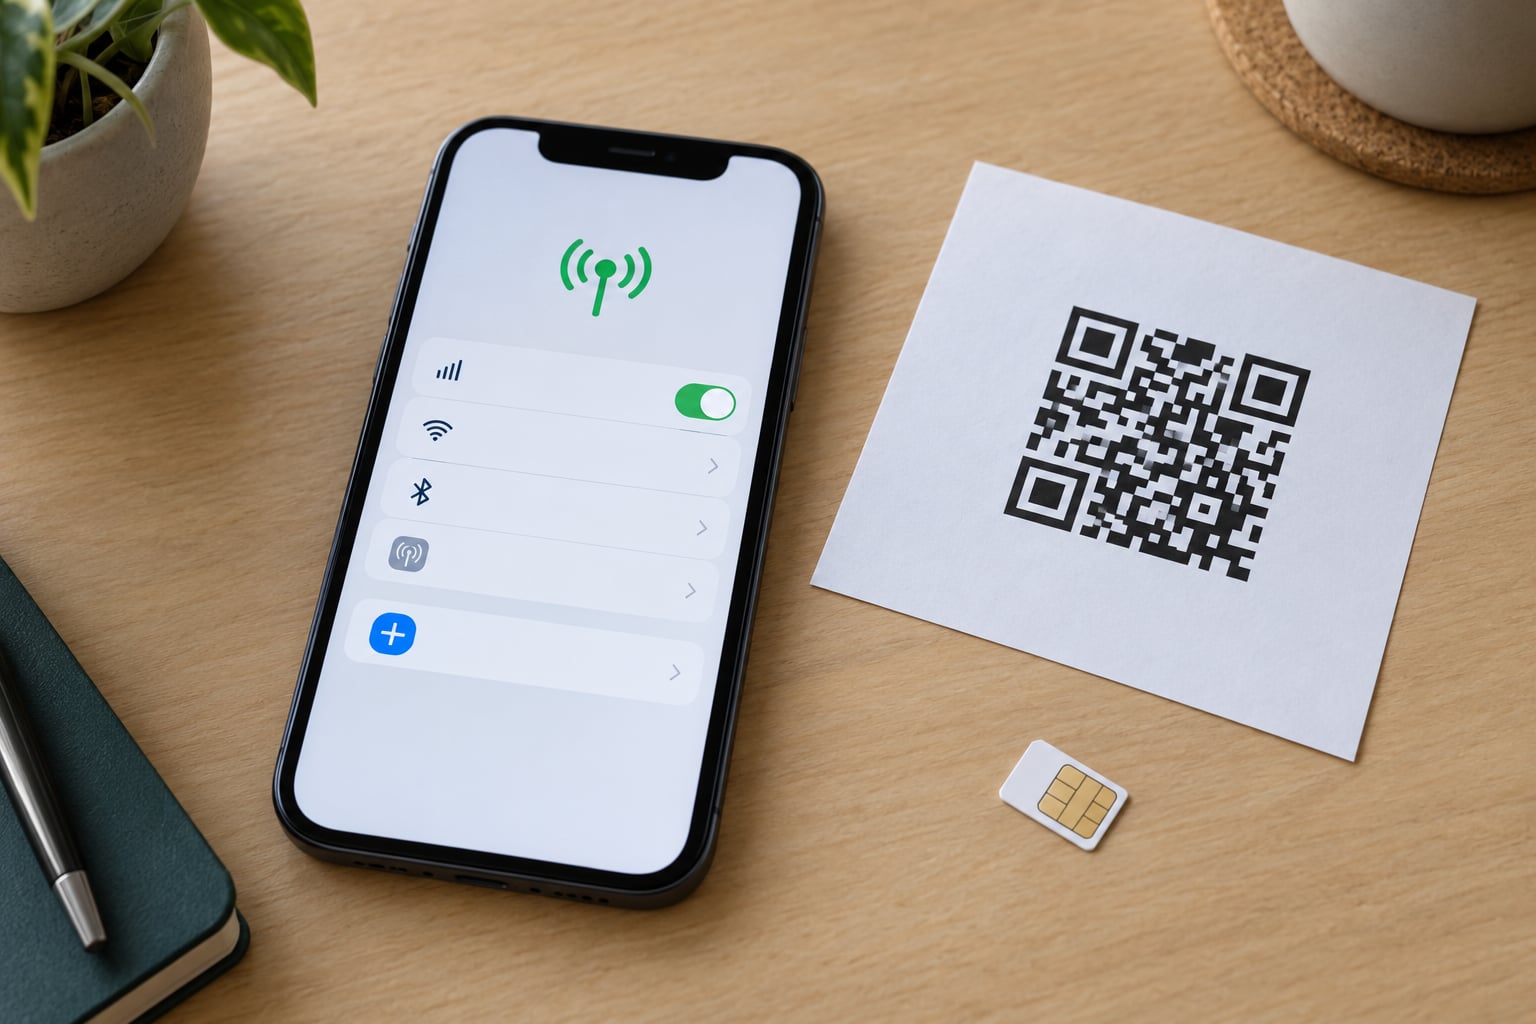
To set up eSIM on iPhone, open the Settings app, tap Cellular (called Mobile Data on some versions), tap Add eSIM, then install the profile with a QR code, a nearby-iPhone transfer, or the SM-DP+ address and activation code your carrier gave you. It takes about five minutes, and most of that is waiting for the profile to download.
The part that catches people out isn’t the setup. It’s the two things that happen afterwards: choosing which line handles your calls, texts and data, and realizing too late that the physical SIM in the tray was carrying the number they wanted to keep.
This guide covers both. Work through the steps in order, and don’t delete anything from your current phone until the new line has passed a test call and a data check.
Table of Contents
- 1What You Need
- 2How to Set Up eSIM on iPhone Step by Step
- 31. Check That Your iPhone Supports eSIM
- 42. Get an eSIM Activation Code or QR Code
- 53. Open the eSIM Settings on Your iPhone
- 64. Scan or Manually Enter the eSIM Code
- 75. Label the eSIM and Finish Activation
- 86. Test Calls, Messages, and Mobile Data
- 9How to Transfer an Existing Number to eSIM
- 10Common eSIM Setup Mistakes and Fixes
- 11Tips for a Smooth eSIM Setup
- 12Frequently Asked Questions
- 13Why can’t I activate eSIM on my iPhone?
- 14Can I activate my eSIM by myself?
- 15How do I manually set up eSIM on my iPhone?
- 16How many eSIMs can an iPhone have?
- 17How to switch between SIM and eSIM on iPhone?
- 18What is the disadvantage of eSIM on iPhone?
- 19Conclusion
What You Need
You need four things, and missing any one of them is the most common reason setup stalls.
- A compatible iPhone. Any iPhone XS, XS Max, XR or later sold in a region that supports eSIM. iPhone 13 and newer can hold two active eSIM lines at the same time; earlier supported models pair one eSIM with the nano-SIM tray.
- iOS 12.2 or later, and for the nearby-transfer method, two iPhones running a recent version. Update before you start — Settings, General, Software Update.
- A carrier that sells eSIMs and an account that’s unlocked. A carrier-locked iPhone, or a carrier with no eSIM support for your model and region, will not show the Add eSIM option at all.
- The activation details from your carrier — either a QR code they emailed you or a screenshot of one, or the SM-DP+ address plus activation code. Some carriers hand these over in their app instead.
Keep a Wi-Fi connection open throughout. The profile downloads over Wi-Fi first, so a cellular-only connection often stalls the install even though your phone shows full bars.
One more thing worth having to hand: your carrier account PIN and the number you’re porting. Number transfers fail more often on a wrong PIN than on anything to do with iPhone.
How to Set Up eSIM on iPhone Step by Step
1. Check That Your iPhone Supports eSIM
Open Settings, General, About, and scroll to Model Number. If it ends in XS, XR or later, the hardware is fine. Anything older than that — an iPhone 8, X or earlier — has no eSIM capability and the Add eSIM option simply won’t be there.
Region matters too. Mainland China iPhones are eSIM-only with no physical tray at all, and Hong Kong and Macao models use dual nano-SIM rather than eSIM. A US-bought iPhone works normally, but the carrier still has to support your specific model number.
2. Get an eSIM Activation Code or QR Code
Your carrier issues this. Most send it by email after you order a plan in their app or web account, and some show it directly in the app under your order. If it’s a travel data plan you bought from a third-party seller, the code usually arrives as an email with a QR code attached.
Treat that code like a password. Anyone who scans it can install the profile, and a code that has already been used usually fails on the second attempt. If you share a screenshot with a friend to scan it, ask them to delete theirs afterwards, and get a fresh code if theirs lingers on their screen.
3. Open the eSIM Settings on Your iPhone
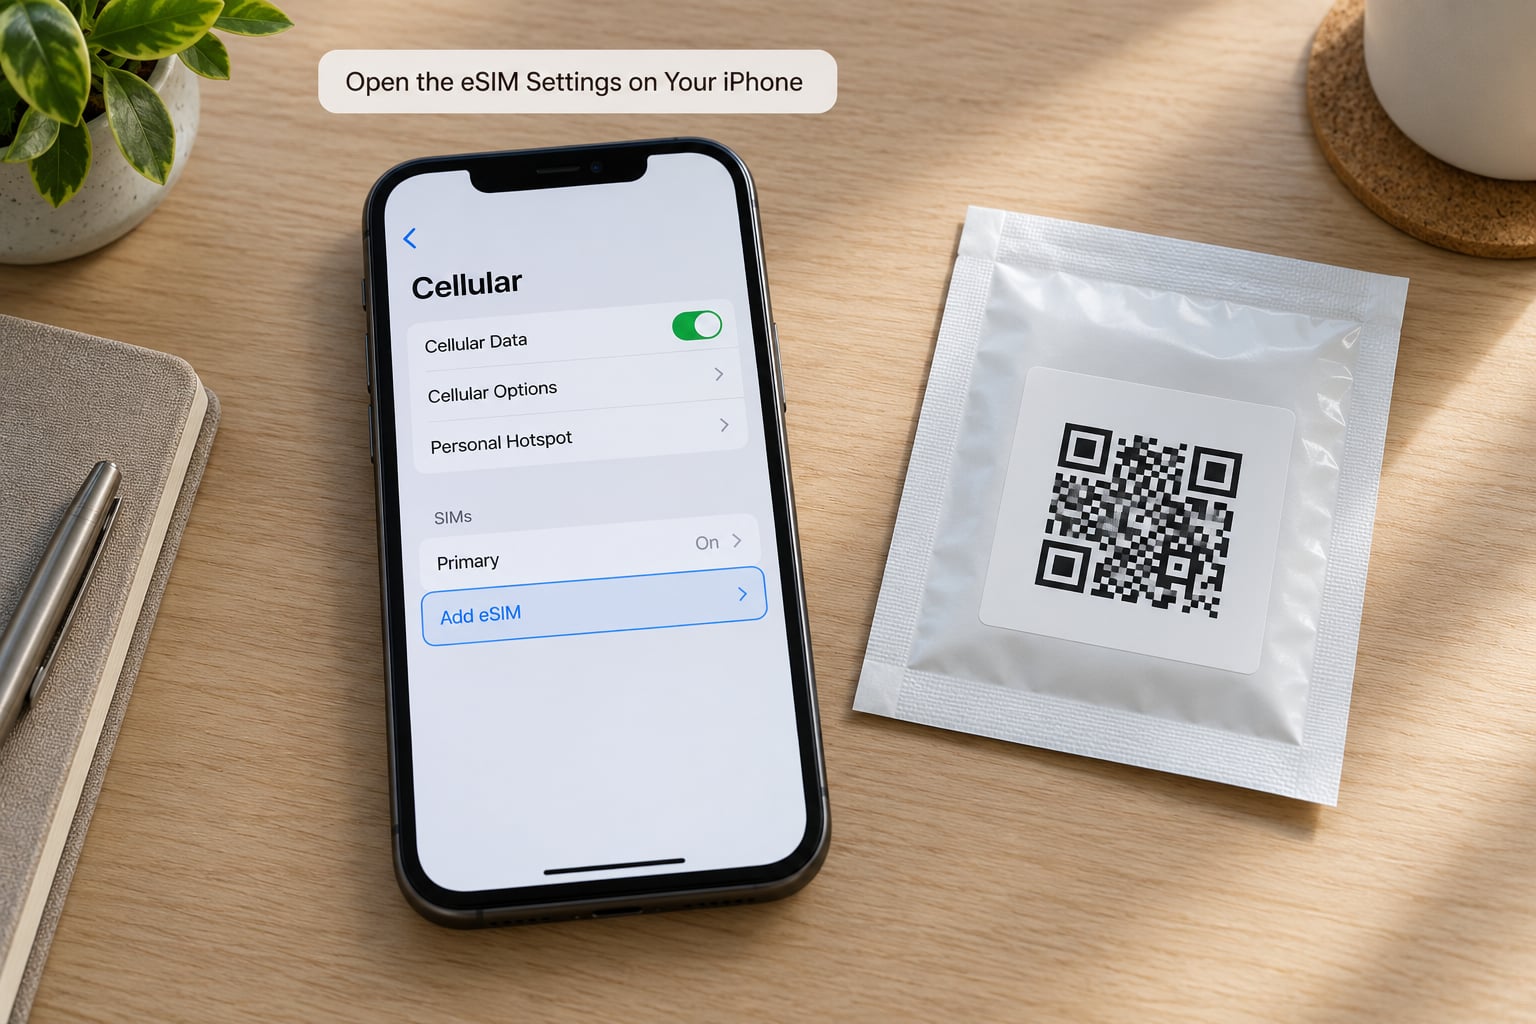
The path is Settings, then Cellular. On iPhones sold outside the US it may read Mobile Data or Mobile Service — it’s the second item in the list, below Wi-Fi and Bluetooth.
Scroll down to the Cellular Plans section and tap Add eSIM. Some versions label it Set Up eSIM. This is the screen where you choose between Use QR Code, Enter Details Manually, and Transfer from Nearby iPhone, so it’s worth pausing here to read all three before picking.
4. Scan or Manually Enter the eSIM Code
Tap Use QR Code and hold your iPhone’s camera over the carrier’s QR code until it appears in the viewfinder. iOS recognizes the code on its own and offers to use it — tap the notification that appears at the top of the screen.
If the paper code is gone and you have a photo of it, that works too. Open Settings, Camera and point at the QR code on the display or photo; the same notification pops up. Inside the Add eSIM screen there’s also an Open Photos option on some versions, which searches your library for a code you already saved.
Prefer typing? Tap Enter Details Manually instead, then paste or type the SM-DP+ address and the activation code. Watch for lookalike characters — capital O versus zero trips up more activation codes than anything else. This is the fallback whenever a QR code is expired or won’t scan.
5. Label the eSIM and Finish Activation
The profile downloads over a few minutes. It looks like the phone is stuck on a white screen with a progress bar; it isn’t. Once it completes, the new line appears in Cellular Plans with its carrier name and phone number.
Tap it and give it a label. Names like Work, Travel or Personal are far more useful than the carrier’s default, because that label is what you tap when you want to switch lines later. Then decide which line handles calls, iMessage and FaceTime, and which one handles cellular data — the default settings pick the newest line unless you change them.
6. Test Calls, Messages, and Mobile Data
Before you touch anything else, make a test call, send a test text, and load a web page with Wi-Fi turned off completely. Signal bars alone don’t prove a line works — a line can show four bars and carry no data.
If texts go out but iMessage doesn’t, the line is fine and the messaging default is wrong: Settings, Cellular, your eSIM, Default SMS is where you fix it. Once calls, messages and data all pass, that’s when you can start thinking about removing the old SIM.
How to Transfer an Existing Number to eSIM
Adding a brand-new number is the easy half. Bringing your existing number across is where people lose service for a day, because the order of operations matters.
Set up the eSIM first, with a new or temporary number, and confirm it activates. Only then request the transfer of your old number through your carrier. The carrier’s transfer tool asks for your current number, your new eSIM’s number, and the account PIN or transfer PIN. Once the port completes, the same line simply appears on the new profile.
Keep the physical SIM in the phone and its service live for the whole process. Porting normally takes a few hours to a business day, and if it fails you still have a working line to call from.
Some carriers’ transfer tools refuse eSIM transfers even when they sell eSIMs — Visible is the name that comes up most often in forum reports of this. The workaround is to skip the transfer tool: order the line, get a QR code or SM-DP+ details, install them manually, and ask the carrier to complete the port using the new eSIM’s number.
Common eSIM Setup Mistakes and Fixes
- No Add eSIM option in Settings. Usually an iPhone older than XS or XR, a carrier lock, a region that doesn’t support it, or iOS that’s out of date. Check Model Number under Settings, General, About, confirm the carrier supports eSIM for that model, and update iOS.
- You dismissed the activation notification. The setup prompt only appears briefly and can be swiped away. Bring it back with Settings, Cellular, Set Up Cellular, then Set Up eSIM.
- Invalid or expired QR code. The code was already scanned, or it’s past its install window. Request a fresh code from the carrier, or use Enter Details Manually with the SM-DP+ address.
- Cellular says hardware fault after an update. eSIM-only models have lost profiles following some iOS updates. Restart and wait five minutes before retrying; if it persists, remove the eSIM in Settings and reinstall it.
- No Service on the new line. The line is switched off, or cellular data is set to another line. Tap the line in Cellular Plans and turn it on, then set Cellular Data to that line.
- The eSIM toggle turns itself back off. Usually follows a failed install or a firmware update. Delete the failed profile, power cycle, and reinstall from a fresh code.
- Carrier says it can’t transfer your number. The carrier’s transfer tool doesn’t handle eSIM-to-eSIM moves. Install the eSIM manually, then have the carrier port the number onto it.
- iMessage or FaceTime on the wrong line. The default messaging line is still set to the old number. Go to Settings, Cellular, your line, Default SMS, and switch iMessage on.
The power cycle people recommend for stubborn activation problems takes five full minutes, not five seconds. Hold the side button plus volume down until the slider appears, slide to power off, wait five minutes, power back on, and retry Set Up Cellular. Forum regulars credit that longer wait more often than a quick restart.
Tips for a Smooth eSIM Setup
Use the carrier’s own app where you can. The app checks compatibility, pushes the profile straight to the device, and skips the QR-code screenshot step that causes most failures.
Keep the old SIM until everything passes. Deleting a line in Settings is permanent — you can only re-download a new profile, and carriers often charge for a replacement. There is no undo.
Turn data roaming off for your home line when you travel. Adding a travel eSIM is the easy part; leaving your regular plan roaming abroad is what produces surprise bills. Toggle it per line in Cellular, then confirm which line is set to Cellular Data.
Know your line limit before you plan. iPhone XS through 12 runs one eSIM plus the nano-SIM tray. iPhone 13 and later run two eSIMs simultaneously, which is Dual SIM Standby — both lines stay reachable for calls.
Set Allow Cellular Data Switching if you want automatic switching. It only applies to lines from the same carrier, and it stops working while any line has data roaming switched on.
Do the security maths once. A digital profile can’t be pulled out of a lost phone the way a physical SIM can, but it’s also tied to your Apple Account and device, so remote removal protects the line. Keep Find My iPhone on and your Apple Account credentials somewhere separate from the phone.
Last updated for iOS 26.
Frequently Asked Questions
Why can’t I activate eSIM on my iPhone?
The usual reasons are an iPhone older than XS or XR, a carrier lock, a carrier that doesn’t support eSIM for your model and region, or software that is out of date. Activation also fails if the QR code was already used or has expired. Check Model Number under Settings, General, About, update iOS, and request a fresh code from your carrier. If a line stalls mid-install, delete it and reinstall after a full five-minute power cycle.
Can I activate my eSIM by myself?
Yes, on any carrier that supports self-service eSIM. Most major carriers let you order a plan in their app or online account and install the profile immediately, without visiting a store. You need an unlocked iPhone XS, XR or later, a Wi-Fi connection, and the activation details. Business and corporate plans are the usual exception, since an administrator usually has to assign the profile to your device.
How do I manually set up eSIM on my iPhone?
Open Settings, tap Cellular, then Add eSIM, and choose Enter Details Manually. Enter the SM-DP+ address first and the activation code second, checking carefully for confusing characters such as zero versus capital O. Tap Verify, then Next. The profile downloads over Wi-Fi and can take several minutes. This is the reliable path whenever a QR code is expired, blurry, or has already been scanned.
How many eSIMs can an iPhone have?
iPhone 13 and newer can keep two eSIM lines active at once, which lets both receive calls through Dual SIM Standby. Earlier supported models, from iPhone XS through iPhone 12, run one eSIM alongside the physical nano-SIM tray, so one active line total alongside the eSIM. You can also store several downloaded eSIM profiles and switch between them, but only the active ones carry service.
How to switch between SIM and eSIM on iPhone?
Open Settings, Cellular, then tap the line you want to use and turn it on or off with the toggle. To change which line carries data, tap Cellular Data at the top of the Cellular screen and pick another. For calls and messages, set the Default Voice Line and Default SMS options inside each line’s own settings, since your iPhone can use a different number for data than for calls.
What is the disadvantage of eSIM on iPhone?
The main drawbacks are loss of flexibility and recovery options. You cannot swap an eSIM into another device, so a lost profile can take time and possibly a fee to reissue, and the tray no longer works as a backup line on eSIM-only models. Some older or regional models support only one active line. Smaller carriers and some prepaid plans still have no eSIM option at all.
Conclusion
Start by confirming two things: your model number sits at XS or newer, and your carrier sells eSIM for that model in your region. Those two checks account for most failed setups before a single QR code is scanned.
Then install the profile, label the line, and set your defaults while everything is still new. Test a call, a message and a page of mobile data before you remove anything. Learning how to set up eSIM on iPhone properly means finishing with two working lines and a clear idea of which one you actually use — not a fresh profile and a dead phone number.