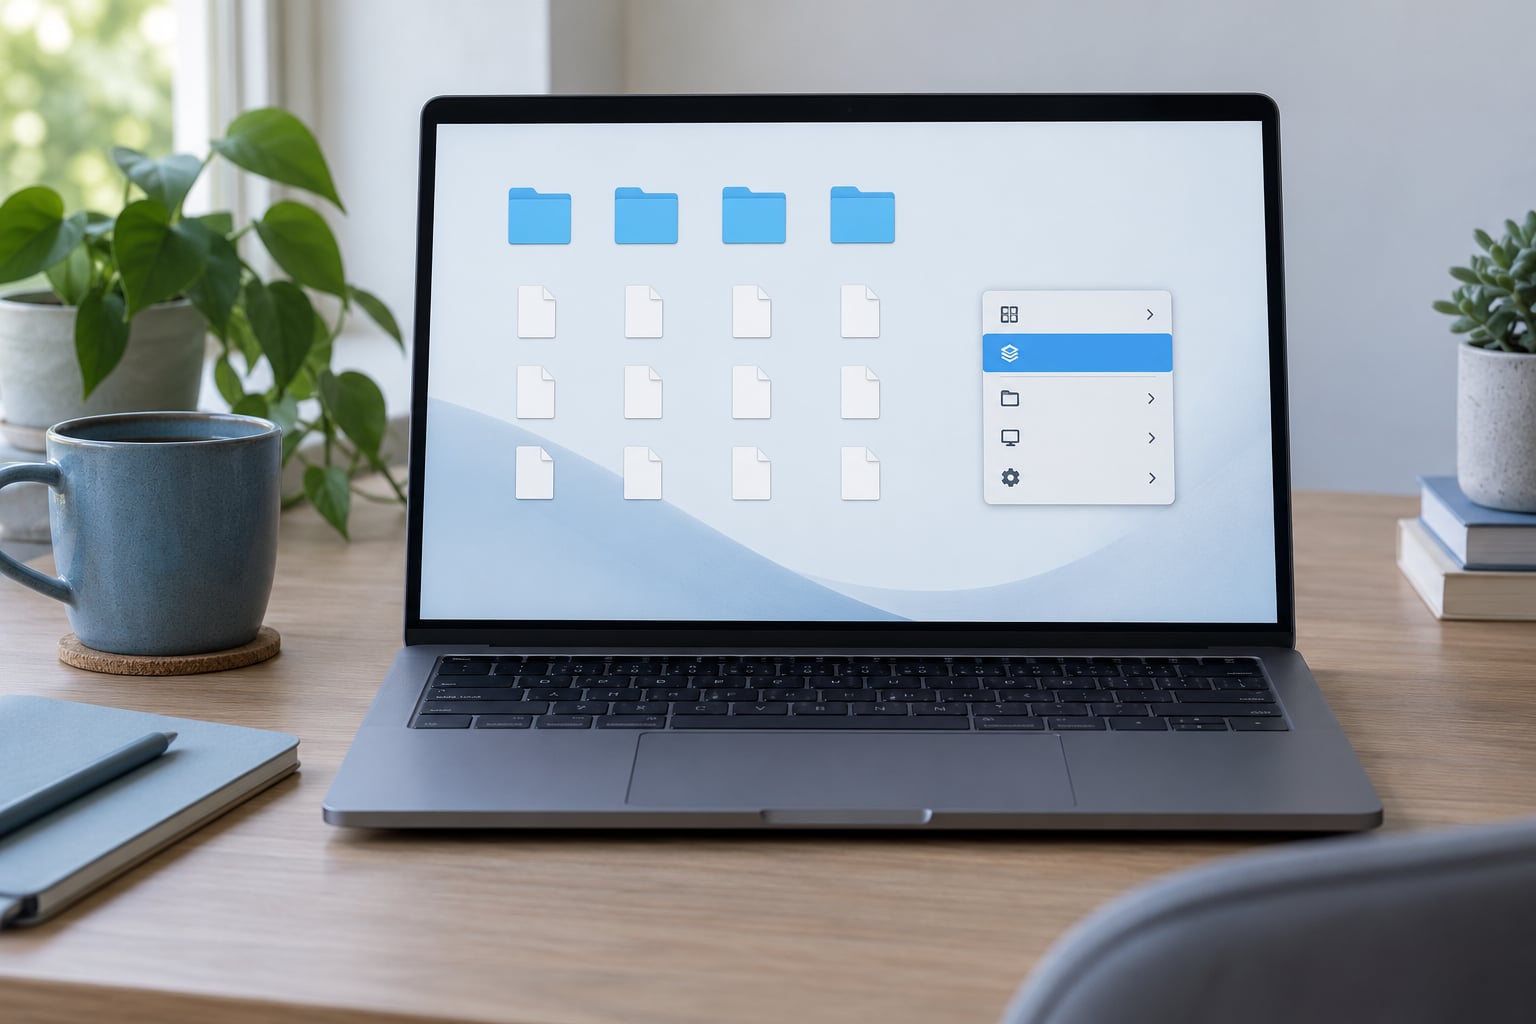
If you want to know how to organize desktop files on Mac, the fastest fix takes about five minutes: right-click the desktop, choose Use Stacks to auto-group everything by kind or date, then run Clean Up so the icons snap into a neat grid. Everything else — real folders, names, tags, backups — you can layer on afterwards.
That matters more than it sounds. macOS renders the Desktop as a live view of a folder inside your user account, so every loose screenshot and download is an icon your Mac redraws constantly, and every file you save there is one you are quietly asking yourself to remember later.
I have run the same sequence on my own Mac and on the family machines, and the version below is the one that survives contact with a real week: a handful of named folders, a couple of Stacks, and a two-minute Friday sweep. The steps match the macOS releases current in 2026, and I call out where older versions differ.
Table of Contents
- 1What You Need
- 2Step-by-Step: How to Organize Desktop Files on Mac
- 3Check What Is on the Desktop
- 4Create Folders by File Type or Project
- 5Move Files Into the Right Folders
- 6Use Tags, Search, and Smart Folders to Organize Desktop Files on Mac
- 7Choose a Desktop View That Stays Tidy
- 8Set Up a Simple Backup and Maintenance Routine
- 9Common Mistakes
- 10Frequently Asked Questions
- 11What is the best way to organize my Mac desktop?
- 12How do I move and rearrange icons on the Mac desktop?
- 13What does Ctrl+H do on a Mac?
- 14Why can’t I rearrange my folders on my Mac desktop?
- 15How do I find files hidden on the Mac desktop?
- 16What should I do with years of old screenshots on the desktop?
- 17Conclusion
What You Need
Nothing to buy. Every tool below ships with the Mac.
- Finder, the file manager, reachable from the Dock or with Command + Tab. The Desktop and the Files app inside iCloud Drive are both Finder windows in disguise, so the same rules apply to each.
- About ten minutes for the first pass, plus a recurring two-minute sweep once it is set up.
- A backup location before you start moving anything: iCloud Drive, Time Machine, or an external drive already set to back up your Mac.
- A quick review of what matters. Before you reorganize, note the two or three files you touch every day so you do not bury them mid-project.
Two things worth knowing up front. First, the desktop is not magic storage: it is the Desktop folder inside your home folder, which you can open with Finder, then Go, then Go to Folder, then type ~/Desktop. Anything you see on screen is a real file sitting there.
Second, there is no single correct system. MacRumors forum regulars and Reddit users split cleanly between keeping the desktop completely empty and using it as a staging area for active work. Pick one of the two philosophies in the next section and the rest of the steps make more sense.
Step-by-Step: How to Organize Desktop Files on Mac
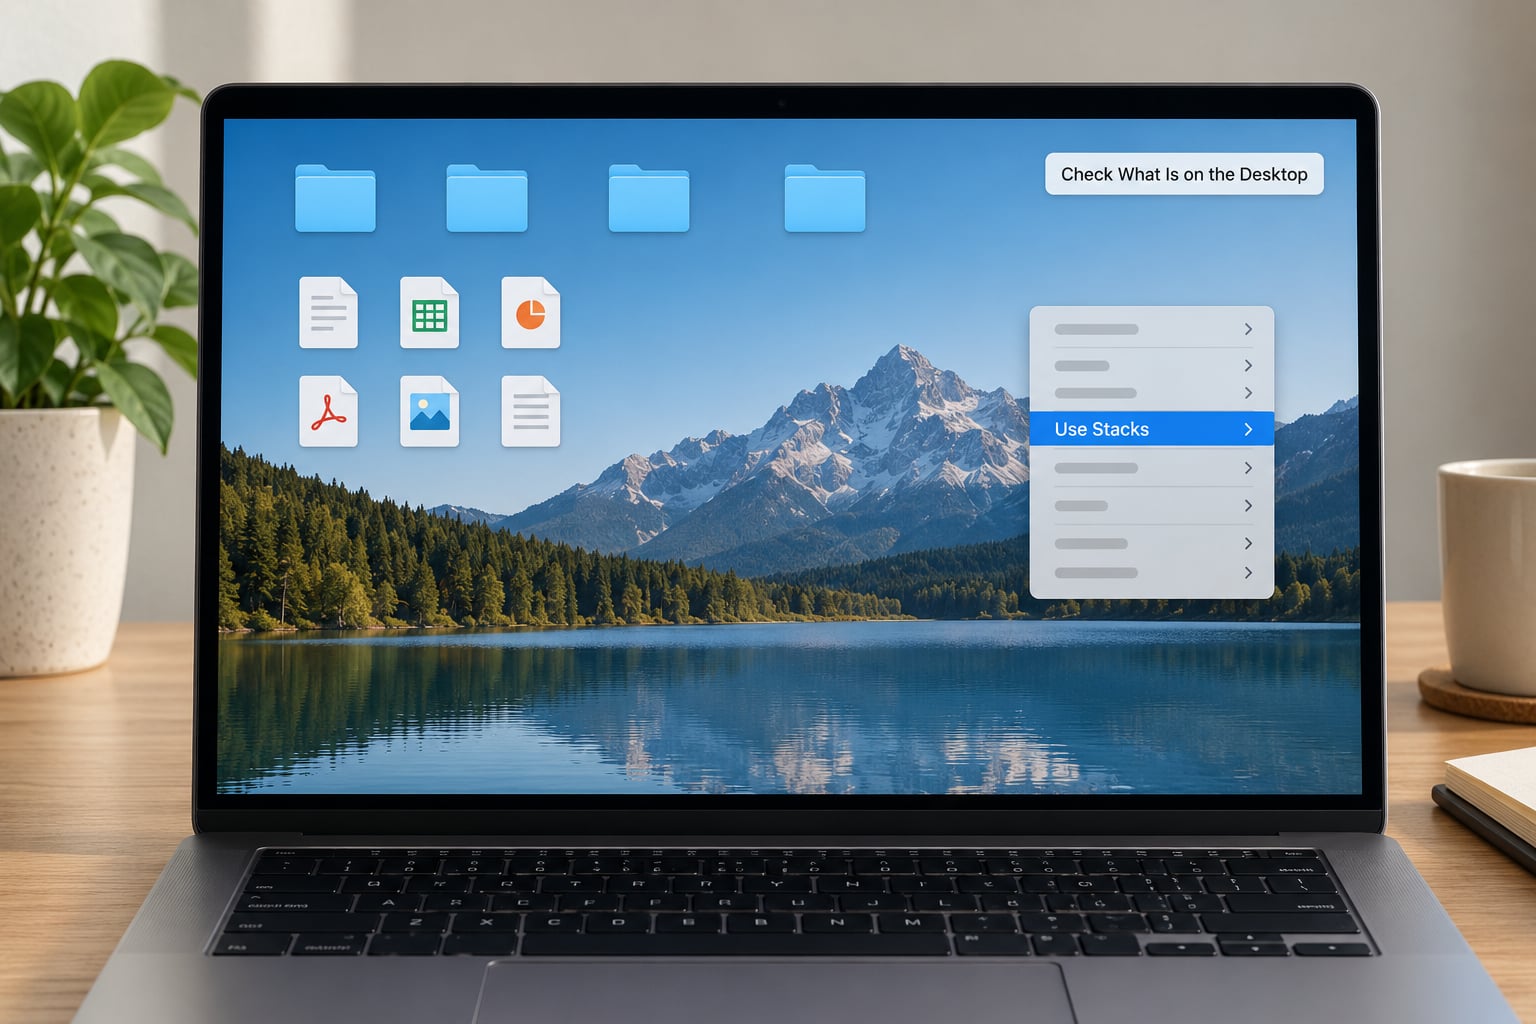
Check What Is on the Desktop
Click on an empty patch of desktop to focus it, then press Command + A to select every icon, or Command + click to pick individual items. Finder also opens the same folder with Command + Shift + D.
Sort what you find into three piles. Screenshots usually dominate, because macOS saves them to the Desktop by default unless you change that in System Settings, then Keyboard, then Keyboard Shortcuts, then Screenshots. Then there are downloads, archives and installers, and then actual work: documents, spreadsheets, images you still need.
Check the dates on anything unfamiliar before you touch it. Open a file once, glance at it, and if it means nothing, move it to a “decide later” folder rather than deleting it outright. Do not move files that are open in an app right now; some apps will simply save a new copy back to the desktop and undo your work.
One warning from real users: resist the urge to re-shelve everything at once. Moving a file that a script, an export preset or a colleague’s link depends on can break something quietly.
Create Folders by File Type or Project
With the desktop focused, press Shift + Command + N. A new folder called untitled folder appears, ready to type into. Name it and press Return.
If you already selected several items, right-click the selection and choose New Folder with Selection instead. macOS names the folder after the first item, so rename it straight away.
Choose what the folders are for. By file type works for people who juggle many small projects: Documents, Spreadsheets, Images, Archives, Video. By project works better if you are mid-way through something: a client name, a course, a build. A hybrid beats both, and it is what most people land on after a few weeks.
Give folders names you would recognise in a search box, and put a date in front of time-bound ones so they sort themselves. Avoid names like stuff, Desktop stuff, or New Folder 3. The single most common complaint in the forum threads I read is a dumping folder that gets recreated every six months, and it usually started with a lazy name.
Move Files Into the Right Folders
Select the files, press Command + C, click the destination folder, then press Command + V. It is slower than dragging but far more reliable when items are stacked underneath each other.
Dragging works too. Drag a file onto a folder icon on the desktop and drop it in. Hold Option while dragging to leave the original in place and make a copy, which is what you want for a receipt you might still need.
To move something into a folder you cannot see, drag it to the Finder icon in the Dock so the window opens, then drop it in the sidebar under a drive or iCloud Drive location. Files dragged onto a folder at the far end of the Dock drop straight into that folder.
Practically, a workable layout looks like this: Work, Personal, Inbox, and Archive. Inbox is the landing spot for anything you have not filed yet, and Archive is where finished projects go instead of the Trash, so you can still find last quarter’s numbers without digging through a system backup.
Use Tags, Search, and Smart Folders to Organize Desktop Files on Mac
Select a file and press Command + T to open the tag picker. Give every active project one colour, and give things that need action a second tag such as Urgent or Review. Consistent tagging was the single biggest improvement reported by people trying to stay on top of files.
Search beats folders once the count climbs. Press Command + F inside Finder, type what you remember about the file, and use the suggestions for Kind and Date Modified. If the results are good, turn that search into a Smart Folder: in Finder choose File, then New Smart Folder, and save it to your Desktop.
A Smart Folder is a saved search, not a real folder, and nothing can be dragged into it. That is the trade. The recipes people actually keep are worth copying:
- All spreadsheets anywhere on the Mac, sorted by date modified.
- Images created in the last seven days, so weekly exports are easy to clear out.
- Anything tagged Urgent, no matter which drive it lives on.
Two faster finders sit above Finder. Press Command + Space for Spotlight and start typing a fragment of the filename. And the search field in the top-left corner of System Settings finds any settings pane by name, which beats clicking through six screens of preferences.
Choose a Desktop View That Stays Tidy
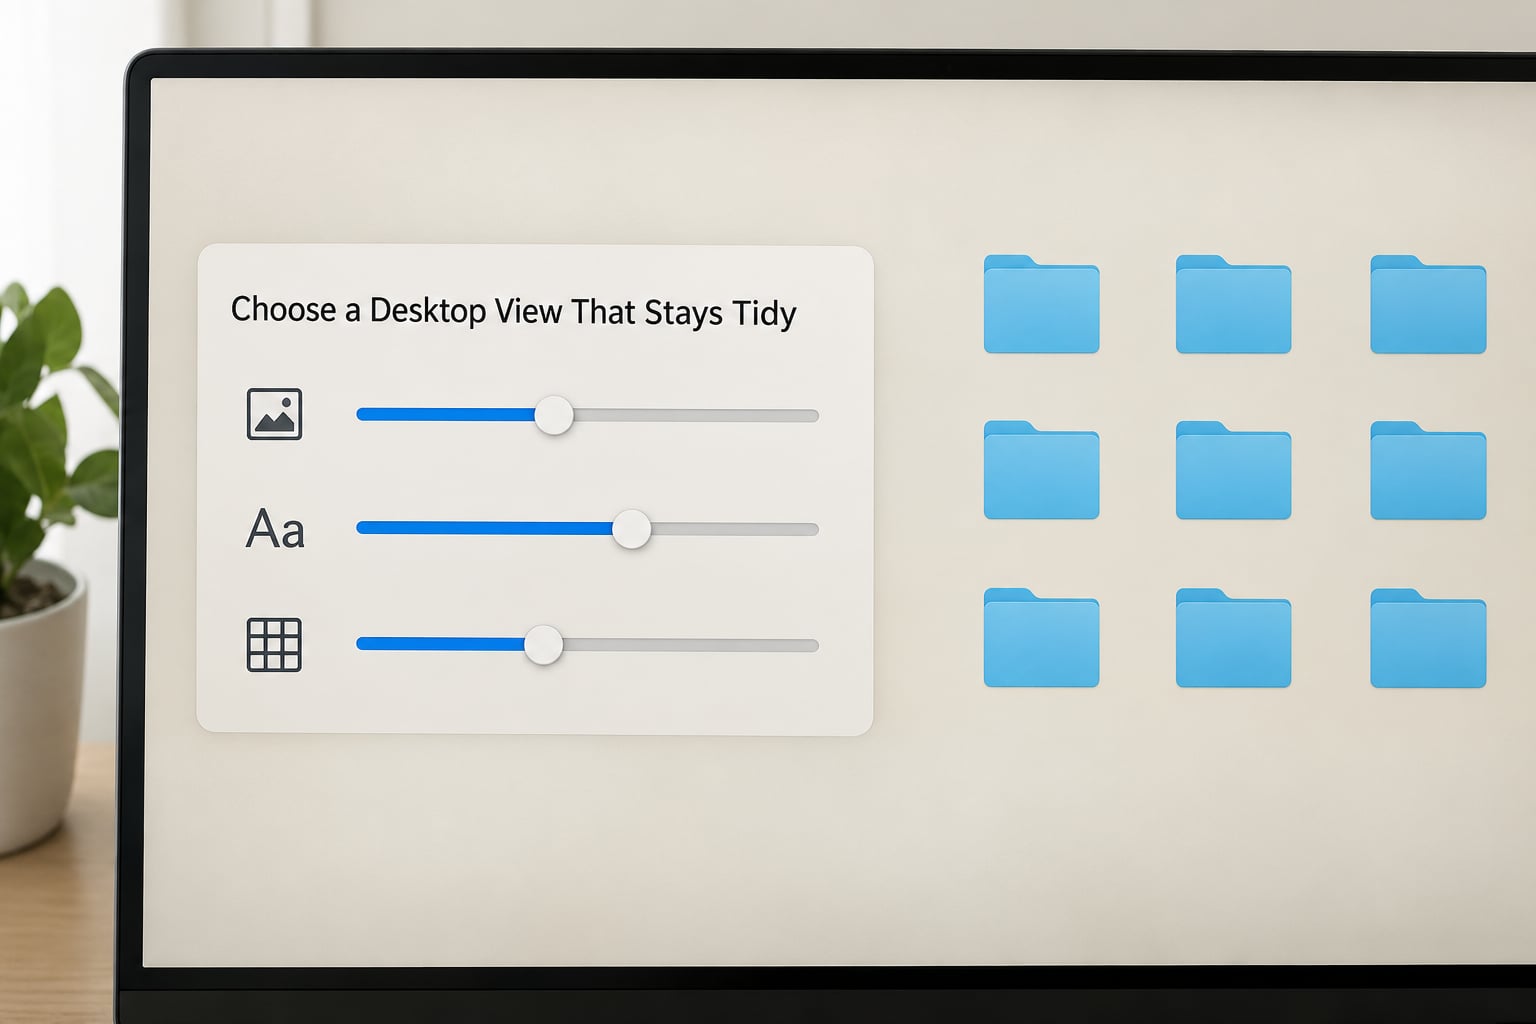
Right-click the desktop and choose Show View Options. The dialog gives you icon size, text size, grid spacing, and the arrange-by setting. Dragging the grid spacing slider to a tighter value is the fastest way to reclaim screen real estate on a small display.
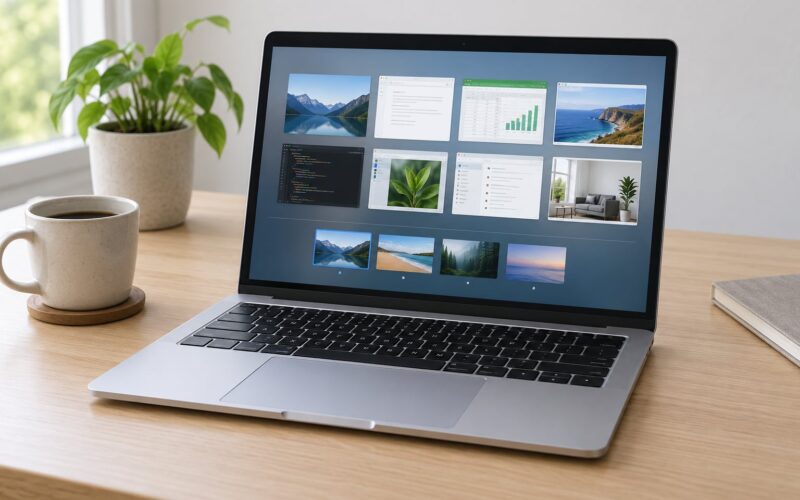
Then turn on Stacks. Right-click the desktop, choose Use Stacks, and every loose icon collapses into a single stack. Right-click the stack, choose Group Stacks By, and pick from Kind, Date Last Opened, Date Modified or Tags. Grouping by Kind turns a mess of icons into a handful of tidy piles; grouping by Date Last Opened surfaces what you were actually working on.
Stacks arrived in macOS Big Sur, so anything older will not show the option. On those versions, sorting and a tight grid are the whole story.
Stacks have one honest drawback that forum users complain about regularly: they override a custom folder arrangement, because everything on the desktop becomes a stack rather than an individual icon. If you deliberately lay out folders by project, leave Stacks off and rely on the next step instead.
To tidy icons by hand, Control-click or right-click the desktop and choose Clean Up, or pick Clean Up By to sort by Name, Kind, Date Modified, Date Created, Tags or Size. Arrange By is the companion setting that decides the order going forward. Both snap icons to the grid, so they stop drifting into the middle of your wallpaper.
One more option, if you want the desktop genuinely bare: System Settings, then Wallpaper, then turn on Set Desktop as Folder. macOS then shows the whole Desktop folder as one icon, or hides it entirely depending on the related setting, and you stop seeing individual files. The files themselves are untouched and open normally in Finder. Be aware this is also the usual reason people cannot drag icons around the desktop.
Set Up a Simple Backup and Maintenance Routine
Organising files means moving them, and moving files is the first thing a failed drive takes from you. Before the big sort, switch on a backup.
For iCloud, open System Settings, click your name at the top, then iCloud, then Drive, and turn on Sync Desktop and Documents Folders. Your Desktop and Documents get moved into iCloud Drive and stay available on your other devices. The catch to know upfront: on a Mac signed into a different Apple account, those files show as placeholders you must download on demand, and the first sync of a large Desktop can take a while.
For local backups, System Settings, then General, then Time Machine, and point it at an external drive. Time Machine quietly keeps hourly and daily versions of everything you moved, which is the safety net that makes aggressive cleanup painless.
For the routine itself, two minutes is enough. Once a week, open the Desktop, move anything finished into its folder, clear the screenshot pile, and empty Downloads. Set a repeating calendar reminder for Friday afternoon, because a system with a trigger beats a system that depends on willpower.
If you want it to run itself, Automation in System Settings can create a personal automation that runs a shell script on a schedule, and tools built on the same idea, like Hazel, watch a folder and refile what lands in it. Forum users who use one of these report never doing a manual desktop cleanup at all. Keep the script simple, and test it on a copy first.
Common Mistakes
Almost every messy Mac I have been asked about comes from the same handful of habits.
One dumping folder. Everything lands in a folder called stuff, which becomes Desktop stuff six months later. Fix: four folders maximum, each with a job, and a separate Archive that nothing gets deleted into.
Vague names. untitled folder, Document 3, IMG_2291. Fix: name files for their content and add a date at the front for time-bound ones, so search and Sort By both do work for you.
Moving active work. Half-finished project files get buried in a new folder while the app still has them open. Fix: move only what is closed, and leave the current project on the desktop until it is finished.
Deleting duplicates instead of deciding. Two files with similar names are not always duplicates. Fix: put them in a Review folder, open both, then keep the better one.
Hiding files without a plan. Set Desktop as Folder or Stacks on, and nothing changes about where files actually live. Fix: use hiding as a display choice, never as storage, and keep the real structure in Finder where you can see it.
No backup. Fix: iCloud or Time Machine on before the first big move, not after you regret it.
Windows habits. Ctrl does very little on a Mac. Command is the modifier, so muscle memory from a PC leads to a lot of dead key presses.
Two habits fix most of the rest. Keep the desktop for active work only, so the pile you see is always small enough to read. And tag as you file, because a colour you assign once saves a search forever.
Frequently Asked Questions
What is the best way to organize my Mac desktop?
Most people do best with a staging-area approach: keep the desktop for active work only, move finished files into a few named folders such as Work, Personal and Archive, and turn on Stacks so whatever remains stays visually grouped. An empty desktop works too, but only if you actually redirect files into Finder the moment you save them.
How do I move and rearrange icons on the Mac desktop?
Click an icon and drag it, or select several and use Command + arrow keys. If dragging does nothing, Auto Arrange or Set Desktop as Folder is active: right-click the desktop, turn off Arrange By and Sort By, and check System Settings, then Wallpaper, where Set Desktop as Folder changes the whole desktop into a single folder view. Turn both off and free placement returns.
What does Ctrl+H do on a Mac?
Nothing, which surprises a lot of people arriving from Windows. On macOS, Command + H hides the frontmost app, and Option + Command + H hides every other app at once. The Control key handles clicks, right-clicks and Mission Control shortcuts, and it does not combine with letter keys to hide windows the way it does in Windows.
Why can’t I rearrange my folders on my Mac desktop?
Two settings cause this almost every time. First, Set Desktop as Folder in System Settings, then Wallpaper, which turns the desktop into one folder view where individual icons cannot be dragged. Second, the Arrange By and Sort By options in the desktop right-click menu, which snap icons into a fixed order as soon as you move one.
How do I find files hidden on the Mac desktop?
Hidden files appear with Command + Shift + Period, which toggles hidden items in Finder and on the desktop. Files that are simply not showing are usually in another folder, so open Finder, press Command + Shift + H, and search there. If a file vanished entirely, checking a Time Machine backup or the Recently Deleted folder in iCloud Drive usually brings it back.
What should I do with years of old screenshots on the desktop?
Put them in one dated folder rather than deleting them piecemeal, then review it once. To stop the pile rebuilding, change where new screenshots save: System Settings, then Keyboard, then Keyboard Shortcuts, then Screenshots, and point the location at a folder in iCloud Drive. Add a Friday reminder to clear that folder weekly.
Conclusion
Do the first three things today: right-click the desktop and switch on Stacks, run Clean Up so everything snaps to the grid, and make four folders with real names. Then turn on a backup before you move anything large, and file by tag rather than by eye.
Keep the desktop for active work only, and give it a two-minute sweep every Friday. The best system here is the one you will still be running in a month.