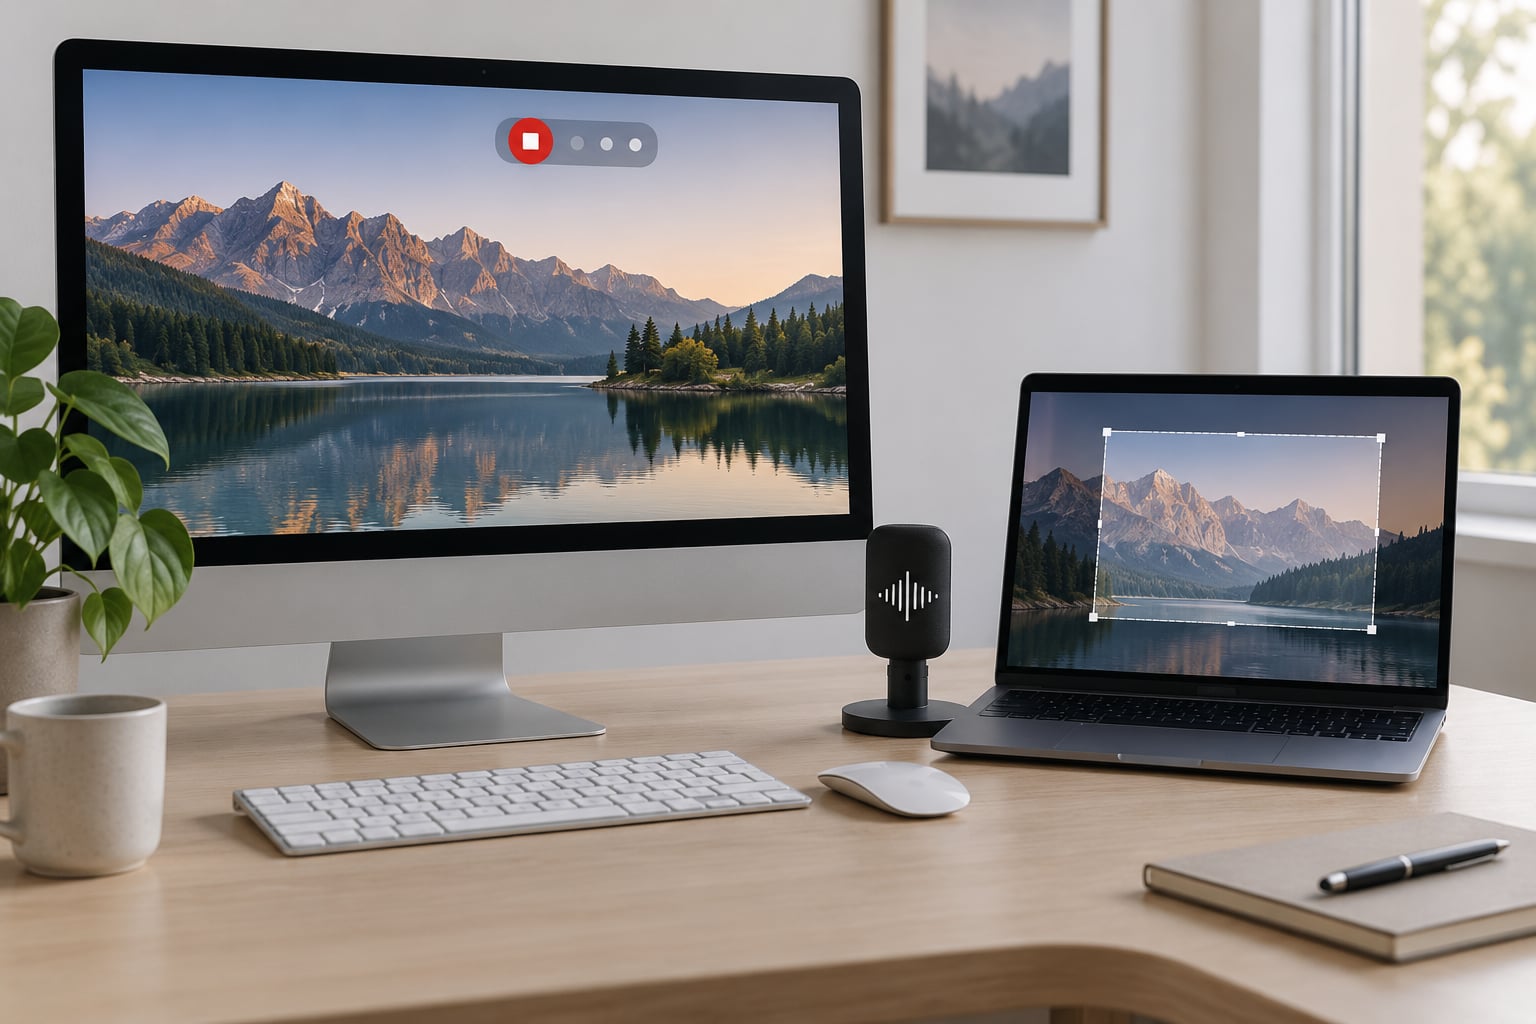
The fastest way to record the screen on Mac is to press Command + Shift + 5. That opens the Screenshot toolbar, where you pick Record Entire Screen or Record Selected Portion, press Record, and stop it from the menu bar. The finished video lands on your Desktop, takes about 30 seconds to set up, and needs no extra software.
If you want the audio your Mac is playing rather than just your voice, the newer macOS builds give you a toggle for that inside the same toolbar. On older machines you route the sound through a virtual audio driver first. Both routes are below.
| Shortcut | What it does |
|---|---|
| Command + Shift + 5 | Opens the Screenshot toolbar (screenshot and recording) |
| Command + Shift + 3 | Screenshot of the whole screen |
| Command + Shift + 4 | Screenshot of a dragged area |
| Command + Shift + 5, then Control-click | Screenshot saved to the clipboard instead of a file |
| Command + Control + Escape | Stops a recording started from QuickTime Player |
| Command + Shift + 5, then click Stop | Stops a recording started from the toolbar |
Table of Contents
- 1What You Need
- 2Step-by-Step
- 3How to Record the Screen on Mac with the Screenshot Toolbar
- 4How to Record Part of Your Mac Screen
- 5How to Record Mac Screen Audio
- 6How to Record the Screen on an Older Mac with QuickTime Player
- 7Common Mistakes
- 8Frequently Asked Questions
- 9What is the shortcut for screen recording on a Mac?
- 10How do I record my Mac screen with sound?
- 11Why can’t I find my screen recording on my MacBook?
- 12Why is there no sound on my Mac screen recording?
- 13Does screen recording pick up noise in the room?
- 14Can you screen record an iPhone or iPad from a Mac?
- 15Conclusion
What You Need
Just the Mac in front of you. Screen recording ships with macOS, so there is nothing to install, no trial to start, and no account to create before your first clip. Anyone who makes you sign up for a free task has missed the point.
You do need macOS Mojave or later, which covers every Mac still receiving updates. Those are the versions where Command + Shift + 5 opens the Screenshot toolbar rather than saving a screenshot straight to the Desktop. On anything older, the recording path goes through QuickTime Player instead, which is covered further down.
Two things change between macOS releases and are worth knowing before you start. Newer builds added a system audio option to the recording menu, so the sound coming from your speakers can be captured without extra software. Current builds also give the toolbar more Options entries, including save location and whether the mouse pointer appears. Check your version with the Apple menu, then About This Mac, so you know which set of steps applies to you.
One practical note before you hit Record: close your messaging apps. The red notification dots that appear mid-recording end up in the finished video, and there is no way to remove them afterwards.
Step-by-Step
How to Record the Screen on Mac with the Screenshot Toolbar
- Press Command + Shift + 5. The Screenshot toolbar appears along the bottom of the screen with capture mode icons and a Record button.
- Choose the video camera icon. It sits between the window and area screenshot buttons. Selecting it switches the toolbar into recording mode.
- Pick Record Entire Screen or Record Selected Portion. Entire Screen captures everything; Selected Portion lets you drag out a rectangle. A selected window can be framed on its own before you drag.
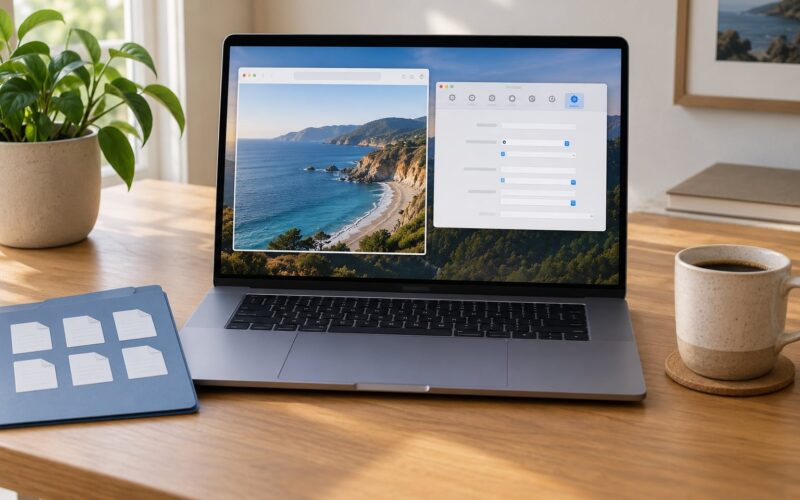
- Open Options and set your microphone. Choose your input device, turn off Show Mouse Pointer if you do not want the cursor in the video, and set a countdown timer if you need a moment to get ready. Check the save location here too.
- Press Record. The toolbar slides away, a red button with a stop square appears in the menu bar, and the count starts.
- Press the stop button in the menu bar when you are done. The toolbar reappears briefly and then puts the video on your Desktop as a .mov file.
The recording indicator in the menu bar is worth watching. A dot next to the menu bar clock appears while capture is live, which is how you know it is running before you start narrating.
Files save to the Desktop by default, named something like Screen Recording 2026-10-03 at 14.22.06.mov. That timestamp is why people lose track of them.
| Where it goes | How to change it |
|---|---|
| Desktop, as .mov | Default, no changes needed |
| Other folder | Toolbar > Options > Save to > Other Location, then pick a folder |
| Clipboard only | Control-click a screenshot thumbnail and choose Copy, though this does not apply to video |
| Floating thumbnail | Options > Show Floating Thumbnail, so it can be dragged into another app right away |
How to Record Part of Your Mac Screen
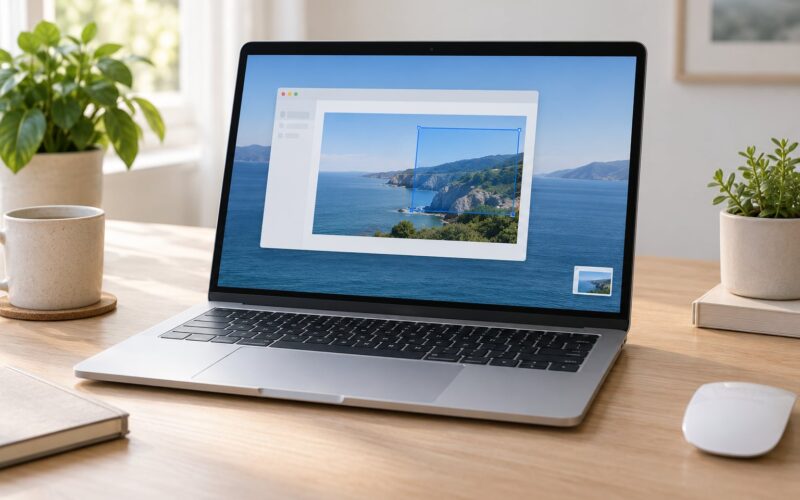
Record Selected Portion is the one most people skip. Press Command + Shift + 5, choose the video icon, then drag a rectangle over just the part you need. The grayed-out area outside it stays out of the frame.
To record a single window, bring that window to the front first so it is the one under the drag. Hold the Command key as you drag to snap the selection to a perfect window rectangle, or hold Shift to keep the proportions fixed while you resize.
Before you start, set a 5 or 10 second countdown timer in Options. It gives you time to switch to the window you want without catching whatever was on screen while you scrambled.
If you only ever need one app, open it full screen first, then choose Record Entire Screen. The recording picks up the menu bar animation but nothing from the desktop behind it, which is usually cleaner than a rectangle.
How to Record Mac Screen Audio
Two different things get called audio here, and confusing them is the source of most frustration. Microphone audio is your voice picked up by the input device. System audio, also called internal audio, is whatever your Mac is playing from its speakers.
The Screenshot toolbar handles microphone audio directly. Open Options before recording, choose your microphone from the dropdown, and turn off Show Floating Thumbnail if you would rather not see it. That is all it takes for a tutorial with narration.
For system audio, check your recording menu first. Recent macOS builds can include the sound your Mac is playing in the toolbar recording, with a toggle for it in the menu that appears when you press Record. If your build offers that option, turn it on and test with a short clip before you record anything long.
If your version has no such toggle, the workaround is a virtual audio driver. BlackHole 2ch is the one most people land on because it is free and needs no account; Loopback is the pick when you want to mix several sources at once. The sequence runs the same way:
- Install the driver and let it sit in the background. It creates a virtual audio device your Mac now sees like a pair of speakers.
- Open System Settings, then Sound, then Output, and select the virtual device as your output. Every sound your Mac plays now travels through it.
- Open the Screenshot toolbar, choose Options, and pick that same device from the microphone dropdown. The recorder reads it as an input.
- Record, then go back to Sound > Output and switch to your real speakers or headphones. Leaving the virtual device selected is why your Mac suddenly plays nothing.
That last step is the one people miss. The same complaint turns up repeatedly on r/MacOS: the Mac goes silent after the routing change and the thread blames the recorder. It is the output setting, not a broken install.
How to Record the Screen on an Older Mac with QuickTime Player
QuickTime Player has been on every Mac for years and lives in Applications under Utilities, or in Launchpad. Open it, choose File from the menu bar, then New Screen Recording, and a small toolbar appears with Record Entire Screen and Record Selected Portion.
Pick your area, press Record, and drag the area you want to capture. To record a window, hold Alt while dragging to capture just that window.
Press Command + Control + Escape to stop, or use the stop button in QuickTime’s menu bar icon. QuickTime asks where to save the file and converts it to .mov on the way out.
It works, and it is the fallback for older macOS versions. Know the limits before you commit to it: QuickTime records microphone audio only unless you set up a virtual device, there is no webcam overlay, the export is .mov with no choice, and it cannot capture system and microphone audio at the same time. Long recordings also produce very large files.
Once the file exists, trim it in QuickTime by dragging the yellow handles at either end of the timeline under the video, then closing the window. That keeps the trimmed version and discards the rest.
Common Mistakes
No sound in the finished video. Open the toolbar, choose Options, and confirm the right microphone is selected. If you routed system audio through a virtual device, that device must still be the selected input, and a QuickTime recording made without one captures your mic only. Long recordings can also lose the first few seconds of sound, so give it a second before you start talking.
You cannot find the file. It is on the Desktop with a timestamp in the name. Press Command + Shift + Comma to open Finder and type .mov to search, or set a fixed folder in Options so the next one lands somewhere predictable. Rename it right away; the timestamp naming tells you nothing later.
The recording is blank or has a black rectangle. That is what DRM-protected playback looks like when captured, most often with the Apple TV app and some streaming players. Those windows cannot be recorded by any tool, built-in or third-party. Switch to something unprotected, or record a different window.
Your Mac went quiet after following the audio steps. Your output device is still set to the virtual driver. Go to System Settings, Sound, Output and put your speakers or headphones back.
The wrong area got captured. Record Selected Portion remembers nothing between takes, so set the area fresh each time and use the countdown timer to get the right window on screen before capture begins.
A permission prompt appeared or an app went blank. macOS asks for Screen Recording access, and System Settings > Privacy & Security > Screen Recording lists which apps have it. Grant it to the app you are recording through, then quit and reopen that app. Without permission, some windows record as a solid grey rectangle instead of failing outright.
The file is enormous. Native recordings are uncompressed .mov. Trim before sharing, or export to a compressed format from QuickTime with File > Export As.
Frequently Asked Questions
What is the shortcut for screen recording on a Mac?
Command + Shift + 5 opens the Screenshot toolbar, which handles both screenshots and video recording. Press the video camera icon in the toolbar, choose Record Entire Screen or Record Selected Portion, then press Record. A stop button appears in the menu bar while recording runs. Press that stop button when you finish and the file saves to your Desktop as a .mov.
How do I record my Mac screen with sound?
Press Command + Shift + 5, choose the video icon, then open Options and pick your microphone from the dropdown before you press Record. That captures your voice. To capture the sound your Mac is playing instead, look for the system audio toggle in the recording menu on newer macOS builds. On older versions, install a virtual audio driver, set it as the output device in Sound settings, then select it as the microphone input.
Why can’t I find my screen recording on my MacBook?
Screen recordings save to your Desktop by default with a timestamp name like Screen Recording 2026-10-03 at 14.22.06.mov. If you moved or deleted the Desktop icon, search Finder for .mov files with Command + F. To stop guessing next time, open the Screenshot toolbar, choose Options, and set Save to a fixed folder such as Movies. Renaming the file while it is still on the Desktop also makes it far easier to find later.
Why is there no sound on my Mac screen recording?
Almost always the input device. Open Options in the Screenshot toolbar and check that the microphone you want is actually selected rather than an empty or wrong entry. If you are capturing system audio through a virtual driver, that driver must still be the chosen input, and your Mac’s own output device should be set back to your speakers. Long recordings can also drop the first second of sound, so leave a moment of silence before you speak.
Does screen recording pick up noise in the room?
It picks up whatever your microphone hears, which usually includes the room. The Screenshot toolbar records from the input device you choose in Options, so switching to a headset with a boom mic narrows what gets captured considerably. Keep the mic a hand’s width from your mouth and point it away from the speaker to cut echo. If you only want on-screen sound and no voice at all, set the microphone to None in Options where the build offers that choice.
Can you screen record an iPhone or iPad from a Mac?
Yes, through Apple’s iPhone Mirroring feature on recent macOS versions. Connect the iPhone or iPad by cable or pair it wirelessly, open the Mirroring app from Launchpad, and the device screen appears on your Mac display. Run your screen recording as usual with Command + Shift + 5 and capture that mirrored window. Older macOS versions supported the same idea through QuickTime’s New Movie Recording, which detects a connected device directly.
Conclusion
Start with Command + Shift + 5. Choose Record Selected Portion if the whole desktop is noise, set the microphone in Options before you press Record, and use the stop button in the menu bar when you are finished. Check your macOS version first so you know whether the system audio toggle is there for you.
Give the finished file a real name and move it somewhere you will look again. That single habit is what turns a pile of timestamped files on the Desktop into a clip you can actually send to someone.