If you want to know how to take a screenshot on a Mac, press Command, Shift and 3 at the same time for the whole screen, or Command, Shift and 4 to drag a box around one area. Every Mac ships with these shortcuts, so there is nothing to install and the whole thing takes about two seconds.
The catch for most new users is that a screenshot is not the same thing as a Snipping Tool window. macOS freezes the screen, writes a PNG file and moves on, which is why the file never appears where you expect it. This guide covers every method the current macOS offers, where the finished image goes, and what to do when the shortcut stops responding.
Table of Contents
- 1What You Need to Take a Screenshot on Mac
- 2Step-by-Step: How to Take a Screenshot on Mac
- 3How to Take a Full-Screen Screenshot on Mac
- 4How to Capture a Selected Area on Mac
- 5How to Copy a Mac Screenshot to the Clipboard
- 6How to Take a Screenshot Using the Menu Bar
- 7How to Take a Screenshot on a Mac with Touch Bar
- 8Where Mac Screenshots Are Saved
- 9Common Mistakes When Screenshots Do Not Work
- 10Frequently Asked Questions
- 11What is the fastest way to take a screenshot on a Mac?
- 12How do I screenshot only part of the screen on a Mac?
- 13Why does my Mac screenshot open in an editing toolbar instead of saving?
- 14Where are Mac screenshots saved by default?
- 15How do I take a screenshot of a single window on a Mac?
- 16Can I take a screenshot on a Mac without using the keyboard?
- 17Conclusion
What You Need to Take a Screenshot on Mac
Nothing. Every shortcut below is built into macOS on Macs, MacBooks and Mac minis alike, and the same set works whether you run the newest release or a version going back several years. You do not need a third-party app for any of the core methods.
You do need to know which key is which. On a Mac keyboard, the Command key is the one marked with the clover symbol, sitting next to the space bar, and Shift is the key above the left-hand letters. Windows users often reach for Ctrl instead, which does something else entirely.
| Action | Shortcut | What you get |
|---|---|---|
| Entire screen | Shift-Command-3 | A PNG of everything on the display |
| Portion of the screen | Shift-Command-4 | A PNG of the area you drag out |
| One window | Shift-Command-4, then Space bar | A PNG of that window without the desktop behind it |
| Entire screen, copied | Control-Shift-Command-3 | The image on your clipboard, no file saved |
| Portion, copied | Control-Shift-Command-4 | The selection on your clipboard, no file saved |
| Screenshot toolbar | Shift-Command-5 | A panel with capture modes, a timer and screen recording |
| Touch Bar capture | Shift-Command-6 | A PNG of the Touch Bar itself |
| Legacy systems | Grab utility | Available on High Sierra and earlier only |
If you have ever typed Command-Shift-4 on a Windows keyboard and nothing happened, that is why. A PC keyboard has no Command key, so hold the Windows key instead and the rest of the combination works normally.
Step-by-Step: How to Take a Screenshot on Mac
How to Take a Full-Screen Screenshot on Mac
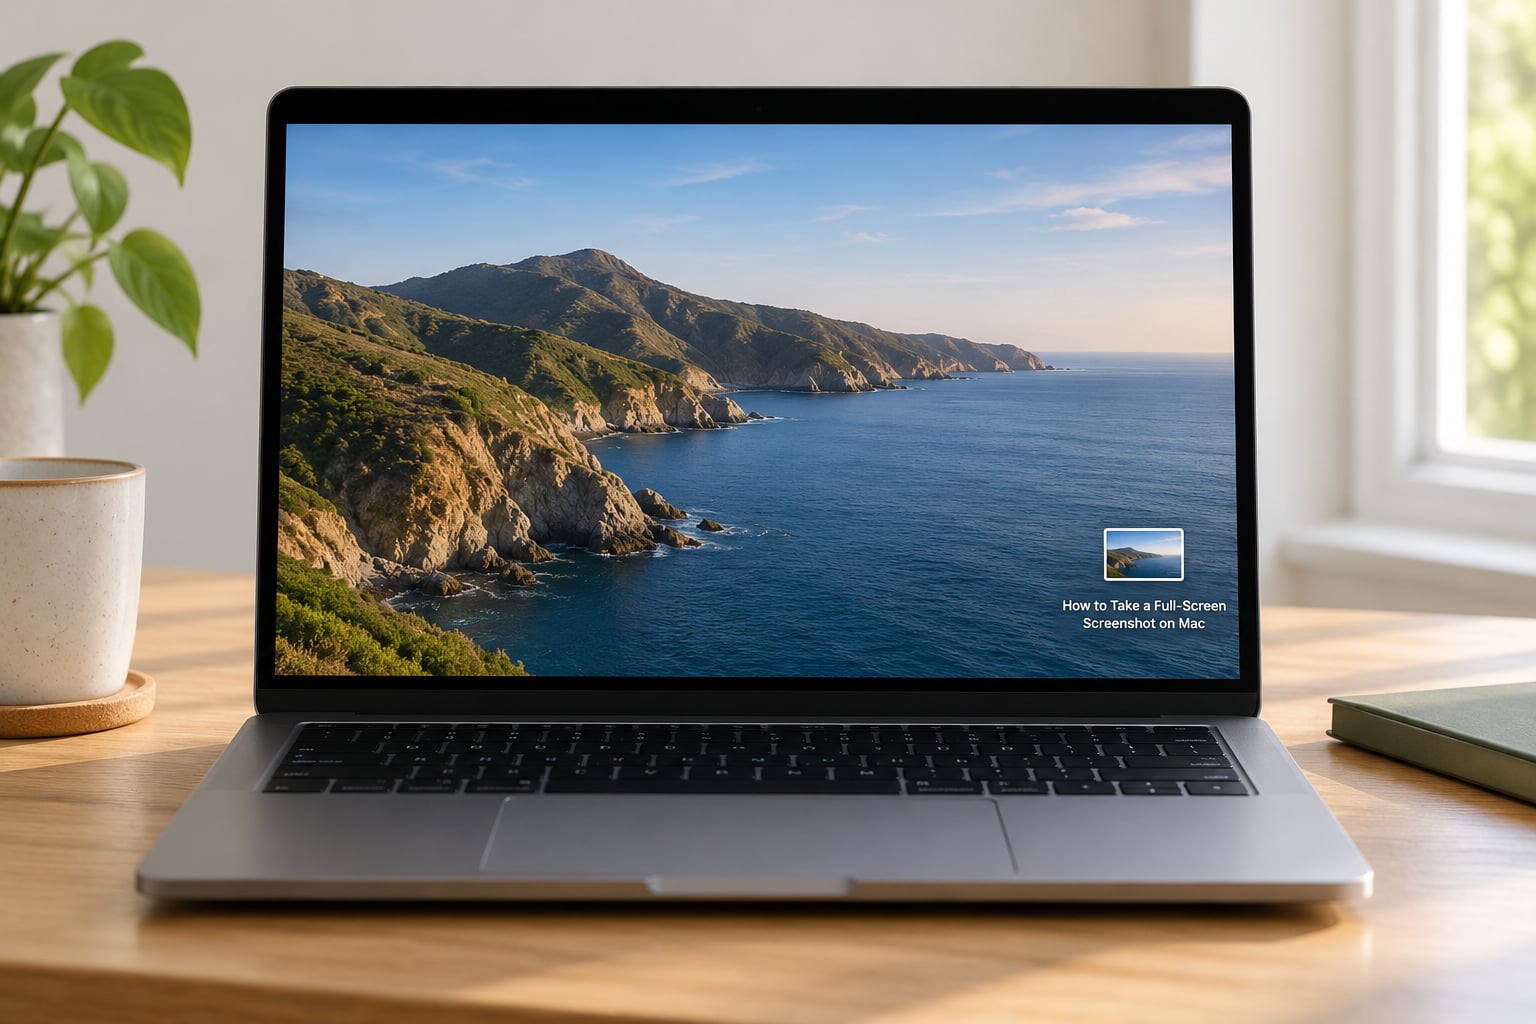
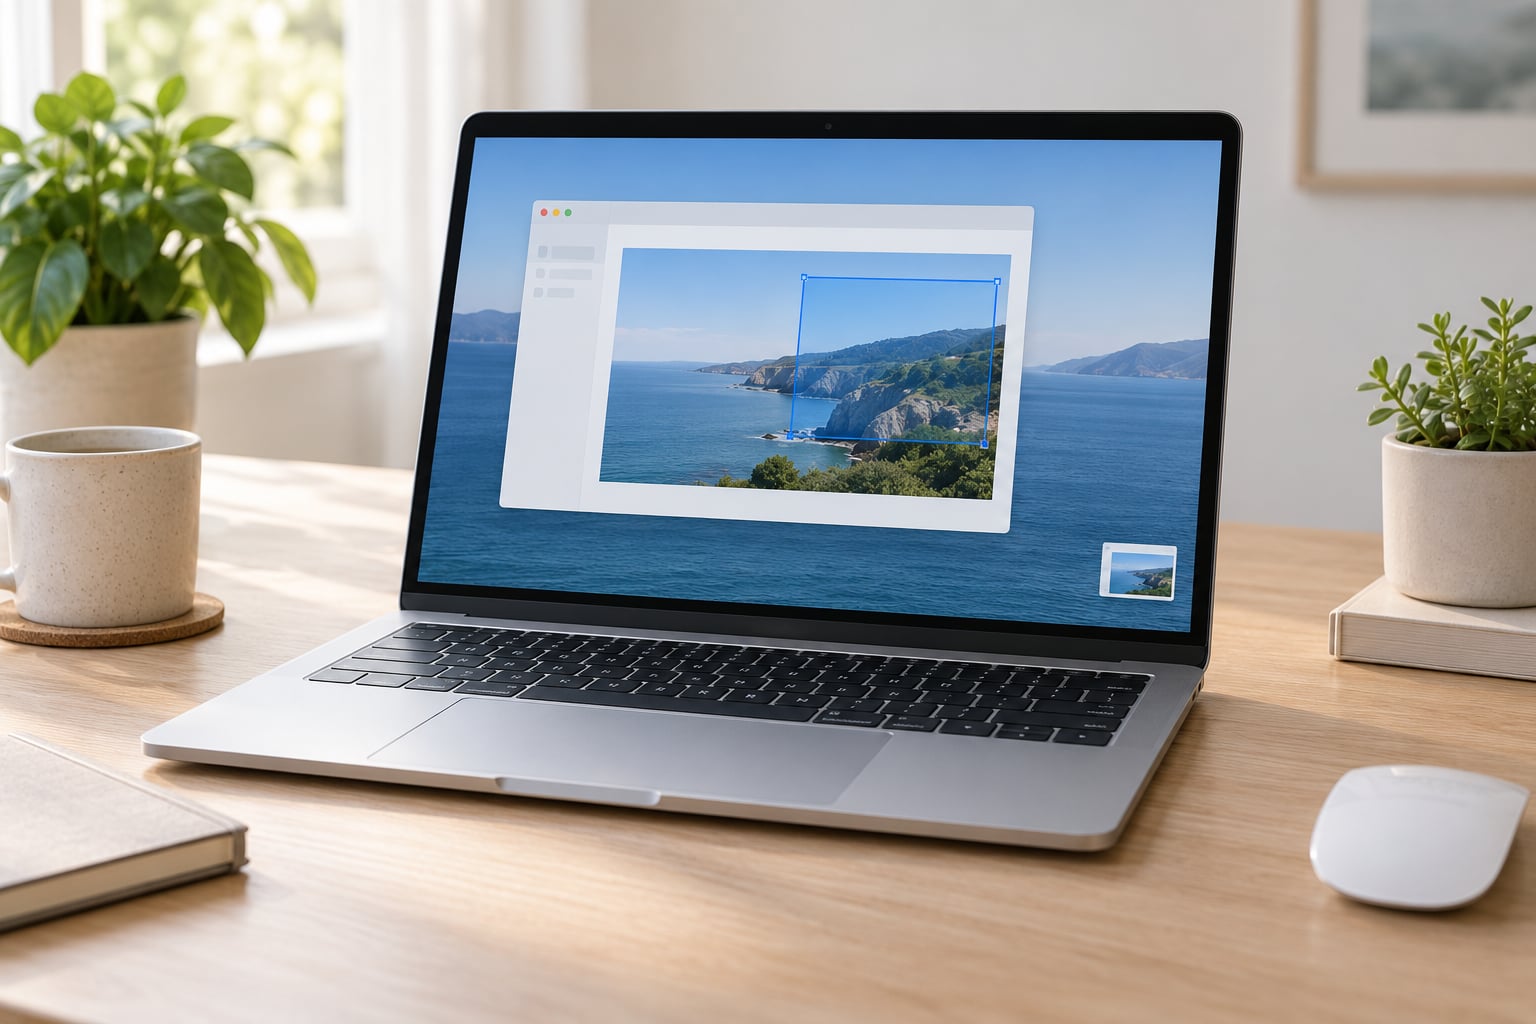
Hold Shift, Command and 3 together, then let go. The screen flashes and a small thumbnail of the capture appears in the bottom-right corner for a few seconds before it vanishes.
On a full desktop, a file with a name like Screen Shot 2026-10-03 at 09.14.22.png drops onto your Desktop. On the flat, windowed desktops that replaced the old look in recent macOS versions, the file is written to a Screenshots folder in your user folder instead, and the corner thumbnail is the only confirmation you get.
That floating thumbnail is more useful than it looks. Hover over it and a small strip of controls appears, letting you drag the image somewhere, drag a selection to crop it, or click it to open the screenshot in Preview. Pressing Command-Shift-3 then immediately adding a key such as Command opens the mark-up tools without you touching the mouse.
If you want the image without the drop shadow Mac adds around the desktop capture, hold the Option key while you release 3. The saved PNG is the raw display contents.
How to Capture a Selected Area on Mac
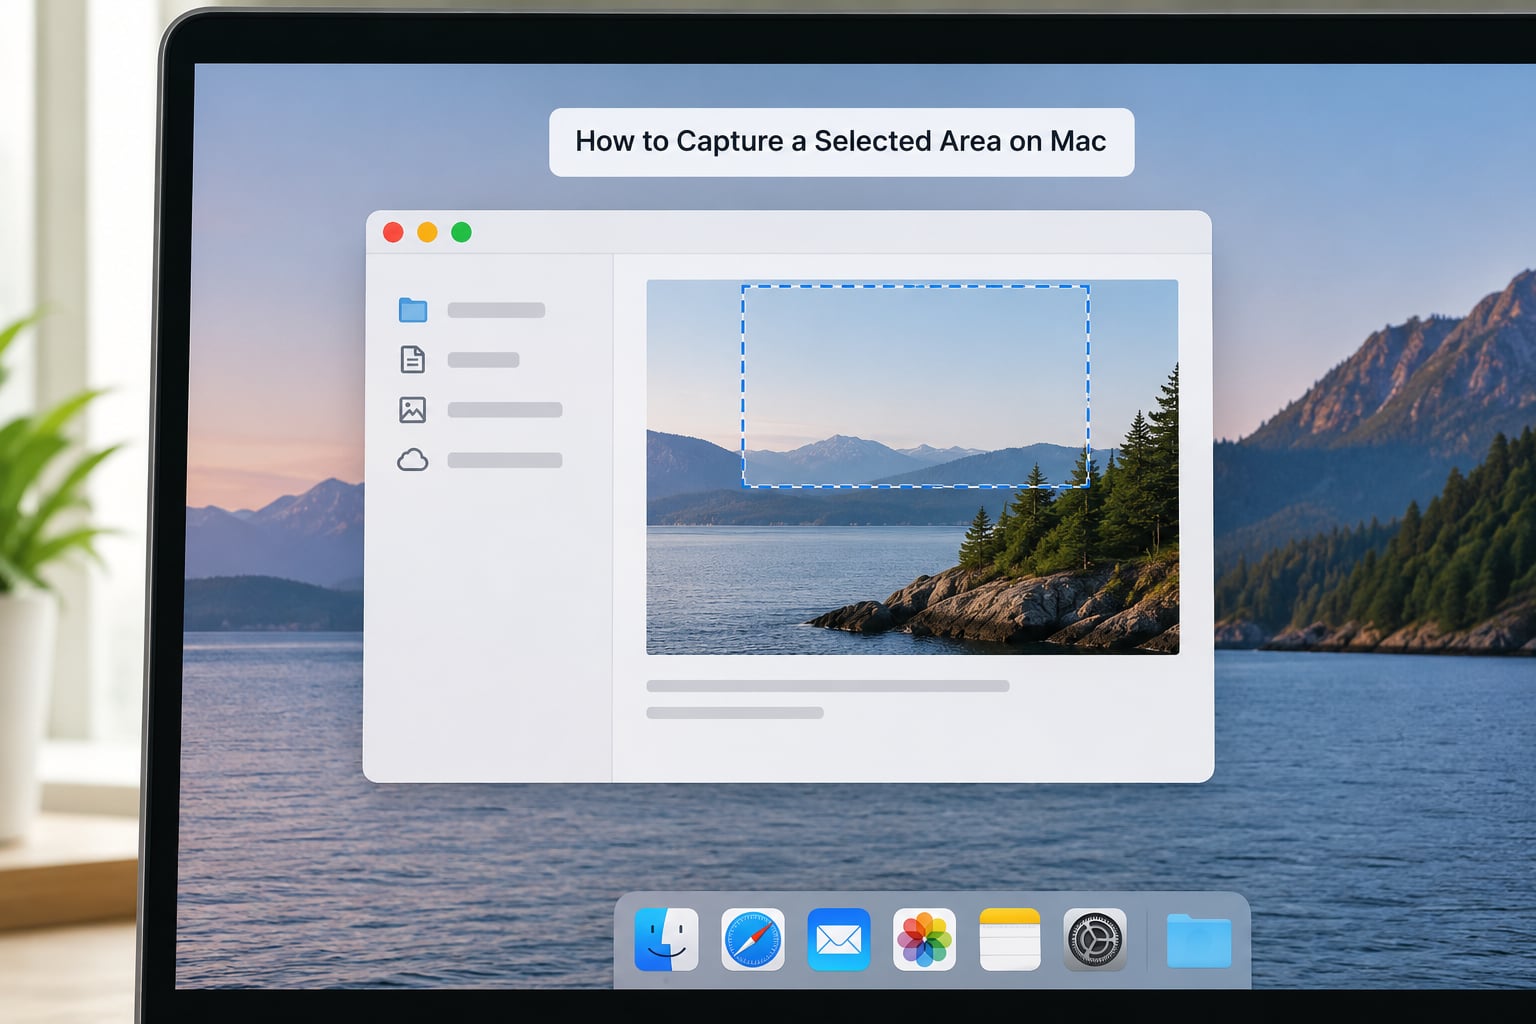
Press and hold Shift-Command-4. A crosshair cursor appears in place of your pointer, and a magnifier follows it so you can see the exact pixels you are framing.
Drag across the part of the screen you want, then release. The area highlights, the crosshair turns into a camera shutter, and macOS writes the cropped PNG to the same place the full-screen capture goes. It is saved in under a second and the flash is quick enough that people often assume nothing happened.
Press Escape while the crosshair is active and the whole selection is cancelled. That is the fix when you start dragging and then change your mind halfway across the screen.
How to Copy a Mac Screenshot to the Clipboard
Add the Control key to either shortcut. Control-Shift-Command-3 copies the entire screen, and Control-Shift-Command-4 lets you drag a selection and copy that. Nothing is written to your Desktop, so nothing needs tidying up afterwards.
Switch to Mail, Messages, Slack or a document, press Command-V, and the image appears inline. This is the version most people end up using daily, because pasting into a message needs no download, no upload and no file attachment.
The clipboard version also skips the corner thumbnail. If nothing shows up when you paste, that is the first thing to check: try pasting into a plain text editor, then check Edit on the menu bar to see whether Paste is greyed out because the target app cannot accept images.
How to Take a Screenshot Using the Menu Bar
If you would rather not hold three keys at once, the macOS Screenshot tool is one keyboard shortcut away and it does not capture anything until you choose an option. Press Command-Shift-5 and a panel of icons appears along the bottom of the screen: two for still images (the whole screen or a selected area), one for a single window, and one for video.
Pick the mode first, then click the Capture button. With a window mode selected, clicking the capture button turns the cursor into a camera; move it over the window you want and click once. That is the cleanest way to grab one app without the clutter around it.
The same panel handles recording. Choose the video icon and click record, and macOS captures your screen along with any system audio; the microphone option in the panel adds your voice when you need narration. Press the menu bar icon, then Stop, when you are finished.
Open that panel’s Options menu and you can change where the file is saved, set a delay of up to ten seconds, show or hide the mouse pointer, remember the last selection area, and switch the capture format between HDR and SDR. Every one of these settings is also reachable later from the panel, which is where you go to fix a screenshot that saved to the wrong folder.
How to Take a Screenshot on a Mac with Touch Bar
The Touch Bar was a physical strip of secondary controls on 13-inch MacBook Pro models from 2016 through 2019, plus the 2018 and 2020 16-inch models. Screenshot Camera lived on that strip, so pressing it captured whatever was on screen at that moment without a keyboard shortcut.
The equivalent now is a keyboard shortcut. On those same models, Shift-Command-6 saves an image of the Touch Bar itself, which was useful for documenting what a control looked like. Hold Shift and Command, tap 6, and the strip is captured separately from the main display.
If your Mac has no Touch Bar, which covers every current MacBook Air, every current MacBook Pro and all desktops, ignore this method entirely. Shift-Command-5 and the menu bar are the right tools for the hardware you are holding.
Where Mac Screenshots Are Saved
The default is your Desktop, in PNG format, named with the word Screen Shot followed by the date and time. Older systems used a simpler scheme and counted upward from Picture 1.
On newer macOS versions the Desktop option saves into a Screenshots folder inside your home folder, and macOS asks the first time so you can confirm the choice. To check exactly where your files go, open the screenshot panel with Command-Shift-5, click Options, and the current folder is listed right there.
To change it permanently, open that same Options menu and pick Save to, then choose a folder or choose Other to browse anywhere, including an iCloud Drive folder if you want your screenshots on every device. There is also a delay option there: five or ten seconds gives you time to open a menu or move the pointer out of the frame before the capture fires.
Another route to the same files is Command-Shift-5 followed by the Screenshot application in Spotlight. It opens a window showing every capture in a folder you can browse, which beats hunting through Desktop clutter when you took forty of them in a row.
Common Mistakes When Screenshots Do Not Work
The shortcut does nothing at all. Check which key you are actually pressing. On a Mac it is Command, not Ctrl, and on a PC keyboard it is the Windows key, not Ctrl. If the combination works everywhere else, someone may have remapped it: open System Settings, go to Keyboard, then Keyboard Shortcuts, then Screenshots, and look at what each action is bound to now.
You get a sound or a flash but no file. macOS plays a camera shutter sound by default and some long-press setups trigger it without a capture finishing. Also check Screen Time or a focus mode that restricts screen recording, since screenshot and screen capture fall under the same system permission.
Everything opens in an editing toolbar instead of saving. A corner thumbnail left open, or a screenshot taken while another capture tool was focused, sends the image to the mark-up window. Press Escape or click Done, and the result saves normally. If it keeps happening, make sure the Screenshot panel is not left open after you close it with Escape rather than by pressing the shortcut key again.
The file is nowhere to be found. It is almost certainly in the Screenshots folder rather than on the Desktop, or the capture went to the clipboard because you held Control by accident. Press Command-Shift-5 and read the path under Options before assuming the file was lost.
Your area capture came out wrong. You dragged before the crosshair settled, so the selection was offset. Slow down: press Shift-Command-4, wait for the magnifier to appear, then drag. Holding Option while releasing gives you only the selected pixels with no shadow around them.
You cannot find a screenshot button. There has never been a screenshot button on most Macs, only a Touch Bar button on a handful of MacBook Pro models from 2016 to 2019. Command-Shift-5 is the replacement for every Mac sold since.
Your Desktop has vanished under a pile of PNGs. Make a folder called Screenshots, open the Command-Shift-5 Options menu and point Save to at it, then drag the existing Desktop images in. Adding that folder to the Dock as a stack sorted by date keeps the next month’s captures tidy without an app.
Frequently Asked Questions
What is the fastest way to take a screenshot on a Mac?
Press Shift-Command-3 for the entire screen or Shift-Command-4 and drag a box for one area. That is the whole answer for most people. If you want options such as a delay timer, screen recording or a different save folder, press Shift-Command-5 instead and use the panel that appears at the bottom of the screen.
How do I screenshot only part of the screen on a Mac?
Hold Shift-Command-4 and a crosshair cursor appears. Drag it around the area you want to capture and release the mouse; the cropped image saves as a PNG alongside your full-screen captures. Press Escape before releasing if you want to cancel. Holding the Option key as you release captures only the pixels you selected, with no drop shadow.
Why does my Mac screenshot open in an editing toolbar instead of saving?
That happens when the corner thumbnail stays active or a capture tool such as Preview has keyboard focus, which routes the image into the mark-up window. Press Escape to dismiss it and the file saves normally. If it keeps happening, close the screenshot panel with Escape after use instead of capturing again, and check that no other screenshot or screen recording utility is running.
Where are Mac screenshots saved by default?
On the Desktop, in PNG format, with a filename that starts with Screen Shot followed by the date and time. Recent macOS versions write them into a Screenshots folder inside your home folder instead and ask you to confirm the location the first time. Press Shift-Command-5, open the Options menu, and the current save folder is shown there.
How do I take a screenshot of a single window on a Mac?
Press Shift-Command-4, then tap the Space bar before you click. The cursor turns into a camera, and every open window highlights as you hover. Click the one you want and macOS saves it without the desktop or other windows behind it. You can also select the window icon in the Shift-Command-5 panel and then click Capture.
Can I take a screenshot on a Mac without using the keyboard?
Yes, through the menu bar. Press Command-Shift-5 once to open the Screenshot panel, choose the whole screen, a selected area or a window, and click the Capture button. That is the only click-free way to find and record video on a Mac. The Touch Bar camera button did this on a few MacBook Pro models from 2016 to 2019.
Conclusion
Start with Shift-Command-3 for everything on screen and Shift-Command-4 for one area, and you have covered ninety percent of what anyone needs from screenshots on a Mac. Add Control to either one and the image goes to your clipboard ready to paste instead of sitting on the Desktop.
When you want the extra controls, Shift-Command-5 is the screen you should remember. It holds the timer, the save folder, the window mode and video recording in one place, and the same Options menu tells you exactly where your finished PNG went when a capture seems to disappear.