If you need to free up disk space on Mac, start in System Settings under General, then Storage. The screen breaks your drive into categories so you can see what is actually filling it, and most of the space comes back from emptying the Trash, clearing Downloads, and removing apps you stopped using months ago. The whole basic cleanup takes about fifteen minutes and needs no third-party software.
Before you delete anything, though, take five minutes. Knowing where your space went is the difference between reclaiming 80 GB in one pass and shuffling files around for an hour.
If your Mac is critically full right now, these four moves free the most space fastest:
- Empty the Trash, after opening it and looking at what is in there.
- Clear out the Downloads folder, where old installers and duplicate photos pile up.
- Turn on Optimize Storage for iPhone and iPad backups.
- Uninstall apps you no longer use, from Applications rather than the Trash.
Table of Contents
- 1What You Need
- 2Step-by-Step: How to Free Up Disk Space on Mac
- 31. Check What Is Using Storage
- 42. Empty the Trash and Clear Download Files
- 53. Use Optimize Storage to Manage iPhone and iPad Files
- 64. Remove Large or Unused Apps
- 75. How to Free Up Disk Space on Mac With Large Files
- 86. Clear Browser Data and Review Cache Files
- 97. Restart and Confirm Your Available Space
- 10Common Mistakes
- 11Frequently Asked Questions
- 12What is the safest way to free up disk space on a Mac?
- 13Why does my Mac say System Data is taking so much storage?
- 14Can I delete files from the Downloads folder on my Mac?
- 15Does clearing Safari or Chrome data free Mac storage?
- 16Should I delete old iPhone backups from my Mac?
- 17How do I know whether my Mac needs more storage?
- 18Conclusion
What You Need
You need a current backup before you start deleting anything. If you have a Time Machine drive or use iCloud, open Time Machine from the Apple menu and run a backup now, or at least confirm your most important folders are synced.
Administrator access matters for two steps. Removing an app from Applications and deleting iOS backups both prompt for your password, and that is normal rather than a warning sign.
Give yourself ten minutes to browse before you delete. Open System Settings first and read the numbers, so you are working from a picture of the drive instead of guessing.
It also helps to know what you want to keep. If you have a folder of family videos or a work project, decide now whether it goes to an external drive or cloud storage, rather than halfway through the cleanup.
Step-by-Step: How to Free Up Disk Space on Mac
1. Check What Is Using Storage
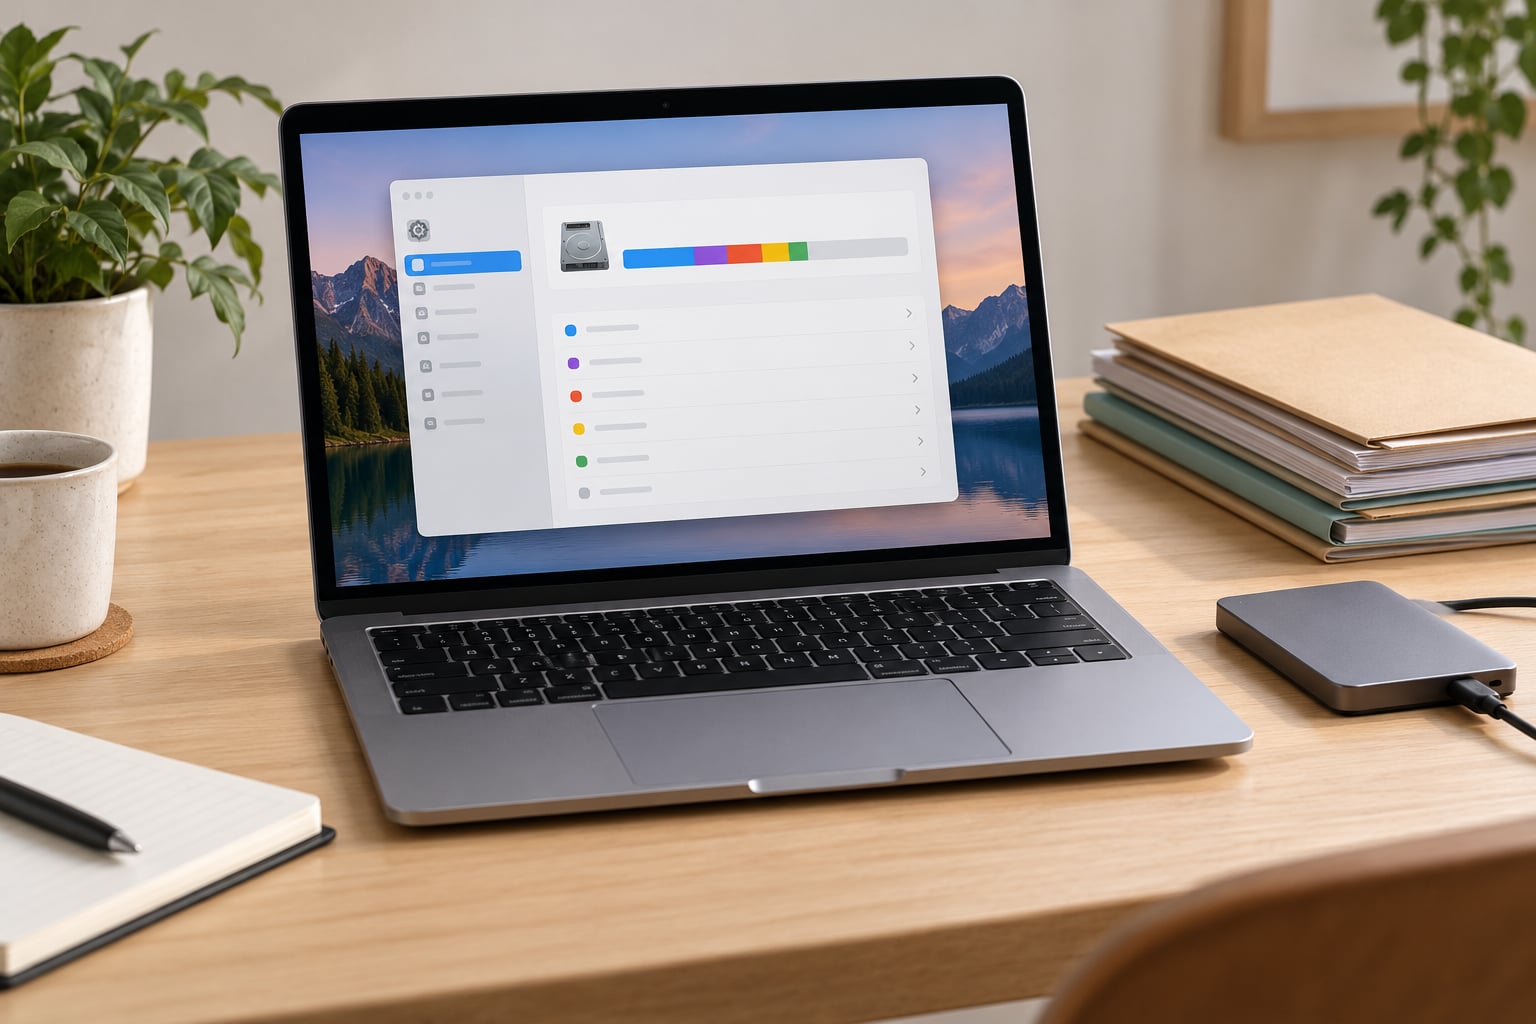
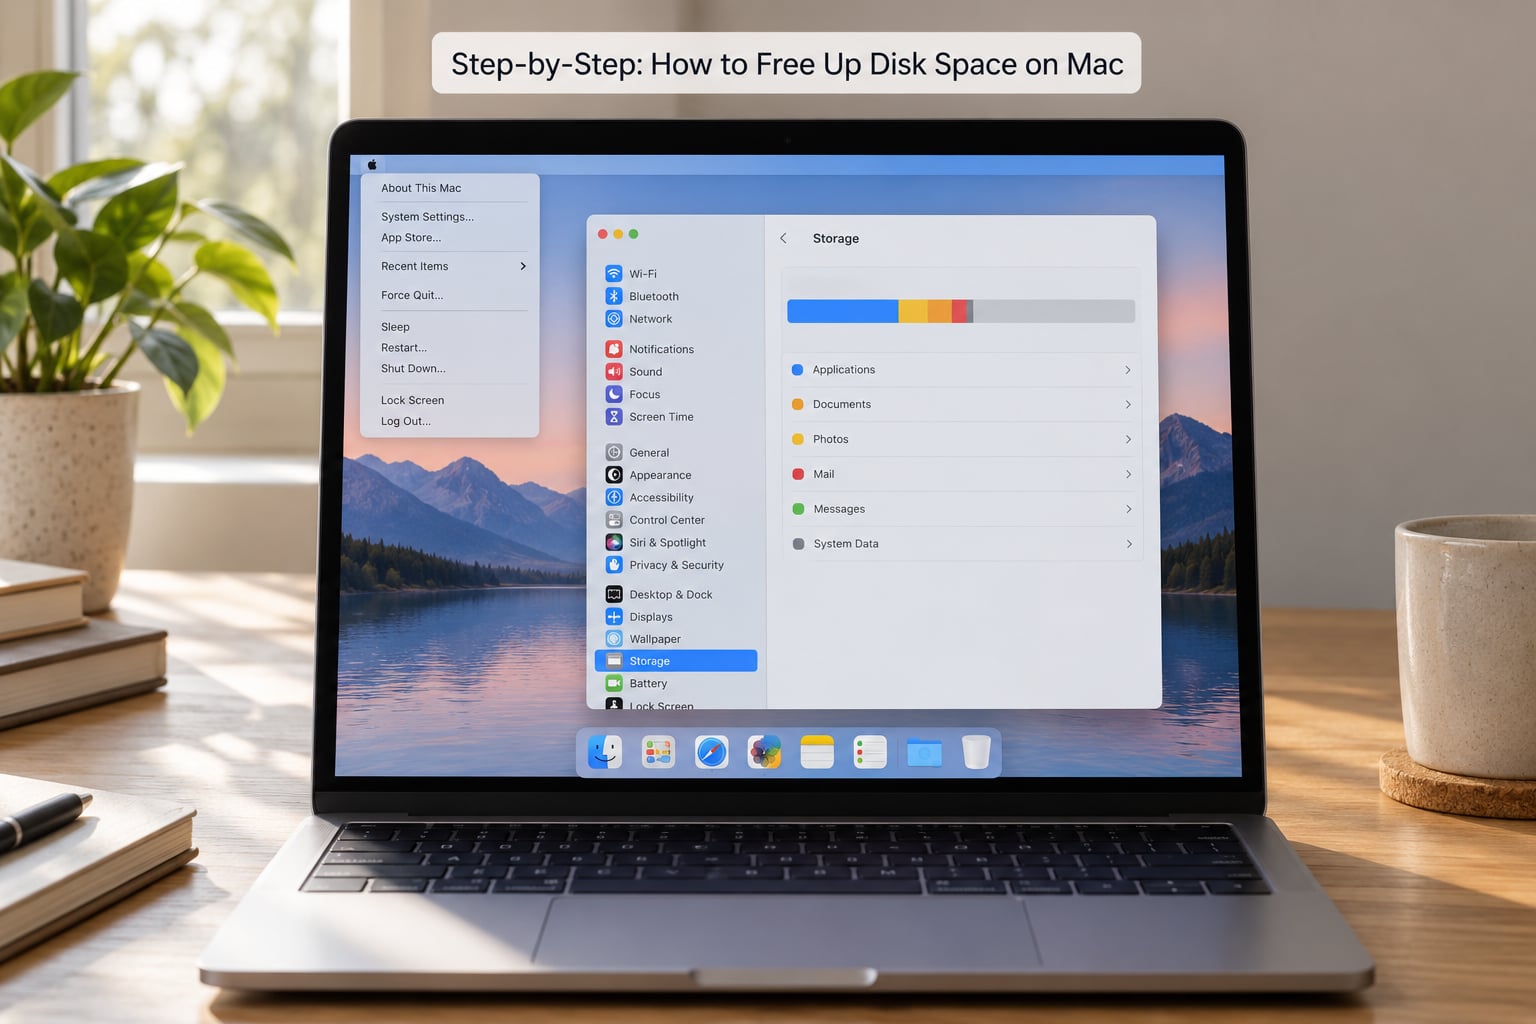
Click the Apple menu, choose System Settings, then General and Storage. You land on a bar chart split into categories: Applications, Documents, Photos, Mail, Messages, iCloud Drive, macOS, and System Data.
Click any category to see the largest items inside it. Applications and Documents are self-explanatory. System Data is the one that confuses everyone, and it covers caches, logs, Time Machine local snapshots, iOS backups, and anything else macOS cannot neatly file.
Check the number at the top too. It shows how much space is left and how many bytes are in use, which gives you a baseline to compare against later. You can tell it worked if the free-space figure rises after each step.
One shortcut worth memorizing: press Shift, Command and Period (.) to empty the Trash instantly once you are ready. You will see that again in the next step.
2. Empty the Trash and Clear Download Files
Open the Trash in the Dock and look inside before you commit. A surprising number of people find a project folder or a set of scans they thought were gone, and those go back with a drag.
Then clear Downloads. Click the Downloads folder in the Dock and sort by date or size, and most of the junk identifies itself: disk images you installed once, duplicate PDFs, screenshots from two years ago, and files with names like final_final_v2.
You can also let macOS handle it. In Storage settings, iCloud Drive has an option to remove old downloads, and Trash has Empty Trash Automatically, which clears it after 30 days.
If you want to hunt big files by size across your home folder instead, open Finder, press Shift, Command and H to show hidden files, then sort by Size. Expect plenty of folders you did not create yourself. Those belong to your user account, and they are the subject of step 5.
3. Use Optimize Storage to Manage iPhone and iPad Files
Every iPhone or iPad backup you have ever made from that Mac sits in a hidden folder and can quietly reach 100 GB or more. Storage settings lists them under iOS backups, with the date and device name for each.
Delete the old ones by clicking the device name and choosing Delete. You can also reach the same list from the Apple menu, About This Mac, then Storage and More Info, if it is easier there to see which device each backup belongs to.
Turn on Optimize Storage next to it. It removes iOS backups automatically when space runs low and keeps your newest one, which means you stop doing this chore by hand.
For macOS backups you made by hand, Time Machine keeps local snapshots on your drive even when your backup disk is elsewhere. In Storage settings, Time Machine shows the most recent snapshots as a list with dates, and Delete All Snapshots clears them. They get recreated as macOS sees fit, so this is safe.
4. Remove Large or Unused Apps
The Applications list in Storage settings is sorted by size, so the biggest offenders sit at the top. Check each one against the last time you opened it.
To uninstall properly, quit the app, then open Finder, choose Applications, select the app, and press Command and Delete. That moves it to the Trash. Empty the Trash afterwards, because the space is not reclaimed until you do.
Do not simply drag an app to the Trash and walk away while it is still running, and never delete an app while one of its windows is open. A forced quit first saves you from a half-deleted app.
Watch for apps that hold your work. Photo editors, podcast recorders and note apps often keep a library in a separate folder, and removing the app does not remove that library. Copy that library elsewhere before you uninstall.
5. How to Free Up Disk Space on Mac With Large Files
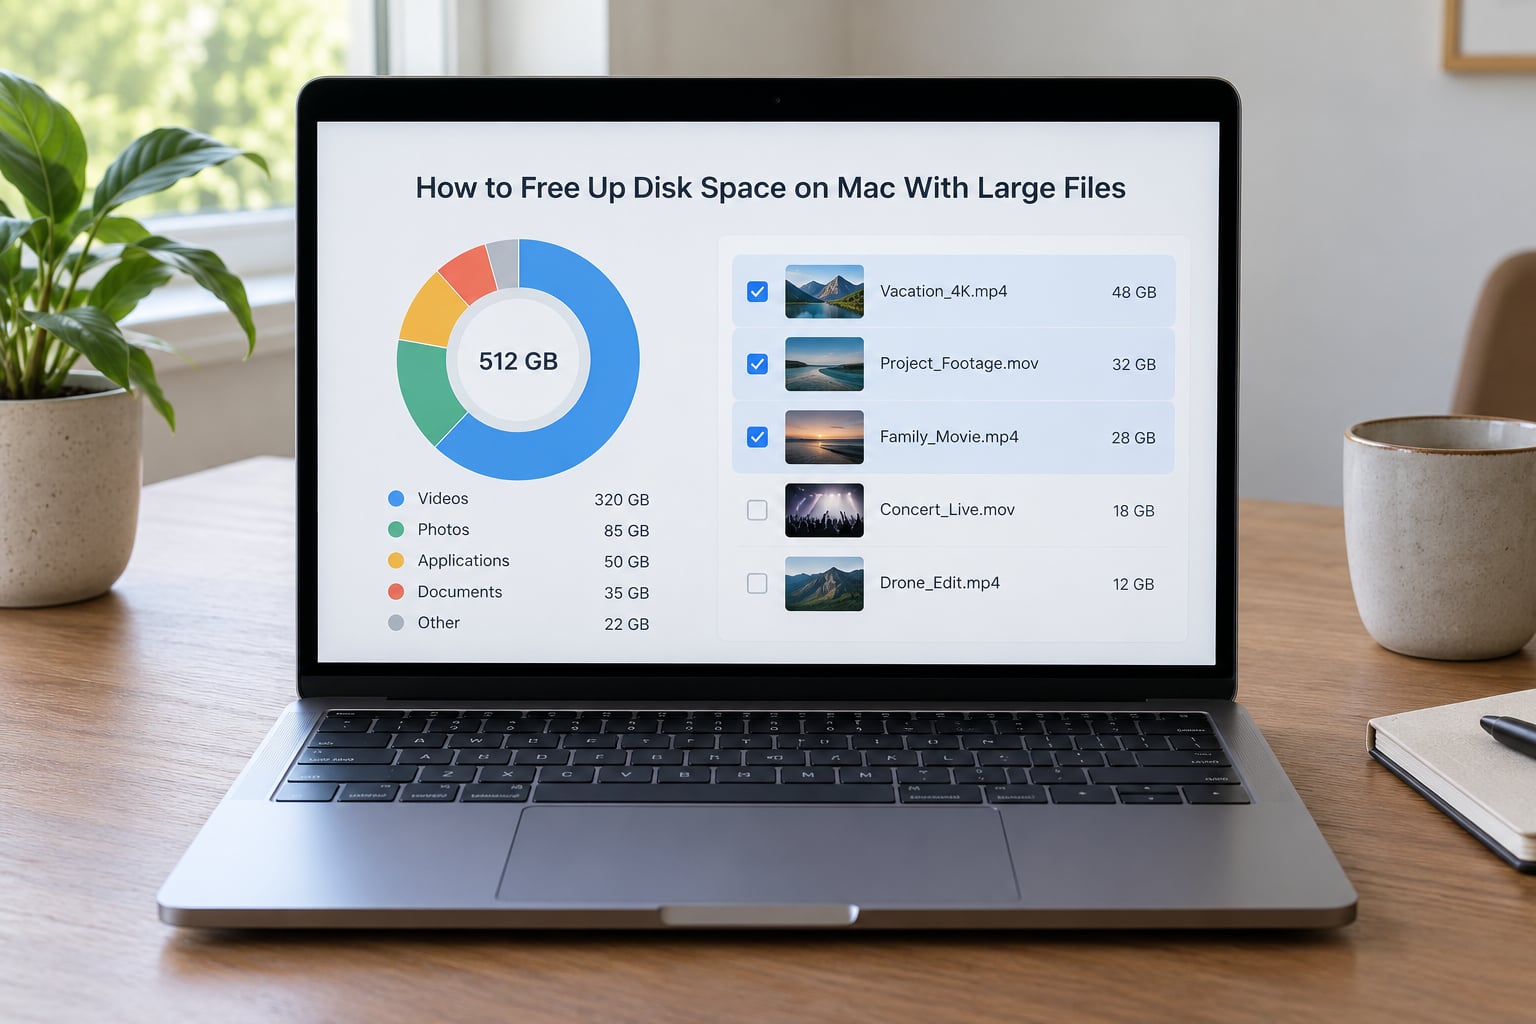
Video files are usually the biggest thing on any Mac, and video editors leave proxy files and cache folders that are several times the size of the project itself. Music libraries and podcast downloads come next.
Open Storage settings, click Documents, and work down the sorted list. For anything over a few gigabytes you should have an opinion, and anything over 100 GB deserves one carefully.
Two folders get missed constantly. In Photos, the Recently Deleted album holds everything you have removed in the last 30 days, and it keeps taking up space until you empty it from inside the app. In Mail, large messages with attachments sit in your inboxes, and deleting them frees space that no storage chart shows clearly.
Move what you want to keep rather than deleting it. Drag large archives to an external drive, or upload them to cloud storage and remove the local copy once you have confirmed they are there. Compression is the other option for old files you rarely open: a ZIP archive of a folder of documents can shrink noticeably, and video you have finished editing can be exported at a lower resolution.
6. Clear Browser Data and Review Cache Files
Does clearing Safari or Chrome data free Mac storage? Sometimes, and it depends which category you clear. Cached images are files on your drive, so clearing them frees space. Cookies, browsing history and saved passwords live in a small preferences file that barely registers.
Clear from the cache section of each browser’s settings rather than the delete-everything button, so you keep logins and bookmarks. In Safari, follow Settings, then Advanced, and clear cached images and files. In Chrome, follow Settings, then Privacy and security, then Third-party cookies, then See all site data and permissions, where the cached images entry lives.
System caches are larger and safe to clear. Quit your apps, open Finder, press Shift, Command and G, and paste in ~/Library/Caches. Look at what is there, and delete the folders belonging to apps you no longer use. macOS rebuilds caches from scratch, so a cleared cache makes an app slower on its next launch rather than broken.
Skip anything that looks like it belongs to the system, and skip any folder you cannot identify. An aggressive cleaner that deletes unknown folders is doing the one thing you did not ask it to do.
7. Restart and Confirm Your Available Space
Restart the Mac. APFS and the Finder do not always update the free-space number the moment files leave a folder, and a restart clears the accounting, along with any local snapshot that was holding deleted files open.
Come back to General and Storage. Compare the free space to the number you noted at the start. If it moved, the cleanup worked, and you can see which categories dropped and how much each one gave back.
If the number barely changed after deleting tens of gigabytes, that is worth understanding. Deleted files held by an open application stay on disk until that app quits. Local snapshots, iOS backups, and swap files do the same thing. Look at the categories again, and if System Data is still enormous, the next most common explanation is that a phone backup or a video editor cache is living there.
Keeping on top of it takes about two minutes a month. Glance at the storage bar, empty the Trash, and delete iOS backups older than your current phone. That is enough to stay out of trouble.
Common Mistakes
Emptying the Trash before looking in it. This is the mistake that costs people real work. Files in the Trash are recoverable until you empty it, and after that they are gone. Open it first, always.
Deleting folders you do not recognize. macOS is full of directories that look strange and are not yours to remove. Software, System, and Library under the /System folder are off limits, as is anything inside /System/Volumes. When in doubt, leave it.
Dragging an app to the Trash while it is running. Quit the app first. A running app can rewrite its own files during deletion and leave you with a broken install that needs reinstalling.
Assuming cache clearing fixes everything. Caches are a small slice of a typical full drive. They are worth clearing, but they will not recover 200 GB. The bulk is almost always media files, phone backups and old applications.
Paying for a cleaner to skip the easy part. Paid cleanup apps are fine if you want the convenience, but no tool can beat emptying the Trash and deleting old iOS backups, and some are aggressive enough to remove files you wanted. Start with the built-in tools, then decide.
Ignoring it until the Mac misbehaves. A nearly full startup disk slows down macOS, blocks updates and causes apps to crash when they cannot write temporary files. The storage bar is right there in System Settings, and it takes five seconds to check.
Frequently Asked Questions
What is the safest way to free up disk space on a Mac?
Start with macOS’s own tools in System Settings, General, Storage, because they show you exactly what is using space before you touch anything. Empty the Trash after looking inside it, clear Downloads, delete iOS backups older than your current iPhone, and uninstall unused apps from Applications. Move large media to an external drive rather than deleting it. Confirm a Time Machine or iCloud backup first.
Why does my Mac say System Data is taking so much storage?
System Data is a catch-all bucket for caches, logs, Time Machine local snapshots, iOS backups, swap files and anything macOS cannot categorise. It also counts files that were deleted but are still held open by a running app. It often swells after a software update, a video editing session or a large iPhone backup. Restart the Mac, then check Time Machine snapshots and iOS backups in Storage settings.
Can I delete files from the Downloads folder on my Mac?
Yes, and it is one of the highest-impact moves available. Downloads accumulates installers, duplicate PDFs and screenshots that no longer matter. Open the folder, sort by date or size, and delete what you no longer need. Anything you delete first goes to the Trash, so empty it afterwards to actually reclaim the space. You can also enable Empty Trash Automatically in Storage settings.
Does clearing Safari or Chrome data free Mac storage?
Only partly. Clearing cached images and files deletes real copies of websites stored on your drive, so it frees space. Cookies, browsing history and saved passwords live in small preference files that amount to almost nothing. Clear the cache section rather than the delete-all option so you keep your logins and bookmarks. Browsers also store downloads, which are files in your Downloads folder.
Should I delete old iPhone backups from my Mac?
Usually yes, once you have a backup of the current phone somewhere safe. Each iPhone backup on your Mac can run from several gigabytes to well over a hundred, and you only need one current device. Find them in Storage settings under iOS backups, delete the ones for old devices by date, and turn on Optimize Storage so macOS manages them automatically from then on.
How do I know whether my Mac needs more storage?
Check the free space figure in System Settings, General, Storage. Keeping 15 to 20 percent of your drive free keeps macOS fast and leaves room for updates, which can need more than 20 GB on their own. If you are regularly below that, or if you see storage warnings, cleaning up will only postpone the problem and a larger drive or more cloud storage is the lasting fix.
Conclusion
To free up disk space on Mac, start with General and Storage, read the category breakdown, and then work down the list. Empty the Trash after opening it, clear out Downloads, delete iOS backups for devices you no longer use, and uninstall the apps you have not opened in months. Move large videos and archives to an external drive instead of deleting them.
If System Data still looks huge afterwards, restart and check Time Machine snapshots. Most Macs recover most of their lost space in that first pass.