If you want to know how to create checklists in Notes on an iPhone or iPad, it takes about twenty seconds. Open Notes, tap the Compose button in the bottom-right corner, type a title, and tap the Checklist control in the toolbar above the keyboard. Every line you add from there starts with an empty circle you tap to finish a task.
There is nothing to install and no subscription to buy. The checklist format is part of Apple Notes on every iPhone and iPad running iOS or iPadOS 15 or later, and those lists sync to your other devices and to iCloud.com in a browser. What you do not get is reminders or due dates, which is the one reason some people still keep a separate to-do app.
Table of Contents
- 1What You Need
- 2How to Create Checklists in Notes: Step-by-Step
- 3How to create checklists in notes from a new note
- 4Add and edit checklist items
- 5Check off and undo completed tasks
- 6Organize, share, and find the checklist
- 7Common Mistakes
- 8Frequently Asked Questions
- 9Can I create checklists in Apple Notes for free?
- 10Which Apple devices support checklists in Notes?
- 11Why is there no checklist option in my formatting menu?
- 12How do I change a checklist back into a regular note?
- 13Can I share an Apple Notes checklist with other people?
- 14Conclusion
What You Need
An iPhone or iPad with iOS or iPadOS 15 or newer is the whole requirement. The menu labels used below match that generation of the system. On older software the checklist control is missing entirely, so update first if the button is not where this guide says it is.
The Apple Notes app is already on the device, so there is no separate download. It is also free and it works offline, which matters in a shop or on a plane where the signal drops.
One setup step is worth doing before you start: confirm which account your notes live in. Go to Settings, then Notes, and look at the account for Default Account. iCloud and On My iPhone or On My iPad support checklists. Notes stored in a Gmail, Outlook, or other mail account folder do not, and that is the single most common reason the checklist control never appears.
Mac and iCloud.com are covered further down, and both sync the same lists you build on the iPhone.
How to Create Checklists in Notes: Step-by-Step
How to create checklists in notes from a new note
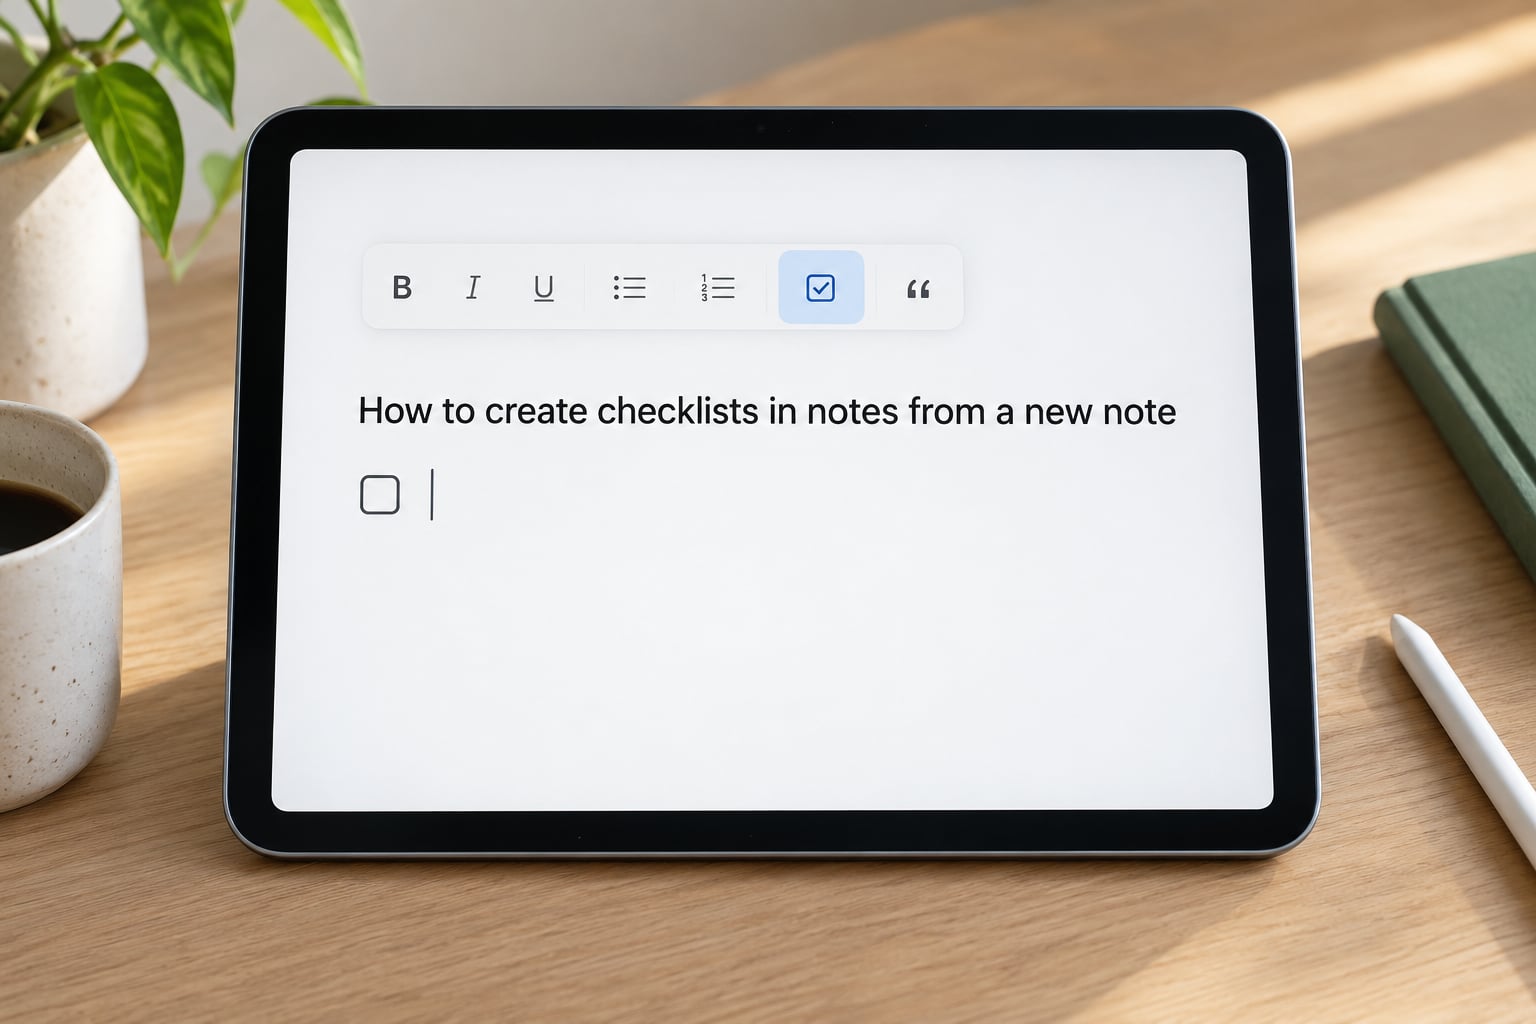
Start a fresh note rather than converting an old one, since it is the quickest route. Tap the Compose button, the square-and-pencil icon in the bottom-right corner of the Notes screen. A blank note opens with the cursor in the title line.
Type a title, then press Return to move into the body. Above the keyboard you will see a row of formatting controls, including a checklist icon with a circle and a tick. Tap it and the insertion point drops onto a new line with an empty circle in front of it, ready for your first task.
You can tell it worked because the line begins with a hollow circle rather than a plain bullet or no marker at all.
Add and edit checklist items
Type the first task, then tap Return. Each Return drops you onto a fresh line with its own empty circle, so a list builds one item per line. Return twice at the end and you get a blank line to type a heading or a note under the list.
To add detail to an item without creating a new one, tap the line to place the cursor and keep typing. It all stays on that single checklist entry.
Editing works the way any Notes text does. Press and hold a line to select it, then drag the selection handles or use cut, copy and paste. Swipe right on a line and pick Select All to clear the whole list at once, which is the fastest way to start a reusable list fresh.
Check off and undo completed tasks
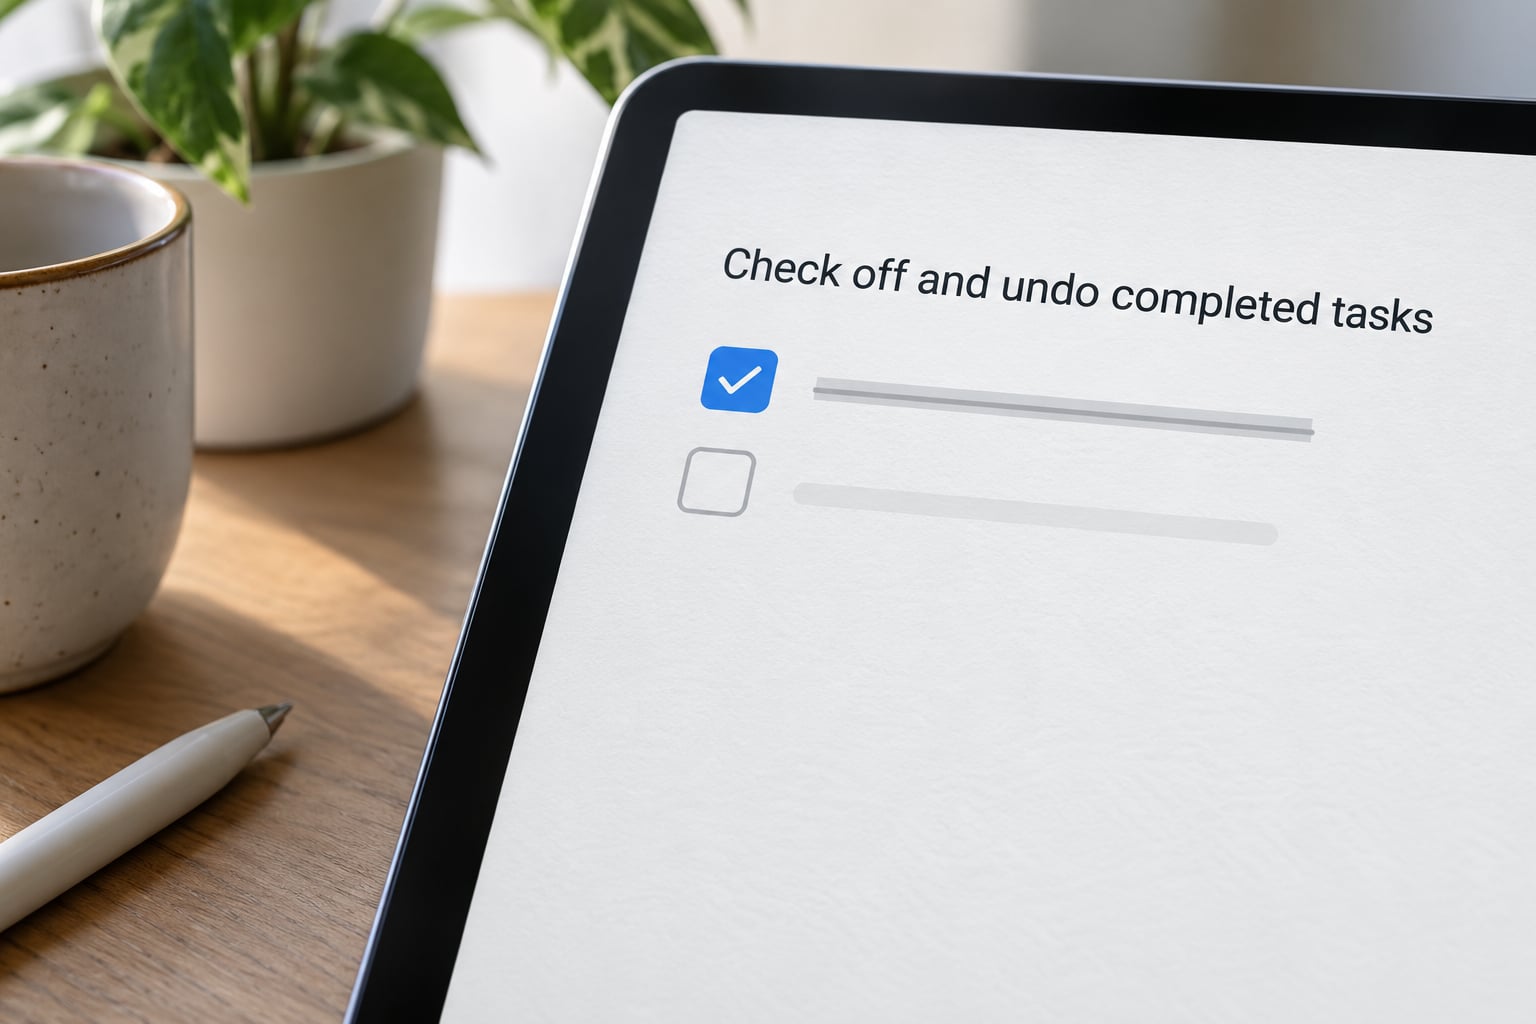
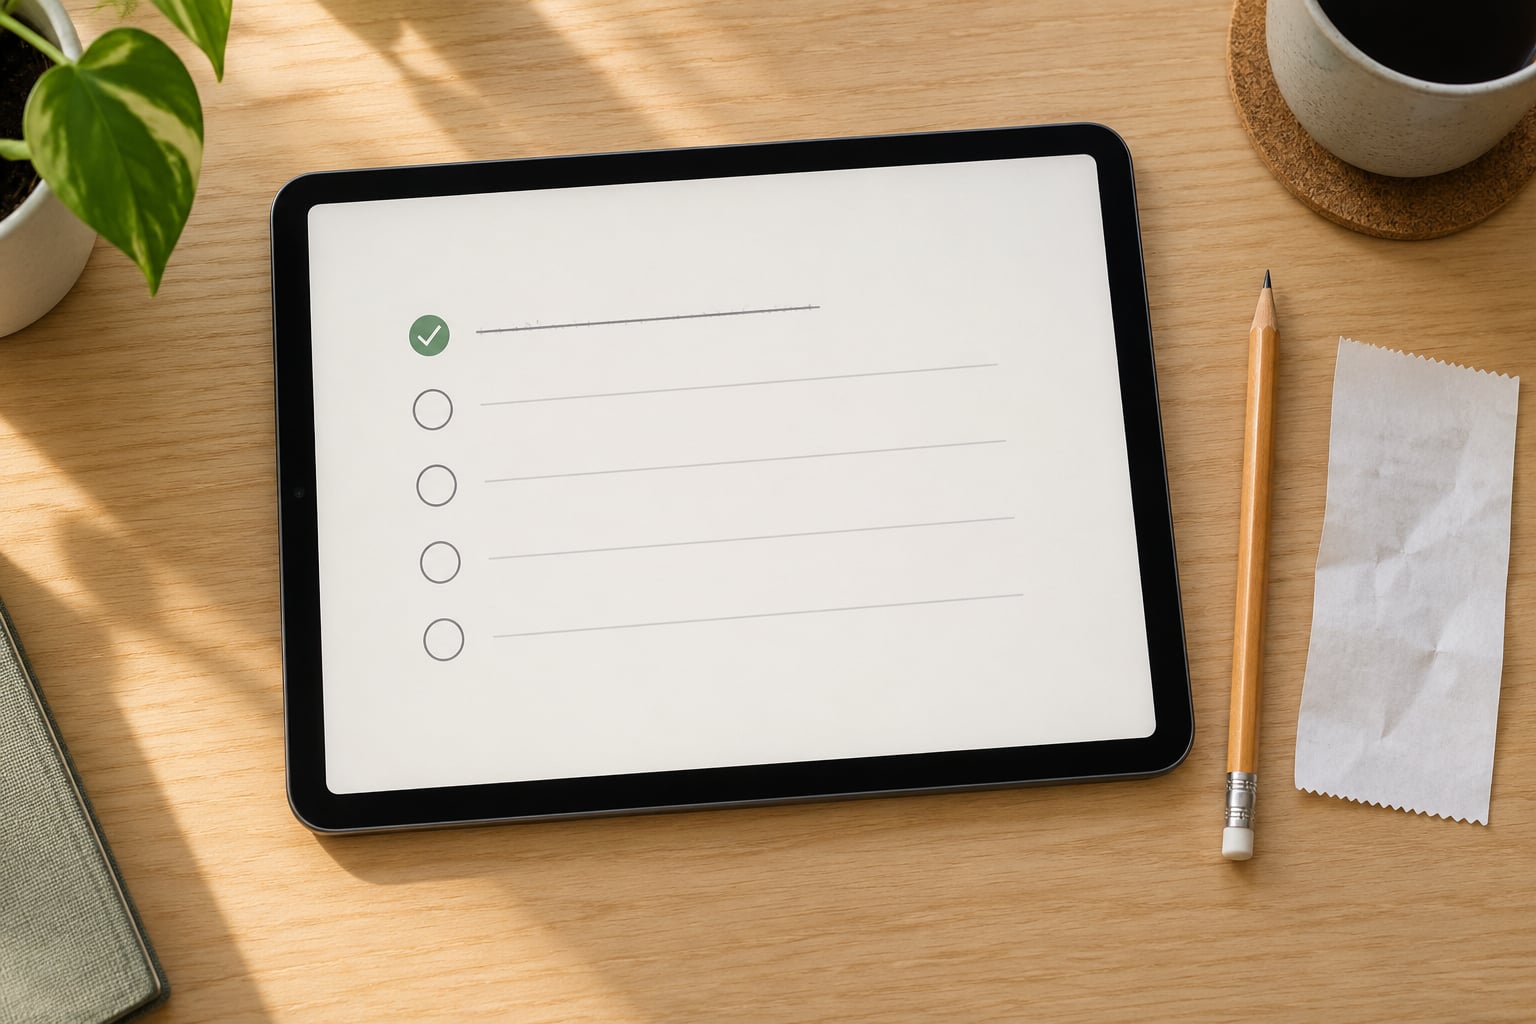
Tap the empty circle to the left of a task to mark it complete. The circle fills and the text strikes through, greying out as it goes, so a glance down the list tells you what is left.
Tap the same circle again to undo it. The strike-through lifts and the text returns to normal weight.
Here is the behaviour that catches people out: completing an item moves it down the list, and undoing it does not send it back to where it was. It stays in the new position with the text restored. If you want checked items parked at the bottom automatically, go to Settings, then Notes, then Sort Checked Items and choose Automatically. Manually keeps them where they are until you drag them.
Because there is no single tap that clears every check mark, reuse a list by selecting the items and deleting them, or by copying a clean version into a new note as a template for next week.
Organize, share, and find the checklist
Reordering is drag and drop. Touch and hold a line until it lifts, then drag it into place. Swipe right on a line to indent it under the item above, and swipe back the other way to bring it out again, which is how you build a grocery list by aisle or a packing list by bag.
To turn a checklist back into ordinary text, tap the checklist control again with the cursor on a list line. The circles disappear and you are left with plain lines you can edit as text. Tap the control once more to put the checkboxes back.
Move the note into a folder or add a tag so it is easy to find later. Search in Notes is the other reliable route, and searching a word from the list pulls the note straight up.
When a note mixes paragraphs and tasks, the checklist view shows just the items so you can work through them without scrolling past your notes. Tap the list icon at the top of the note to toggle it.
To share, tap the share button, then Add People for a live collaborative list where everyone can tick items, or Send a Copy for a read-only snapshot. Lock the note with a password first if the list holds anything private, since collaborators can see everything inside it.
For a brand-new list without opening the app, press and hold the Notes icon on the Home Screen and tap New Checklist. It lands on your iPhone or iPad straight away.
Common Mistakes
The most reported problem is a missing checklist option, and it is nearly always the account rather than the device. Notes sitting in a Gmail, Outlook, or other mail account folder have no checklist control, and those folders drop other formatting too, including tables, sketching, and locking. Move the note into iCloud or On My iPhone and the control comes back.
Bullets appearing where you expected checkboxes usually means the checklist control was tapped once but the cursor was not on the line you thought. Tap the control with the cursor on that specific line and the circle replaces the bullet.
If the button is missing everywhere, force-quit Notes and reopen it, then restart the device. That clears the glitch most people hit after an update.
Formatting that looks inconsistent across notes is normal when some notes live in iCloud and others in a mail account. Pick one default account and the problem stops.
Completed items that will not move back to the top are working as designed, not a fault. Sort Checked Items controls the behaviour, and undo restores the text styling only.
Shared notes that only let other people read are the result of Send a Copy rather than Add People. Send a Copy is a static copy; only a collaborative invite allows editing.
Lists become hard to find when everything lands in All Notes. Folders for things like Groceries, Travel, and Household keep them separate, and tags cut across folders when one list belongs to two contexts.
One more honest limitation: Notes checklists do not send alerts. If a task has to happen at a certain time, Reminders is the better home for it. Notes is strongest for shared and occasional lists.
Frequently Asked Questions
Can I create checklists in Apple Notes for free?
Yes. Checklists are built into Apple Notes on every iPhone, iPad, and Mac at no cost, with no add-on purchase and no account upgrade. There is nothing to install and nothing to subscribe to. The one requirement is a device running iOS or iPadOS 15 or later.
Which Apple devices support checklists in Notes?
iPhones and iPads running iOS or iPadOS 15 and newer support checklists, as do Macs and the Notes web client at iCloud.com. The same lists sync between them automatically when your default account is iCloud. On a Mac you can also press Shift, Command, and L to start a checklist line.
Why is there no checklist option in my formatting menu?
Almost always because the note is stored in a Gmail, Outlook, or other mail account folder, which does not support checklist formatting. Check Settings, then Notes, then Default Account and switch to iCloud or On My iPhone, then move the note into that account. Restarting Notes and the device fixes the occasional glitch.
How do I change a checklist back into a regular note?
Put the cursor on a checklist line and tap the checklist control in the toolbar again. The circles are removed and the lines stay as ordinary text you can edit. Tap the control once more to bring the checkboxes back. This only changes the formatting, so none of your items are lost.
Can I share an Apple Notes checklist with other people?
Yes. Open the share sheet on the note and choose Add People to send an invite that lets recipients tick items and edit the list, or Send a Copy to share a read-only version. Checklists have no reminders, so for anything time-sensitive use the Reminders app instead.
Conclusion
Open Notes, tap the Compose button in the bottom-right corner, type a title, press Return, then tap the checklist control above the keyboard. That is the whole trick, and it takes the length of one line of typing. Once your first item is on the page, everything else is editing, tapping circles, and sharing.