To record a FaceTime call with sound, use the record control inside the call itself if your software version offers one, and fall back to your device’s screen recorder when it doesn’t. On iPhone and iPad that means Control Center or the Control Center-style panel on iPad; on Mac it means QuickTime Player or the screenshot toolbar. The whole job takes about a minute once you know which button to press.
The part that trips people up isn’t the recording, it’s the audio. Apple’s built-in screen recorder captures your microphone, not the caller’s voice, so a naive recording often plays back with you talking into an empty room. Here’s how each method actually behaves.
Table of Contents
- 1What You Need
- 2Step-by-Step: How to Record a FaceTime Call
- 3How to Record a FaceTime Call on iPhone or iPad
- 4How to Record a FaceTime Call on Mac
- 5Record Only the Audio on Older or Unsupported Versions
- 6Check and Share the Recording
- 7What You Do Before the Call Starts
- 8Common Mistakes and How to Fix Them
- 9Frequently Asked Questions
- 10Can you record a FaceTime call directly on iPhone?
- 11How do I record a FaceTime call on a Mac?
- 12Can I record only the audio during a FaceTime call?
- 13Does the other person know when a FaceTime call is being recorded?
- 14Where are FaceTime recordings saved?
- 15Why is the record button missing from my FaceTime call?
What You Need
Recording a FaceTime call takes nothing more than the device the call is already running on and enough free storage for a video file. No extra app is required for either method below.
- iPhone or iPad: a working FaceTime call, then Control Center (swipe down from the top right on a notched iPhone, down from the top edge on other models, or a two-finger swipe from the top on iPad).
- Mac: QuickTime Player, which ships with the system, or the screenshot toolbar built into macOS.
- Storage: a ten-minute video call can fill several hundred megabytes, so check free space before a long recording.
- Consent: every person on the call. Not optional, and the reason is covered below.
Two different things get called “recording a FaceTime call,” and mixing them up causes most of the frustration.
A real call recording captures the conversation directly inside FaceTime, with both voices intact and a separate audio track. Availability depends on your iOS, iPadOS or macOS version and your region, and Apple has shipped this gradually rather than everywhere at once. Check your own call screen rather than assuming.
A screen recording captures whatever your display shows and whatever your microphone hears. It’s available on every device, and it’s the fallback almost everyone ends up using. The microphone picks up your own voice and anything playing out loud, so the caller’s voice only lands in the file when the sound is coming through your speaker.
Step-by-Step: How to Record a FaceTime Call
How to Record a FaceTime Call on iPhone or iPad
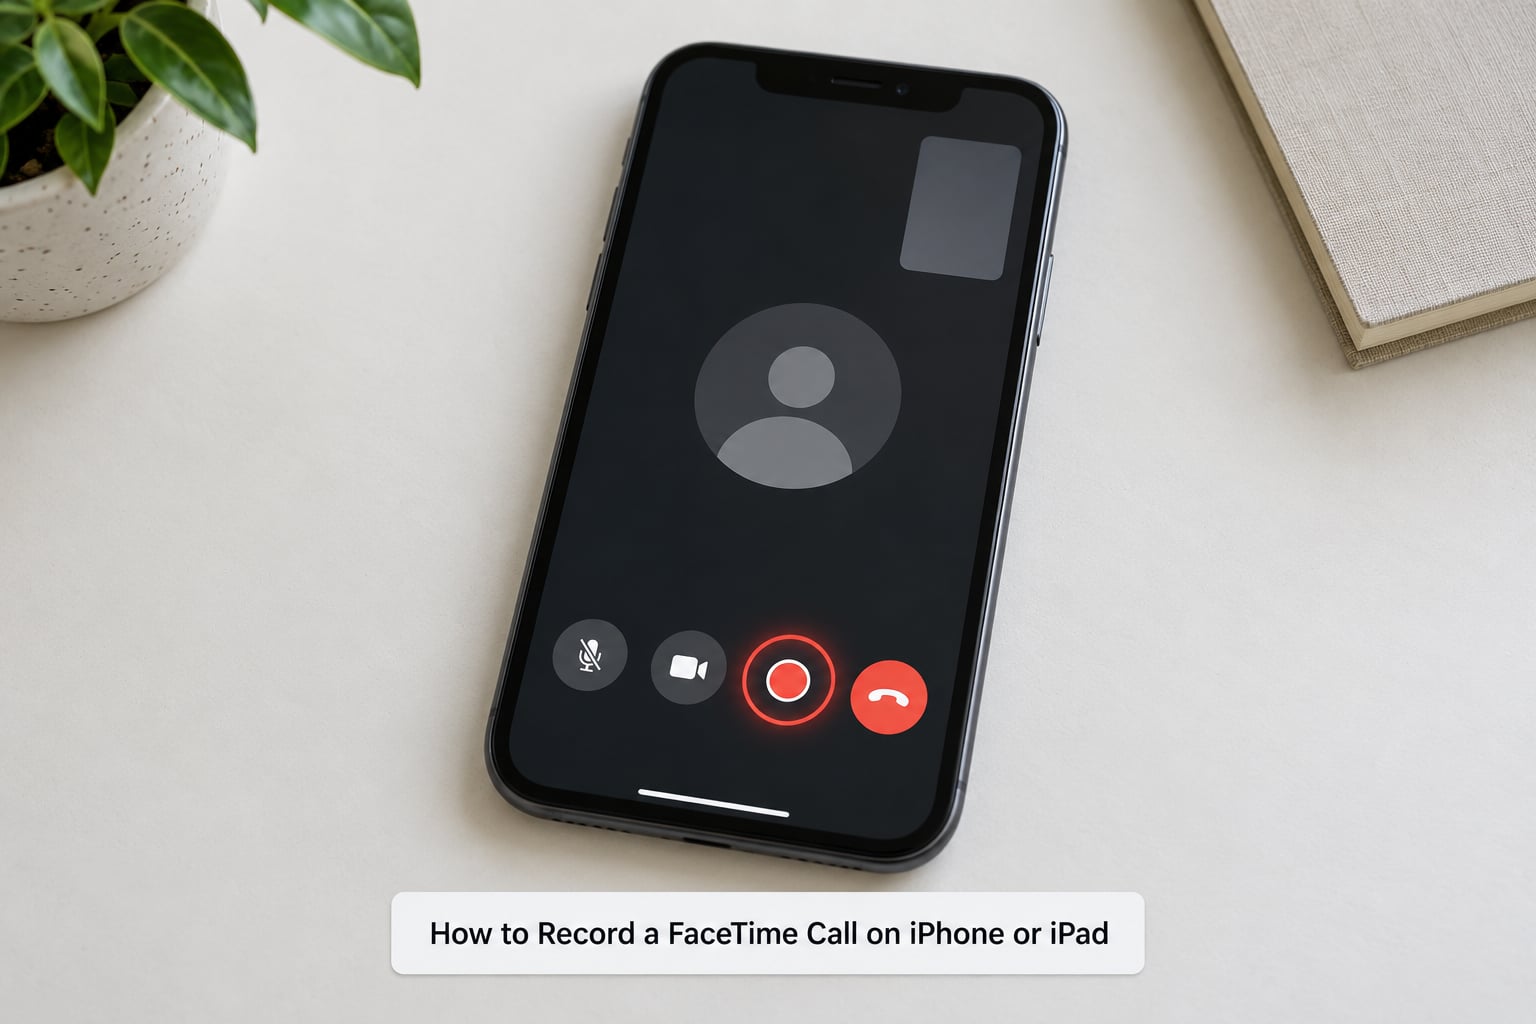
Start the call and look for a record option in the call controls before you do anything else. On devices running recent versions of iOS and iPadOS, an audio recording control appears in FaceTime’s button row; on some builds and in some regions it sits behind the call details panel instead.
When the control is there, tap it. Both people hear a short announcement that the call is being recorded, and a recording indicator appears on screen. Talk normally, then tap the same control again to stop. FaceTime saves the file and tells you where it went.
If you don’t see a record option, use the screen recorder instead:
- Open Control Center. On iPad, double-tap the home indicator or use the multitasking button to bring up the controls.
- Tap the Screen Recording button, the circle inside a ring.
- On iPhone, long-press the button instead of tapping it. Tap Microphone to turn microphone capture on, then tap Start Recording.
- Make sure the call is audible out loud on your side, ideally on speaker with the volume up.
- Return to FaceTime and let the call run.
- Open Control Center again and tap the red stop square, or tap the status bar indicator in the top left.
- Open Photos and look in the Recordings album for the file.
You’ll know it worked because the video shows your own screen, including the FaceTime window, and your voice is in the file. Whether the other person is audible depends entirely on whether their voice was coming out of your speaker.
How to Record a FaceTime Call on Mac
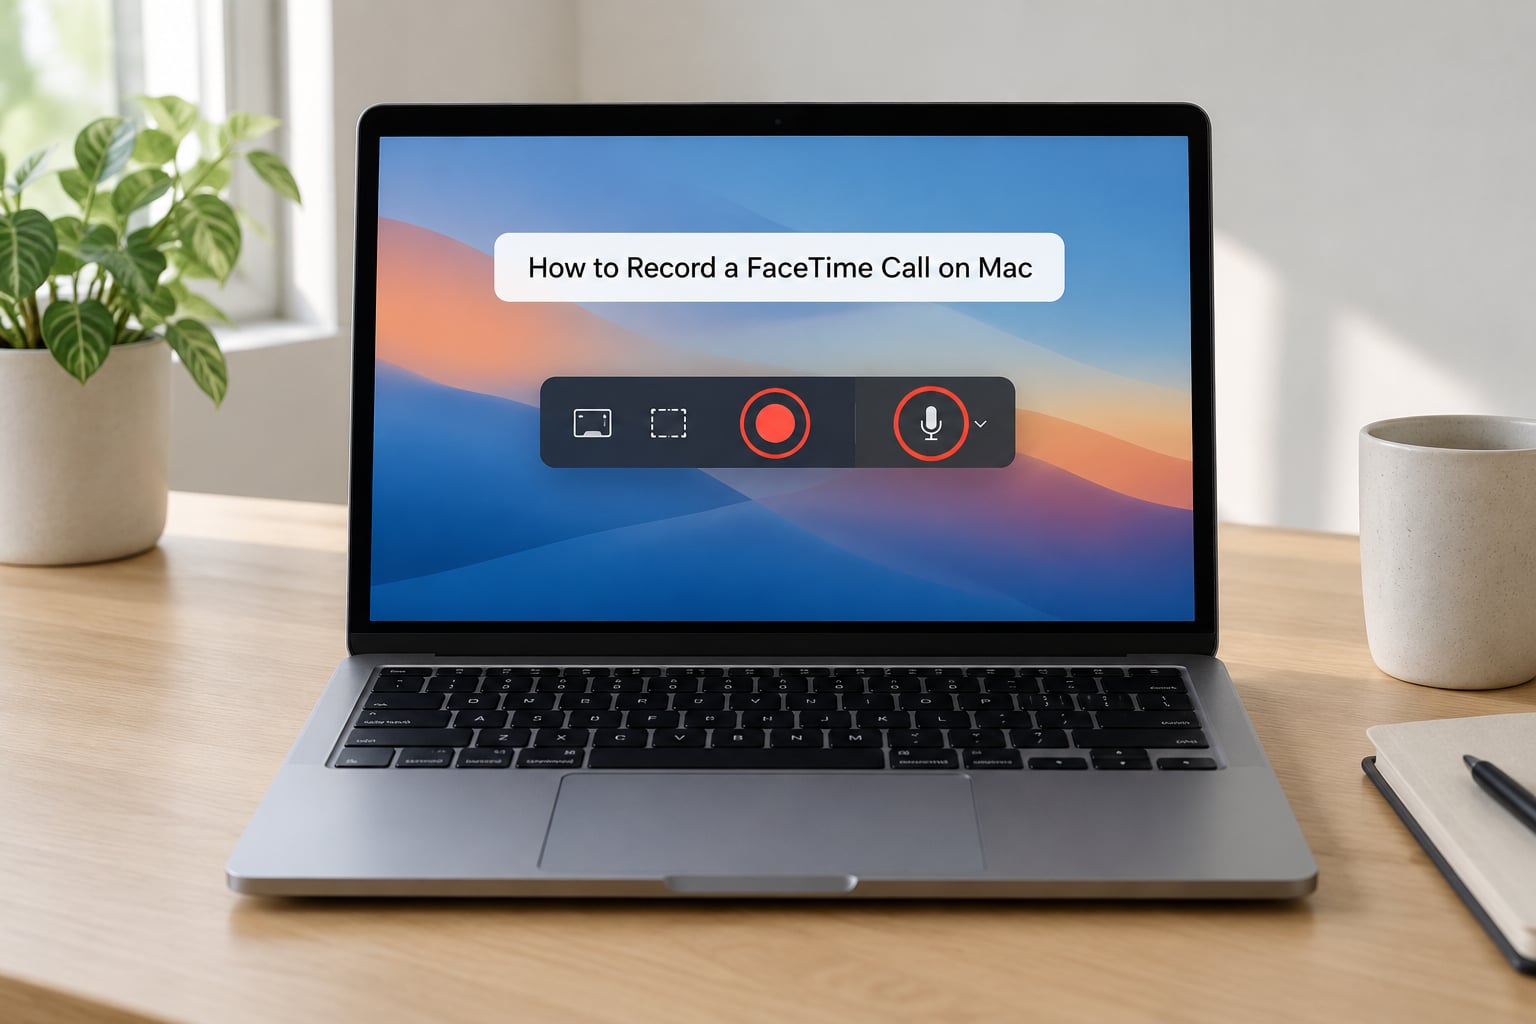
The Mac gives you more control than the phone, and on recent versions of macOS the system audio for the app you’re recording comes along with it. QuickTime Player is the more reliable route.
- Open QuickTime Player from Applications or Spotlight, then choose File, New Screen Recording.
- Select the FaceTime window in the window list, or drag across the area of the screen you want.
- Click the down arrow next to the microphone icon and pick your input, either the built-in mic or an external one.
- Click the record button to begin, then switch to FaceTime and make or join the call.
- Keep the call on speaker. On a Mac the system audio is captured for the recorded app, and the mic picks up the room.
- Stop recording from the QuickTime Player icon in the menu bar, or press Command-Control-Esc.
- Quit QuickTime Player and find the file on the desktop or wherever you saved it.
The screenshot toolbar does the same job in fewer clicks. Press Shift-Command-5, choose the window or a selection, set Microphone to your preferred input, then hit Record. Files land in the Desktop folder by default, and you can change that in Options before you start.
If the recording is silent on the Mac, the usual cause is the audio input menu sitting on the wrong source. Open it again during the call and reselect your microphone while the other person talks.
Record Only the Audio on Older or Unsupported Versions
On older systems, or anywhere the call-side control isn’t available, you can capture audio alone by pairing a microphone-only screen recording with the call on speaker. It’s short to set up and produces an audio file you can edit down afterwards.
On iPhone, press and hold the Screen Recording button in Control Center, tap the microphone icon to enable the mic, then tap Start Recording. The capture picks up everything your mic hears, including notification chimes and other apps, so silence your phone and close anything noisy first. Face the device toward the speaker, or use speakerphone with the phone on the table between you.
Audio-only FaceTime calls behave better than video calls with this method, because there are no speakers to compete with. On the Mac, QuickTime’s screen recording produces a movie file with an audio track; trimming the picture away afterwards in QuickTime leaves you with the audio.
Whatever route you take, expect cleanup. Notification sounds, a door closing, a second conversation in the room all end up in the file. Cutting a 50-minute call down to the useful eight minutes takes longer than the recording itself.
Check and Share the Recording
Play the file back before you show it to anyone. Open it in Photos on iPhone and iPad, or double-click it on the Mac, and listen to the first thirty seconds with headphones on. You’re checking two things: that your own voice is clean, and that the other person is there at all.
Rename the file in Photos or Finder so it’s findable later, something with the date and a word about who was on the call. Trim the dead air in the Photos edit view, or open the Mac file in QuickTime Player and use the split tool to cut it down.
Share it the way you’d share any video: Messages, AirDrop, Mail, or iCloud Drive if the other person uses Apple devices. Keep the file off chat apps that aren’t end-to-end encrypted if the conversation was private, and delete copies off a shared or borrowed device when you’re done.
What You Do Before the Call Starts
A thirty-second test call saves an hour of editing. Ring someone who knows you’re testing, record ten seconds, play it back, and confirm both voices are present before the real conversation begins.
Tell the other person you’re recording. On supported versions FaceTime announces it automatically, but a conversation about it up front is easier on everyone than a surprise announcement three minutes in.
Common Mistakes and How to Fix Them
No record control in the call. It isn’t there on every version or in every region. Update iOS, iPadOS or macOS from Settings, General, Software Update and check again; if it’s still missing, the screen recorder works everywhere.
The recording has no sound at all. Your microphone capture is off. On iPhone, press and hold the Screen Recording button in Control Center and tap the microphone icon before starting. On Mac, open the input menu in QuickTime Player or the screenshot toolbar and reselect your mic.
You can hear yourself but not the other person. This is the big one. Apple’s screen recorder captures the microphone, and the caller’s voice travels through your phone as data rather than out of your speaker. Put the call on speaker and raise the volume, or record from the other side of the call instead.
Only one side has audio, or the voices are muffled. Speaker mode is the fix, with a tradeoff: on speaker the other person can hear you more clearly than usual. Short recordings tolerate this better than long ones.
A chime, alarm or TV appears in the audio. That’s your microphone picking up the room. Use Do Not Disturb or Focus before the call, close other audio apps, and move the device away from the speaker.
Can’t find the file afterwards. iPhone and iPad save to the Photos app under Albums, Recordings. Mac saves to the desktop or the folder chosen in the screenshot toolbar’s Options menu, or to Movies for QuickTime.
Someone recorded a call without telling you. Recording without consent can be illegal depending on where you live. Check your local rules before you share or act on a recording you didn’t consent to.
A few habits cover most of the rest: record a test first, start with the device plugged in if the call will run long, and clear old files from the Photos Recordings album when storage gets tight.
Frequently Asked Questions
Can you record a FaceTime call directly on iPhone?
Yes, on recent versions of iOS and iPadOS FaceTime offers a record control inside the call itself. Tap it and both people hear an announcement that recording has started; tap it again to stop and save. The option depends on your software version and region, so if you cannot see it in your call controls, update iOS and check again. Otherwise, use the screen recorder with the microphone enabled and put the call on speaker.
How do I record a FaceTime call on a Mac?
Open QuickTime Player and choose File, New Screen Recording. Pick the FaceTime window or drag a selection, set the microphone input from the down arrow, then click record and switch to FaceTime. On recent macOS versions the app’s own audio is captured along with your mic. Stop from the menu bar icon or with Command-Control-Esc, then find the file on your desktop.
Can I record only the audio during a FaceTime call?
You can, using a microphone-only screen recording. On iPhone, press and hold the Screen Recording button in Control Center, tap the microphone icon, then start the recording. Start the call on speaker so the other person’s voice reaches your mic. On Mac, record with QuickTime Player and trim the picture away afterwards. Expect to edit out notification chimes and background noise.
Does the other person know when a FaceTime call is being recorded?
When FaceTime’s own recording control is used, an announcement plays and an indicator shows on both screens, so nobody is surprised. A screen recording is different: the other person may only notice a status bar indicator or the red dot in Control Center, and audio-only captures leave no visible trace at all. Regardless of the method, telling people beforehand is both kinder and safer legally.
Where are FaceTime recordings saved?
Recordings made with the FaceTime record control are saved to the device and offered for sharing when you stop. Screen recordings on iPhone and iPad land in the Photos app, under Albums and then Recordings. On Mac, the screenshot toolbar saves to the Desktop folder unless you change the location in Options, and QuickTime Player saves to the Desktop or Movies. Check those three places before assuming a recording was lost.
Why is the record button missing from my FaceTime call?
Availability depends on your iOS, iPadOS or macOS version and your region, and Apple has rolled this control out gradually rather than to every device at once. Update your software from Settings, General, Software Update and reopen the call controls. Some callers also see the option only in certain call types. If it still isn’t there, screen recording through Control Center or QuickTime Player works on every supported device.
Update your device first, then run one short test call and play it back before you rely on the method for anything that matters. If FaceTime’s own record control is there, use it, and tell the other person before you start.