To use the Notes app for beginners, all you really do is open Notes, tap the compose button in the bottom right, type, and walk away. Notes saves itself as you type, and everything you add later, formatting, checklists, scans, folders and tags, builds on that one screen.
Most people get stuck on two things: there is no save button, so it feels like nothing is being kept, and folders start as a blank screen where nobody knows where to put anything. Both problems are about five minutes of setup, and that is most of what this guide covers.
The steps below follow the current iPhone, iPad and Mac interface as of 2026. On iPad and Mac you get a few extra tools such as Scribble with Apple Pencil and keyboard shortcuts, and I flag those as I go.
Table of Contents
- 1What You Need
- 2How to Use the Notes App for Beginners
- 3Create Your First Note
- 4Edit and Format Your Note
- 5Add Photos, Files, and Scans
- 6Organize Notes with Folders and Tags
- 7Find and Search Your Notes
- 8Share a Note or Collaborate
- 9Common Mistakes
- 10Frequently Asked Questions
- 11Do Apple Notes sync between iPhone, iPad and Mac?
- 12What is a Quick Note and how do I turn it on?
- 13How do I find a note I wrote months ago?
- 14How do I recover a deleted note?
- 15Why are my notes showing up on one device but not another?
- 16Should I use Notes, Reminders or Journal?
- 17Start With One Note Today
What You Need
You need an Apple device and nothing else. Notes is preinstalled on every iPhone, iPad and Mac, so there is no download and no account setup before you start. If you have used the phone for more than a few minutes you have already swiped past it.
Any current version of iOS or iPadOS works, and the path names below match what Apple shows today. Older tutorials online send you into System Preferences, which no longer exists on a Mac, so treat anything written before 2020 with suspicion.
An internet connection is only needed for two things: syncing notes between your devices through iCloud, and sending a shared link to somebody. Writing, editing, scanning and organising all work with the Wi-Fi off.
One optional step is worth doing now rather than later: sign in to iCloud and turn on Notes. On an iPhone or iPad go to Settings, tap your name at the top, then iCloud, then Notes. On a Mac, System Settings, then your Apple Account, then iCloud, then Notes.
How to Use the Notes App for Beginners
The whole app is one repeating loop: capture, format, file, find. You write something, make it readable, drop it in a place you will look again, and make sure search can catch it if you forget the place.
Here is that loop in order, starting from an empty app on 2026.
Create Your First Note
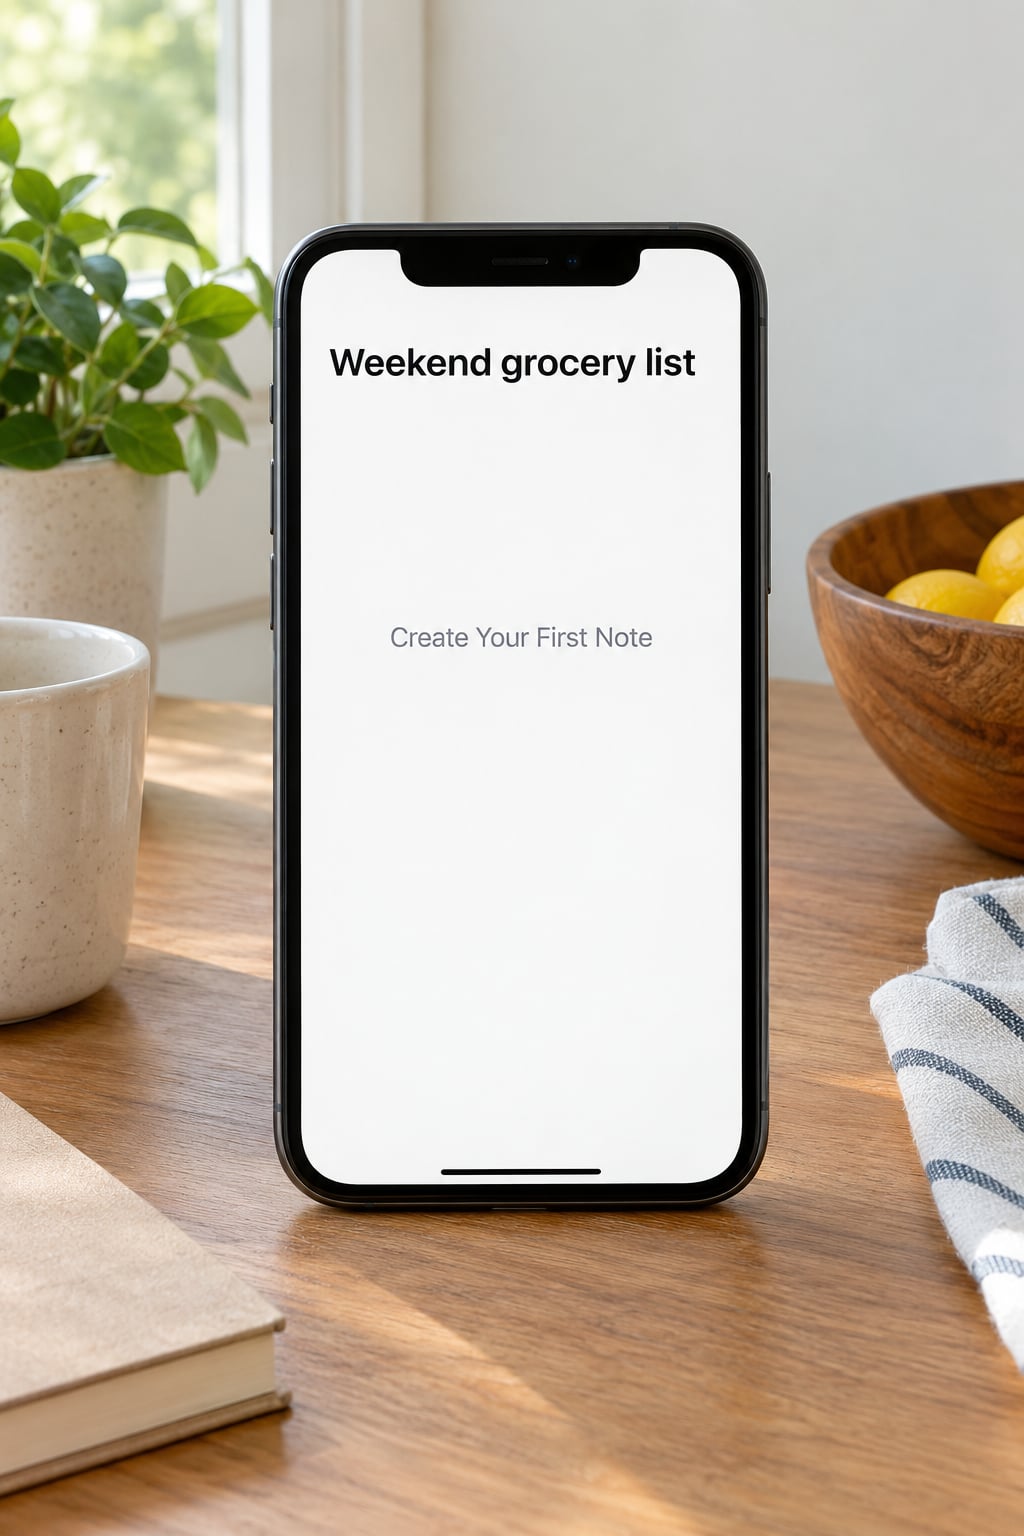
Open Notes from your home screen. On iPhone and iPad, tap the compose button, the yellow square with a pencil in the bottom right corner. On a Mac, choose File, then New Note.
Type your first line. That first line becomes the title of the note, which is why a row of untitled New Note entries is the classic beginner mess. Giving every note a real first line is the single biggest thing you can do for finding it later.
Keep typing underneath. Add a second line for the body and Notes turns the first line into a heading automatically. Then tap the checkmark button at the top right to close the note, and it lands in your list, most recent first.
You never press save. Notes saves continuously as you type and again when you close the note.
Edit and Format Your Note
Tap any note to reopen it. For basic formatting, tap the compose button, then tap the Aa button in the toolbar to reach headings, bold, italic, strikethrough, underline and monospace.
Checklists are the feature beginners use most. Tap the checklist button, which looks like a circle with tick marks, and every line you add becomes a check box. Indent a line to make it a sub-item under the one above it.
Tables work the same way. Tap the table button, drag across the grid to pick your rows and columns, and the table drops into your note with the cursor in the first cell. Press Tab to move to the next cell.
Two more worth knowing: swipe right on a line of text to get the link, and the # button opens tags and people mentions. If typing is a strain, use dictation instead: tap the microphone at the bottom right of the on-screen keyboard.
Add Photos, Files, and Scans
Tap the compose button, then the plus icon above the keyboard, then the photo icon to open your library, the video camera icon to record, or the document icon to browse files from iCloud Drive and your phone.
Scanning is the one beginners underuse. In the attachment menu choose Scan, point the camera at a receipt or a page of paperwork, and capture. Notes flattens the pages, cleans up the edges and pulls out the text so you can search it later.
The difference matters: taking a photo stores a picture, scanning stores a straightened document with recognised text. If you want to circle something or sign a page, tap the attachment and then the markup icon.
You can record audio too. Choose the audio waveform icon, tap record, and when you stop, tap the transcript button to turn speech into typed text. Useful for a lecture or a long car ride where typing is not happening.
Organize Notes with Folders and Tags
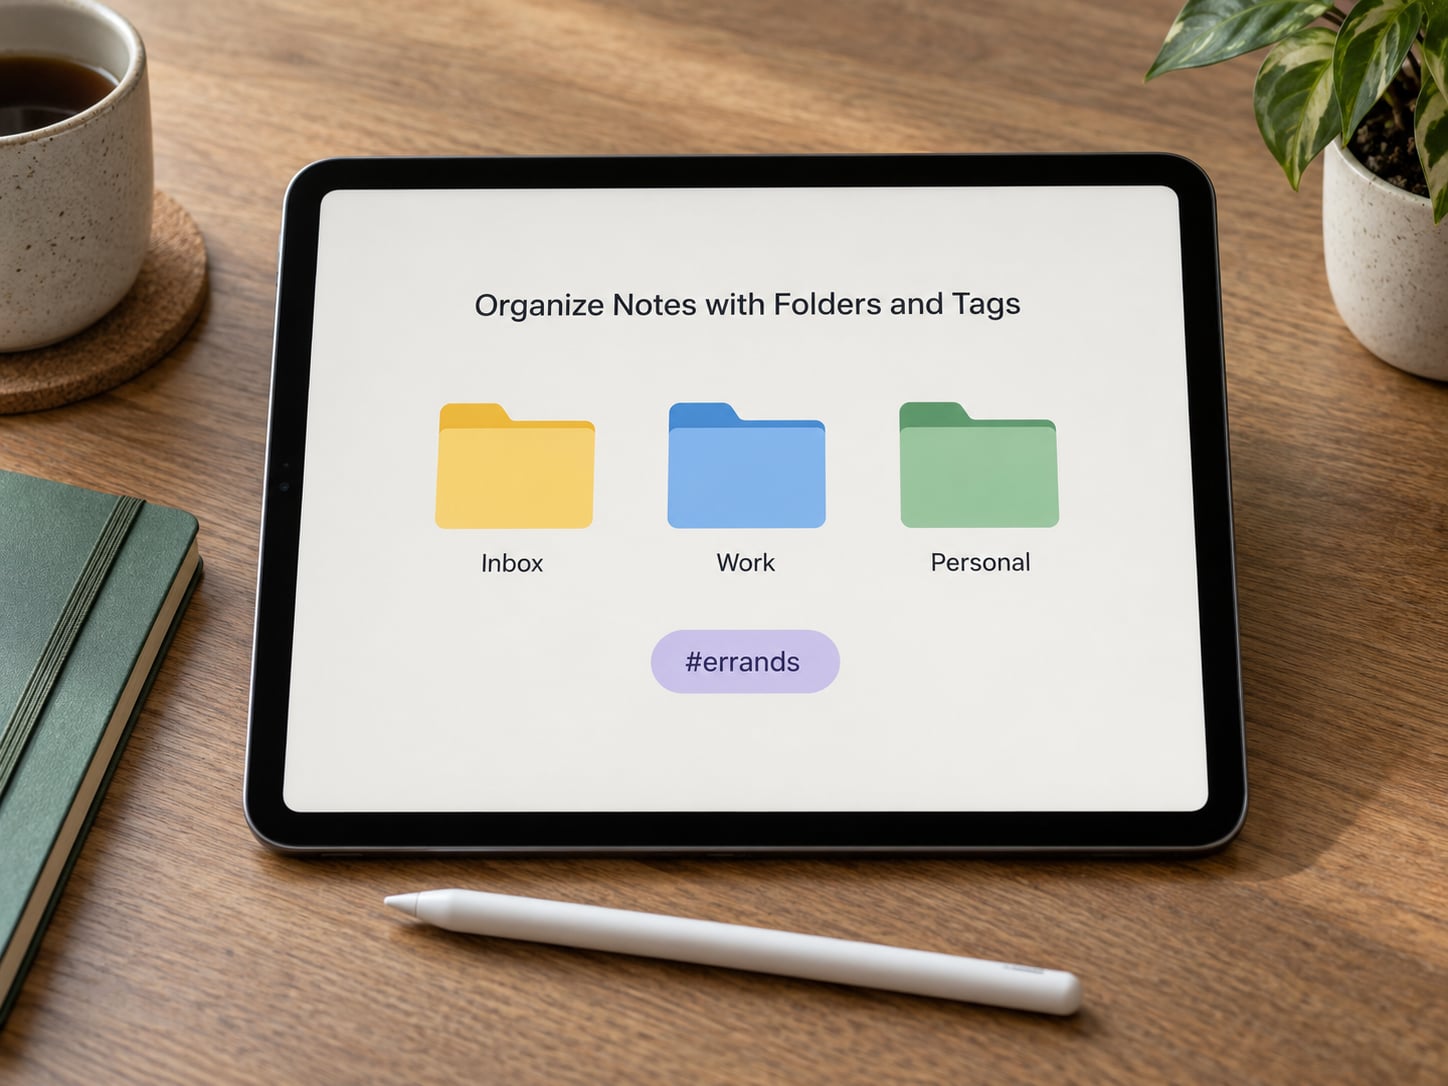
Use this simple setup and you will never wonder where something went. Create four folders: Inbox for anything you have not sorted yet, Work, Personal and Reference for things you look up but do not act on. That is enough structure to start, and small is the point.
To create one, tap the New Folder button at the bottom left on iPhone and iPad, or File, then New Folder on a Mac. Name it, tap Done, and it appears in your folder list. Subfolders work the same way, created from inside the folder you want to nest them in.
Tags are the second half of the system, and they solve a different problem. A note lives in one folder but can carry many tags. Type # followed by a word anywhere in a note and it becomes a tag; #errands and #recipes on the same note is completely normal.
For moving notes, open the folder you want, tap Select in the top right, tap the notes, then tap Move in the bottom toolbar. Moving a note out of the folder list and back to All iCloud on iPhone, or Notes on Mac, is how it sits at the top level.
Smart Folders are the piece that confuses new users, so treat them as optional. A Smart Folder gathers notes by an automatic rule, usually a tag, no matter where each note is filed. You find it under View, then Smart Folders, then the + button. For most beginners, tags plus four folders already do the job.
Find and Search Your Notes
Pull down from the middle of the notes list on iPhone and iPad, or use the search field in the sidebar on Mac, and start typing. Search runs on words in the title, the body, the tag names and the recognised text inside scans.
Filtering helps when you have a lot of notes. Tap the filter button next to the search field to limit results to a folder, a tag, an attachment type such as Photos or Links, or a date range.
Two views sit above the list. List view is the default and shows titles and two lines of preview. Gallery view, in the same view options area, shows attachments as thumbnails, which is handy if your notes are mostly scans and photos. View Attachments collects every photo, scan and link in one place, including ones you made in Mail.
Share a Note or Collaborate
Open a note, tap Share in the toolbar, and you get options. Send a Copy hands the note to Messages, Mail or any other app as an attachment, which is the right choice for someone who does not use Apple Notes.
Add People instead invites someone to edit the note with you. When editing is available, you both see each other typing in real time, along with the messages and reactions you leave on lines.
Share Link creates a web link that opens the note in a browser, so it works for anyone. Open the options menu on the link and you can set it to require a password, restrict editing, or set an expiry date before you send it.
Sharing a whole folder works the same way, with one important difference: recipients of a shared folder can see everything inside it, so check what is in there first.
For anything private, open the note, tap the lock icon, then Lock with Face ID or Lock with Password. Locked notes move into a separate Locked folder you open with the same authentication.
Common Mistakes
Nearly everything that feels broken in Notes at the start falls into one of these six.
Nothing looks saved. There is no save button, and that is not a bug. Notes saves on every keystroke and again when you close the note with the checkmark. Close it and look for it in the list instead of hunting for a save control.
A note is not appearing on your iPad or Mac. Check Settings, then your name, then iCloud, then Notes, and confirm Notes is switched on. Both devices need to be signed in to the same Apple Account and online, and large attachments can take a minute or two to finish.
You typed into the wrong note. This happens most on iPhone when you tap a line in list view and the note opens with the cursor wherever you tapped. Scroll to the top of the note before writing, or type straight into list view, which edits the note body without opening it.
An attachment is missing. Tap View Attachments at the bottom of a note to see everything attached to it, including items you scanned in Mail. A scan with no recognised text will not match a word search, only an attachment filter.
You deleted a note by accident. It is in Recently Deleted for 30 days. Open the notes list, tap the folder name at the top, choose Recently Deleted, tap the note and then Restore. After 30 days it is gone for good.
You locked something you now need. Locking is not deleting. The note is still there in the Locked folder at the bottom of your list, and authenticating with Face ID or your passcode opens it.
One more thing most beginners trip on: dozens of blank New Note rows from tapping the compose button and changing your mind. Delete them in a batch, and check Recently Deleted afterwards to be sure you did not remove a note that had content in its second line only.
Frequently Asked Questions
Do Apple Notes sync between iPhone, iPad and Mac?
Yes, as long as all three devices are signed in to the same Apple Account and iCloud Notes is switched on for each one. Turn it on in Settings, tap your name, iCloud, then Notes. Sync runs in the background whenever a device is on a network, and changes usually appear within seconds. Anything typed without a connection syncs once that device reconnects.
What is a Quick Note and how do I turn it on?
A Quick Note is a note you start without opening the Notes app, which saves you the round trip when an idea arrives. Add the Quick Note control to Control Center on iPhone, then swipe down from the top right and tap it. A small note appears over whatever you were using, and dragging it to the top left saves it to Notes. Tap the expand arrow for the full editor.
How do I find a note I wrote months ago?
Pull down in the notes list on iPhone or iPad, or use the search field in the sidebar on Mac, and type a word you remember from the note. Search covers titles, body text, tags and text recognised inside scans, so a scanned receipt can be found by its contents. If a word search comes up empty, open the filter button and check Recently Deleted, because a note you meant to delete still lives there for 30 days.
How do I recover a deleted note?
Deleted notes stay in Recently Deleted for 30 days before they are removed for good. Tap the folder name at the top of your notes list, choose Recently Deleted, tap the note you want back and then Restore. It returns to the folder and position it came from. There is no recovery step after the 30 days pass, so if a note matters, restore it now rather than clearing Recently Deleted.
Why are my notes showing up on one device but not another?
The usual causes are signing in to a different Apple Account on one device, iCloud Notes being switched off there, or the device being offline. Check that every device uses the same Apple Account, then confirm Notes is enabled in iCloud on the device that is missing notes. Large attachments and scans take longer to upload, so give a big note a minute or two. Refreshing Notes by switching apps often forces the sync to retry.
Should I use Notes, Reminders or Journal?
Notes holds information you want to read again, like meeting notes, recipes, scanned documents and drafts. Reminders holds things with a due date that need to happen, and it pushes alerts. Journal is for dated entries you write over time, with prompts and past entries you can look back through. The common mistake is putting a to-do list in Notes because it felt faster. It works, but you will not get the reminder.
Start With One Note Today
Pick one note before you build a system. Something you already need to remember, like the details from a meeting or a list for the week.
Write a real first line so it gets a title, add two or three checklist items underneath, and attach one photo or one scan. Then create a folder with a clear name, move the note into it, and add one tag.
Do that once and the app stops being an empty screen of New Note rows. You have seen the whole loop, and the second note takes half as long as the first one did.