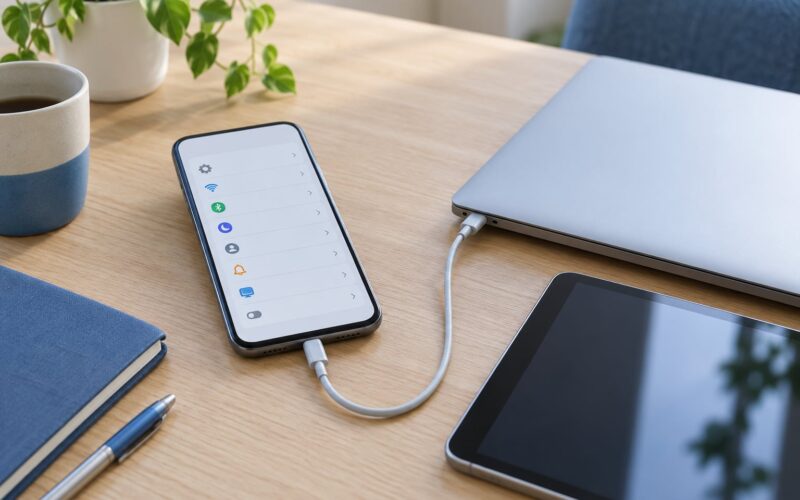
Most of the time, iOS updates itself. When it doesn’t, you install the update by hand, and there are two reliable ways to do it. Tap Download and Install in Settings, or connect the phone to a Mac or Windows PC and run the update through Finder or Apple Devices.
The desktop route is the one to trust when the on-device attempt keeps failing, when Wi-Fi is unreliable, or when you want a clean install from a firmware file Apple has signed for your exact model. It takes 20 to 40 minutes for most people. Nothing here deletes your data as long as you use Update and not Restore.
Before you read on, here is the short version most people need:
- Open Settings, tap General, then Software Update.
- Tap Download and Install and wait for the install to finish.
- If that fails, connect the phone to a computer and use Finder or Apple Devices.
That first path is the manual version of the automatic update. The rest of this guide walks through the computer workflow in full, plus what to do when the phone hangs on Verifying update or says Software Update Failed. Instructions were checked against the Finder and Apple Devices workflow in 2026, and the menu names differ slightly between iOS and iPadOS — I’ll flag where.
Table of Contents
- 1What You Need
- 2Step-by-Step: How to Install an iOS Update Manually
- 3Back Up Your iPhone or iPad
- 4Check Compatibility and Prepare the Computer
- 5Connect and Trust the Device
- 6Choose the iOS Update
- 7Download and Install the Update
- 8Verify the Update Completed
- 9Common Mistakes and Quick Fixes
- 10Quick Tips for a Safe Update
- 11Frequently Asked Questions
- 12Does installing an iOS update manually delete my data?
- 13Which app do Windows users need to install an iOS update manually?
- 14Do I need an IPSW file to update my iPhone manually?
- 15What do I do if my iOS update is stuck on Verifying update?
- 16How long does a manual iOS update take from start to finish?
- 17Can an iPhone be too old to update iOS?
- 18Conclusion
What You Need
Before the first tap, get these in place. Missing one of them is the reason most manual installs turn into a bad afternoon.
- A backup. Do this first, not last. A local backup through Finder or Apple Devices takes a few minutes and gives you a restore point if anything goes sideways.
- Battery at 50% or better, or the phone plugged in. A manual install will not start on a low battery and will not prompt you halfway through.
- Free storage. A major iOS release needs somewhere between 10 GB and 15 GB free on a typical iPhone, even though the downloaded file is much smaller. Small iPads sometimes need 20 GB or more.
- A stable internet connection. Wi-Fi for the on-device install. For the computer route, a wired connection on the phone side is the one that matters, since the file travels over the USB cable.
- Your Apple ID password. You will be asked for it during the install. If you have forgotten it, sort that out now, not at the 90% mark.
- A Mac or Windows PC you trust, with a cable that actually carries data. Plenty of cheap USB-C cables charge only.
- Find My disabled temporarily if you are restoring a firmware file. Apple requires the lock removed before a restore starts.
You do not need a computer for the Settings route, and you do not need an IPSW file for anything described below. Both of those are backups to the plan, not requirements.
Step-by-Step: How to Install an iOS Update Manually
This is the full desktop procedure, and it works for both iPhone and iPad. On a Mac you use Finder. On Windows you use Apple Devices, the app that replaced iTunes for device management in recent versions of iTunes for Windows — if you have an older iTunes install, the same steps live under the iPhone icon and the Update button.
Back Up Your iPhone or iPad
Connect the phone by cable, unlock it, and tap Trust on the Trust This Computer prompt. Now open Finder on the Mac, pick your device in the sidebar, and choose the General tab. Under Back Up, tick “Back up this device” if it isn’t already, and select “Encrypt local backup” if you want your saved passwords and health data in the copy. Click Back Up Now and let it finish before moving on.
On Windows, open Apple Devices, click your device, and use the Backup panel in the lower left. Choose where the backup file goes, then start it. An iCloud backup also works, but it needs a Wi-Fi connection and plenty of free space in your iCloud account, so a local backup is usually faster.
Check that the backup actually finished before you go further. On a Mac the last backup date and time appear at the bottom of the Finder summary pane. On Windows, the app confirms completion on the same panel.
Check Compatibility and Prepare the Computer
Finder and Apple Devices both need a recent enough version of the desktop software to talk to the newest iPhone and iPad models. If Finder does not list your device in the sidebar at all, the desktop app is usually the reason. Update macOS from the Apple menu, then let Software Update catch Finder itself. On Windows, update iTunes or Apple Devices from the Microsoft Store.
The other prerequisite is whether your device can run the version at all. Open Settings, General, Software Update. If the button reads “This iPhone is up to date,” you are done and you can close this guide. If your hardware has fallen out of support, there is no manual method that changes that — the desktop tools will happily restore the newest firmware the model supports, and nothing newer exists.
Also turn off Low Data Mode if you are on cellular during the update, and put the phone on Do Not Disturb. You will not be able to use it for a while anyway, and a notification mid-install is a small needless risk.
Connect and Trust the Device
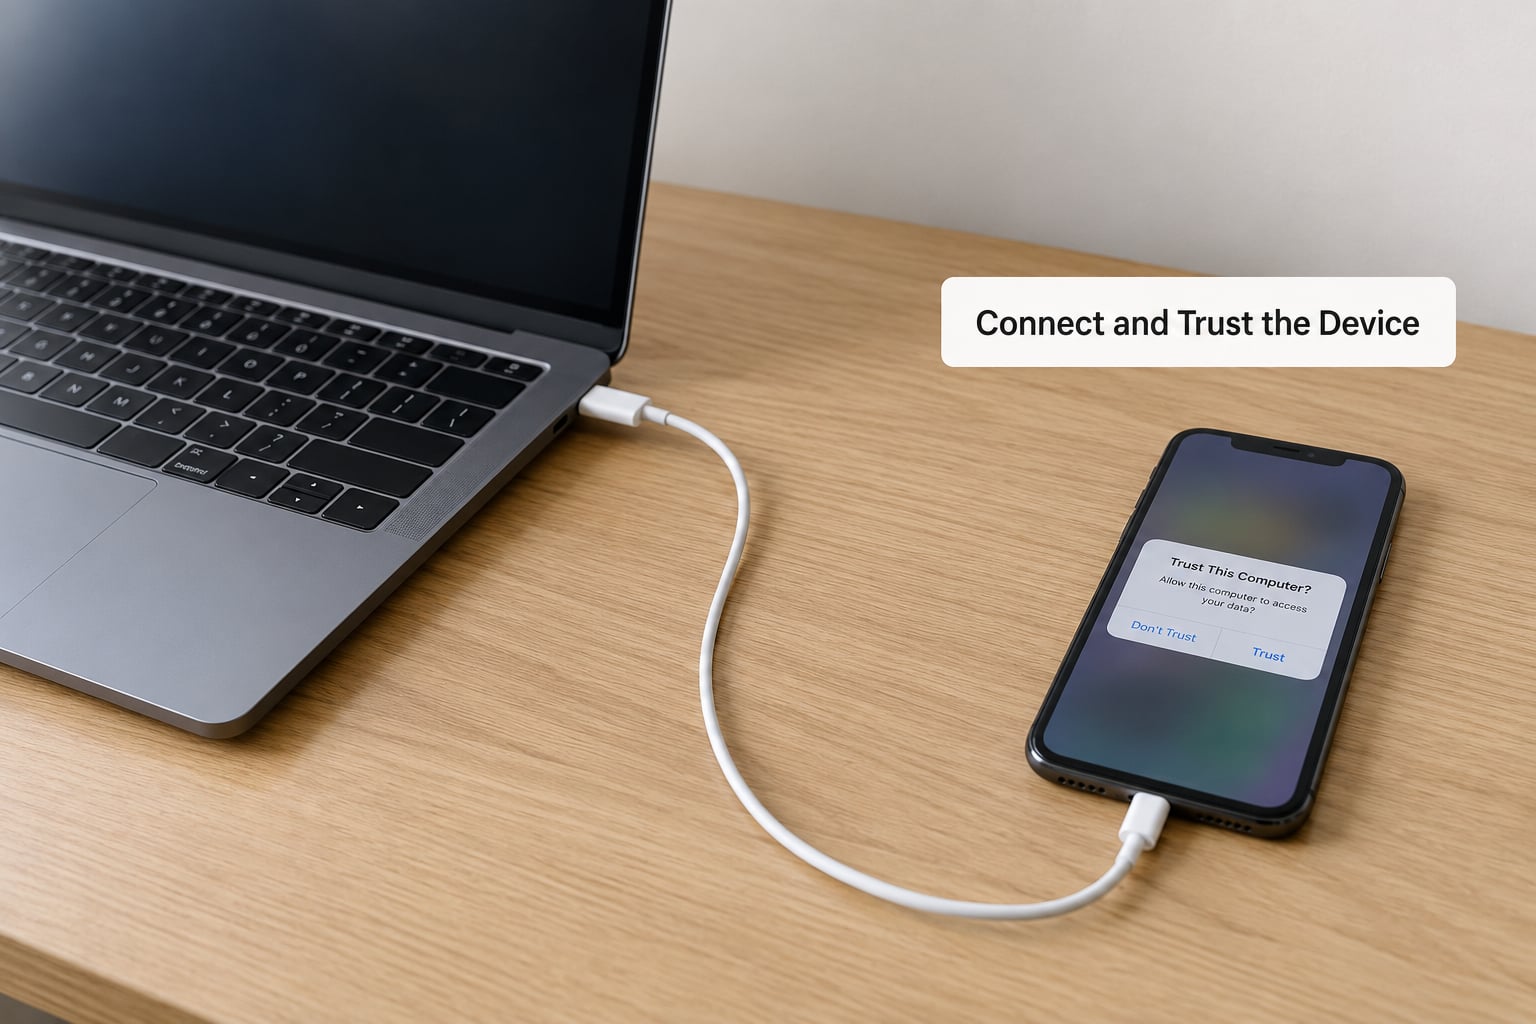
Plug the device into the computer with a Lightning-to-USB or USB-C cable. Keep the phone unlocked for the first few seconds. A dialog appears on the phone reading Trust This Computer, asking whether the computer should be allowed to access your data — tap Trust, then enter the phone’s passcode.
That prompt only appears the first time a given computer connects. If your phone sits in the sidebar without showing up, this is usually why: you previously tapped Don’t Trust, and the choice is now cached. Reset it by going to Settings, General, Transfer or Reset iPhone, Reset, Reset Location and Privacy. That single reset is the fix for a surprising share of “my computer doesn’t see my phone” cases.
Next, make sure the phone is set to automatic mode. Lockdown Mode, if you have turned it on for a specific reason, can interrupt the install. Turning it off for the duration is fine, and turning it back on afterwards takes one tap.
Choose the iOS Update
With the device visible in Finder, click the device name at the top of the sidebar and read the summary pane. It shows your model, current iOS version, and available storage. Look for a line that reads that a newer version is available, then click Check for Update.
The desktop tool will report a current version if you are already up to date. If you want to see a beta build, enable the Beta Software Program in Settings, General, Software Update before you start, and the same Check for Update button will then offer the beta instead. Betas are free to join without a paid developer account, but they are unfinished software and you cannot go back to a release build without erasing the phone.
One distinction worth getting right: on an iPad, the software version is called iPadOS, and the desktop tools handle it identically. You do not need a separate procedure for the tablet.
Download and Install the Update
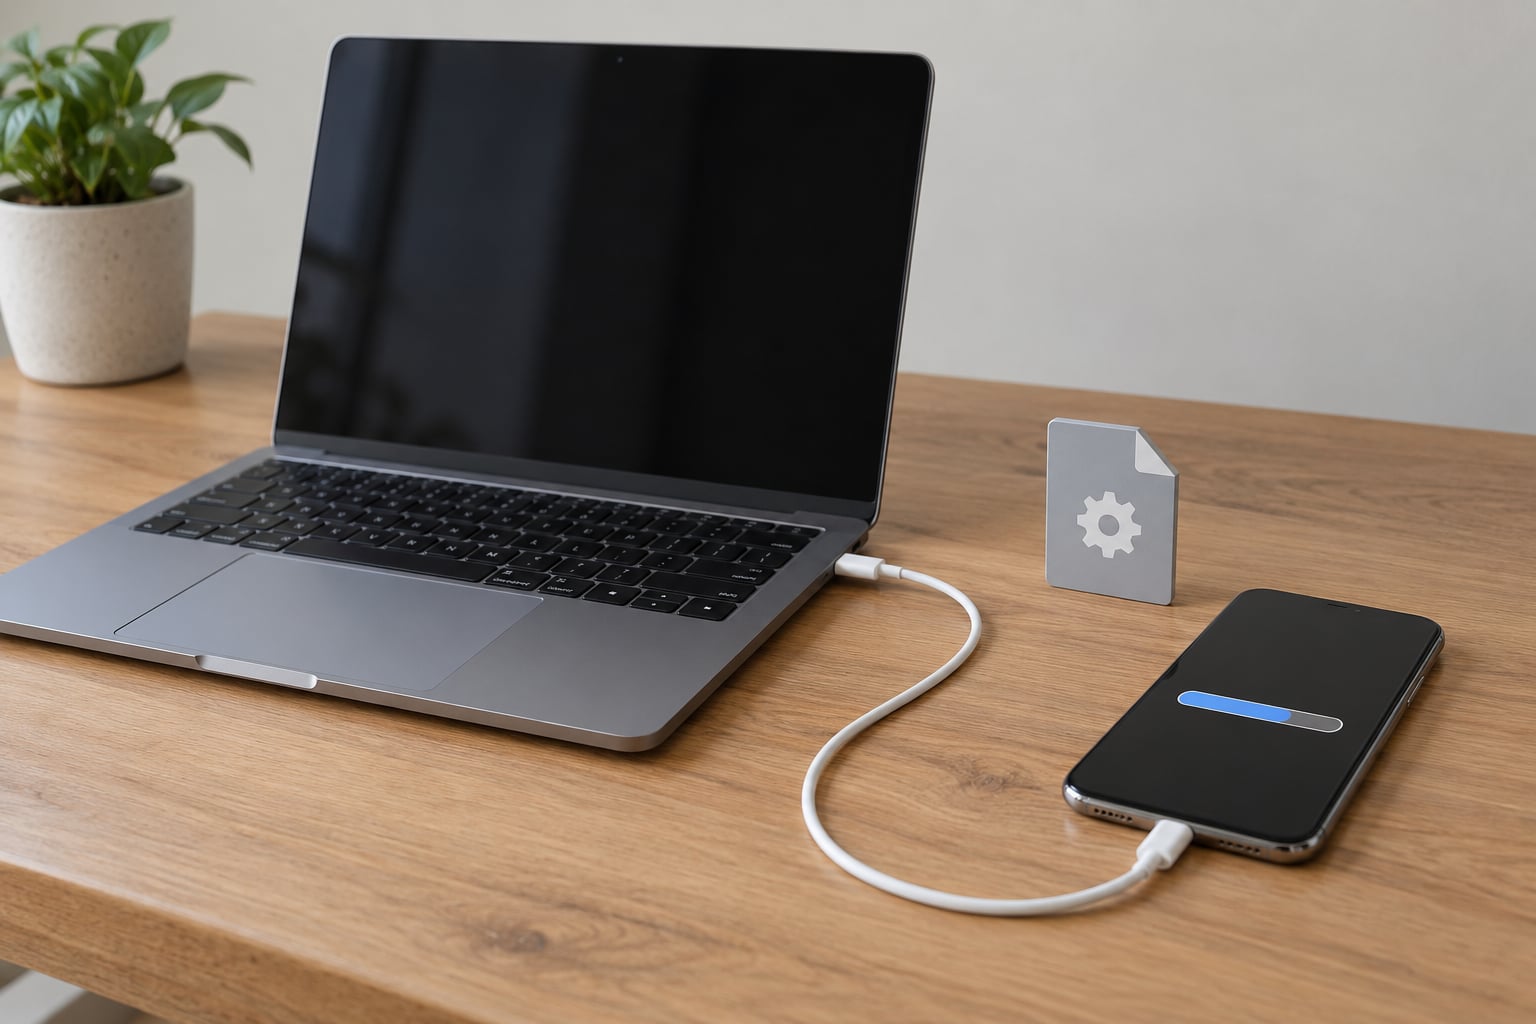
Finder or Apple Devices downloads the firmware, which takes 10 to 25 minutes on a normal connection. A grey progress bar in the summary pane shows it happening. The phone stays usable for part of this, though you should not restart it or put it out of range.
When the download completes, the software asks you to enter the device passcode or confirm with Touch ID or Face ID. That authorization is the handshake between the phone and the computer — without it the install never begins. Approve it and the phone restarts on its own.
From here, leave it alone. The install stage runs 15 to 30 minutes with a progress bar in the lower-right corner of the screen. Do not disconnect the cable, do not hold the buttons, and do not plug the phone into a different computer mid-install. Apple will not warn you about most of this, and a broken connection here is how a working phone becomes an expensive problem.
Verify the Update Completed
When the phone returns to the lock screen, unlock it and open Settings, General, About. Scroll to Software Version and confirm the number matches what you installed. The line beneath it is the build number — worth writing down, because it is how support and the beta community identify exactly which firmware you are running.
Then run a few quick checks. Open Photos and scroll through a recent album, play something with sound, and make a test FaceTime or phone call. If you use iMessage or FaceTime, send one message to yourself to confirm the activation delay has cleared. Check battery health in Settings, Battery, Battery Health and Charging to see whether the new build reports a changed maximum capacity.
Some users on our forums noticed that an update appears to finish and the version looks right, but a second silent install completes a few minutes later and needs another restart. Waiting until the phone has been idle for half an hour avoids the confusion of checking Settings during that window.
Common Mistakes and Quick Fixes
These are the failures people actually hit, in the order worth trying them. Work top to bottom and stop as soon as the update completes.
The computer doesn’t see the phone. Try a different cable first, since a huge share of failures are charge-only cables. Then swap ports, restart the computer, and reset Location and Privacy on the phone to clear a stale Don’t Trust choice. On Windows, open Apple Devices or iTunes and check the phone appears in the device list rather than under Other Devices.
Stuck on Verifying update or Preparing to update. This is the most common complaint in the iOS help communities, and it usually means a corrupted download or a phone that has been updating too many times in a row. Let it sit for 30 minutes first — on a slow connection verification alone can run 20 minutes. If it has not moved, restart the phone, then go to Settings, General, Storage, iPhone Storage and delete the pending update file from the list. Restart once more and try the download again. People on Reddit’s iOS communities report that deleting the file and re-downloading resolves most of these cases.
“Software Update Failed” or “Unable to Check for Update”. Both point at the network or the server rather than the phone. Reset Network Settings under General, Transfer or Reset iPhone, Reset — this clears saved Wi-Fi passwords, so note them first. Check Apple’s status page, because in the first hours after a major release the servers are genuinely saturated and no amount of retrying on your end will help. Several users across Apple help forums found that simply waiting a few hours and trying again worked when nothing else did.
Not enough storage. The install needs far more room than the download itself, because iOS keeps a copy of the previous version so it can roll back. Free up 15 GB or more before you retry, and do it properly: offload unused apps from Settings, General, Storage rather than deleting them, which preserves their documents and data.
Update finished but nothing changed, or the version is older. Do not restore immediately. Check Settings, General, About first, then restart. If the version is genuinely wrong, a clean install is the next rung on the ladder — see below.
You need to wipe the phone completely. One technique that works for stubborn failures is to erase the device, set it up as new with no data transfer, install the update from Settings, then restore your backup afterwards. Users on r/ios have used exactly this sequence to clear an install that would not complete otherwise. Treat it as a last resort, since it only works if you have a backup.
Recovery Mode versus DFU Mode. If the phone will not finish an update at all, connect it to the computer and force a restart. On an iPhone 8 or later, press and quickly release Volume Up, then Volume Down, then hold the side button until the Apple logo appears and the computer recognises it. That is Recovery Mode, and it is enough for almost every case. DFU Mode is a lower-level state reached by holding Volume Down and side together while connecting the cable, with the screen completely black. Reach for DFU only when Recovery Mode refuses to complete a restore.
Installing an IPSW file. If the desktop tools keep failing, you can install a firmware file manually, but there is no version choice here — Apple only signs the current build. Download the .ipsw from Apple or a reputable firmware index, match the model identifier to your exact device, then hold Option (Mac) or Shift (Windows) while clicking Restore in Finder or Apple Devices and select the file. This erases everything on the device, so a verified backup is not optional. Apple also stops signing older builds after a short window, which is why downgrades that worked last month fail today. Avoid unofficial firmware mirrors; a modified file is the one route that genuinely risks bricking an iPhone.
Quick Tips for a Safe Update
A few habits make manual updates boring, which is the goal. Use a cable and a computer you trust, keep the phone plugged in for the whole install, and start at 50% battery or higher. Do not interrupt a download to answer a message, and treat the restart after a finished install as part of the process rather than the end of it.
Plan the timing around Apple’s release schedule. Launch days are slow for everyone, and installing a day or two later usually means faster downloads and less server congestion. Then check the first-hour list after the phone settles: version number in About, a test call, one message to yourself, and battery health reading sensibly.
One more thing that catches people out — automatic updates. If a background install fires halfway through your own manual attempt, you will get an unexpected restart. Turn it off in Settings, General, Software Update by switching Automatic Updates off before you start, and turn it back on when you are done.
Frequently Asked Questions
Does installing an iOS update manually delete my data?
Not if you use Update. Both Finder on Mac and Apple Devices on Windows offer two options, and only Update preserves your apps, settings and photos while keeping your current iOS version. Restore erases the device completely and reinstalls the same version, which is the option to use for a clean install or when the software has become unstable. Check your backup exists before choosing either one.
Which app do Windows users need to install an iOS update manually?
Use Apple Devices, the free app from the Microsoft Store that handles iPhone and iPad management on Windows. On an older iTunes install the same functions live in iTunes, under the device icon and an Update button. Either way, plug the phone in with a data-capable cable, tap Trust This Computer, select the device, and use Check for Update rather than Restore.
Do I need an IPSW file to update my iPhone manually?
No, and most people never need one. The Settings app and the desktop tools both download and verify the firmware for you. An IPSW file is a manual firmware package that only becomes relevant when a normal update keeps failing, when you want a completely clean install, or when you need a beta build. Because a restore erases the device, reach for it only after a backup.
What do I do if my iOS update is stuck on Verifying update?
Wait 30 minutes first, because verification alone can run a long time on a slow connection. If nothing changes, restart the phone, then open Settings, General, Storage, iPhone Storage and delete the pending update file sitting in the list. Restart once more and start the download again. Deleting the file and re-downloading is the fix that resolves most verifying-update loops reported in the iPhone help communities.
How long does a manual iOS update take from start to finish?
Allow 20 to 40 minutes for a typical update. The firmware download takes 10 to 25 minutes, then the phone restarts and the install stage runs another 15 to 30 minutes, followed by one or two shorter restarts as iOS finishes setting itself up. Large major releases on the first day of availability can run longer because Apple’s servers are busy. Keep the cable connected the whole time.
Can an iPhone be too old to update iOS?
Yes, and no manual method changes that. Apple ends support for a model after a set period, and from that point the phone receives security patches but no new features or version upgrades. The desktop tools will restore the final supported build for that hardware, so you can still reinstall it, but you cannot install anything newer. If your device is out of support, checking a case or battery replacement budget is often more useful than chasing updates.
Conclusion
Back up first, then use the official workflow: Settings, General, Software Update, Download and Install for the quick route, or Finder on Mac and Apple Devices on Windows when the phone needs a nudge. Keep it plugged in, stay off the cable until the install finishes, and confirm the version in Settings, General, About before you carry on with normal use. That order covers almost every failed update people bring to the iPhone help boards.