If your iPhone or iPad sits on the Preparing Update screen far longer than the usual 10 to 15 minutes, the download usually unpacked badly, ran out of free space, or lost its connection to Apple’s servers mid-check. Restarting the device, freeing storage, and downloading the update again clears the problem in most cases, and none of it costs money or needs third-party software.
This guide covers iPhone and iPad, and the steps work across current iOS and iPadOS releases. Expect about 10 minutes for the quick checks and up to an hour if you end up reinstalling the update from a computer.
Table of Contents
- 1What You Need Before You Start
- 2Step-by-Step: Fix an iPhone or iPad Stuck on Preparing Update
- 3Check Whether the Update Is Actually Still Processing
- 4Restart the iPhone or iPad
- 5Check Your Internet Connection and Battery
- 6Free Up Storage and Retry Software Update
- 7Download or Reinstall the Update Through a Computer
- 8Use Recovery Mode or Contact Apple
- 9Common Mistakes That Loop an Update Back to Preparing
- 10How to Prevent the Problem Again
- 11Frequently Asked Questions
- 12How long can an iOS update stay on preparing update?
- 13Will an iOS update delete my data if it is stuck?
- 14Do I need a Mac or Windows computer to fix an iPhone update?
- 15Why does the update fail when my iPhone says storage is full?
- 16When should I restore an iPhone in recovery mode?
- 17Conclusion
What You Need Before You Start
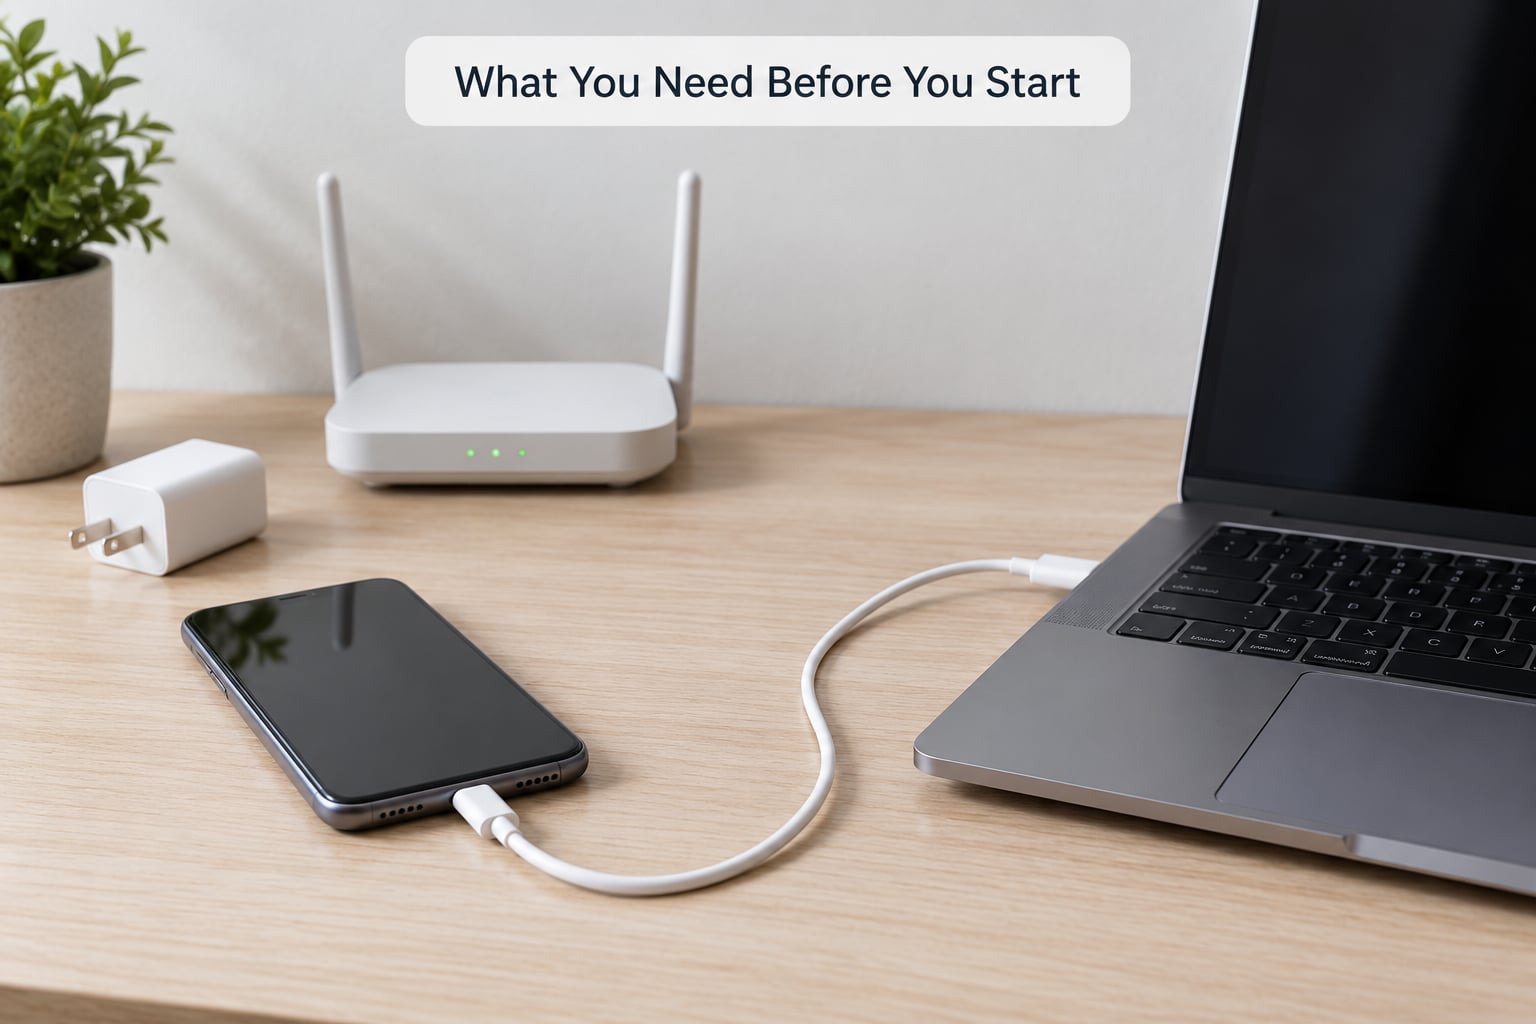
Gather four things before you touch anything, because each step below assumes they are in place. A recent backup in iCloud or on a computer is the one that matters most — it is what protects you if you ever have to restore.
- A stable Wi-Fi connection. Not a coffee-shop guest network or a phone hotspot with one bar. A 5 GHz home network beats a crowded public one every time.
- Enough free storage. Apple recommends roughly 5 to 10 GB of free space before installing. If Settings shows the iOS storage figure climbing back up after you delete something, you have not freed enough yet.
- Battery above 50 percent, or a charger. Updates can pause when power drops, and a phone that restarts mid-install is the mess you are trying to avoid.
- A computer if you get to step 5. A recent Mac uses Finder; Windows uses Apple Devices, the app that replaced iTunes on current Windows machines. Older Windows installs still run iTunes, and the menus look similar but not identical.
On an iPad, every path is the same except the storage menu reads iPad Storage instead of iPhone Storage. If your iPhone or iPad is brand new or a replacement still restoring from another device, treat that as a separate case — see the last step.
Step-by-Step: Fix an iPhone or iPad Stuck on Preparing Update
Work through these in order. Each one is cheap, and stopping at the first fix that works saves you the rest. You will know a step worked if the Preparing screen clears, moves on to Verifying Update or Installing, or returns you to the Software Update screen with no update pending.
Check Whether the Update Is Actually Still Processing
Preparing Update is the stage where iOS unpacks the downloaded file and checks its signature before installing anything. Only the download and the install show a moving progress bar, so this screen looks frozen even when it is working, which is why the same question gets asked on every support forum.
Typical times, from the moment you tap Download and Install:
- Backup before installing: 5 to 30 minutes, depending on how much data you have
- Download: 10 to 30 minutes on Wi-Fi
- Preparing Update: 5 to 15 minutes
- Verifying Update: 5 to 10 minutes
- Installing: 20 to 60 minutes, with the progress bar moving
Past an hour on Preparing with steady Wi-Fi and no restart, it is not still processing. Leave the device plugged in for another 15 minutes, then move on. Warm is normal here — the phone is working hard, not failing.
Restart the iPhone or iPad
A normal restart closes everything running in the background and often kicks a hung Preparing stage loose on its own. Do this before a force restart: it is safer and it takes five seconds.
On iPhone 8 and later, press and hold the side button, drag down the slider to turn off, wait a few seconds, then press the side button again to turn on. On an iPad with a top button and no Home button, the same move works. On a device with a Home button, hold the top or side button until the slider appears.
If the screen is unresponsive, force restart instead. On iPhone 8 and later, press the volume up button, then volume down, then hold the side button until the Apple logo appears. On iPhone 7 or 7 Plus, hold the side button and both volume buttons together. On iPhone 6 or earlier, hold the side or sleep button and the Home button together for about ten seconds.
Did it work? After a restart, open Settings, then General, then Software Update. If the update is still waiting, a download progress bar should start. If the screen is empty and nothing happens, the update was cancelled and you can start it fresh.
Check Your Internet Connection and Battery
Open another app and load a webpage. If it stalls, the router is the problem, not the phone. Move the device closer to the router, or switch to a different network — many people fix this by walking to a room with better signal.
Turning Airplane Mode on for 15 seconds and back off forces the device to re-register on the network. Do that before you try anything heavier.
Then check Settings, then Battery. Turn off Low Power Mode, since it can hold an install at the verification stage, and plug the phone in if you are near an outlet. Never force a restart while the update screen says Installing.
Free Up Storage and Retry Software Update
Low storage is the single most common reason Preparing Update stalls and never finishes. Go to Settings, then General, then iPhone Storage (or iPad Storage) and sort the list by size.
Start with the big categories: unused apps, the Photos and Videos albums, and the iOS figure itself. Offloading an app frees its data but keeps the app, which is different from deleting it — you will need to sign in again if you offload a banking or messaging app.
With 5 to 10 GB free, return to Settings, then General, then Software Update and start the download again. If Preparing still hangs at the same point, move to the next step.
Download or Reinstall the Update Through a Computer
A computer install re-downloads the whole package and re-verifies it, which is why it fixes a corrupted update file that no Settings trick will touch. Note that you can only update to the same or a newer version this way — you cannot go backwards.
On a Mac, connect the device with a cable, unlock it, tap Trust This Computer, and open Finder. Pick the device in the sidebar, then General, then Software Update or iPhone, then iPad, then Software Update, and follow the prompts. On Windows with Apple Devices, the path is the device, then Settings, then Software Update Available; on older iTunes installs, it is the device icon, then Summary, then Check for Update.
If a stage fails and the device disappears from the computer, restore it through Finder or Apple Devices instead. Data loss is possible on a restore, so confirm your backup is current first.
Use Recovery Mode or Contact Apple
Recovery mode is the last step, not the second one. It is a full reinstall of the system, it wipes the device, and it only helps when the update will not complete through any normal path.
Connect the device to a computer, put it into recovery mode, reinstall iOS, and restore from backup when prompted. Readers on Apple Community threads and r/applehelp report that a hard stall on an older release only cleared this way, and that recovery mode is where people panic about losing data — check your backup before you start, not after.
Contact Apple Support when the update fails repeatedly, when the device will not appear on a computer at all, when it restarts into the same screen over and over, or when you get an error you cannot look up. Bring the error text with you. Apple can see failed update logs on their end that you cannot see on the phone.
Common Mistakes That Loop an Update Back to Preparing
Most repeated failures are not new faults. They are the same mistake made twice.
- Cancelling during preparation. Repeatedly backing out sends you to Install Now, and the next attempt stalls in the same place. Pick one fix and let it finish.
- Deleting the update to make the storage figure shrink. Deleting the update removes the package and forfeits your ability to roll back to the previous iOS version. It also means downloading gigabytes again.
- Staying on release-day Wi-Fi. Apple servers get hammered on release days. Try again in the evening or on a different network.
- Installing a beta profile. A public beta looks different from a released version. Remove the beta profile and install the public release instead.
- Restoring without a backup. If you skip the backup and the restore fails, you are starting from a blank device.
- Forcing restarts during Installing. Preparing can be interrupted safely; Installing cannot.
How to Prevent the Problem Again
Keep several gigabytes free, update on a stable network rather than a rushed one, and install promptly instead of letting versions pile up. A restart every few weeks clears the kind of background state that stalls an install. None of that stops every failed update — some are Apple’s bug and get fixed by the next release — but it removes most of the avoidable causes.
If your phone feels slow right after updating, that is normal. iOS rebuilds app data and re-indexes photos in the background for a day or two, and that work competes with everything else you are doing.
Frequently Asked Questions
How long can an iOS update stay on preparing update?
Preparing Update normally takes 5 to 15 minutes on a healthy connection. Past 30 minutes with steady Wi-Fi and the device plugged in, something is wrong. Past an hour, treat it as stuck and start the ordered fixes above. Download and install take much longer, often an hour or more, and the progress bar shows real movement during those stages.
Will an iOS update delete my data if it is stuck?
No. A stalled update does not erase anything, and restarting during the Preparing stage is safe. The risk starts when you choose a restore through Finder or Apple Devices, or recovery mode, because both reinstall the system. That is why the first step in any fix is confirming you have a recent backup in iCloud or on your computer.
Do I need a Mac or Windows computer to fix an iPhone update?
Only if the on-device fixes fail. Most stuck updates clear with a restart, more free storage, or a re-download. A Mac uses Finder and Windows uses Apple Devices, the app that replaced iTunes on current Windows machines, and both walk you through the same Software Update menu. A computer is also your only route to a restore or recovery mode install.
Why does the update fail when my iPhone says storage is full?
The update package is unpacked and staged on the device before it installs, so it needs several gigabytes of free space on top of your normal usage. When storage runs short, the staging step cannot complete and the screen sits on Preparing forever. Apple suggests freeing 5 to 10 GB. Check Settings, then General, then iPhone Storage and sort by size to find it.
When should I restore an iPhone in recovery mode?
Only after the ordinary fixes have failed: restarts, more storage, a re-download, and an update through Finder or Apple Devices. Recovery mode wipes the device and reinstalls iOS from scratch, so confirm a backup first. If the update fails again after a restore, or the device will not appear on a computer at all, stop and contact Apple Support with the error text.
Conclusion
Keep the device powered on, check whether the screen is actually moving, restart it, then confirm your Wi-Fi and battery before touching anything else. After that comes storage and a clean re-download. Only once those fail should you move to a computer, and only after a verified backup should you consider a restore. Most stuck updates are a storage or network problem wearing a frozen screen.