How to take Live Photos and turn them into videos takes about a minute on any modern iPhone, and you never need a third-party app for it. Switch Live Photo mode on in the Camera app, press and hold the shutter, then open the shot in Photos and choose Save as Video. The motion clip becomes an ordinary video file you can post, message or email anywhere.
The capture side is where most people go wrong. A Live Photo only works if you hold the button down for a beat and give the subject something to actually do, and a rushed one exports as three fuzzy seconds.
Everything below covers current iOS, with notes for older versions where the wording changed. It also covers what to do when the save fails, which is the single most common problem people hit with this task.
Table of Contents
- 1What You Need
- 2Step-by-Step: How to Take Live Photos and Turn Them Into Videos
- 3Enable the Live Photo Camera Setting
- 4Capture a Strong Live Photo
- 5Open the Live Photo in Photos
- 6Save or Share the Live Photo as a Video
- 7Edit the Video in Photos or iMovie
- 8Common Mistakes
- 9Frequently Asked Questions
- 10Can I turn a Live Photo into a regular video?
- 11Why is my Live Photo not moving?
- 12Can I save a Live Photo as a video without losing the original?
- 13How do I choose the best part of a Live Photo to share?
- 14Can I edit a Live Photo video in iMovie?
- 15Do Live Photo videos include sound?
What You Need
You need an iPhone 6s or later, or any iPad or iPod touch that shipped with iOS 11 or newer. Those are the devices that can capture Live Photos at all. Everything you use afterwards is already on the phone, so there is nothing to install.
You need a few gigabytes of free storage. Each Live Photo stores a still image plus a short motion clip, and every video you export doubles that usage. If Settings shows a red storage bar, clear space before you start, because low space is the top cause of failed exports.
You need iOS 11 or later, and the menu path below matches the current Photos app on recent versions. Older tutorials say Albums for what is now the Collections area, and Media Types still sits in the same place underneath it.
iMovie comes free with iPhone and is worth having. The Photos app handles a single clip well, but music, text and multi-clip timelines are iMovie’s job.
You also need to know whether iCloud Photos is switched on. With it on and Optimize iPhone Storage selected, the original quality might still be sitting in the cloud, and exporting before the download finishes is another way to hit an error.
Step-by-Step: How to Take Live Photos and Turn Them Into Videos
Here is the full sequence. Steps 1 to 3 cover how to take Live Photos properly, steps 4 and 5 turn them into a video file.
Enable the Live Photo Camera Setting
Open the Camera app and look at the top of the screen, near the shutter. If Live Photo is on, the icon is a circle with a ring around it. If it is crossed out, tap it once to turn it on.
To make the setting stick every time, open Settings, then Camera, then tap Live Photo. Choose On. Choosing Auto turns it off automatically in Low Power Mode and in some low-light scenes, which is a common reason a photo unexpectedly comes out as a still.
For sound, go to Settings, then Camera, then Microphone and set it to On. With audio enabled, iPhone records a short sound clip around the moment you press the shutter.
To confirm it is working, take one photo and check the thumbnail. A Live Photo shows a small Live icon with a ring around it, or a sound-wave symbol in the top corner if audio is on. No icon means it saved as a still.
Capture a Strong Live Photo
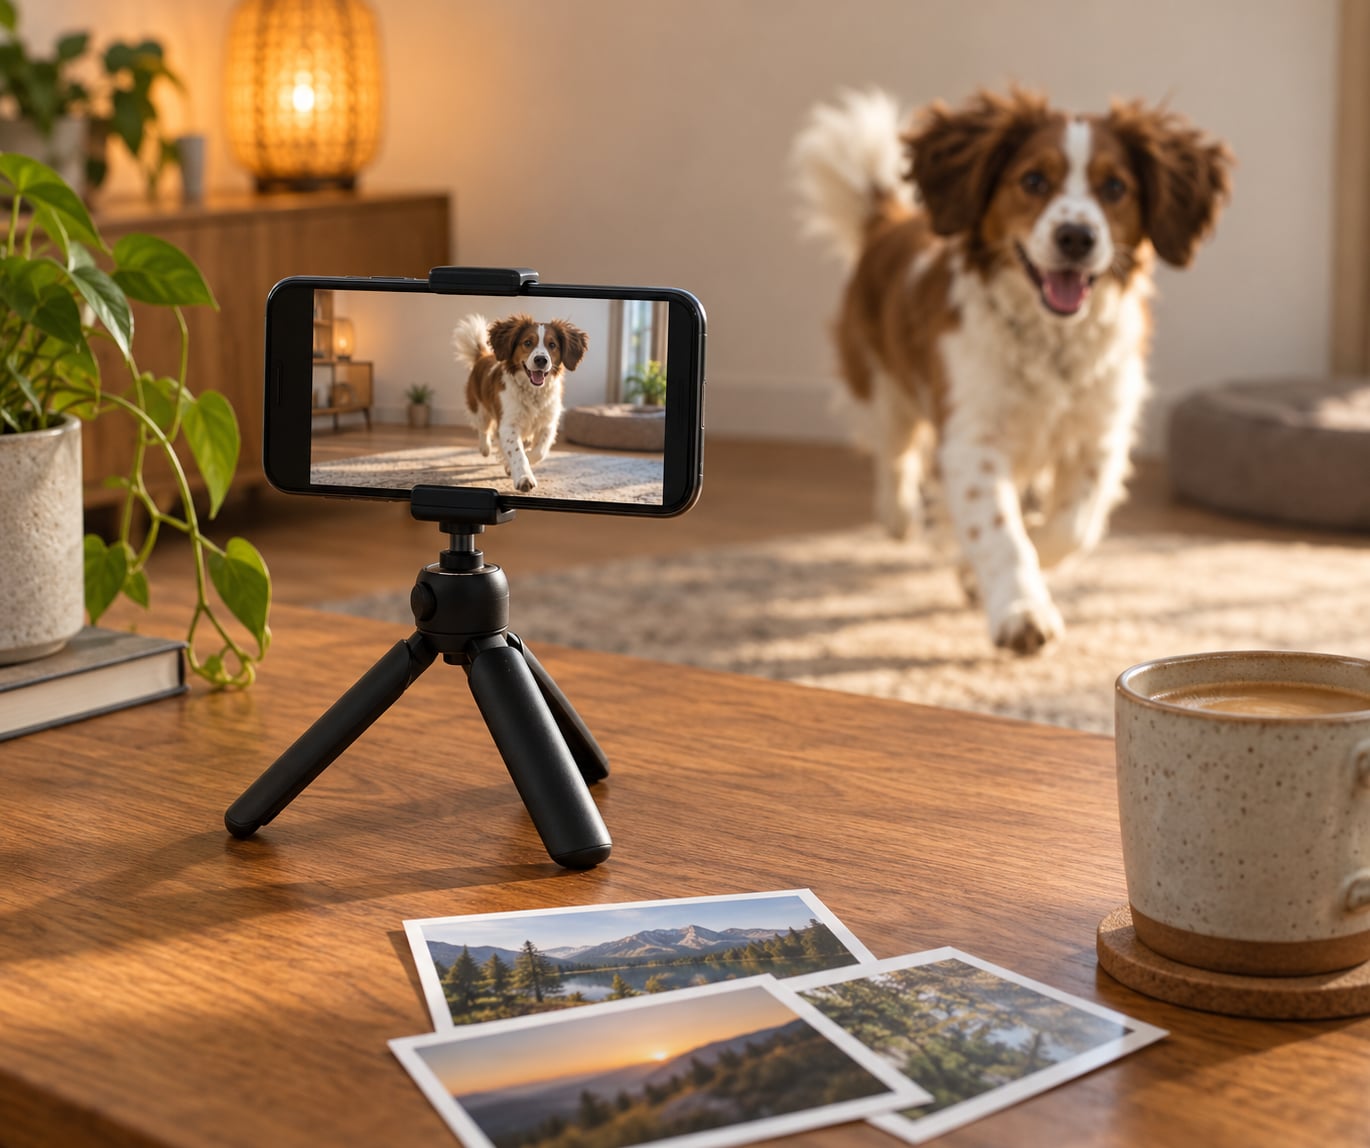
A Live Photo is a still image plus roughly three seconds of video, made up of about 1.5 seconds before you press and 1.5 seconds after. That means the interesting part of the movement has to happen inside that tiny window, which is why how to take Live Photos well matters more than the conversion itself.
Press and hold the shutter button rather than tapping it. A tap takes a still image instead, and that is the number one reason people think their Live Photo setting is broken.
Keep the phone steady. Rest your elbows on something solid, or lean on a wall. Motion in the frame is what you want, shake in the phone is not, and a blurry clip cannot be fixed later.
Frame slightly wider than the subject so nothing important enters or leaves the shot during the three seconds. If something is walking out of frame, the export will too.
Give the subject one clear action: a turn toward the camera, a wave, a puff of smoke. Long, continuous movement reads better than a frozen pose, because the still frame is chosen automatically from the clip.
Check the result before you move on. Open the photo, tap the Live icon in the top corner, and watch it play with the sound on. No motion means Live Photo was off. No sound means the Microphone setting was off when you took it.
Open the Live Photo in Photos
To convert one shot, open the Photos app and tap the thumbnail. You do not need the Live Photos album for a single photo.
To convert a whole batch, tap the Albums tab at the bottom. Scroll to the Collections area, tap Media Types, then tap Live Photos. You now have every Live Photo in one place, which is the fastest route to turning a trip or an event into one clip.
A quick sanity check: the album icon shows Live Photos, and each thumbnail carries the Live marker. If it is empty, your Live Photo setting was off for those shots, and no conversion path will bring the movement back.
Save or Share the Live Photo as a Video
With the Live Photo open, swipe up over the image. A row of controls appears with the Live Photo effect picker, and a Share button. Tap Share, then choose Save as Video, and the clip lands in your library as a regular MOV file.
For a batch, tap Select in the top corner, tap the Live Photos you want, then open the three-dot menu and choose Save as Video. The Photos app joins them into a single file, in the order you selected them.
Here is the five-step path in one line, which is what most people are searching for: open Photos, tap Albums, scroll to Media Types, tap Live Photos, then tap the three-dot menu and choose Save as Video.
One thing surprises everyone. The saved video keeps the date the original photos were taken, so it appears inside that day’s album rather than at the bottom of your library. Look in the right month, not the newest items.
The Share Sheet layout also moved in recent iOS versions. The options now sit in the top-right corner of the sheet instead of a row along the top, so a tutorial that points at the old row of icons will send you hunting for a button that has moved.
Edit the Video in Photos or iMovie
The Photos app is enough for a quick trim. Open the saved video, tap Edit, drag the white handles on the timeline to cut the start and end, then choose filters, crop, or mute from the tools at the bottom. Save to keep a copy.
Live Photos have their own effect picker. Swipe up on a Live Photo and you can switch the playback style between Live, Loop, Bounce and Long Exposure. Long Exposure stacks the frames so moving water or smoke turns into a smooth blur, and it is the one worth learning.
You can also change which frame becomes the still. Open the Live Photo, tap Edit, pick the moment you want under the scrubber, then tap Make Key Photo. That frame is what shows when the Live Photo is sent to a device that cannot play motion.
Move to iMovie when you want more. Create a new project, add the exported clips, and you can lay them on a timeline, add a music track, apply transitions between clips, add text, and export the finished thing back to your Photos library. The Create Project flow under a multi-select is the quickest way in.
iMovie is the right tool for a memories-style montage of a birthday, a holiday or a first day of school. The native export is right for a single moment that needs to go out immediately.
Common Mistakes
Unable to Save. The operation could not be completed is the error that sends people to forums. In almost every case it is one of three things: not enough free storage, iCloud Photos still processing the original, or the photo not fully downloaded yet.
To fix it, check free space first in Settings, then General, then iPhone Storage. Then open Settings, then Photos, then tap Download Photos and Videos and wait for the originals to arrive. If your storage setting is Optimize iPhone Storage, switch it to Download and Keep All Photos, give the phone time on Wi-Fi, and try Save as Video again.
The Live Photo plays but does not move when you send it to someone. That is not a fault. Live Photos only animate on Apple platforms, so an Android phone, older desktop software or some messaging apps show a single still frame. Send the video version instead, or make a GIF in a third-party app, and everyone sees the motion.
Your video has no sound. Audio is recorded at capture time, not at export time. If the Microphone setting under Settings, Camera was off when you took the photo, there is nothing to recover. You can mute the audio in Photos edit tools, but you cannot add it back.
The clip is only about three seconds. That is the real length of the motion part. Longer material has to be built in iMovie by combining several Live Photos, not by changing an export setting.
WhatsApp and Instagram compress what you send. A long montage will arrive smaller and softer, and Stories crop to a vertical frame. Export a clean copy, check the crop on screen before posting, and expect the platform to re-encode the file.
You want the full original clip rather than the export. Go to iCloud.com, find the album, download the Live Photo, and you get a ZIP holding both the still and the original motion file. On a Mac, the same pair is in the same folder, and Transfer to Mac or iPad in Settings, Photos pulls originals across directly.
Frequently Asked Questions
Can I turn a Live Photo into a regular video?
Yes, and you do it inside the Photos app with no extra app. Open the Live Photo, swipe up, tap Share, then tap Save as Video. The motion clip is written into your library as a normal video file that plays in any player, and the original Live Photo stays exactly where it was.
Why is my Live Photo not moving?
Check three things. Live Photo mode may be off, which you can confirm by looking for the crossed-out icon in the Camera app and checking Settings, Camera, Live Photo is set to On. A tap instead of a press-and-hold also produces a still image. If you are viewing it on Android or another non-Apple device, it will only ever show a still frame.
Can I save a Live Photo as a video without losing the original?
Nothing is replaced. Save as Video creates an additional file, and the Live Photo keeps its still image, its motion clip and any audio. You end up with both versions in your library, which is why the file count grows after a batch conversion. Deleting the exported video later never touches the Live Photo.
How do I choose the best part of a Live Photo to share?
Open the Live Photo and tap Edit, then scrub the timeline to the frame you want and tap Make Key Photo. That frame becomes the still everyone sees on devices that cannot play motion, and it marks the trim point in Photos editing. Keep the action centred in the middle third of the clip, since that is the part most exports keep.
Can I edit a Live Photo video in iMovie?
Yes. Save the Live Photo as a video first, then open iMovie, create a new project, and add the clip. From there you can trim precisely, add music, apply transitions between several clips, add text, and export the finished video back to your Photos library. iMovie is the better tool once you want more than a single clean moment.
Do Live Photo videos include sound?
Only if sound was recorded when you took the photo. The Microphone setting under Settings, Camera must be on at capture time, and iPhone then records a short audio clip around the moment you pressed the shutter. If it was off, exports will be silent, and audio cannot be added afterwards in the Photos app. You can mute audio in edit tools, but not restore it.
Start with one photo. Set Settings, Camera, Live Photo to On, press and hold the shutter, then open the shot and use Share, Save as Video. Once that single clip works, the batch route through Albums, Media Types and Live Photos takes the same tap sequence and handles a whole trip at once.