To turn on noise cancellation on AirPods Pro, put both AirPods in your ears, then press and hold the force sensor on the stem of either one until you hear a short chime. That single press-and-hold is the whole answer, and everything else on this page is a way to do the same thing from a screen instead of from the stem.
It takes about three seconds once the AirPods are in your ears and connected, and the difficulty is low. The confusing part is usually not the gesture itself, it is working out whether the mode actually changed, because the AirPods give you one soft chime and nothing else. This guide covers the force sensor, Control Center, the Settings app, Mac, Apple Watch, what happens on Android and Windows, and why noise cancellation sometimes feels like it has stopped working.
Table of Contents
- 1What You Need
- 2Step-by-Step
- 3How to Turn On Noise Cancellation on AirPods Pro
- 4How to Turn Off Noise Cancellation and Use Transparency Mode
- 5How to Use Noise Cancellation on AirPods Pro with iPhone, iPad, or Mac
- 6Noise Cancellation vs Transparency vs Adaptive Audio vs Off
- 7AirPods Pro 1 vs Pro 2 vs Pro 3: what changed in the controls
- 8Common Mistakes
- 9Why noise cancellation sounds weak or wrong
- 10What noise cancellation cannot block
- 11How to reset your AirPods as a last step
- 12Frequently Asked Questions
- 13Does Noise Cancellation use more battery on AirPods Pro?
- 14Can I use Transparency Mode and Noise Cancellation at the same time?
- 15Why do I still hear sounds when Noise Cancellation is on?
- 16Does AirPods Pro Noise Cancellation work on Android?
- 17How do I make sure audio alerts still get through?
- 18What should I do if the noise control button is not working?
- 19Conclusion
What You Need
Any AirPods Pro generation will run this guide, because the noise control gesture has worked the same way since the first Pro. What differs between them is extra gestures, which I cover further down.
To change the mode from a screen, you need an Apple device nearby with the AirPods connected through iCloud. That covers iPhone, iPad and Mac. Apple Watch also works, though the control has moved between watchOS versions and that is the single most common source of confusion for watch owners.
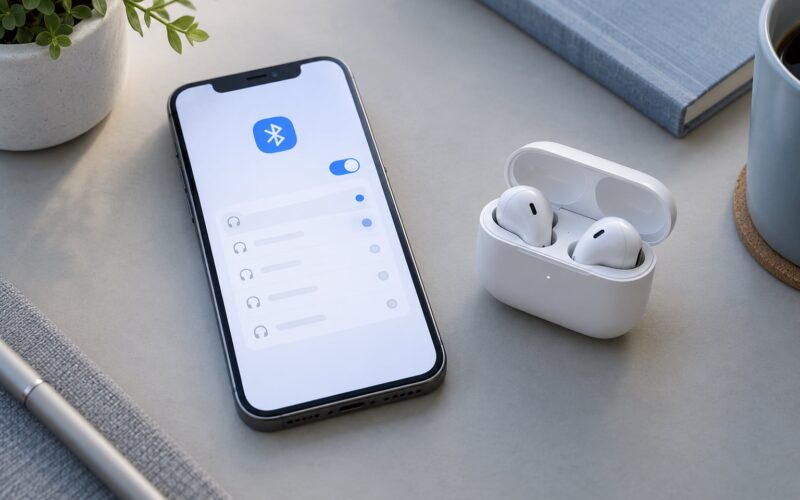
Bluetooth has to be on and the AirPods have to be actively connected, not just paired. Check the battery widget in Control Center or the Bluetooth menu on your Mac, because a pair sitting in the case with 40 percent charge will happily show as available without being usable.
On the software side, the menu paths below assume a current iOS or iPadOS release and a current macOS release. Older versions have slightly different labels, mainly because Adaptive Audio and the newer hearing features do not exist there, and I call out where that matters. Keep the firmware current too, since Apple ships listening-mode fixes in AirPods firmware updates rather than in the phone software.
Step-by-Step
How to Turn On Noise Cancellation on AirPods Pro
Put both AirPods in your ears first, then press and hold the force sensor on the stem of either AirPod until you hear a short chime. The mode is now Noise Cancellation.
If you have not done this before, here is the sequence in full:
- Wear both AirPods and confirm they are connected to your iPhone or iPad.
- Press and hold the force sensor on the stem of either AirPod, on the flat upper section, until you hear a short chime.
- Keep playing your audio. The room should drop noticeably quieter within a second or two as the microphones settle.
You only need one AirPod in your ear. If you are wearing a single AirPod, the force sensor still switches the mode, and the ANC microphones on the bud in your ear do the work. You do not need both in, which is handy on a long train ride when one side gets sore.
Press and hold cycles through the modes in order. On a fresh pair the cycle is Off, then Noise Cancellation, then Transparency, then back to Off. Apple has changed the default cycle in past software versions, so if yours starts somewhere unexpected, keep pressing until you hear the mode you want.
Siri works too, though most people never use it. Say “Hey Siri, turn on noise cancellation” or “start Transparency Mode” and the AirPods comply without a gesture. It is slower than the stem and needs the setting switched on in Settings, but it is the answer when you have one AirPod in and cannot find the other.
How to Turn Off Noise Cancellation and Use Transparency Mode
Press and hold the stem until the chime sounds again and the mode moves on. If you want to hear the room, choose Transparency Mode, which passes outside sound through while keeping your music playing.
Transparency is not the same as turning noise cancellation off. In Off mode the microphones are out of the circuit entirely and you hear whatever is around you, unprocessed. In Transparency the microphones stay live and the outside sound is deliberately balanced with your audio so voices stay natural rather than muffled. People on trains and in cafés usually sit in Transparency all day and never touch ANC.
You can also set Transparency as the mode you get automatically when you put an AirPod in. Open Settings, tap your AirPods name, find Noise Control, and set it to Transparency or Off. That setting only applies to newly inserted AirPods, so take one out and put it back in to test it.
If you want to make Off a permanent part of the cycle again because it went missing after an update, the setting is in the same place: Settings, Bluetooth, tap the info button next to your AirPods, then look at Noise Control. The three choices shown there are what the stem cycles through.
To automate it instead of tapping every time, Shortcuts can set the noise control mode based on where you are. A personal automation triggered when you join your home WiFi can set Transparency on arrival, and another can switch to Noise Cancellation when you leave. It takes about a minute to set up and it is the closest thing to a hands-free version of this whole guide.
How to Use Noise Cancellation on AirPods Pro with iPhone, iPad, or Mac
Every Apple device reaches the same four settings through a slightly different path, and the Control Center route is the fastest on all three.
On iPhone and iPad, swipe down from the top right corner to open Control Center, then press and hold the volume slider. A listening mode panel appears with Noise Cancellation, Transparency and Off. Tap the one you want and it applies immediately.
If that panel does not appear when you press and hold the volume slider, the volume control is set to a different layout. Go to Settings, Control Center, then Volume, and check that the volume slider style matches the layout you see on screen. On some iPad and Mac layouts the mode panel is behind the media player tile instead.
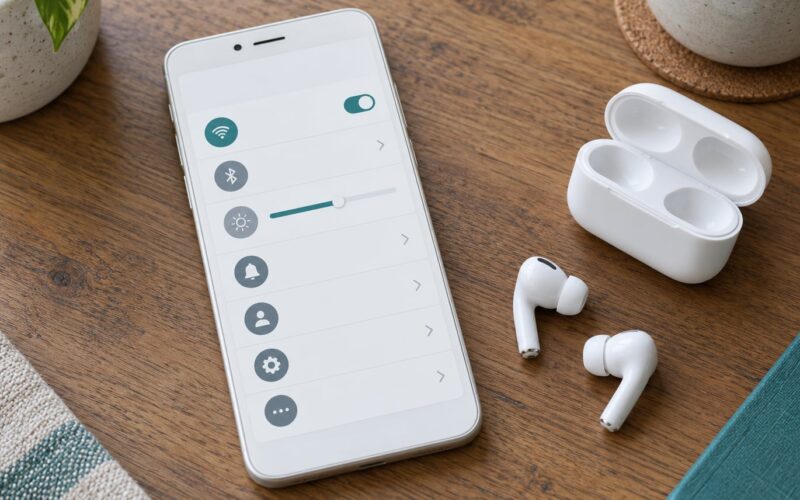
For the full menu on iPhone and iPad, open Settings, tap Bluetooth, tap your AirPods name, and you get the full control panel including Noise Control, Press and Hold AirPods for left and right, Automatic Ear Detection, and the fit test. The Press and Hold AirPods rows let you give each bud a different job, so one side can be set to Noise Control while the other starts your music.
On Mac, click the Control Center icon in the menu bar next to the clock. When your AirPods are connected, that panel shows the listening mode right under the volume slider. Swipe on the Mac volume slider and the same Noise Control row slides into view. The permanent setting lives in System Settings, Bluetooth, then the Info button next to your AirPods.
On Apple Watch, open Control Center on the watch and scroll to the Noise Control tile. If the tile has gone missing after an update, it is usually still there above the volume or playback tiles, and scrolling sideways rather than up will find it. Some watchOS versions move this control into the Now Playing view when the AirPods are actively playing audio.
On Android and Windows, the limits are real. The force sensor still works, so you can get Noise Cancellation and Transparency straight from the stem. What you lose is the screen control, because the Noise Control panel is part of Apple’s software, and Off may be missing from the cycle. If the full three-way cycle matters to you, the practical fix is to set it once on an iPhone or iPad, which many Android owners borrow for exactly this reason.
Noise Cancellation vs Transparency vs Adaptive Audio vs Off
Adaptive Audio is the one that catches people out, because it sits on top of whichever mode you picked and quietly adjusts it as conditions change. The table below covers all four.
| Mode | What you hear | Use it when |
|---|---|---|
| Noise Cancellation | Low, steady background sound is reduced. Voices and announcements still get through. | Flights, trains, open-plan offices, a room with an air conditioner you cannot reach. |
| Transparency Mode | Outside sound comes through, balanced so voices sound natural and roughly in time with your music. | Walking near traffic, ordering coffee, working where you need to hear people without taking an AirPod out. |
| Adaptive Audio | Noise Cancellation or Transparency underneath, with the level shifting automatically as the environment changes. | Commuting and mixed environments, if the automatic changes do not irritate you. |
| Off | No processing. You hear the room and the music, and the microphones are out of the circuit. | Sensitive listening, or when you want the longest possible battery life. |
If noise cancellation seems to be doing almost nothing, check whether Adaptive Audio is switched on before anything else. Apple’s own troubleshooting guidance names it as the most common reason, and it is easy to leave enabled after an update because it changes the mode gradually enough that you do not notice the moment it happens.
AirPods Pro 1 vs Pro 2 vs Pro 3: what changed in the controls
Noise cancellation itself works identically on all three generations, so if you have any Pro model, the steps above apply. The extra gestures are what differ.
| Feature | AirPods Pro 1 | AirPods Pro 2 | AirPods Pro 3 |
|---|---|---|---|
| Press and hold for noise control | Yes, force sensor on the stem | Yes, force sensor on the stem | Yes, force sensor on the stem |
| Swipe the stem for volume | No | Yes, up and down on the side | Yes, on either bud |
| Live Translation on press and hold | No | Yes, on newer software | Yes, on both stems |
| Fit and seal test | Ear Tip Fit Test | Ear Tip Fit Test | Acoustic Seal Test |
| Adaptive Audio | No | Yes | Yes |
One naming detail trips people up: on the newest Pro the test is called the Acoustic Seal Test, but it lives in the same place in the AirPods settings panel as the Ear Tip Fit Test does on older models. If you are hunting for a fit test that seems to be missing, you are probably on a Pro 3 and looking for the wrong name.
Standard AirPods 4 with Active Noise Cancellation share the noise control gesture, and standard AirPods 4 without it do not. If your AirPods have no force sensor and no ANC option anywhere in their settings panel, that is the reason.
Common Mistakes
Almost every complaint that noise cancellation has stopped working comes down to one of four things: dirty microphones, a poor seal, Adaptive Audio, or a mode you did not mean to be in. Work through them in that order.
Why noise cancellation sounds weak or wrong
The microphones are blocked. Pocket lint and ear wax in the small mesh openings produce a high-pitched hiss or squeal that is easy to mistake for electronic noise. Pull the AirPod out and look at the outer mesh. Clean it with a dry, soft brush, and clean the ear tips with a dry cloth. Owners often report a noticeable return of performance after this, particularly on older pairs.
The ear tips are not sealing. ANC works on low, steady sound because the algorithm generates anti-noise to cancel it. A gap between the tip and your ear canal lets that sound straight past the microphones. Run the fit test from Settings, Bluetooth, your AirPods name, Ear Tip Fit Test, and swap to a different tip size if it reports a poor seal on one side.
Adaptive Audio is adjusting the level. Turn it off, put the AirPods back in, and see whether the sound you get matches what you expect. If it does, you have your answer, and you can decide whether to leave it off or adjust it instead.
Firmware is out of date. Check Settings, Bluetooth, your AirPods name, then scroll to the firmware version. Installing an update usually means putting the AirPods in their case with the lid open near a charger and waiting.
The controls were changed. If pressing and holding now starts music or skips a track, someone changed Press and Hold AirPods in the settings panel. Restore it to Noise Control for that side, and check the left and right rows separately.
What noise cancellation cannot block
Active Noise Cancellation targets constant, low-frequency sound: engines, cabin drone, air conditioning, traffic hum, and the mechanical noise of an open-plan office. It is much less effective against sound that changes, and that is physics rather than a fault with your AirPods.
Announcements, voices, a door closing, a barking dog, and wind noise all cut through to some degree. A steady broadband hiss in an aircraft cabin is the easiest thing to cancel, while a single announcement is close to the hardest. If the environment is dominated by unpredictable, high-frequency sound, no amount of adjustment on the ear tips will make it disappear.
One caution is worth stating plainly: Hearing Protection in the AirPods settings relies on the listening mode you are already in, and it does not cover impulse sounds like gunfire or jackhammers. On genuinely loud environments, protecting your ears properly means the hearing protection that comes with them, not AirPods alone.
How to reset your AirPods as a last step
Resetting does not change any of your settings, it just clears the pairing record, so it is safe to try and worth doing before you assume a hardware fault.
- Put both AirPods in their case and leave the lid open.
- On your iPhone, open Settings, then Bluetooth, then tap the Info button next to your AirPods.
- Choose Reset This Device, then confirm.
- Close the lid, wait about 30 seconds, then reopen it and hold the setup button on the case until the status light flashes white.
- Hold your AirPods near your iPhone and follow the on-screen setup prompts.
After the reset, the Noise Control option reverts to its default, so check the listening mode setting again before assuming something went wrong. If noise cancellation still feels weak after a reset, the ear tips and the microphone meshes are where I would look next, and they are also the two things you can check without any tools.
Frequently Asked Questions
Does Noise Cancellation use more battery on AirPods Pro?
Yes, though less than most people expect. Noise Cancellation runs the inward and outward microphones continuously, and the original AirPods Pro were rated at about four and a half hours of listening with it on, against roughly five hours in Transparency. The gap narrowed on later generations. If battery life is the priority, Off mode runs the longest and disabling Adaptive Audio and Hearing Protection helps a little more.
Can I use Transparency Mode and Noise Cancellation at the same time?
Not as two separate modes you toggle between. Only one listening mode is active at a time. What people mean is Adaptive Audio, which builds on whichever mode you select and shifts how much of the outside world you hear as the environment changes, so on a walk the level moves between them for you without a gesture. If you want full control, turn Adaptive Audio off and switch modes manually.
Why do I still hear sounds when Noise Cancellation is on?
Because ANC targets constant, low-frequency sound such as engines, cabin drone and air conditioning, and does far less with sound that changes. Voices, announcements, door slams, barking and wind all cut through. Blocked microphone meshes also add a high-pitched hiss. Check the mode on your device, clean the meshes, and run the Ear Tip Fit Test or Acoustic Seal Test to rule out a poor seal.
Does AirPods Pro Noise Cancellation work on Android?
Partly. The press-and-hold gesture on the stem works, so you can get Noise Cancellation and Transparency on an Android phone or a Windows PC. What you do not get is the Noise Control panel in Control Center, because that is part of Apple’s software, and Off may be missing from the default cycle. If the full three-way cycle matters, set it once on an iPhone or iPad and the AirPods remember it.
How do I make sure audio alerts still get through?
Leave a little Transparency in your setup rather than running full Noise Cancellation all day. In Control Center, press and hold the volume slider and pick Transparency, or enable Adaptive Audio so the level drops on its own when someone speaks near you. Siri announcements, alarms and call notifications still come through the AirPods regardless of listening mode, and setting them to announce through the AirPods keeps them audible with the buds in.
What should I do if the noise control button is not working?
Start with the gesture itself: press and hold the flat upper section of the stem, not the rounded end or the side, and hold until you hear the chime. If the press does something else, someone changed Press and Hold AirPods in Settings, Bluetooth, your AirPods name, and the left and right rows can differ. If the Control Center panel does not appear, check Settings, Control Center, and the Volume layout setting.
Conclusion
Start with the three seconds that fix most complaints: put both AirPods in, press and hold the force sensor on the stem, and listen for the chime. Then confirm the mode where you can see it, by pressing and holding the volume slider in Control Center on iPhone or iPad, or opening the listening mode row in Control Center on Mac.
If the sound you get does not match what you expected, work through the causes in order rather than resetting first. Check whether Adaptive Audio is on, look at the microphone meshes, and run the fit test, because a poor seal makes noise cancellation feel far weaker than it should. Once the mode you want is set, leave it alone and your AirPods will start in that mode every time you put them back in.