Apple Reminders works best when you run one simple loop: dump every task into a single Inbox list, give each task a clear action, let Smart Lists sort the rest, and spend five minutes clearing what you finished. Learning how to use Reminders app effectively is mostly about that loop, not about buried settings. You can have a working system running in about ten minutes, and it needs almost no upkeep afterwards.
The app itself is the easy part. It ships free with iOS, iPadOS and macOS, it syncs through iCloud, and it already understands dates written in plain English. What trips most people up is structure: no default list, vague tasks like “call back”, and forty half-empty lists nobody looks at.
Below is the setup I would build from scratch, in order, with the exact tap paths.
Table of Contents
- 1What You Need
- 2Step-by-Step
- 31. Create Separate Lists for Different Areas of Your Life
- 42. Add Tasks with Specific Actions
- 53. Set Useful Due Dates and Times
- 64. Add Locations and Alerts for Context
- 75. Use Priority, Tags, and Notes When Needed
- 86. Review Upcoming and Completed Reminders
- 97. Build a Simple Daily Review Habit
- 10Common Mistakes
- 11Frequently Asked Questions
- 12How do I use Reminders app effectively without creating too many lists?
- 13Should every reminder have a due date and time?
- 14How do I get reminders to appear at a specific location?
- 15Why am I not receiving notifications from the Reminders app?
- 16What are Smart Lists in Apple Reminders and how do I use them?
- 17Do Reminders sync between iPhone, iPad, and Mac?
- 18Conclusion
What You Need
You need one Apple device with Reminders installed, which it already is by default, and an active iCloud account on it. Everything below works on iPhone, iPad and Mac, though the menu names shift slightly between platforms and between recent iOS, iPadOS and macOS releases.
| Device | Where Reminders lives | Notes |
|---|---|---|
| iPhone and iPad | Reminders app on the Home Screen | Best place to capture tasks because Siri and the share sheet are one tap away |
| Mac with Apple silicon | Reminders in the Dock or Launchpad | Same list structure as the phone, synced through iCloud |
| Mac with Intel | Reminders in Launchpad | Older Macs sometimes need the app updated through the App Store first |
| Apple Watch | Reminders is not a native watch app | Alerts and completion still arrive on the watch through notifications |
Turn on iCloud for Reminders before you create anything, otherwise your lists stay on one device and follow you nowhere. Open Settings, tap your name at the top, choose iCloud, scroll to Reminders and switch it on.
Step-by-Step
1. Create Separate Lists for Different Areas of Your Life
Start small: Personal, Work, Shopping, Family. Four lists cover most households, and each one can get its own colour and icon so you can spot it without reading the name.
Create one by opening Reminders, tapping the list button in the top left, choosing Add List, then renaming and picking a colour. Once a list exists, long-press its name and tap Make Default so anything you capture goes there automatically.
The trap is over-listing. More than a dozen lists means capture slows down and nothing gets emptied, because no single list feels urgent. Forum threads on r/AppleReminders keep landing on the same advice: one capture list, emptied on a fixed day.
2. Add Tasks with Specific Actions
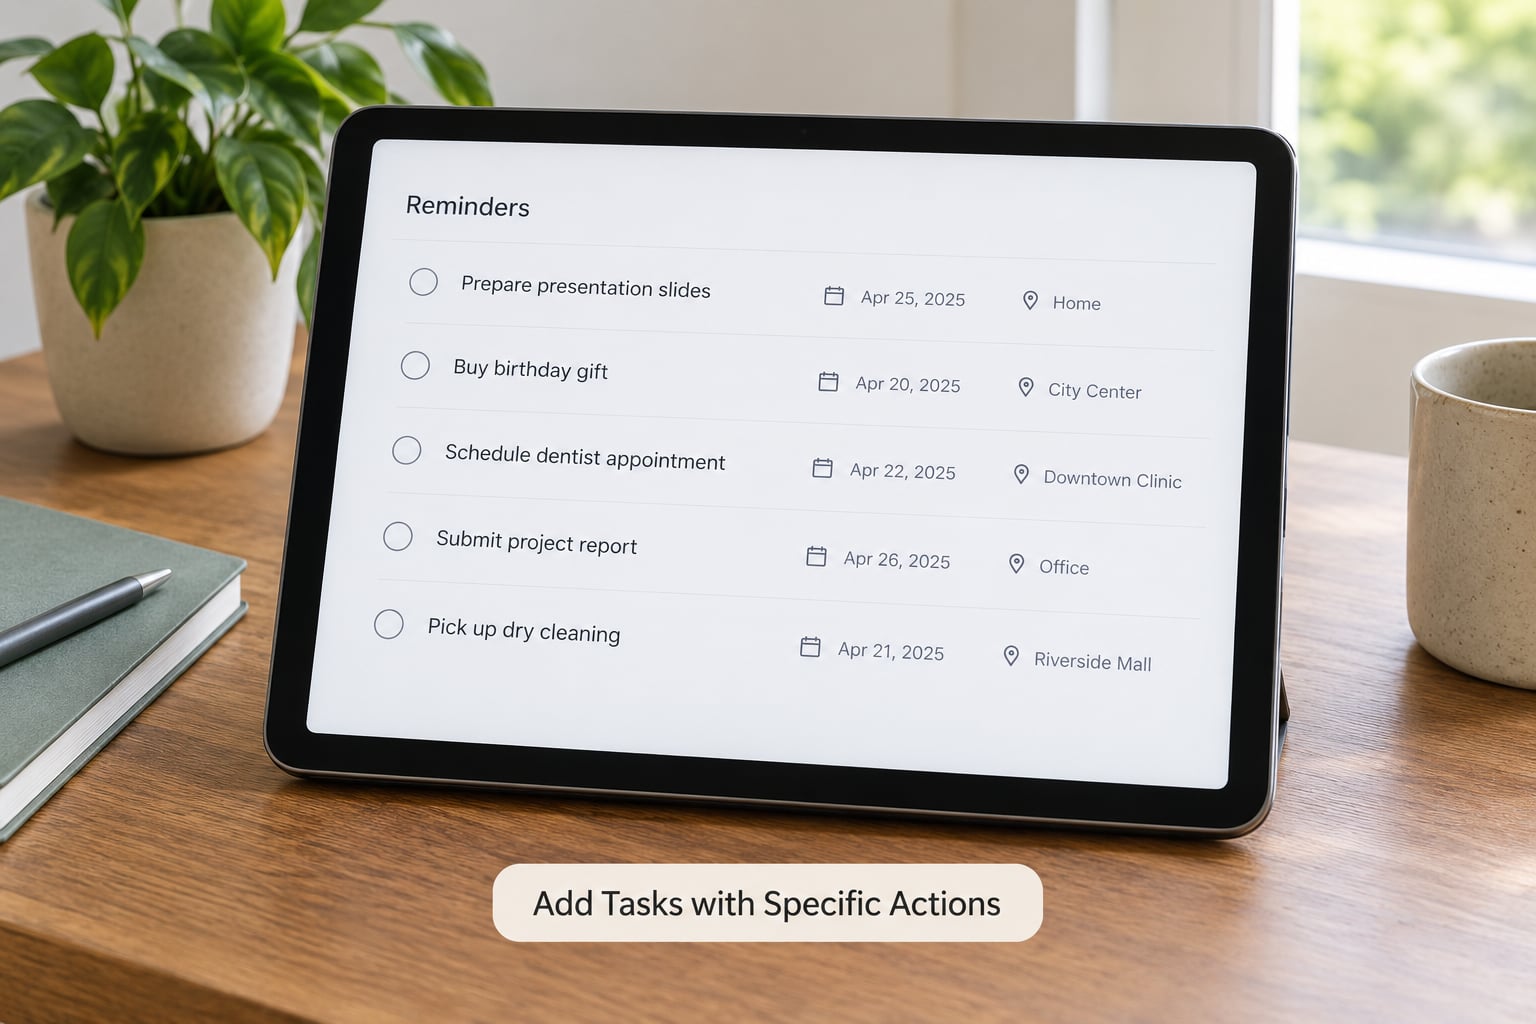
Tap the + button in the top right, and start the task with a verb. “Email the landlord about the lease renewal” can be started and finished in one sitting; “flat stuff” sits there forever.
Add a deadline, a location or a one-line note when they change what you would do next. In the task detail pane you can set an alert for when you arrive somewhere, when you leave, or when a specific person messages you.
This is where how to use Reminders app effectively actually starts — the app cannot rescue a badly worded task.
3. Set Useful Due Dates and Times
Tap a reminder, tap the calendar icon, and pick a date. Add a time only when the exact hour matters; a dated task with no time shows up in the Today view all day instead of firing at 9am while you are on the train.
Type dates the way you say them. “Call the dentist tomorrow at 10”, “Every Monday at 8am”, “Next Friday evening” all parse correctly once you press Return. The repeat menu handles monthly, yearly, weekdays and custom intervals, so a weekly chore takes seconds to set up.
Decide on a rule: deadlines on anything with an external consequence, dates without times on anything that just needs doing. Putting a time on every task trains you to ignore the alerts.
4. Add Locations and Alerts for Context
Open a task, tap Add Location, and search for a place or address. Choose whether you want the alert when you arrive or when you leave, and set how long before or after that moment it fires.
A reminder for “Pick up dry cleaning” tied to the shop’s location does something a time-based alert cannot: it waits until you are physically near the place, so the alert arrives while you can still act on it.
Two things catch people. Location alerts need Location Services enabled for Reminders under Settings, Privacy, Location Services. And they need the device with you — a location alert created on the Mac usually fires on the iPhone instead, so keep capture on your phone.
5. Use Priority, Tags, and Notes When Needed
Tap the coloured flag on a task to cycle through priority levels. A high-priority task appears in its own Smart List, which is the fastest way to build a short daily list.
Tags are the flexible middle layer. Tap Tags while editing a reminder and add something like #admin, #errands or #kids. Lists hold a task permanently, tags describe what kind of task it is, and sections group related tasks inside one list. Use sections for phases of a project, tags for cross-project filtering.
Notes, links, photos and attachments go in the same detail pane. Subtasks come from indenting — tap the three dots on a task and choose Indent, and the new line becomes a step under the one above it.
6. Review Upcoming and Completed Reminders
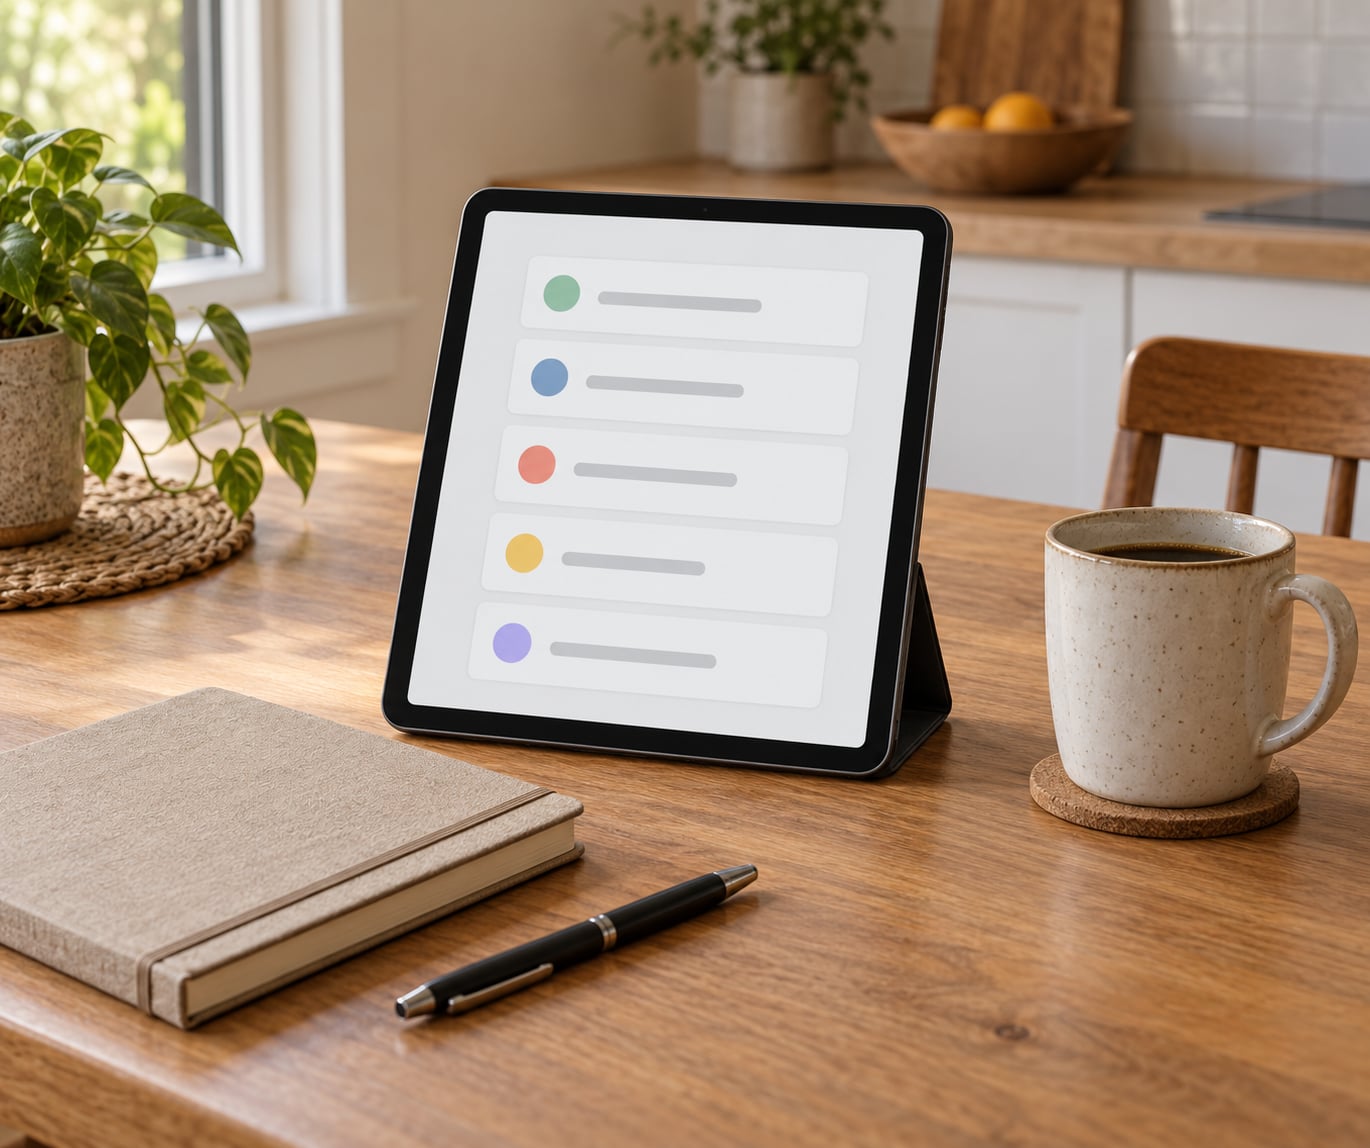
Smart Lists do the sorting for you. Swipe from the left edge to reach My Lists, where Today shows everything due, Scheduled groups by date, Flagged holds your high-priority items, and All is everything not yet filed.
Build your own by tapping Edit in the top right, then Add Smart List. Filter by tag, list, priority or date, set the display order, and the view rebuilds itself. Reddit users who came from dedicated task apps often group their Smart Lists into a folder named Focus, sorted by priority rather than by day.
Tap Hide Completed on a list to keep finished tasks out of the way, and clear them out entirely from the list’s own menu so old items do not clutter search.
7. Build a Simple Daily Review Habit
Every evening, spend five minutes in Today. Anything finished gets checked off and cleared. Anything you did not do gets a new date or moves to a later section, and anything you did not do at all gets deleted without guilt.
Then capture whatever the day produced before you close the app, so the Inbox never becomes a place you avoid opening. This five-minute habit matters more than any setting in the app.
Common Mistakes
Almost every abandoned Reminders setup fails the same way. Here are the six that come up most, with the fix for each.
- No default list. If every capture asks which list, you stop capturing. Long-press a list, tap Make Default, and never think about it again.
- Vague tasks. “Research holiday” tells future-you nothing. Rewrite it as an action with an object, and add the link or the note that makes it doable.
- Notification overload. Forty alerts in an afternoon is how people switch Reminders off and then miss the one thing that mattered. Open Settings, Notifications, Reminders, and turn on Scheduled Summary so alerts arrive in one or two batches instead of all day.
- Location permissions switched off. Location alerts silently never fire if Reminders is not allowed under Location Services. Check that setting whenever a place-based reminder does not appear.
- Dozens of lists, nothing emptied. Merge overlapping lists and keep one capture Inbox. Lists are containers, not priorities.
- Never clearing completed items. Old tasks make search useless and hide what is actually pending. Clear completed reminders from the list menu once a week.
One more honest limit: Reminders is a personal and household task manager. It handles subtasks, tags and shared lists well enough for family coordination, and it replaces the family group chat nicely. It is not a project management tool with dependencies, time tracking or Gantt views — if you need those, a dedicated app serves you better.
For a quick check on whether sync is the problem, open Reminders on your Mac. A list that is missing there usually means Reminders is switched off in iCloud, or the list was created while iCloud was off and never moved over.
Frequently Asked Questions
How do I use Reminders app effectively without creating too many lists?
Keep one capture list as your default and let everything else be organised by tag. Most people run three or four lists for real areas of life, such as Personal, Work, Shopping and Family, and use tags for everything else. Capture speed matters more than tidy categories, so if choosing a list slows you down, you are using too many.
Should every reminder have a due date and time?
No. Put a deadline on anything with an external consequence, such as a bill or a booking, and a date without a time on tasks that simply need doing. Times produce alerts at a precise moment, which trains you to ignore them. Dated items with no time sit quietly in the Today view until you clear them.
How do I get reminders to appear at a specific location?
Open a reminder, tap Add Location, and search for the place or address. Then choose whether you want the alert when you arrive or when you leave, and set how far ahead it should fire. Location Services must be enabled for Reminders under Settings, Privacy, Location Services, and the alert will usually fire on your iPhone even if you created it on the Mac.
Why am I not receiving notifications from the Reminders app?
Check three things in order. First, Settings, Notifications, Reminders, Allow Notifications. Second, Focus modes on your iPhone, which silence alerts silently. Third, per-list notification settings inside Reminders, where a list can have its own alerts switched off or set to notify only when you are not in Focus. Turning on Scheduled Summary batches alerts instead of dropping them.
What are Smart Lists in Apple Reminders and how do I use them?
Smart Lists are automatic views that collect tasks from anywhere in the app based on filters. Built-in ones include Today, Scheduled, Flagged and All. You can build your own by tapping Edit and choosing Add Smart List, then filtering by tag, list, priority or date. Group them into a folder such as Focus to build a short daily view without moving tasks by hand.
Do Reminders sync between iPhone, iPad, and Mac?
Yes, as long as every device is signed into the same Apple Account and Reminders is switched on under iCloud on each one. If a list is missing on your Mac, confirm iCloud, Reminders is enabled, then check Settings, Apple Account, iCloud, Manage Account Storage for Reminders. Lists created while iCloud was off can stay local and may need to be recreated.
Conclusion
Start with one list. Set it as your default, add five tasks with a verb at the front, put a deadline on the two that genuinely have one, and leave the rest dated or undated depending on urgency.
Then build two Smart Lists, Today and Flagged, and give yourself five minutes each evening to clear completed items, reschedule what slipped, and capture whatever the day produced. That loop is the whole system, and it costs about ten minutes to set up.