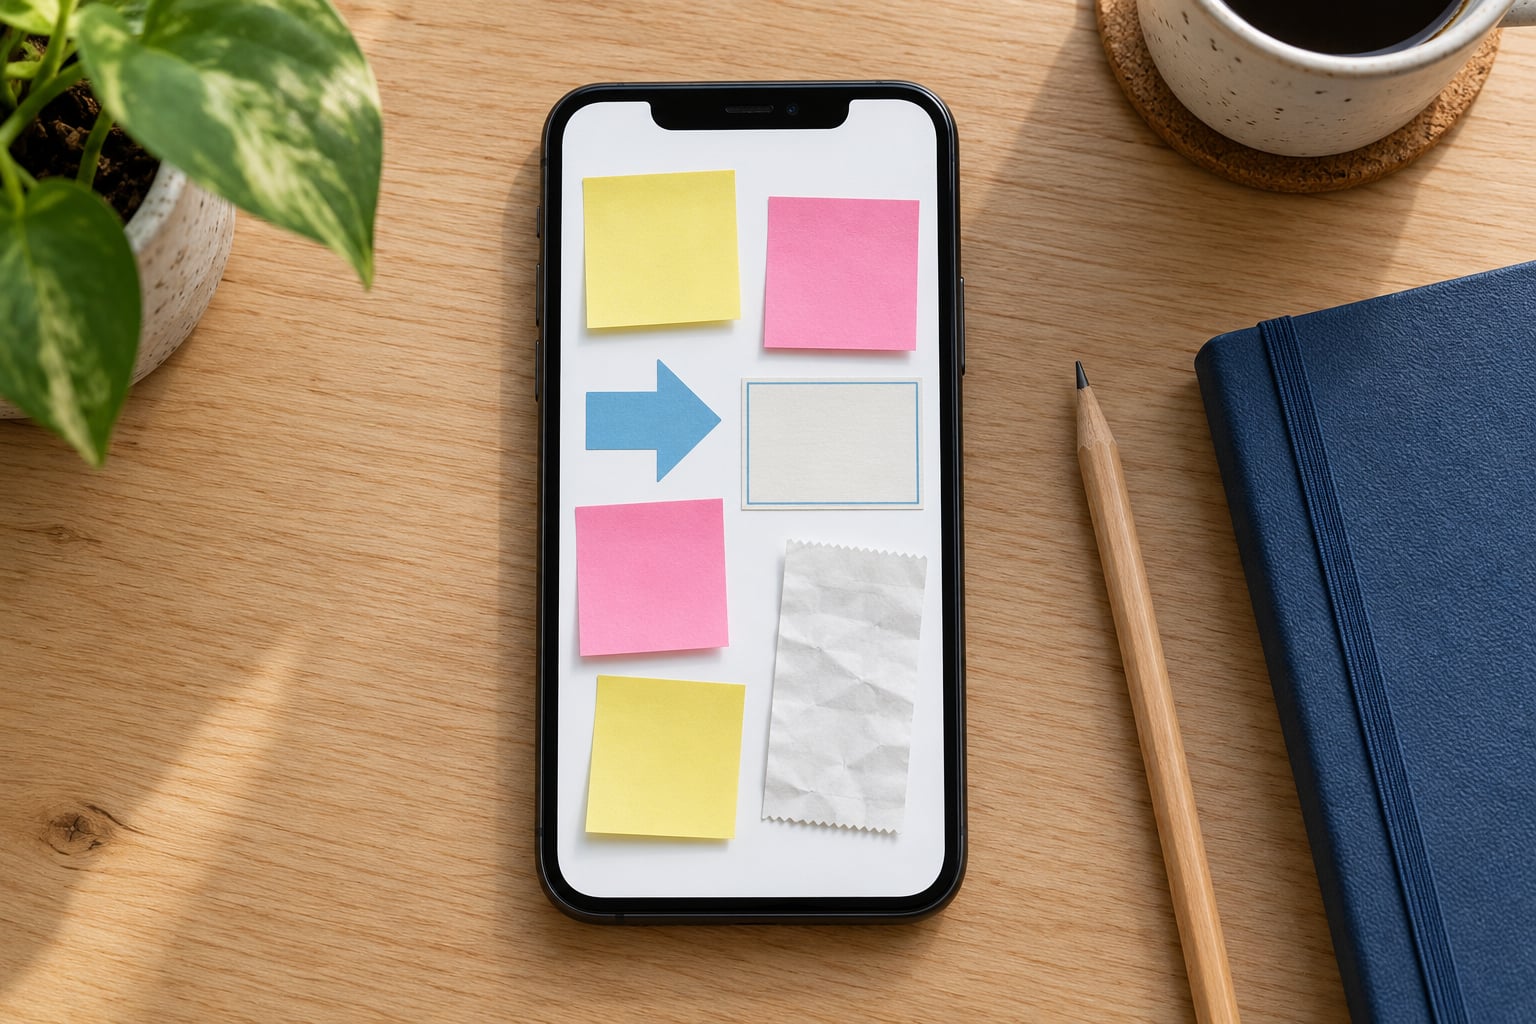
Freeform is Apple’s built-in whiteboard on iPhone: a zoomable canvas where you drop sticky notes, shapes, text, photos, links and drawings, then share the whole board for live collaboration. To use the Freeform app on iPhone, open the app, tap the new board button in the top corner, pick a template or a blank board, and add content from the toolbar along the bottom of the screen.
It comes preinstalled, so there is nothing to download and no account to create beyond the Apple Account already on your phone. Everything saves itself, and everything you add syncs to your other Apple devices through iCloud. The whole guide below is written for iPhone screens, not iPad.
I use one board per project rather than a single board for everything. That habit is the difference between Freeform feeling like a useful tool and feeling like a pile of sticky notes you can never find again.
Table of Contents
- 1What You Need Before You Start
- 2How to Use Freeform on iPhone: Step by Step
- 31. Open Freeform and Create a Board
- 42. Add Notes, Shapes, Photos, and Links
- 53. Organize Your Ideas So the Board Stays Readable
- 64. Scan, Write, and Use Smart Features
- 75. Collaborate and Share a Board
- 86. Save, Export, or Come Back Later
- 9Common Freeform Mistakes and How to Fix Them
- 10What Freeform Is Good At, and When to Use Notes Instead
- 11Frequently Asked Questions
- 12What is the point of Freeform on iPhone?
- 13How is Freeform different from Apple Notes?
- 14Do I need an Apple Pencil to use Freeform on iPhone?
- 15Why is my Freeform board not syncing to my other device?
- 16How do I get out of drawing mode in Freeform?
- 17How do I export or print a Freeform board?
- 18Wrapping Up
What You Need Before You Start
Freeform is built into iOS 16 and later, so the only real requirement is an up-to-date iPhone. No download, no separate purchase, no trial period.
You do need to be signed in to iCloud if you want your boards to move between your iPhone, iPad and Mac. Open Settings, tap your name at the top, tap iCloud, tap Show All, and switch Freeform on. If that toggle is already green, you are done with setup.
An Apple Pencil is optional. Every drawing tool works with your fingertip, and on an iPhone the Pencil is the difference between a quick sketch and a clean diagram, not between working and not working. Most people start with a finger and add a Pencil later.
Helpful to have nearby: a scanner or a receipt you want to capture, and the people you plan to collaborate with, since Freeform collaboration only works with other people who have Apple devices and the same app.
How to Use Freeform on iPhone: Step by Step
1. Open Freeform and Create a Board
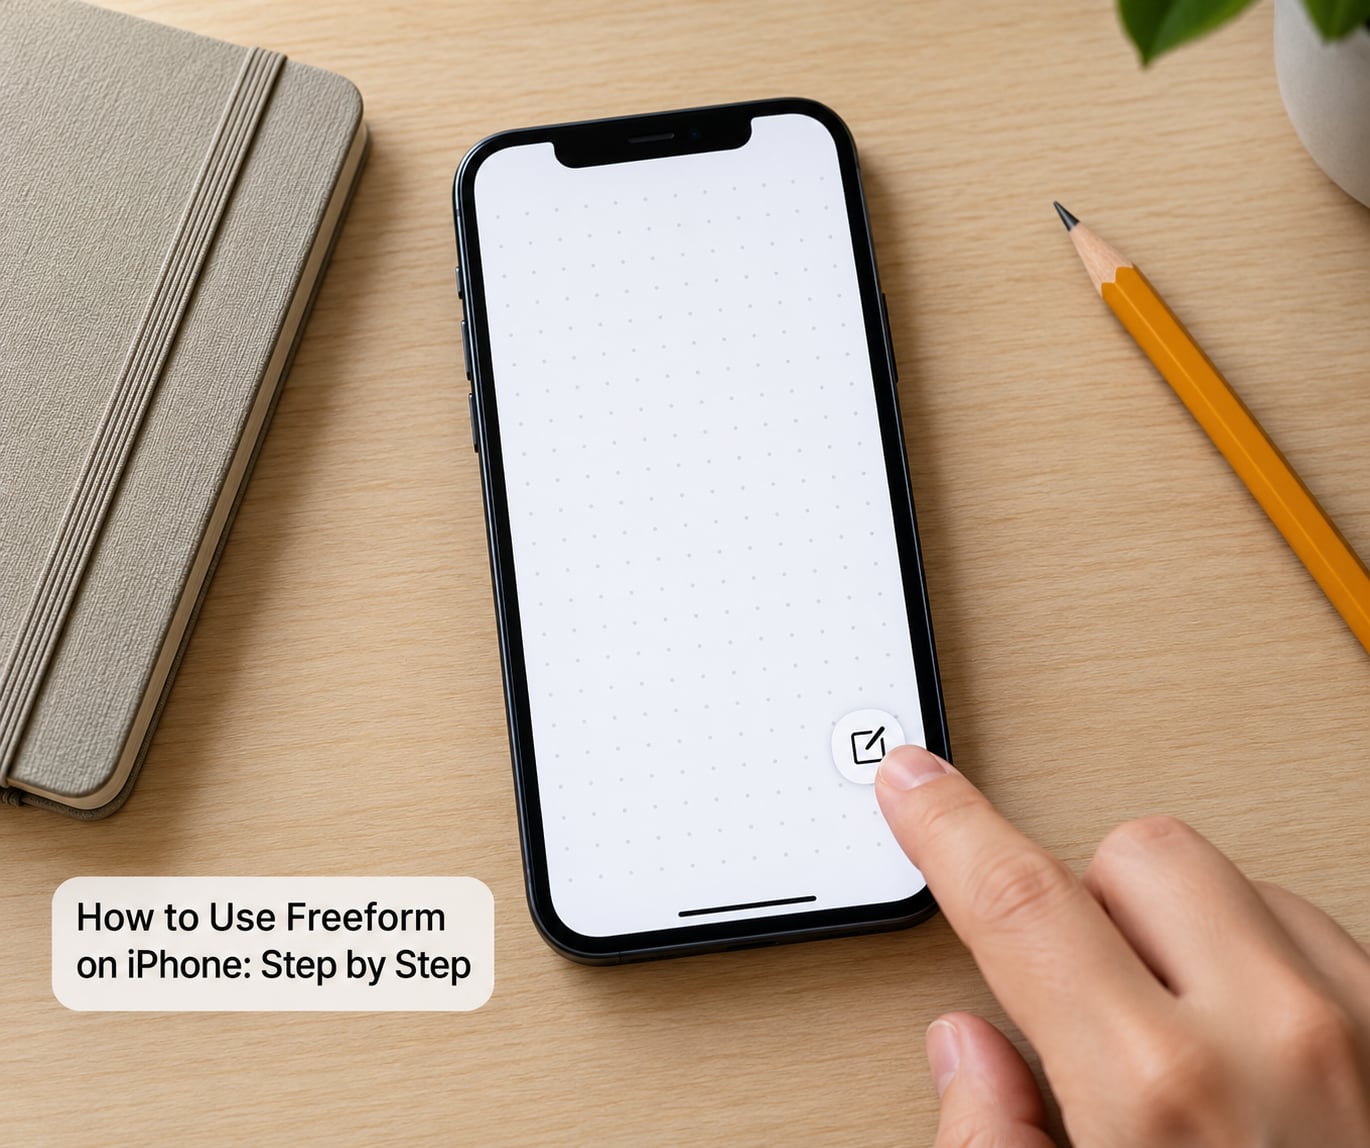
Open Freeform from your Home Screen or by searching for it in the App Library. On the boards list, tap the new board button in the top corner of the screen, the one that looks like a square with a pen across it.
A menu appears with Start from Scratch, plus a row of templates such as Brainstorm, Project Plan, Mood Board and Weekly Planner. Tap a template if you want its frames and headings already laid out, or tap Start from Scratch for an empty board.
The new board opens as a blank canvas. Tap the title at the top to name it something specific like Q4 Launch Plan rather than Untitled Board. The boards list shows thumbnails, so the name and the first thing on the board are what you will recognise later.
2. Add Notes, Shapes, Photos, and Links
The toolbar along the bottom holds everything you can add. Tap an icon, tap or drag on the canvas to place the item, then use the handles to resize and the small controls above it to rotate, duplicate or delete.
- Sticky note adds a coloured square. Tap the colour button to switch between yellow, pink, blue, green and grey. Double-tap the note to type straight into it.
- Shapes adds rectangles, circles, arrows, speech bubbles, tables and more. Draw a shape roughly, and Snap to Shapes tidies it into a perfect line or shape for you.
- Text box inserts a typed heading or paragraph. Double-tap to edit, then drag the corner handle for larger text.
- Media opens your photo library, the camera or a file picker. Scans of paper documents and screenshots land on the board as images you can crop and rotate.
- Link attaches a website, a location or a file as a small card you can tap later.
- Drawing tools give you pens, markers, a pencil, a crayon and brushes, covered in step 4.
To move, resize, rotate, duplicate or delete anything already on the board, tap it once to select it. Corner handles let you resize. To select several items, drag a selection box around them, or tap one and then tap others.
Two finger taps on an item put it into edit mode, which is where you can cut, copy, paste, group, lock or bring an object to the front or back. Pinch with two fingers to zoom the whole canvas and drag with two fingers to pan around an infinite surface with no fixed edges.
3. Organize Your Ideas So the Board Stays Readable
Boards grow fast, and a busy board becomes useless if everything is scattered. A few habits keep it navigable.
- Group related items by tapping several objects and choosing Group from the edit menu. A grouped object moves, resizes and deletes as one piece. Double-tap to go inside the group and edit a single item.
- Use frames to create a bordered section. Anything dragged into the frame stays with it, which is the closest thing Freeform has to sections.
- Match colours to create categories, for example one sticky note colour for urgent items and another for ideas to revisit.
- Add headings as text boxes at the top of each cluster so someone else can follow the board without you explaining it.
- Keep boards small. One board per project beats one enormous board. Users on Apple forums report large boards with hundreds of objects slowing down and eventually crashing the app.
To tidy up further, open the More button in the top corner to rename, duplicate, export or move a board into a folder, and to search the text of everything on it.
4. Scan, Write, and Use Smart Features
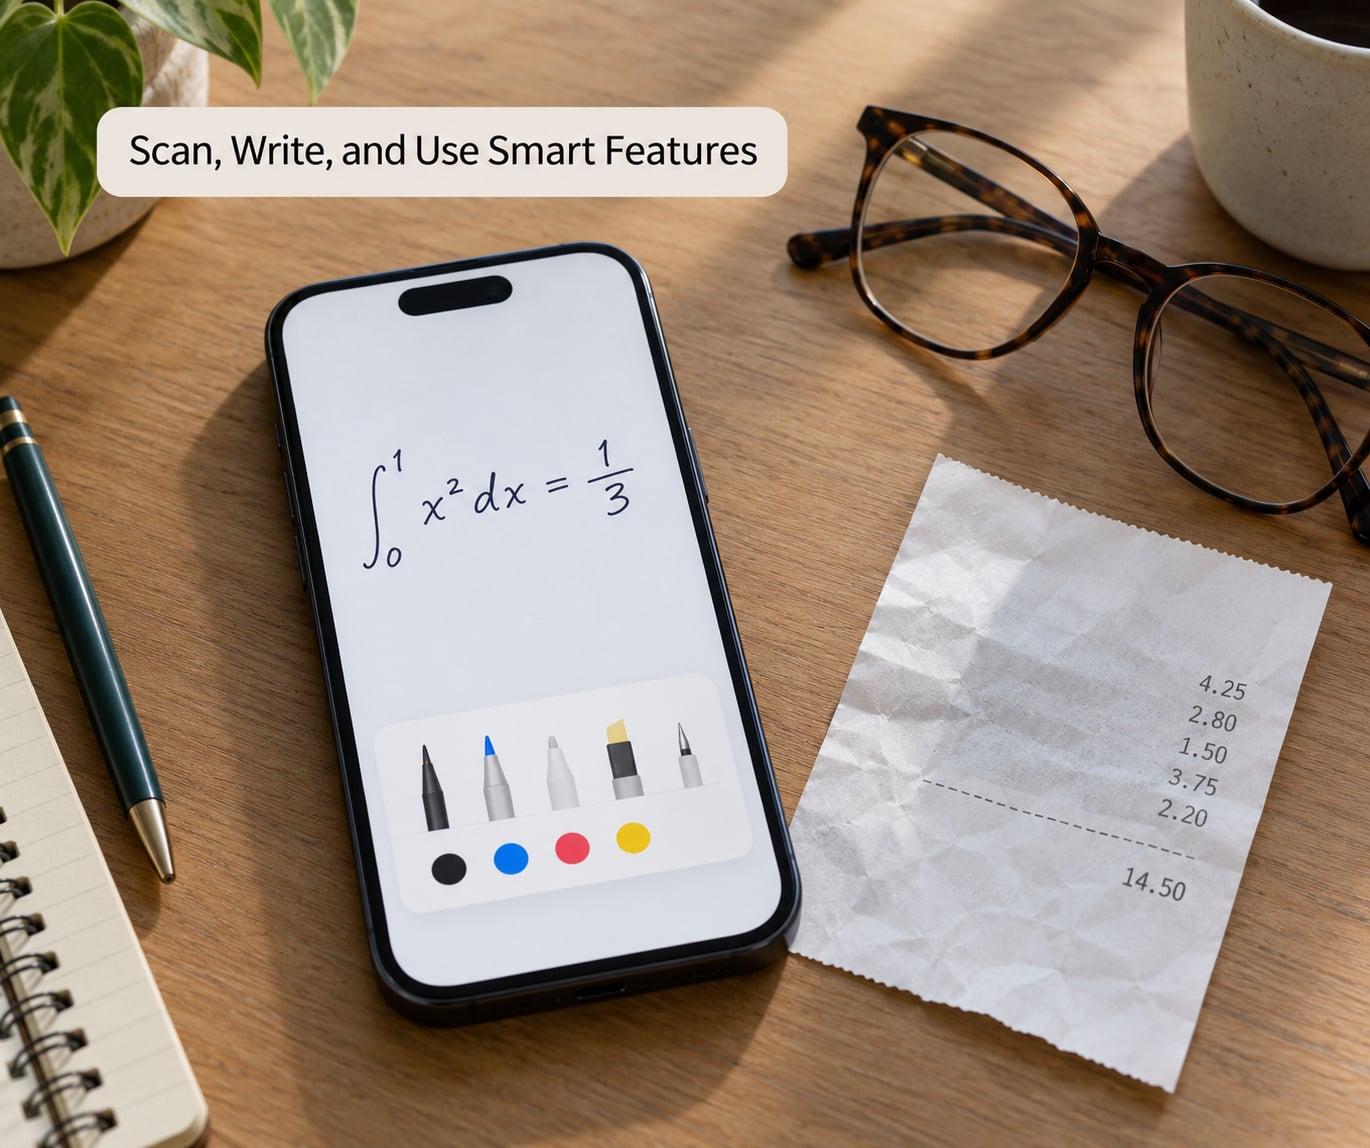
Tap the drawing icon in the bottom toolbar to open the drawing tools. The row includes a pen, a marker, a pencil, a crayon, a fountain pen, a reed pen, a paintbrush and a watercolour brush, plus a Ruler, an eraser, a lasso and a fill tool.
Draw with a fingertip, or press harder for thicker lines. Tap any tool a second time to change its weight, opacity and angle, and the Ruler tool keeps straight edges on an unsteady surface. Scribble inside a shape and use the fill tool to flood it with colour.
Where your device and software support it, Apple Intelligence features clean up what you write. Refine turns a rough scrawl into neat text in your own handwriting style, Straighten tidies a wobbly line, and Snap to Shapes snaps a rough drawing to a clean primitive.
Two of these are genuinely useful every day. Handwritten words are recognised as real text, so you can search a board by anything you scrawled, tap a word to copy it, or long-press for spelling suggestions. And Math Results solves a handwritten equation, then shows the steps: Insert Results writes the answer onto the board, Suggest Results offers a few options for you to choose.
Availability depends on your device, iOS version, language and region, so a feature you have read about may not appear on your iPhone. When a smart tool is greyed out or missing, the base drawing tools still work normally.
To scan a paper document, open the drawing tools, choose the capturing device tool, point the camera at the page, and the scan lands on the board. It is a genuinely good way to keep a receipt, a handout or a whiteboard photo in the same place as the plan built around it.
5. Collaborate and Share a Board
Tap the Share button in the top corner. Freeform can share in two different ways, and the difference matters.
Invite people to edit in real time. Tap Add People, search for a contact with an Apple Account, choose Can Edit or Can View, and send. Everyone on the board sees cursors and changes as they happen, and everything stays in sync through iCloud.
Send a copy. In the same share sheet you can export the board as a PDF, share it as a snapshot, or post it to Messages or Mail. A link opened in Freeform on another Apple device opens the live board; a link opened anywhere else shows a read-only view.
Set the permission deliberately. Can Edit lets someone rearrange your entire board, which is rarely what you want on a finished plan. If you only want comments, share the board and ask people to use Can View, or send a PDF instead.
6. Save, Export, or Come Back Later
There is no save button, because boards save continuously. Close the app mid-thought and everything is there when you come back.
To export, open the More button, tap Share, then Export. Choose PDF for a document you will print or email, or image for a picture. You can also print a board directly, and print or export individual scenes rather than the entire canvas.
Exports capture what is on the board at that moment, not the layout, so a very spread-out board prints on many pages. Zoom the view to the part you want, or build a scene first, before exporting. The exported file is a snapshot; your original board stays editable and unchanged.
Scenes are the built-in fix for this. With a section of the board framed, open the More button and tap Add Scene to save that view with a name. The Scene Navigator rail along the bottom lets you jump between views, which is how you present or print a board one section at a time.
Common Freeform Mistakes and How to Fix Them
You cannot get back to the main toolbar. This is the most repeated question on Apple help forums. You are still inside the drawing tools. Tap the select tool, the arrow or cursor icon in the bottom toolbar, to return to normal editing.
Rotating an object moves or zooms the board instead. On a touchscreen the two-finger rotate gesture is often read as a pan or a pinch-zoom. Instead, select the object, tap the rotate handle, and drag that single handle. It is less fluid and far more predictable.
Your board syncs one way. Check Settings > your name > iCloud > Show All > Freeform is on, and confirm both devices are signed in to the same Apple Account. Give it a minute after switching the toggle on, and keep the app open while it finishes.
The app crashes or freezes on a large board. Boards with hundreds of objects get heavy. Split the content into several boards, move each into a folder, and delete or export anything you no longer need on the canvas.
A drawing does not move with the sticky note it sits on. Group them explicitly. Select both, open edit mode, and tap Group. Anything you expect to travel together should be grouped rather than merely placed next to each other.
Handwritten words are not recognised as text. Recognition works best with neat, separated words and a steady hand. Write larger than feels natural on a phone screen, and remember the feature depends on language and region settings.
A smart tool is missing or greyed out. Apple Intelligence features vary by device, iOS version, language and region. Everything else in the app still works; you have not lost the drawing tools, only the optional extras.
Your boards are a mess to find later. Use folders, name boards at creation rather than renaming later, and rely on board search. A board named Untitled Board 3 helps nobody.
What Freeform Is Good At, and When to Use Notes Instead
Freeform is not necessary for iPhone use, and it is not a replacement for your notes app. It wins on visual, spatial work: anything that benefits from a large canvas you can rearrange by hand.
| Task | Better choice | Why |
|---|---|---|
| Brainstorming, mind maps, mood boards | Freeform | Infinite canvas you can expand as ideas arrive |
| Class notes and study summaries | Notes, or Freeform with frames | Notes is faster to type; Freeform is better for diagrams |
| Meeting notes with typed detail | Notes | Text search, folders and scanning are more mature |
| Flowcharts and wireframes | Freeform | Shapes, arrows and snap make diagrams fast |
| Reading and long documents | Books or Notes | Neither is a document reader |
| Task lists you check off daily | Reminders or Notes | Freeform has no reminders or check-off alerts |
The honest limitation: there is no web version of Freeform. If part of your group is on Windows or Android, use the export and share a PDF, or pick a whiteboard app that works in a browser.
Frequently Asked Questions
What is the point of Freeform on iPhone?
Freeform is a built-in whiteboard where you place sticky notes, shapes, text, photos, links and drawings on a canvas that zooms out as far as you need. The point is that ideas stay visual and rearrangeable instead of trapped in a list, and the whole board can be shared with other Apple users for live editing. It suits brainstorming, study notes, trip plans and wireframes.
How is Freeform different from Apple Notes?
Notes is a text-first app built around typing, folders and search. Freeform is a canvas-first app built around placing and moving objects. Choose Notes for a written record you will read later, and Freeform when the layout itself carries meaning, such as a diagram, a mind map or a plan you rearrange by hand. Many people keep both and send content between them.
Do I need an Apple Pencil to use Freeform on iPhone?
No. Every drawing tool works with your fingertip, and on an iPhone that is genuinely usable for sketching a layout or marking up a photo. A Pencil adds pressure sensitivity, precision and palm rejection, which matters more for detailed drawing and for long sessions. Start with a finger, and only add a Pencil if you find yourself drawing often.
Why is my Freeform board not syncing to my other device?
Check that Freeform is switched on under Settings, then your name, iCloud, Show All and Freeform, and that both devices use the same Apple Account. Allow a minute after changing the toggle. If one board is very large it can take longer to upload. Boards only sync between Apple devices, so a link opened in a desktop browser shows a read-only view rather than the live board.
How do I get out of drawing mode in Freeform?
Tap the select tool, the arrow or cursor icon, in the bottom toolbar. That single tap returns you to normal editing and brings back the menu and shapes options. This comes up constantly because the drawing tools cover the whole screen and there is no obvious exit button. If the toolbar has scrolled out of view, tap once on an empty part of the board first.
How do I export or print a Freeform board?
Open the More button in the top corner, tap Share, then Export to save the board as a PDF or an image, or print it directly. To export only part of the board, frame that area and save it as a scene first, then print or export scenes rather than the whole board. Exported files are snapshots, so your original board stays editable.
Wrapping Up
Start with one board and one real project. Name it, drop in five sticky notes and a photo, and try dragging one item. That single minute teaches the whole model: everything else in the toolbar follows the same add, tap and adjust pattern.
Once it clicks, the details worth learning are handwriting recognition, scenes, and the group command. Those three take a board from a quick sketch to something you will actually keep using.