The short version: to recover files from a Time Machine backup, you open the folder where the file originally lived in Finder, choose Browse Time Machine Backups from the Time Machine icon in the menu bar, scrub the timeline back to a date when the file still existed, press the Space bar to preview it, and click Restore. Your current system is untouched the whole time, and a single restore takes a couple of minutes.
Most people who panic about a deleted file do so because they assume the only way back is a full machine restore, which genuinely does wipe and rebuild everything. That is not what you need. Time Machine stores hourly and daily snapshots of your entire drive, and Finder lets you walk into any of them, pick out the one file you care about, and drop it back where it belongs. Other files, apps, and settings stay exactly as they are.
Table of Contents
- Quick Answer: Recovering a File in Five Steps
- What You Need
- How to Recover Files from a Time Machine Backup: Step-by-Step
- Common Mistakes
- Frequently Asked Questions
- Can I recover a single file from Time Machine without restoring the entire backup?
- Why can’t I see my files when I enter the Time Machine backup?
- How do I choose the right backup date in Time Machine?
- Can I restore Time Machine files to a different Mac?
- What should I do if my original Time Machine backup drive is missing?
- Does restoring a file from Time Machine overwrite the current version?
- Conclusion
Quick Answer: Recovering a File in Five Steps
- Connect the Time Machine backup disk and turn it on.
- In Finder, open the folder that originally held the file.
- Click the Time Machine icon in the menu bar, then Browse Time Machine Backups.
- Use the timeline to pick a date when the file existed; press Space to preview.
- Select the file or folder, click Restore, and confirm.
Two things trip people up. First, you have to enter the backup from inside the correct folder, because Finder only shows you the contents of the folder you are standing in. Second, the most recent snapshot is not a live mirror of your Mac, so something you deleted five minutes ago may not be in it yet.
Worth knowing: a Time Machine backup disk is self-contained. You can plug it into an entirely different Mac, and it will mount and open without any special setup, which is the whole reason your files survive a dead machine.
What You Need
You need very little. The list is short because this is a built-in macOS feature, not a third-party tool you have to buy or install.
- The Mac itself, with enough free space to hold what you are pulling out. A restore of a few gigabytes is fine on any drive with room; a full system restore needs considerably more.
- The backup destination: an external hard drive or SSD, a NAS or SMB share, or a retired Time Capsule. If the backup lives on a network drive, you need the share name and the credentials that reach it.
- The path the file used to live at. Not the exact filename if you cannot remember it, but the folder. This is the detail that decides whether this takes two minutes or two hours.
- An admin password, for unlocking an encrypted backup disk or confirming a restore.
If the original backup drive is not physically with you, that is still workable. Take the drive to another Mac, or share the NAS folder over the network, and browse it from there. Nothing inside a Time Machine backup is bound to the machine that created it.
One more piece of preparation worth doing before you start: note roughly when you last had the file. People who know “it was there last Tuesday afternoon” find it in under a minute. People who know only that it “used to exist” end up scrubbing through weeks of hourly snapshots, which is slow and genuinely frustrating.
How to Recover Files from a Time Machine Backup: Step-by-Step
Open Time Machine and Enter the Backup
Connect the backup drive and switch it on. Wait for it to mount; check the desktop or the sidebar in Finder for its name, which is usually “Time Machine” or the name you gave the drive when you set it up. If the icon is not there, move to the troubleshooting section below, because nothing else in this guide will work until the disk appears.
Now open the folder that held the missing file. If it lived in your Documents folder, click Documents in the Finder sidebar. If you have no idea where it went, open your user folder and search there first, or jump ahead to the section on finding the file when you do not know the path.
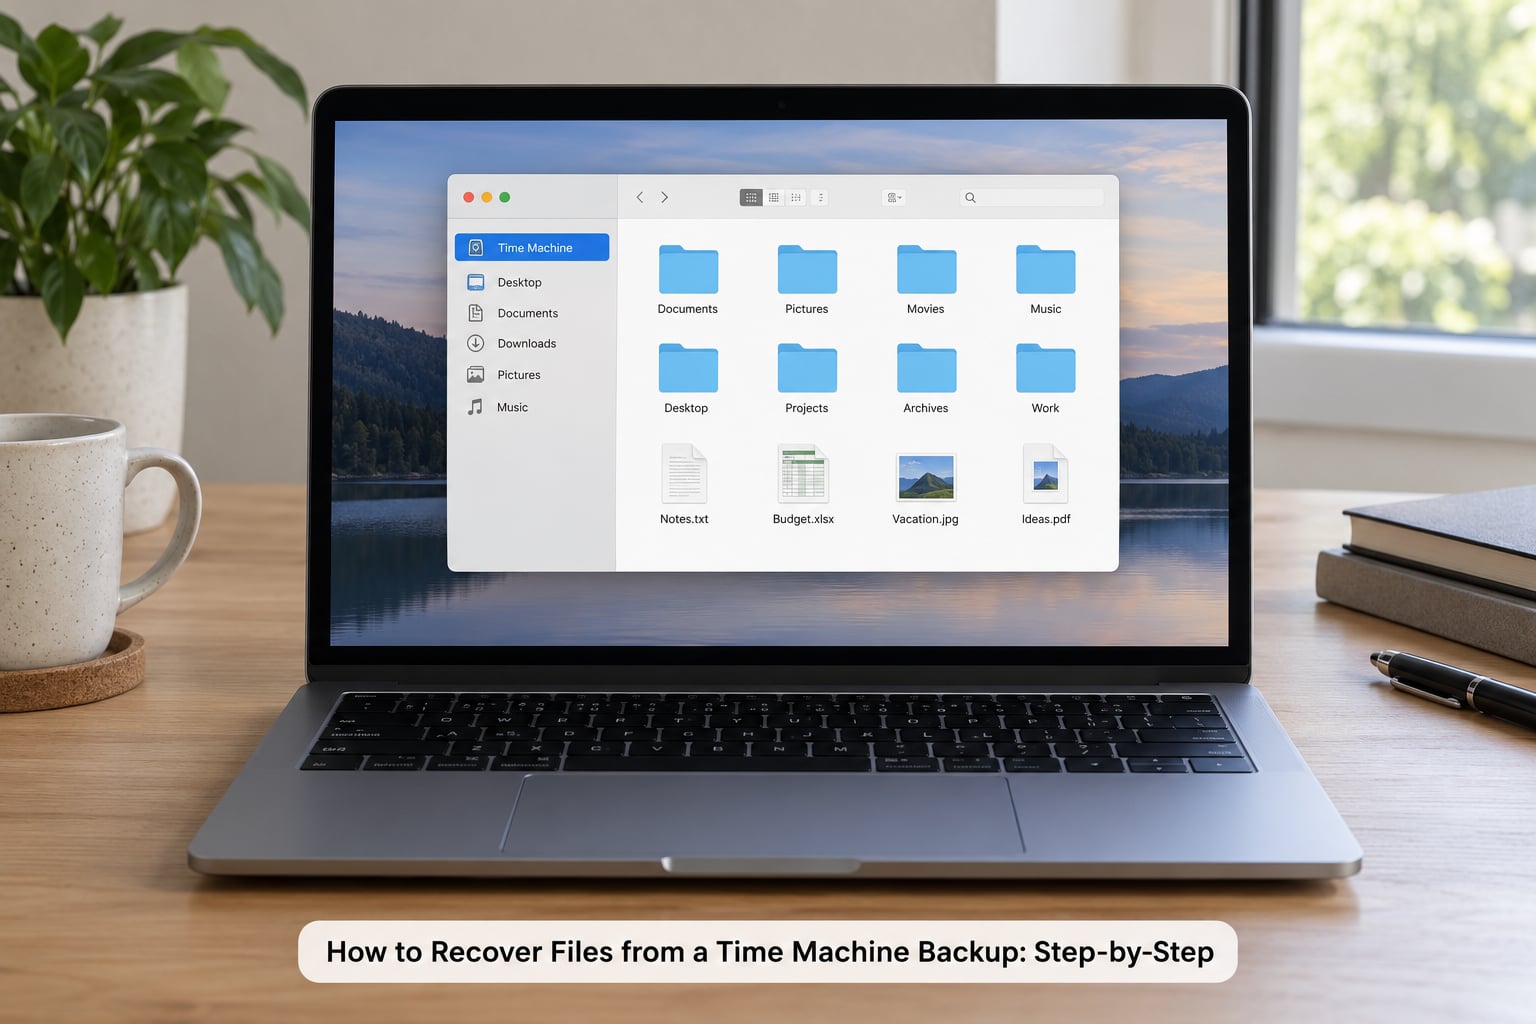
With that folder open, click the Time Machine icon in the menu bar. It is the circular arrow sitting near the clock on the right-hand side of the menu bar, and it only appears when a backup destination is connected and Time Machine is switched on. Choose Enter Time Machine if you want the starfield view of the whole drive, or choose Browse Time Machine Backups to work inside the folder you just opened. Browse Time Machine Backups is the right choice for a targeted recovery.
The menu path for Time Machine’s own settings lives in System Settings > General > Time Machine in current macOS releases, and the location of the Time Machine icon can differ a little between Mac models and macOS versions, so look along the whole menu bar rather than assuming a fixed spot.
Browse the Backup by Date
Your window is now showing a Finder window in starfield mode, with a timeline running down the right edge. That timeline is the entire history of your backup: dense regions are days when several backups ran, sparse stretches are days when the disk was not connected.
Knowing how to recover files from a Time Machine backup means reading that timeline rather than guessing. Click a date on the timeline to move into that snapshot. The Finder window’s contents update to show the folder as it existed at that moment, while a separate window behind it, dimmed, shows your live current files. If you cannot tell them apart, the starfield window is the one with the timeline attached.
Use the up and down arrow keys to move day by day instead of clicking, which is faster when you are hunting for a specific week. The year and date at the bottom of the timeline updates as you move so you can confirm where you are before you start copying anything out.
One nuance that catches people: the most recent hourly snapshot is not a live copy. A file you deleted minutes ago is very often not in it, because the snapshot was taken before the deletion. Move back to a day when you are certain the file was still on the Mac. This is the single most common reason people conclude their file is lost when it is sitting in last Tuesday’s backup.
Find the Missing File or Folder
Inside the backup, the folder structure matches what you saw before, so look in the subfolder you would expect. Sorting the window by Date Modified is often faster than scrolling, and it puts the version you want near the top.
Press the Space bar with the file selected to preview it without leaving the backup. This is the fastest way to confirm you are looking at the right version of a document, and it costs you nothing if it is the wrong one.
If the folder you entered turns out to be the wrong one, you do not have to exit and start over. Navigate up a level, move to the correct folder, and the timeline stays available; the backup is still mounted and the starfield view follows you.
You can also search from inside Time Machine. The search field in Finder works against the snapshot you are currently viewing, so a search for a filename or even a phrase inside a document will surface matches from that point in history. Keep the search narrow, because a broad term across an entire snapshot can take a long time to resolve.
For anything that never lived in your home folder, the entry point is different. An SD card, an external drive, or an Applications folder appears in the backup as its own top-level volume, not inside your user folder, and you reach it by going up to the top level of the backup in the starfield view. That is how you get photos off a card that formatted itself.
Restore Files to the Mac
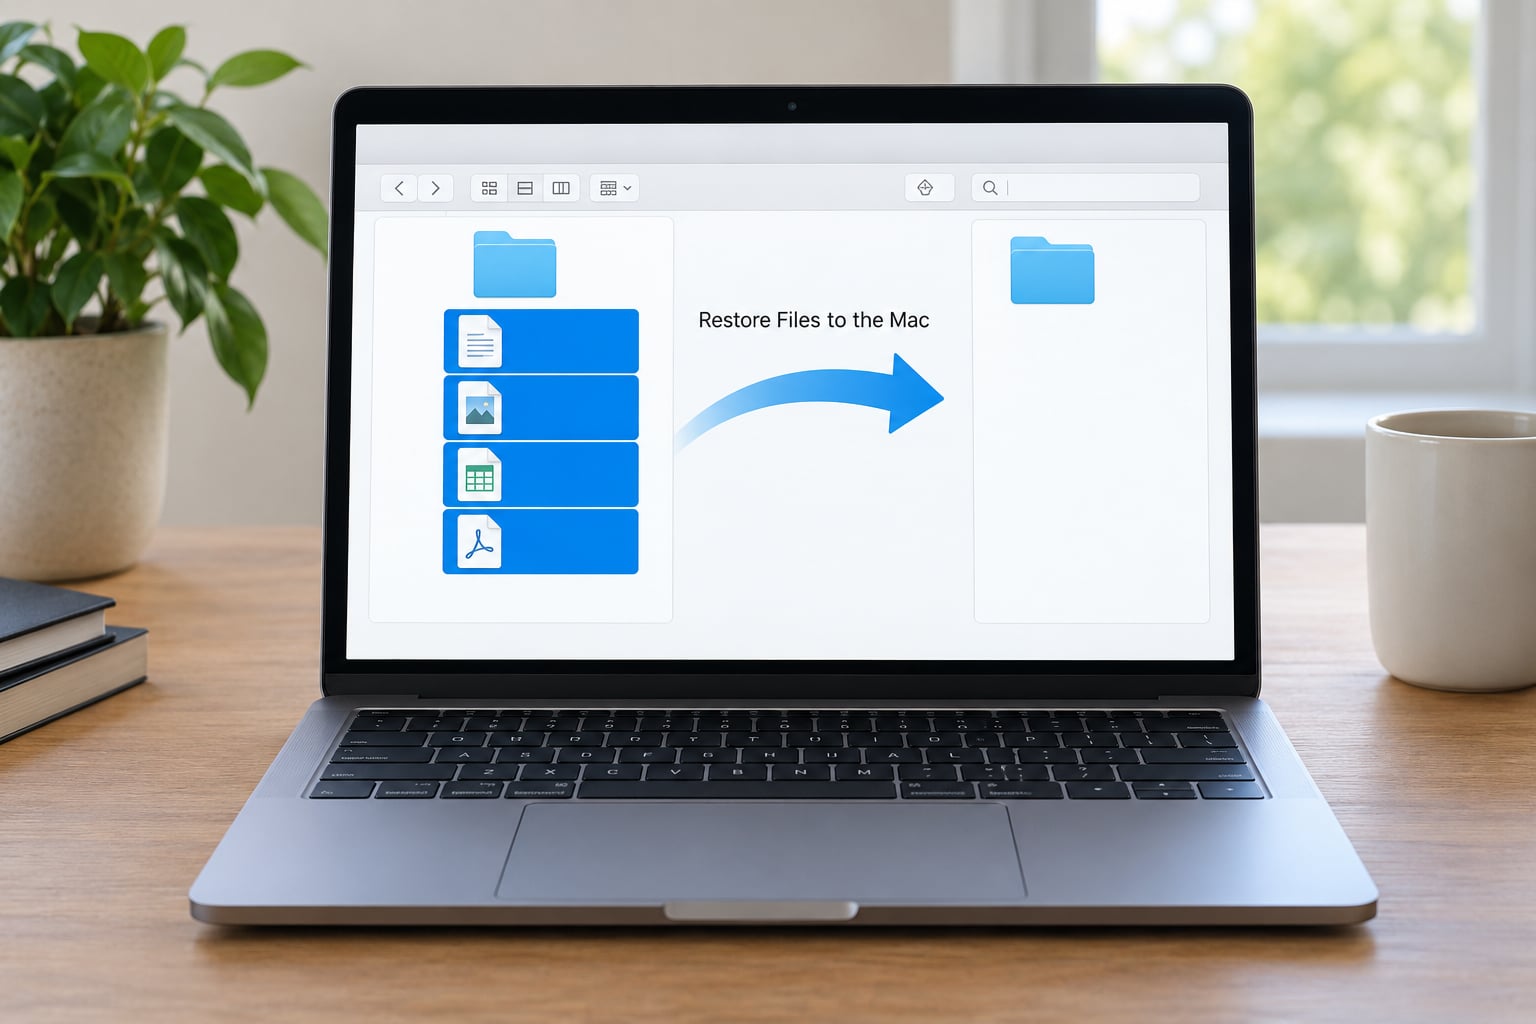
Select the file, folder, or group of items you want, then click Restore at the bottom of the Time Machine interface. The file goes back to the exact path it came from. If nothing is there, it simply appears. You do not have to pick a destination.
If a file with the same name already exists in that location, macOS asks what you want to do. Replacing swaps in the backup version and discards the current one. Keeping both leaves the current file alone and adds the recovered copy alongside it with a modified name. If you are still editing that document, keep both. You lose nothing either way except disk space, and keeping both costs you a rename.
Recovering a whole folder works the same way. Select it, click Restore, and the entire folder and its contents come back together with the folder’s original structure intact. This is the route to take when a folder got replaced wholesale, for instance after you dragged in a new set of files and lost the originals.
Want a safety net before you overwrite anything? Copy instead of Restore. With the item selected, press Command-C, then press Escape to leave Time Machine, navigate to a scratch folder, and press Command-V. You get a duplicate on your Desktop and a completely untouched original. It costs one extra step and it has saved me from losing an edit more than once.
Restoring a single app works the same way: open the Applications folder, enter the backup, find the app at the version you want, and restore it. Restoring the app alone does not necessarily restore its settings or support files, so expect to re-enter preferences for anything beyond a simple utility.
Mail, Notes, and Messages are trickier. Restoring the container folder gives you the data, but the app on the current Mac may have a database format newer than the one you just recovered, in which case the app will not read it. Pulling those out is best done onto a separate account or an older Mac rather than over the live version.
Pull Files Straight Off the Backup Volume
Sometimes Finder’s starfield view is not an option: the disk is read-only, the browse stalls on a huge backup, or you are working on a Mac that cannot spare the resources. In that case you can copy files out of the backup volume directly, treating it as a normal external drive.
| What you see | What it is |
|---|---|
| Backups.backupdb | The folder holding one dated folder per machine that has ever been backed up to this disk. Each machine gets a folder named after the Mac. |
| A folder with a computer name | That Mac’s backup history, with one subfolder per dated session and a “latest” shortcut pointing at the most recent one. |
| Dated folders inside it | Individual backup sessions. Each one is a sparse bundle holding the files as they stood at that moment. |
| Identical-looking files across dates | Hard links, not duplicates. Unchanged files are referenced rather than copied again, which is why a small backup can look enormous in Finder. |
Open the backup disk in Finder, go into Backups.backupdb, open the folder named after your Mac, and you will see the dated sessions. The “latest” entry is a shortcut to the most recent session, so grabbing that one gives you your current file set. If the “latest” shortcut is not there, use the newest date-named folder instead.
That is how you recover files on Windows or Linux, by the way. A Time Machine backup is a readable folder structure, and an APFS drive can be mounted on Linux with tooling that handles APFS snapshots. Expect the session folders to be sparse bundles that need unpacking before individual files appear, which is more work than the Finder route but workable when you have no Mac in front of you.
Recover an Entire Mac or User Account
A full restore is the right tool when the machine is unbootable, or when you are deliberately replacing everything and have verified the backup is complete. It is the wrong tool when you want one file back, and it is worth saying plainly that a full restore erases the destination Mac’s contents before writing the backup’s version.
The full restore path runs through macOS Recovery, and the key combination differs by hardware. Hold the power button until the startup options appear, then hold Command-R on an Intel Mac to load Recovery. On an Apple silicon Mac, hold the power button until the startup options appear and then click Options, then Continue. Older Intel machines use Command-R as well, and a handful of very old ones use Option-Command-R to force a slower startup volume first.
| Mac type | How to reach macOS Recovery | Note |
|---|---|---|
| Apple silicon (M-series) | Hold the power button, release, then click Options and Continue | There is no Command-R at startup; the startup options window is the only way in |
| Intel, 2011 and later | Hold Command-R while powering on | Loads Recovery from the internet when possible |
| Intel, 2006 to 2011 | Hold Command-R, or Option-Command-R for a different startup volume | Recovery may be local only, so keep the backup disk connected |
Inside Recovery, choose Restore from Time Machine, pick the backup disk, and select the snapshot you want. The destination is the internal drive of the Mac you are restoring, so anything on it goes away. Verify the date on the restore screen before you commit, and confirm you are not restoring onto a machine whose drive you need to keep.
If the Mac will not boot at all and you do not want to commit to a full restore, there is a middle path: boot from an external macOS installer disk, connect the Time Machine drive, and use Migration Assistant to transfer applications, files, and accounts onto that working system without erasing it. This is the setup people use for a machine with a failed drive, and it is far less destructive than a restore.
| Situation | What to use | What it replaces |
|---|---|---|
| One deleted or overwritten file | Finder > Browse Time Machine Backups > Restore | Nothing. Only the selected item changes. |
| A folder of older versions | Same method, select the folder | Nothing outside that folder |
| Replacing a whole Mac with a known-good state | macOS Recovery > Restore from Time Machine | The entire destination drive, apps, settings, and all |
| Moving to a new Mac, keeping the old one usable | External boot plus Migration Assistant | Nothing on the old Mac; adds a new user on the new one |
| Mac with a dead drive, need the data only | External boot, then browse or copy | Nothing |
Migration Assistant is worth calling out because it is the tool most people reach for first and the one least suited to a single file. It copies applications, files, accounts, and settings onto a new Mac as a new user, and it never erases the machine you are coming from. It lives in Applications > Utilities on both Macs, and you run it on the new one and point it at the old one or at a Time Machine backup disk.
Common Mistakes
Almost every failure I see traces back to one of the same handful of assumptions. Here they are, with the fix first.
Opening the wrong backup date. The most recent snapshot predates the deletion, so the file is not in it. Scrub back to a day you know the file was on the Mac, and check a day before the accident rather than the day of it.
Expecting to see deleted files in the current Finder window. You have to enter Time Machine first. The normal Finder view is your live, current disk and will never show historical versions.
Entering Time Machine from the wrong folder. The starfield view starts from the folder you opened. Go up a level or two, or use search from inside the backup.
Restoring over a file you still care about. Choose Keep Both when the prompt appears, or copy with Command-C and paste elsewhere instead of clicking Restore.
Treating a Time Machine icon as proof the backup is good. The icon in the menu bar means a destination is configured, not that tonight’s run finished. Open System Settings > General > Time Machine and read the last backup time, which is the number that actually matters.
Assuming a full restore is the only route. It is the most destructive route, and for one missing file it is entirely unnecessary.
Restoring the whole machine and then wondering why workflows broke. A full restore brings back every setting, including network, security, and domain bindings. On a work machine joined to a directory, expect sign-in problems afterwards and rejoin it afterwards rather than expecting the old binding to work.
When the backup disk will not show up at all
This is the most common problem in the forums, and none of the steps above matter until it is solved.
Check that the drive is powered. Many external drives need their own power, and a hub with nothing else drawing from it will not spin one up. Then look in Disk Utility, under View > Show All Devices, to see whether the Mac sees the physical disk even when Finder does not mount it. If it appears greyed out, run First Aid on it.
If the drive was formatted APFS with encryption, Finder will ask for a password every time it mounts. That prompt is the whole problem if you have forgotten the password; the data is intact but unreadable without it.
For NAS and SMB destinations, Finder needs the share mounted before Time Machine can browse it, and the credentials are cached only for the session. Connect to the share manually from Go > Connect to Server, authenticate, and only then enter Time Machine. Synology and TrueNAS users hit this constantly because the share has to be reachable before the timeline appears.
For a retired Time Capsule, the backup is still a normal disk once you take the hard drive out of the base station and connect it directly. Mounting it as a Time Machine destination is where the old network profile can bite, but for file recovery you can copy directly from the volume.
When Finder browse fails: copy files straight off the backup volume
If the starfield view stalls, shows an empty folder, or the disk mounts read-only, use the Backups.backupdb path described earlier. Open the disk, drill into Backups.backupdb, into the folder named after your Mac, and into the newest dated session. Copy the files you need to a normal folder, then rename and use them wherever you like.
The catch is that unchanged files inside a session are hard links to other sessions, and the session folders are sparse bundles. If you copy a folder and something looks odd, that is usually why, not data loss. Copying the whole folder rather than individual files avoids most of it.
When you would rather skip the GUI: tmutil
The Terminal has a direct route, which is useful for scripting a recovery across a mounted backup disk.
tmutil listbackups lists every backup session currently visible to Time Machine, with full dates and identifiers. tmutil restore <source> <destination> copies a path out of a backup into a destination of your choosing, which lets you place a recovered folder somewhere safe rather than over the original.
These commands do exactly what the Finder interface does, with none of the preview or keep-both conveniences. Use listbackups first to confirm the backup you expect is actually there, which also answers the “is my backup really running” question in one line.
Frequently Asked Questions
Can I recover a single file from Time Machine without restoring the entire backup?
Yes. Open the folder where the file originally lived in Finder, click the Time Machine icon in the menu bar, choose Browse Time Machine Backups, pick a date on the timeline when the file existed, select it and click Restore. Nothing outside that item is touched, so your apps, settings, and current files all stay exactly as they are.
Why can’t I see my files when I enter the Time Machine backup?
Usually one of three reasons. You entered from the wrong folder, so the starfield view is showing you a directory that never held the file: navigate up a level and try again. You are on a date after the file was deleted, so step back a day or two. Or the backup is read-only or not mounting properly, which you can check in Disk Utility.
How do I choose the right backup date in Time Machine?
Use the timeline down the right edge of the starfield window and click a date, or step day by day with the up and down arrow keys. Pick a day you are certain the file was on the Mac, and check earlier rather than later, since the most recent snapshot often predates the deletion. The date shown under the timeline updates as you move so you can confirm before restoring.
Can I restore Time Machine files to a different Mac?
Yes, and the backup disk needs no configuration on the new machine. Plug it in, open the folder the file came from, and browse it exactly as you would on the original Mac. For a complete transfer, boot the new Mac from an external macOS installer and use Migration Assistant, which copies applications, files, accounts and settings across without erasing either machine.
What should I do if my original Time Machine backup drive is missing?
First check whether the backup was configured to a NAS or SMB share rather than a local drive, and mount that share before assuming the backup is gone. An encrypted APFS backup will not open without its password. If the disk itself is gone, check the last backup time in System Settings for any recent session, and note that an unbacked deletion cannot be recovered by any means.
Does restoring a file from Time Machine overwrite the current version?
Only if you tell it to. If a file with the same name already exists, macOS asks whether to replace it or keep both, and Keep Both puts the recovered copy alongside the current one with a modified name. For a file you are still working in, copy it with Command-C and paste it elsewhere instead, so you keep a copy of both versions with no ambiguity.
Conclusion
Start with the simple version. Connect the drive, open the original folder, choose Browse Time Machine Backups, step back to a date before the file disappeared, and restore. Recover the documents and photos that actually matter first, because each restore is a small wait and nobody wants to sit through twenty of them before finding out the folder was the wrong one.
If the file is not where you expect, work outward rather than giving up. Go up a level, search from inside the backup, check a day earlier than you think you need, and if Finder refuses to cooperate, copy straight out of the Backups.backupdb session folder. If the backup disk will not mount at all, that is a Disk Utility, encryption, or network-authentication problem, not a lost file, and the fixes are above.
Once you have it back, spend two minutes in System Settings > General > Time Machine and look at the last backup time. If it is not recent, the reason you needed to learn how to recover files from a Time Machine backup is still sitting there waiting to happen again.