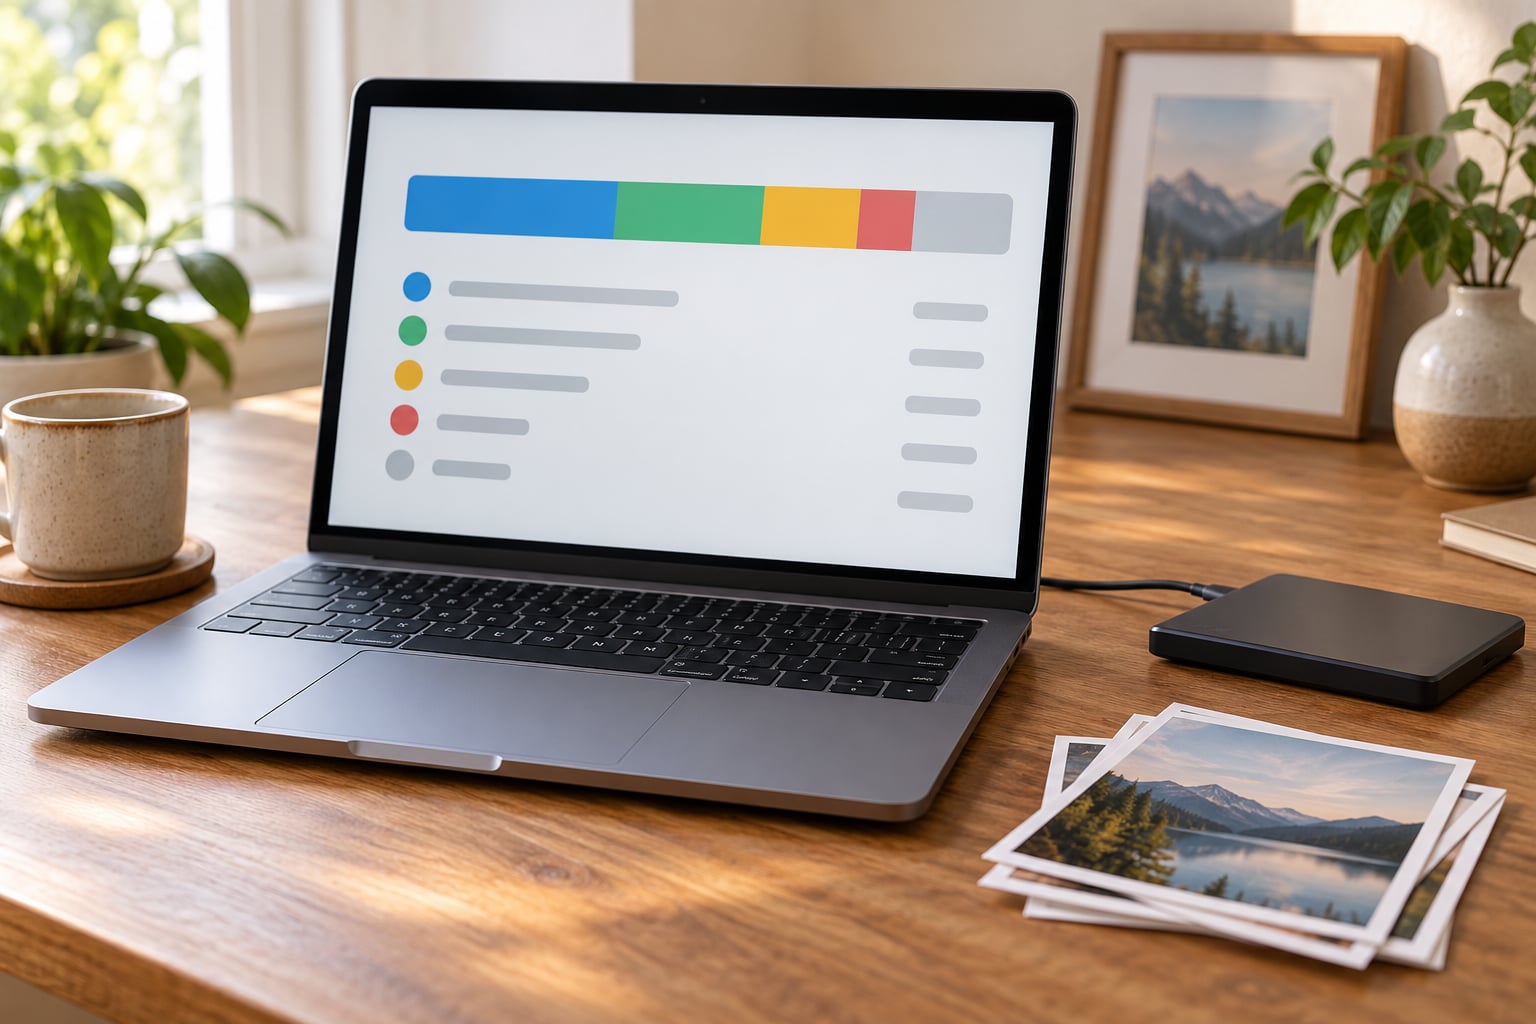
To check Mac storage usage, click the Apple menu, choose System Settings, then General, then Storage. macOS draws a color-coded bar showing how your internal drive is split across Applications, Documents, macOS, System Data, Photos and iOS Files, with free space in gray. The whole check takes about 30 seconds.
The catch is what that bar doesn’t show. It gives you category totals, not the individual files behind them, so a fat System Data number tells you almost nothing on its own. Once you know which category is heavy, you drill down in Finder before you delete anything.
Updated for 2026. Menu paths below cover current macOS plus Monterey and earlier, since the settings app replaced System Preferences in 2022 and most search results still show the old path.
Table of Contents
- 1What You Need
- 2Step-by-Step: How to Check Mac Storage Usage
- 3Open Mac Storage Settings
- 4How to Check Used and Available Space
- 5Find Large Files and Folders
- 6Review Applications and System Data
- 7Free Space Safely
- 8Common Mistakes
- 9Frequently Asked Questions
- 10How do I check storage usage on an older Mac?
- 11Why is my Mac’s System Data taking up so much space?
- 12Is it safe to delete cached files or System Data?
- 13Where are my iPhone or iPad backups stored on my Mac?
- 14How do I move large files to an external drive?
- 15Why hasn’t my Mac’s available storage changed after deleting files?
- 16Conclusion
What You Need
Your Mac and your Apple Account. That is genuinely the whole list for checking storage, and anyone who tells you a paid cleaner is required is selling you something.
Optional extras, depending on how deep you want to go:
- An external drive, if you plan to move photos or video off the internal SSD rather than delete it.
- A current backup, either a Time Machine drive or an iCloud backup, before any cleanup beyond emptying Trash.
- A reputable storage analyzer such as GrandPerspective, if the built-in screen leaves you guessing about System Data.
Step-by-Step: How to Check Mac Storage Usage
Four clicks get you to the screen. Read it in this order:
- Click the Apple menu in the top-left corner.
- Choose System Settings.
- Select General in the sidebar.
- Click Storage, then wait for the categories to finish calculating.
That last wait matters. The bar populates category by category, and the sizes shown on the first few seconds are frequently wrong.
Open Mac Storage Settings
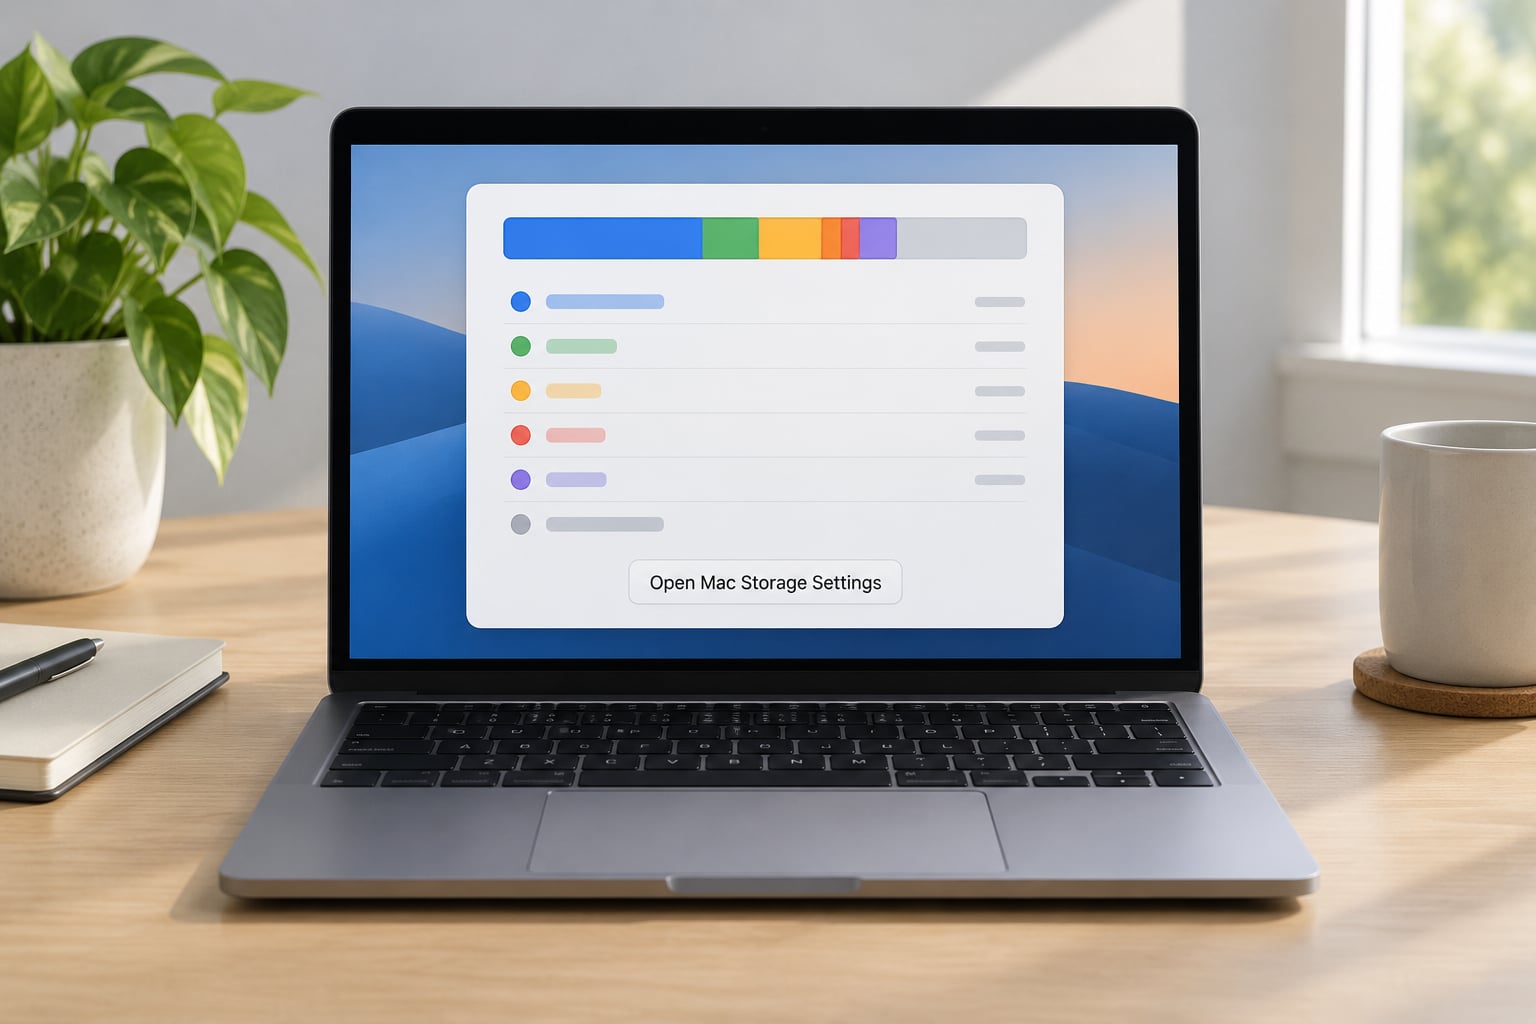
The current path is Apple menu > System Settings > General > Storage. On macOS Monterey and earlier there is no System Settings app, so use Apple menu > System Preferences, or Apple menu > About This Mac and click the Storage tab.
Which macOS are you on? Click the Apple menu and look at the About This Mac line. If it says anything below Ventura, the legacy path is the correct one and the guides showing System Settings do not apply to your machine.
What you get on that screen is a bar showing total capacity, used space and available space, plus the color-coded category list underneath. That is the whole of how to check mac storage usage on the built-in tools, and every other method is really an escalation from here.
How to Check Used and Available Space
Read the top line first: total capacity, space used, space available. Below it, each category shows a size and a colored segment, and hovering a segment highlights it.
Two details trip people up. First, the categories do not always add up to the used total, because macOS also counts purgeable space, which is space it is currently holding but will release itself when it needs to. Second, the percentages take several minutes to settle after a big change, so a figure you read right after deleting something is not the figure you want to trust.
Apple’s own guidance is to keep 10 to 15 percent of the drive free. Below that, updates fail, swap and video editing stutter, and caches grow on their own.
Find Large Files and Folders
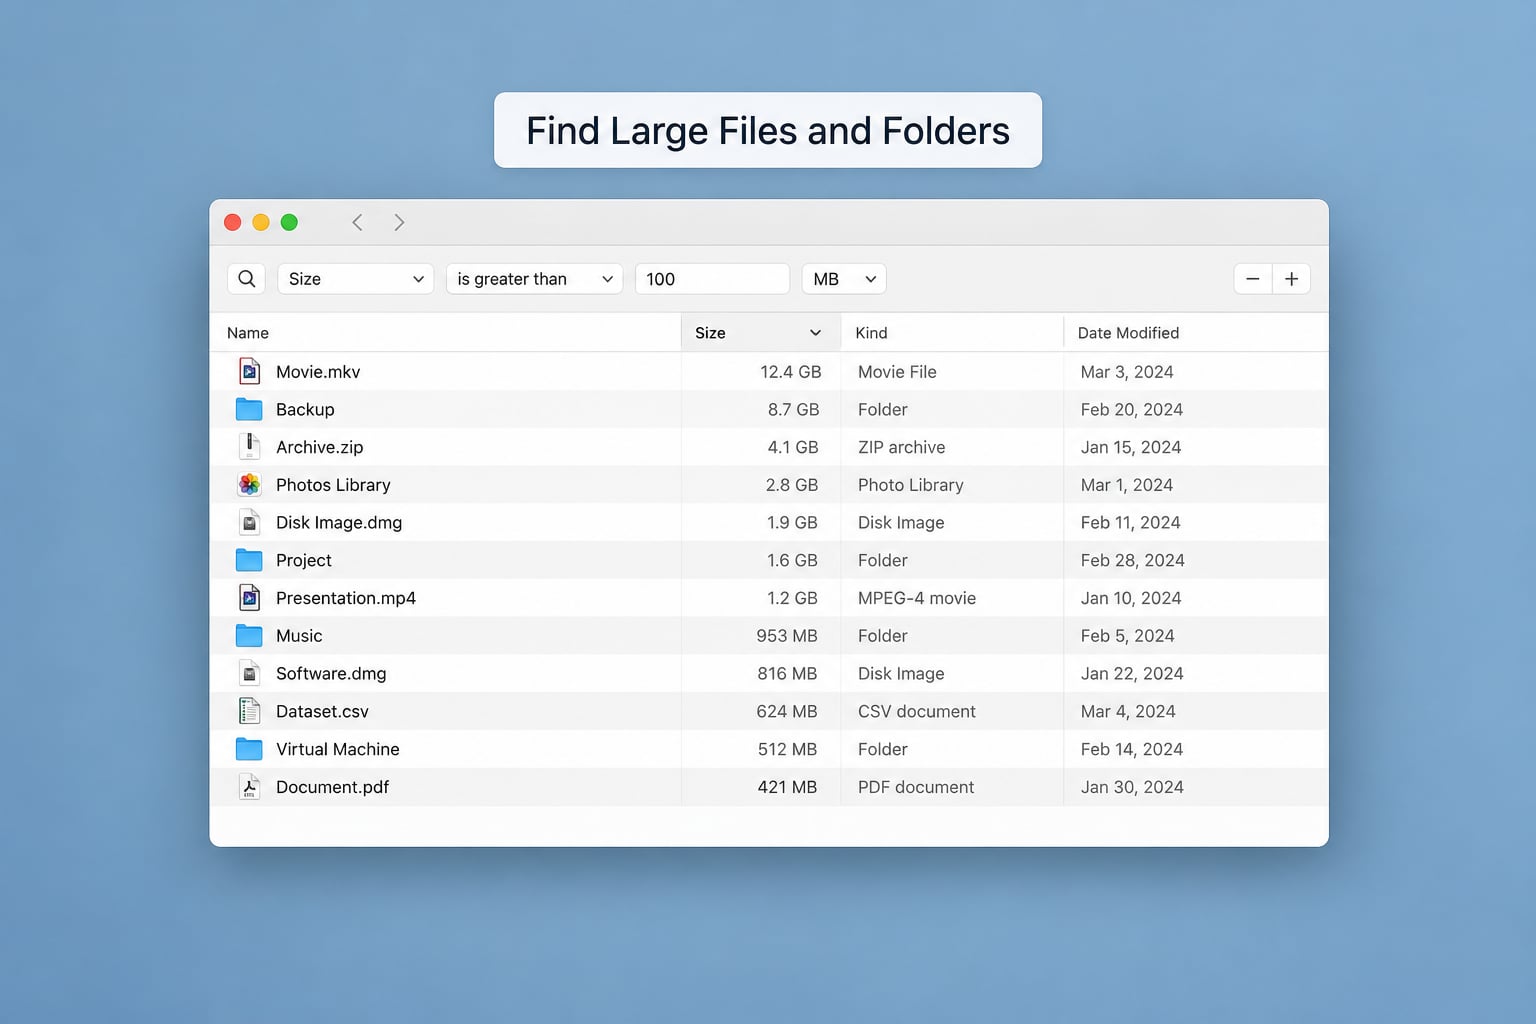
Open Finder, pick Macintosh HD in the sidebar, then switch to list view with Command-2. Now click the Size column header once and the biggest items in the current folder sort to the bottom. That alone finds most of what people are looking for.
For a proper sweep, open a Finder window, press Command-F, click the search scope dropdown and choose This Mac. Click the plus button on the right of the search field, set the first dropdown to Kind and pick File Size, then set the second to is greater than and enter a threshold such as 100 MB. Every file above that size across your whole drive shows in one list.
Check these places first, in this order: Downloads, Desktop, Movies, and the iPhone backup folder inside Library. None of these require a third-party tool, and the Command-F filter has one known blind spot worth naming, since it skips most system and cache folders where a lot of the real weight hides.
Review Applications and System Data
Applications is the easiest category to act on. Click the small i button beside it and macOS lists every installed app with its size, largest first. Apps you stopped opening months ago are the obvious candidates, and removing them from that list, rather than dragging a folder out of Applications, is the correct way to uninstall.
System Data is the category nobody can explain from the screen itself. It is a catch-all for caches, logs, temporary app files, update downloads, local Time Machine snapshots and a rotating cast of everything macOS cannot attribute elsewhere. That is why it is also the number most likely to look inflated.
Never delete anything inside the System folder or the Library folder to shrink it. Those are not space hogs you are allowed to clean by hand, and a stray removal there causes problems that a reinstall is needed to fix.
Free Space Safely
Make sure you have a recent backup first. Then work down this list, stopping as soon as you have enough room.
- Empty the Trash, after opening it and looking at what is actually in there.
- Sort Downloads by date and delete installers, archives and duplicate downloads.
- Remove old iPhone or iPad backups from Finder, keeping the most recent one.
- Turn on Optimize Mac Storage in Photos, or move the library to iCloud Photos.
- Move large media to an external drive and point your app at that location instead of copying it back.
If System Data is the problem and none of that worked, restart into Safe Mode and back to normal. That is the fix MacRumors and r/mac threads keep coming back to, and it often collapses a bloated System Data figure back to something sane.
Common Mistakes
- Deleting System Data by hand in Finder. The fix: leave it alone. Restart the Mac, and if the number is still large, use the Safe Mode restart rather than touching system folders.
- Emptying the wrong Trash. Each drive and each account has its own. The fix: click the Trash icon in the Dock rather than a Finder window’s Trash, which shows only that location.
- Assuming an external drive is a backup. Dragging files to an external disk is a move, and a failed drive takes the only copy with it. The fix: keep a real backup on a separate drive or iCloud.
- Reading a number that has not finished calculating. The fix: wait for the categories to settle, close the pane, reopen it, then read the sizes.
- Deleting an app that holds unsynced documents. The fix: check whether documents live in the app’s folder in Documents or iCloud Drive before you remove it.
- Believing the categories must add up to the used total. They will not, because of purgeable space and rounding. The fix: treat the bar as a direction, then confirm sizes in Finder.
One habit beats all of this: keep at least 10 to 20 percent of your drive free and check it once a quarter, the same way you would check the oil in a car.
Frequently Asked Questions
How do I check storage usage on an older Mac?
On macOS Monterey and earlier, click the Apple menu and choose About This Mac, then open the Storage tab. The bar and category breakdown are the same, just in an older window. If your About This Mac line reads Ventura or later, use Apple menu System Settings General Storage instead.
Why is my Mac’s System Data taking up so much space?
System Data is a catch-all bucket for caches, logs, temporary app files, update downloads and local Time Machine snapshots, and macOS files anything it cannot attribute elsewhere. It also grows and shrinks on its own, which is why it can swell by tens of gigabytes overnight and shrink again after a restart. A sudden jump is usually swap, caches or a pending backup.
Is it safe to delete cached files or System Data?
Do not delete System Data directly, and do not remove anything by hand from the System folder or the Library folder. Caches rebuild themselves, but deleting them incorrectly can cause application faults that need a reinstall. The safe route is to restart the Mac, and if the figure stays high, restart into Safe Mode and back, which clears most of the buildup without you touching a single file.
Where are my iPhone or iPad backups stored on my Mac?
They sit in your Home folder under Library, in Application Support, then MobileSync, then Backup. The Library folder is hidden by default, so open Finder, press Command-Shift-Period to reveal hidden items, or use Go to Folder and type the path directly. Each device gets its own folder, and old backups of replaced phones are often several gigabytes each.
How do I move large files to an external drive?
Connect the drive, open it in Finder, then drag the folder or files across and wait for the copy to finish before deleting the originals. Verify the copy by opening a file from the external drive. To keep working in the original location, move the library in Photos, Music or Movies and point the app at the new folder in its preferences.
Why hasn’t my Mac’s available storage changed after deleting files?
Usually one of three things. The available figure has not refreshed, so close System Settings and reopen it. The files went to Trash instead of disappearing, so empty it. Or the space went to purgeable space, which macOS still counts as used until something needs it. Restarting the Mac forces a fresh calculation and usually settles the number.
Conclusion
Open System Settings > General > Storage, read the colored bar, and note the largest category. If it is Applications, work down the info-button list. If it is System Data, restart before you delete anything. If it is Documents or Photos, sort Finder by size and hunt through Downloads and iPhone backups first.
Checking Mac storage usage twice a year takes five minutes and catches a filling drive long before macOS starts complaining about it.