Learning how to use a keyboard and trackpad with an iPad takes about five minutes: put the accessory into pairing mode, open Settings, tap Bluetooth, then tap the device name under Other Devices. Any Bluetooth keyboard and any Bluetooth mouse or trackpad works on an iPad running iPadOS 13.4 or later, including models you already own.
Pairing is the easy half. The half that trips people up is what happens on the settings screen afterwards — Tap to Click is off by default, natural scrolling runs the opposite direction from most desktop mice, and a first-generation Magic Trackpad will connect happily and then refuse to scroll. Those three quirks produce most of the “my trackpad does not work” posts I read, and all three are fixable in about a minute.
This guide covers the current iPadOS menu paths as of 2026, so the Settings taps below should match what you see on screen. It also covers the USB-C hub and dongle route, which is what most people actually want when they are trying to avoid buying a keyboard case.
Table of Contents
- 1What You Need
- 2Step-by-Step
- 3Step 1: Check Compatibility and Choose a Connection
- 4Step 2: Connect a Bluetooth Keyboard
- 5Step 3: Connect a Bluetooth Trackpad
- 6Step 4: Connect Accessories With USB-C or Smart Connector
- 7Step 5: Configure Keys, Pointer Speed, and Gestures
- 8Step 6: Test Typing and Trackpad Shortcuts
- 9Common Mistakes
- 10Frequently Asked Questions
- 11Can I use a keyboard and trackpad at the same time on iPad?
- 12How do I connect a keyboard to an iPad with USB-C?
- 13Why is my iPad trackpad not working after I connect it?
- 14Can I use a mouse instead of a trackpad with an iPad?
- 15How do I change the pointer speed or scrolling direction?
- 16Will a Bluetooth keyboard or trackpad drain my iPad battery?
- 17The Short Version
What You Need
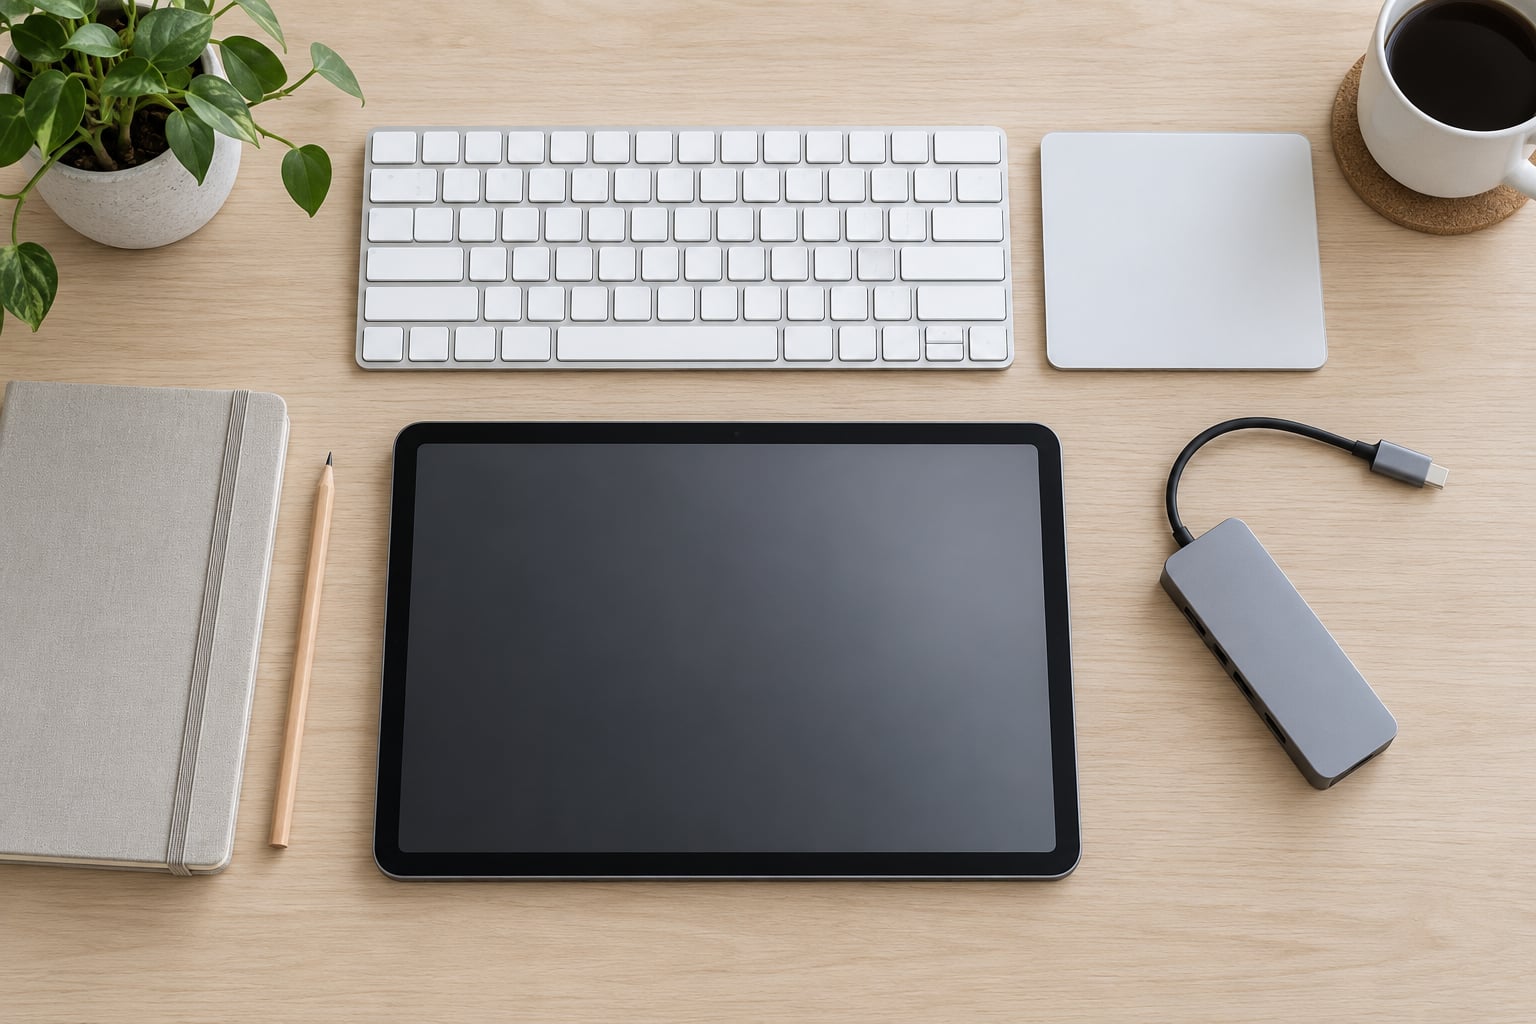
You need three things, and you probably already have all of them: the iPad, the keyboard or pointer, and about five minutes. Nothing needs downloading, and no special app is involved. iPadOS handles standard Bluetooth keyboards, mice and trackpads directly.
Check your iPad model and software version first. Go to Settings, tap General, then About. The model name sits at the top, and the software version sits a few lines down.
- iPad Pro, every model from 2015 on — pointer support and hardware keyboard support both included.
- iPad Air 2 and later, including Air 3, 4 and 5 — pointer and hardware keyboard supported.
- iPad 5th generation and later, including the 10th and 11th generation — pointer and hardware keyboard supported.
- iPad mini 4 and later, including mini 6 and 7 — pointer and hardware keyboard supported.
- iPad Air 1, iPad mini 2 and 3, other older iPads — no pointer support; Bluetooth keyboards only.
Any of those supported models needs iPadOS 13.4 or later. If your version is older, tap General, then Software Update, and install it before you start pairing anything.
Next, decide how the accessory will connect. There are four common options:
- Bluetooth. The default for nearly every keyboard and mouse made in the last decade. Pair once and the iPad remembers it.
- A 2.4GHz receiver dongle. A tiny USB-A plug that ships with the accessory. You need a USB-C hub or adapter with a full-size USB-A port to fit it.
- A wired USB-A mouse or keyboard. Same adapter requirement, no pairing steps at all. A wired mouse is often steadier than the wireless version of the same mouse.
- Smart Connector. The Smart Keyboard Folio and the older Smart Keyboard attach magnetically to the side of the iPad through three contact pins. No Bluetooth pairing, but they only fit those specific iPad models.
One practical note on hubs: while something is plugged into the USB-C port, the iPad cannot charge an Apple Pencil in its magnetic dock at the same time. If you rely on the Pencil for drawing or note-taking, plan to unplug the hub while you charge.
Step-by-Step
Step 1: Check Compatibility and Choose a Connection
Open Settings, tap General, then About, and note two things: the model name and the iPadOS version. If the version reads 13.4 or higher, every pointer and keyboard on the market will connect. Older versions only accept Bluetooth keyboards, so an update comes first.
Then match the accessory to a connection. A Bluetooth device needs nothing extra. A dongle or wired mouse needs a USB-C hub or a USB-C to USB-A adapter, because iPads have no full-size USB-A port. A Smart Keyboard Folio needs no cable and no pairing at all.
You’ll know you picked correctly when you skip ahead to Step 5 without an adapter error on screen.
Step 2: Connect a Bluetooth Keyboard
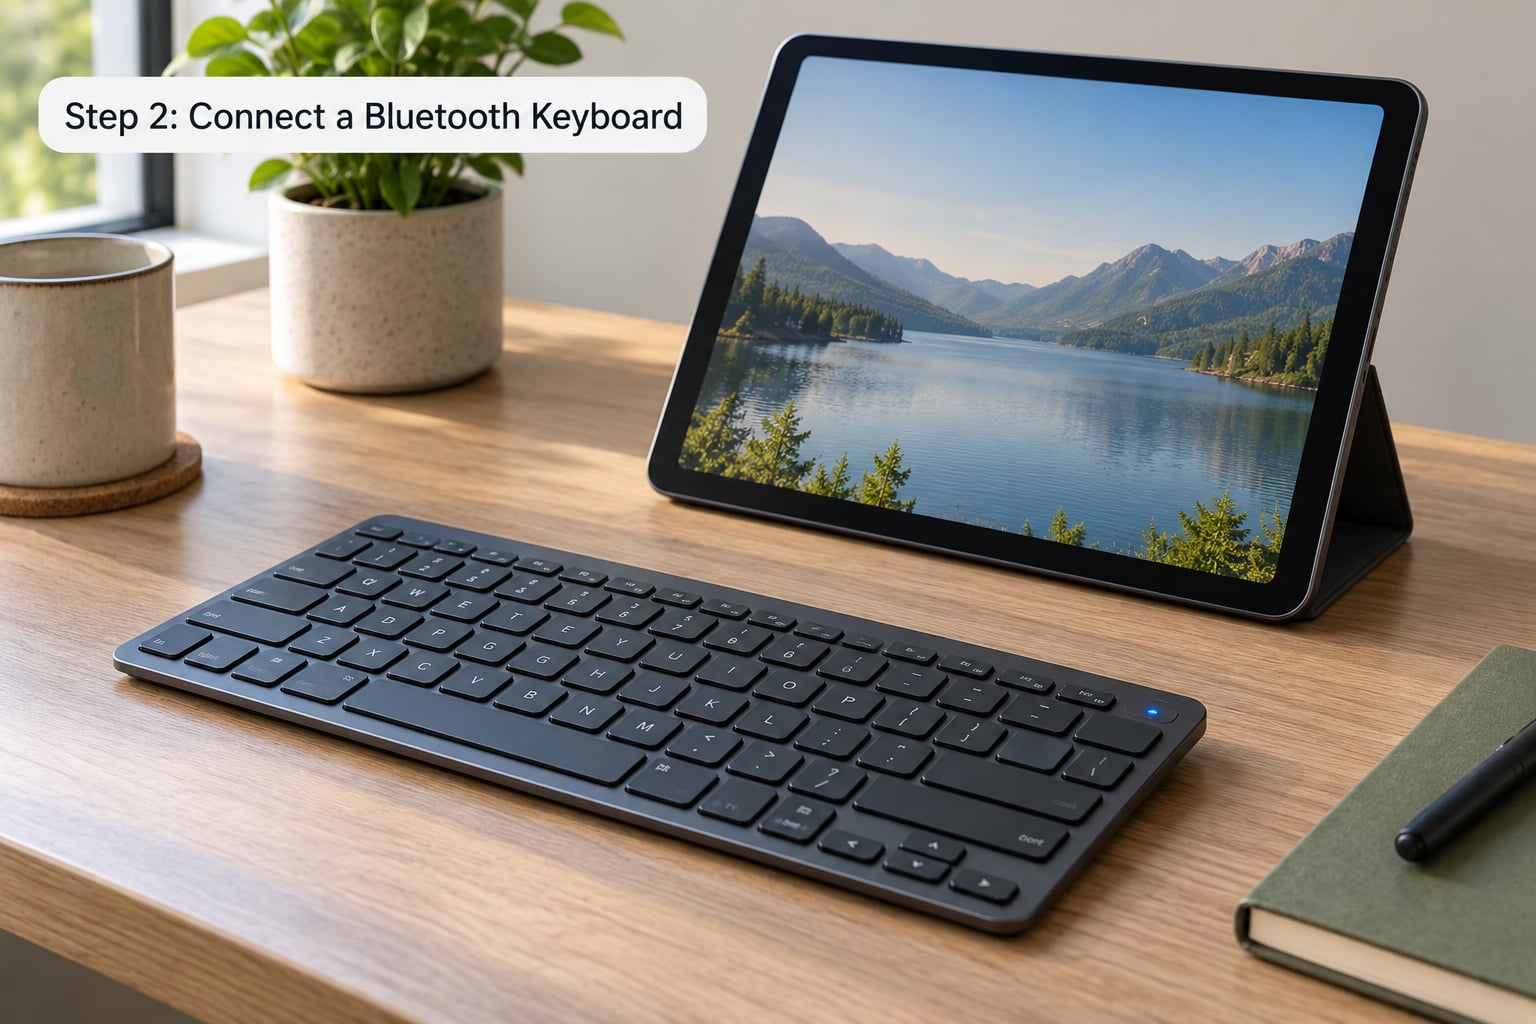
Turn the keyboard on and hold its pairing or Bluetooth key until the indicator light blinks rapidly. The exact combination is in the keyboard’s manual — on many compact boards it is a single Bluetooth key on the top row, and on others it takes two or three keys held together.
On the iPad, open Settings and tap Bluetooth. Make sure the Bluetooth switch at the top is on and visibly green. Then scroll to the section labelled Other Devices.
Tap the keyboard’s name in that list. If the keyboard has no screen, pairing is silent and usually done within a few seconds. If your iPad asks for a code, type the digits it shows and press Return.
You will know it worked if the keyboard moves from Other Devices to My Devices and reads Connected. To confirm iPadOS sees it as a hardware keyboard, go to Settings, tap General, then Keyboard, then Keyboards, then Edit — your keyboard’s name appears there with options like Shortcuts and Text Replacement.
Step 3: Connect a Bluetooth Trackpad
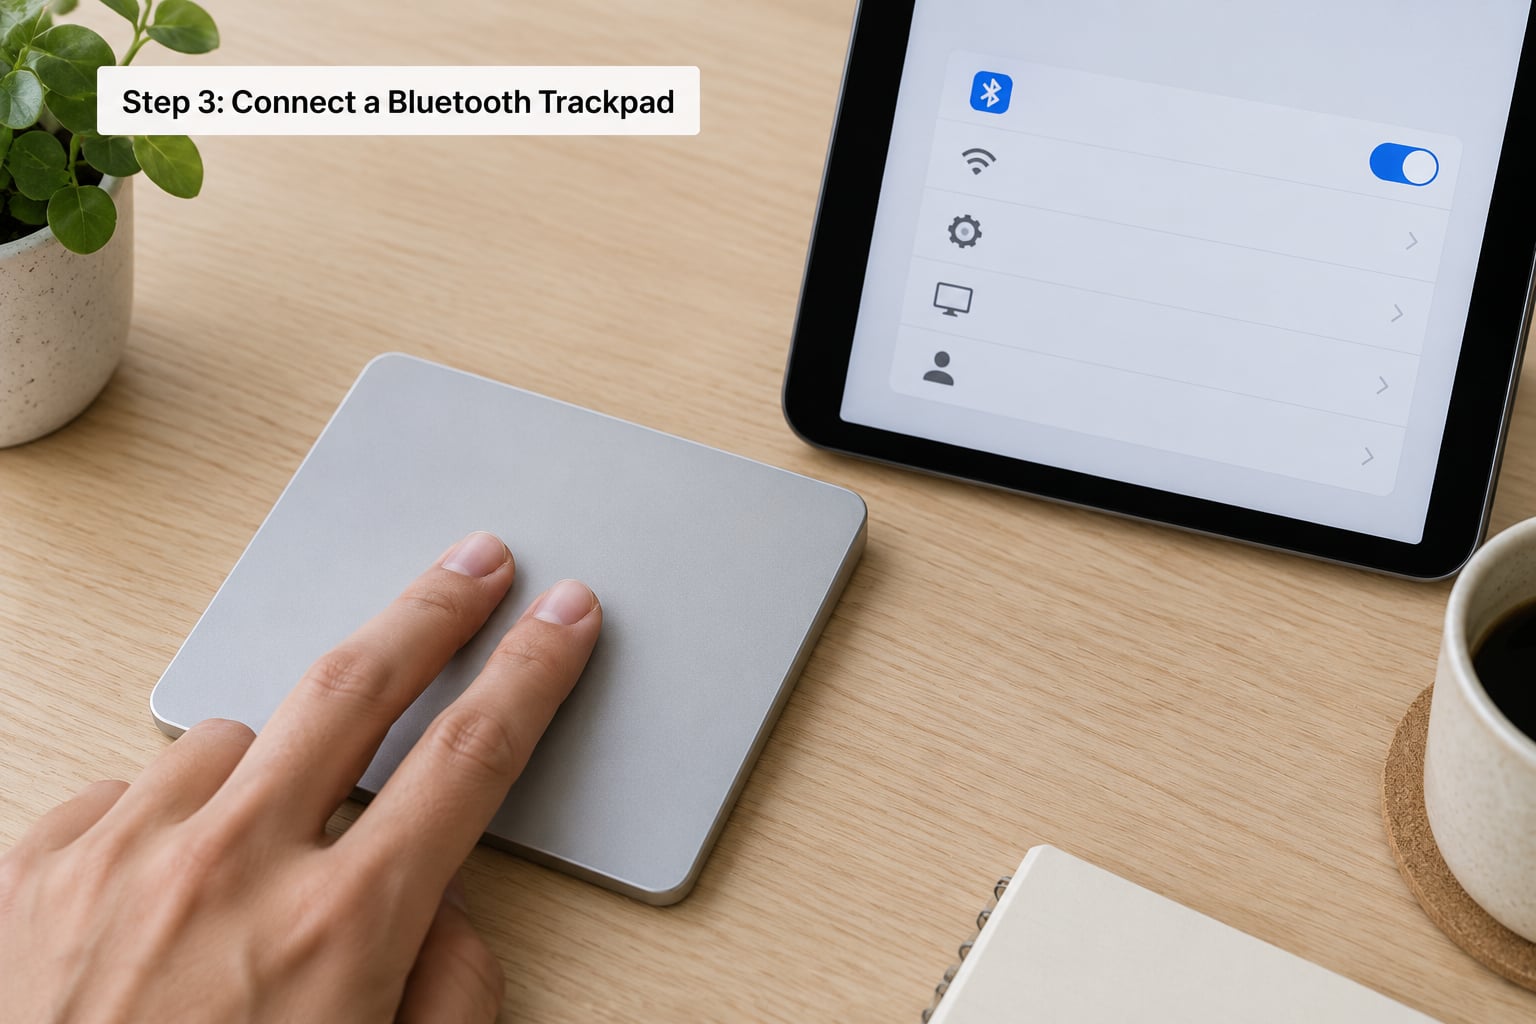
The path is the same as for a keyboard, with one extra step. Put the trackpad or mouse into pairing mode, open Settings, tap Bluetooth, and tap its name under Other Devices.
If the accessory has no screen of its own — Magic Mouse and Magic Trackpad both work this way — your iPad shows a four-digit pairing code on screen. Type the digits exactly as displayed and press Return.
Move two fingers across the surface. A pointer appears immediately, which confirms the pairing. Then test each input in turn:
- One finger moves the pointer.
- Two fingers scroll a page or list.
- Tap or click once to select.
- Two-finger tap opens the secondary (right) click menu, after you enable it in Step 5.
- Three-finger swipe up opens the app switcher.
If the pointer moves but nothing scrolls, you have one of the two problems described in Common Mistakes below, and it is not a pairing fault.
Step 4: Connect Accessories With USB-C or Smart Connector
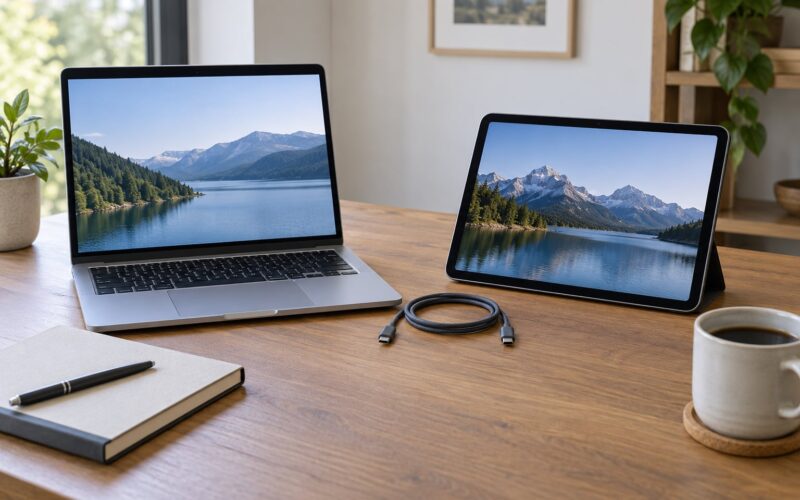
For a dongle keyboard or a wired mouse, plug the USB-A end into a USB-C hub or a USB-C to USB-A adapter, then plug the hub into the iPad. There is nothing to pair. Move a finger or scroll the wheel and the pointer appears straight away — that instant response is how you confirm the connection is live.
A 2.4GHz receiver works the same way. Insert the dongle into the hub’s USB-A port, and the accessory connects to that receiver rather than over Bluetooth. If the dongle sits flush against the metal body of the iPad, it can drop the connection; a short hub that holds it a few centimetres away is more reliable.
For Smart Connector accessories, remove any case first, then attach the keyboard with the iPad flat and the Smart Connector strip facing the keyboard’s three pins. It should latch with a light click. Lift the edge to confirm it is held firmly, then rotate into position. No Settings work is needed, but the keyboard only draws power while it is attached.
Anything wired through a hub draws power from the iPad’s battery, and the iPad charges more slowly while a hub is attached. Unplug it when you are not using the accessory.
Step 5: Configure Keys, Pointer Speed, and Gestures
Pairing leaves everything at defaults, and the defaults feel wrong to anyone coming from a computer. These are the controls worth changing, with current iPadOS paths. Older iPadOS versions put several of them elsewhere, so if a path does not exist on your device use the closest equivalent listed below.
- Tap to Click — Settings > General > Trackpad. Lets a tap register as a click.
- Natural Scrolling — Settings > General > Trackpad. Reverses scroll direction; turn it off for desktop-style scrolling.
- Three Finger Drag — Settings > General > Trackpad. Lets a three-finger drag move a window or a selection to a screen edge.
- Scroll Speed — Settings > Accessibility > Touch > Pointer Control. Sets how far the page moves per swipe.
- Secondary Click — Settings > Accessibility > Touch > Pointer Control. Turns two-finger tap or Control-click into a right click.
- Drag Lock — Settings > Accessibility > Touch > Pointer Control. Keeps holding a drag until you release, useful for resizing.
- Auto-Correction, Text Replacement, One-Handed Keyboard — Settings > General > Keyboard. Typing behaviour with a hardware keyboard attached.
- Full Keyboard Access — Settings > Accessibility > Keyboard. Tab between controls and focus items with Tab and Shift-Tab.
Two typing changes matter more than the rest for people writing long documents. Switch off Auto-Correction in Settings, then General, then Keyboard, because autocorrect fights with real punctuation. And set a Shortcut for the Dictation key under Keyboard, then Keyboards, then Edit if you dictate rather than type.
Step 6: Test Typing and Trackpad Shortcuts
Open Notes, tap into a new note, and type a line of text. If characters appear and the keyboard’s return key works, the hardware keyboard is fully connected. Now scroll up and down with two fingers inside the note field, and two-finger tap to see whether the context menu appears.
These shortcuts are the part that actually replaces a laptop:
- Command + Tab — switch between open apps.
- Command + Space — open Spotlight search.
- Command + Shift + H — return to the Home Screen.
- Control + Command + Space — open the emoji picker.
- Control + Space — switch to the next keyboard.
- Command + S — save in Pages, Numbers and Keynote.
- Command + Option + Escape — force quit the frontmost app.
- Four-finger swipe up — app switcher, which works with a pointer attached.
One small annoyance to plan for: when a hardware keyboard is attached, the on-screen keyboard stays hidden. Tap the small keyboard button in the lower-right corner to bring it back whenever you want it.
Common Mistakes
The keyboard will not appear under Other Devices. Charge it first, then hold the pairing key again — most boards drop out of pairing mode after thirty seconds or so. If it is already paired to a laptop or phone, Bluetooth keyboards connect to one device at a time; turn that other device off, or disconnect the keyboard there first. Failing both, restart the iPad and try once more.
The pointer moves but nothing scrolls. This is almost always the first-generation Magic Trackpad or first-generation Magic Mouse, the replaceable-battery models. Those two pair fine and then do not scroll or respond to gestures on iPad. Newer Magic hardware handles both without trouble.
The keyboard is listed as a hardware keyboard you did not connect. Some mice register in the hardware keyboard list too. Go to Settings, then General, then Keyboard, then Keyboards, tap Edit, switch that entry off and back on, and the double entry clears up.
My Mac grabs the keyboard first. A Bluetooth keyboard paired to both devices goes to whichever one asks last. On the iPad, open Settings, then General, then AirPlay & Continuity, and toggle Cursor & Keyboard off to hand control back to the Mac. Turning the matching toggle off on the Mac does the same in the other direction. With both devices signed into the same Apple Account on the same Wi-Fi, the same pointer can move between them instead of jumping.
A warning says using this accessory may affect Wi-Fi and Bluetooth connectivity. That message appears when a 2.4GHz receiver is positioned very close to the iPad, because the two radios interfere. Move the dongle out with a short USB-C hub, or switch the accessory to Bluetooth entirely.
Keys feel wrong, or shortcuts do nothing. Some inexpensive third-party keyboards ship without a Command key, and iPadOS cannot remap one. Control substitutes for Command on several shortcuts, but a keyboard with a proper Command or Windows key is the smoother buy.
Finally, check battery levels before you blame the connection. Swipe right on the Home Screen to reach Today View and look for the Batteries widget — it reports the charge on a paired keyboard, mouse or trackpad in the same place as your AirPods.
Frequently Asked Questions
Can I use a keyboard and trackpad at the same time on iPad?
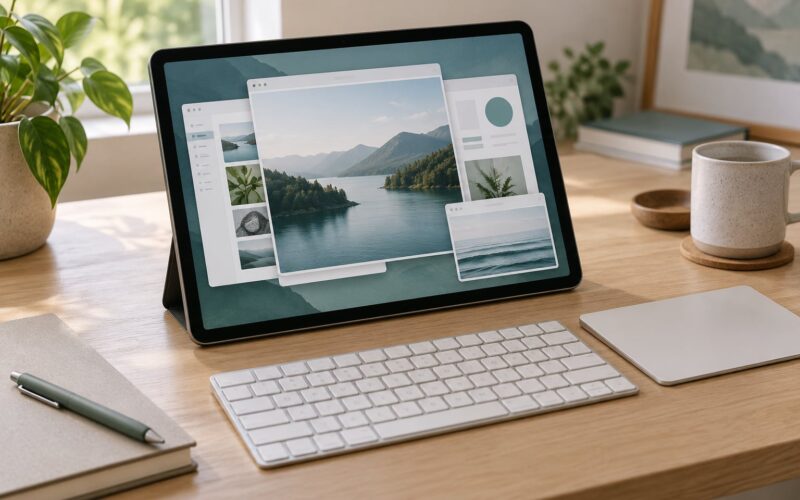
Yes. Pair the keyboard over Bluetooth first, then pair the trackpad or mouse the same way, and both stay connected at once. iPadOS treats them separately: the keyboard handles typing and shortcuts while the pointer handles cursor movement, clicking and gestures. If one accessory uses the Smart Connector, like a Smart Keyboard Folio, attach that one magnetically and pair the pointer over Bluetooth.
How do I connect a keyboard to an iPad with USB-C?
You need a USB-C to USB-A adapter or a USB-C hub with a USB-A port, because iPads have no full-size USB-A socket. Plug the adapter into the iPad and the keyboard into the adapter. There is no pairing step and no Settings change: type and the keyboard works immediately. Keep in mind the iPad charges more slowly while a hub is attached, and the Apple Pencil cannot charge in its magnetic dock at the same time.
Why is my iPad trackpad not working after I connect it?
If no pointer appears, the accessory is not actually paired: open Settings, tap Bluetooth, check the device under My Devices reads Connected, and tap it once more if it does not. If the pointer moves but does not scroll or respond to gestures, you most likely have a first-generation Magic Trackpad or Magic Mouse, the replaceable-battery models, which pair successfully but do not support scrolling on iPadOS.
Can I use a mouse instead of a trackpad with an iPad?
Yes, and nothing extra is required. Any Bluetooth mouse works the same way as a trackpad: pairing mode, then Settings, Bluetooth, then the device name under Other Devices. Standard mice support pointer movement, clicking and the scroll wheel. Gestures such as tap to click and three-finger drag need trackpad hardware, since a mouse has no surface to detect fingers on.
How do I change the pointer speed or scrolling direction?
Scroll speed lives in Settings, then Accessibility, then Touch, then Pointer Control, where a slider sets how far the page moves per swipe. Scroll direction is in Settings, then General, then Trackpad, where Natural Scrolling is on by default. Turn it off and scrolling matches a desktop mouse, dragging content the same way as every other computer you own.
Will a Bluetooth keyboard or trackpad drain my iPad battery?
Barely. A paired keyboard or trackpad draws power from its own battery rather than the iPad’s, so the usual drain you see is the screen staying on while you type, which any keyboard or trackpad would cause. Keep an eye on both: the Batteries widget in Today View shows the charge level of each paired accessory, and the iPad itself shows in the same place.
The Short Version
If you are starting from scratch today, do this: check your iPadOS version, put the keyboard in pairing mode and pair it from Settings, Bluetooth, Other Devices, then repeat for the trackpad. Head straight to Settings, then General, then Trackpad and turn on Tap to Click before anything else. That single step is what makes an external pointer feel natural instead of fiddly, and it is the fastest way to learn how to use a keyboard and trackpad with iPad well.