Setting up an iPad for the first time takes about 20 to 30 minutes of tapping, and you never need a computer. The whole job is five decisions in order: pick your language and region, join Wi-Fi, sign in with an Apple Account, decide whether to bring data over from an old device, then turn on security.
That last part is where beginners get stuck, usually over one of three things: how much data to transfer, how long the software update takes, and which lock method the iPad actually has. Get those three right and the rest is adjusting preferences later. This guide walks the current iPadOS setup screens in the order they appear, with the exact words you’ll see on the display.
Table of Contents
- 1What You Need
- 2Step-by-Step: How to Set Up an iPad for the First Time
- 31. How to set up an iPad for the first time: start it and choose your language
- 42. Connect to Wi-Fi or use a cellular iPad
- 53. Sign in with your Apple Account and choose a transfer option
- 64. Turn on automatic updates and install iPadOS
- 75. Finish the security and privacy choices
- 86. Set the date, region, and accessibility preferences
- 97. Add your email, calendars, and contacts
- 108. Choose essential apps and configure notifications
- 119. Verify your iPad is ready
- 12Common Mistakes
- 13Frequently Asked Questions
- 14Do I need an Apple Account to set up a new iPad?
- 15How long does it take to set up an iPad for the first time?
- 16Can I use my iPad before the iPadOS update finishes?
- 17What should I do if I forgot the passcode on my new iPad?
- 18Can I transfer everything from my old iPad to a new iPad?
- 19Should I enable Find My on a new iPad?
- 20Conclusion
What You Need
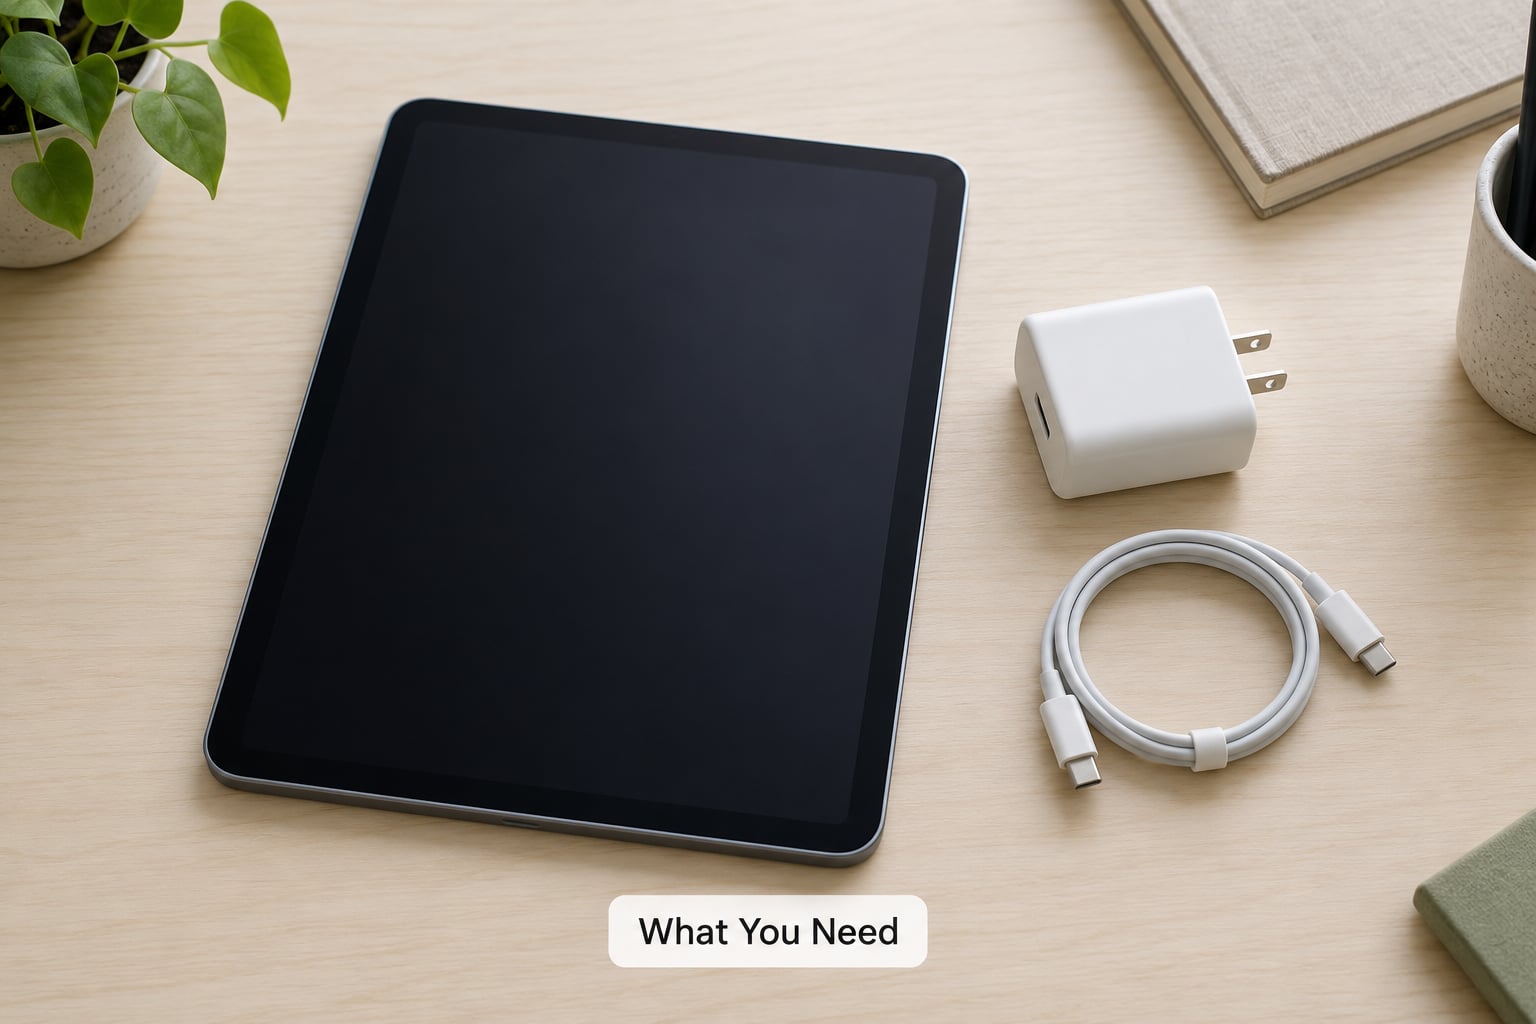
You need the iPad, its charging cable, and an Apple Account. The Apple Account is the same login you use for the App Store, iCloud, and messages, and you need its password plus a way to receive the six-digit verification code.
You also need your Wi-Fi network name and password. Most home routers have that printed on a sticker on the back of the router, so check before you start rather than guessing into a text field.
- The iPad and the cable it came with.
- An Apple Account email address and password, plus a phone number for two-factor verification.
- Wi-Fi name and password, written down or on the router sticker.
- Your old Apple Account password if you are transferring from another Apple device, so you can stop the transfer if you change your mind.
- Ten minutes of free time on a charger, and roughly 15 to 20 GB of free storage if you plan to restore a backup.
A keyboard, an Apple Pencil, a case, and a SIM card are all optional at this stage. None of them are needed to complete setup. If you do plan to restore from a full iCloud backup, check your storage first, because a backup bigger than the iPad’s capacity will fail partway through.
One thing worth knowing before you begin: the exact screens vary a little by iPad model, iPadOS version, language, and region. A Wi-Fi iPad and a Wi-Fi + Cellular iPad ask different questions about mobile data, and models with Touch ID ask for a fingerprint where models with Face ID ask for a face scan.
Step-by-Step: How to Set Up an iPad for the First Time
The setup assistant runs once, on first boot, and it presents the same nine stages in the same order. You can pause it and finish later, and if a step looks unfamiliar, stop and check the note under that step.
Two things can interrupt the order. A Quick Start prompt may appear when your old iPhone or iPad is nearby, and if a software update is waiting it will claim the screen until it finishes. Neither is a failure. Let’s go stage by stage.
1. How to set up an iPad for the first time: start it and choose your language
Press and hold the power button until the Apple logo appears, then release. On a model with Touch ID, you can also hold the top button. The iPad shows a Hello screen with a list of languages, and you tap the one you want, then tap the arrow in the top corner.
Next comes Country or Region, which sets the App Store storefront, default date format, and phone numbering rules. Pick your actual country. Changing it later is possible but messy, because it changes what the App Store shows.
You’ll see a Display Appearance screen offering Text Size and Display Zoom. Text Size makes everything bigger without changing how much fits on screen, which is the right default for most people. Display Zoom fits more content by shrinking icons and text, and older readers often regret it.
You’ll also get a Keyboard panel listing the languages you’ll type in. You can add more later in Settings, so pick what you need now and move on. No keyboard or Pencil is required to finish this step.
2. Connect to Wi-Fi or use a cellular iPad
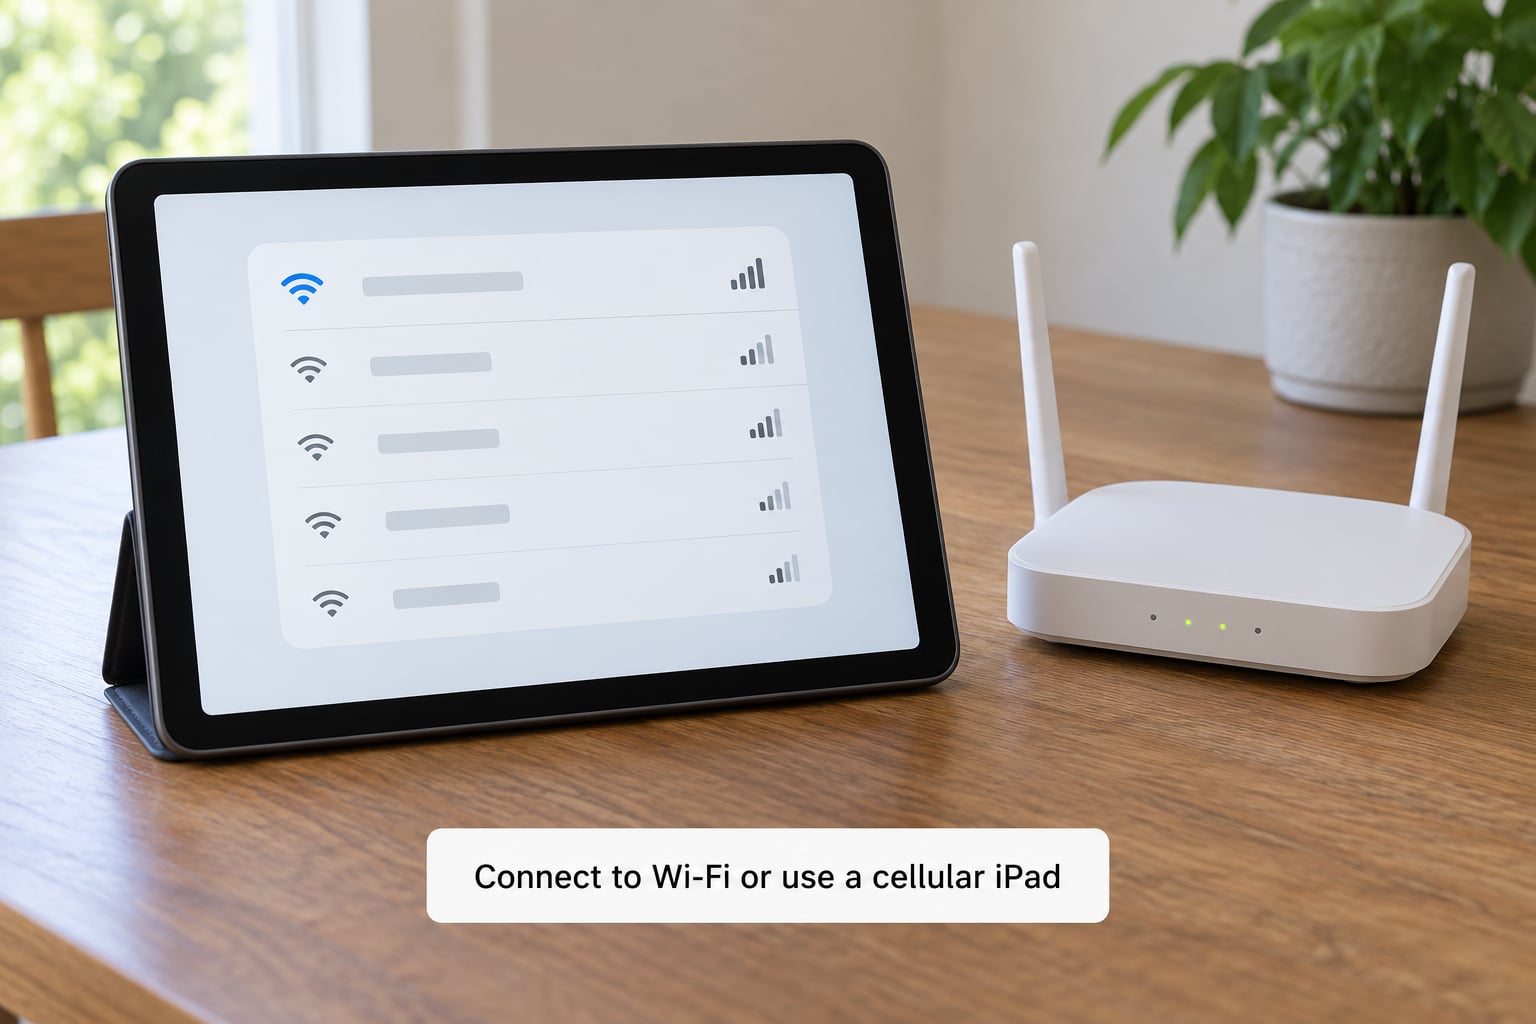
Choose your network from the list and type in its password with the on-screen keyboard. Tap Join, and a check mark next to the network name means the iPad is connected. If your network doesn’t appear at all, the iPad can’t see it, so move closer to the router and check that the router is powered on.
On a Wi-Fi + Cellular model you’ll get a Mobile Data option next. Turning it on is fine, but it means the iPad can send data over the cellular network without asking you, which matters for anyone who wants a hard limit on data use.
Cellular iPads take an eSIM you activate on the iPad itself, or a physical nano-SIM in a tray on the edge of the device. If you plan to use the iPad away from home, set the SIM up during setup so you can test it before you leave the house.
3. Sign in with your Apple Account and choose a transfer option
Sign in with your Apple Account email and password. Two-factor authentication then sends a six-digit code to a trusted device or phone number. Read the code off that other device and type it in. If setup offers a smaller code to type on a bigger screen, take that route when the other device is your phone and the iPad is in front of you.
The password for your Apple Account and the password for iCloud are the same thing. They’re often confused, and there’s no separate iCloud password to hunt down.
Now the transfer choice, which is the decision most first-time owners get wrong. Choose based on where your data is now:
- Quick Start — appears when an iPhone or iPad running the same Apple Account is nearby. It copies settings, Wi-Fi passwords, and preferences. This is not the full photo transfer, but it can start without warning, so keep the other device out of range if you don’t want it.
- Move to iOS — for switching from Android. Set up the Move to iOS app on the old phone first, then choose it here and wait for the codes it shows.
- Restore from iCloud — pulls your apps, settings, photos, and messages from an iCloud backup. This is the route people mean when they ask how to transfer data from one iPad to another.
- Restore from a computer — uses Finder or Apple Devices on a Mac, or Apple Devices on Windows. Rarely needed now.
- Don’t Transfer Anything — sets the iPad up empty and pulls apps fresh from the App Store. Photos and apps come back through iCloud sync over the following days.
If your old device has more data than the new iPad’s storage, do not start a full restore blindly. Pick Don’t Transfer Anything, sign in, and let iCloud sync down what fits. That is the standard fix for a restore that stalls or runs out of room.
4. Turn on automatic updates and install iPadOS
The setup assistant asks whether to install the latest software now. Choose Install Now if you’re near a charger and can leave it plugged in, because a large update downloads in the background and needs power at the end.
Install Later is a real option. You can use the iPad during the download, and iPadOS will finish the install when it is convenient, usually after a restart. The trade-off is a few weeks on an older version with older security fixes, which I’d only take on a temporary or shared device.
You can check where things stand any time in Settings > General > Software Update, and you can turn on automatic security updates under Settings > General > Software Update > Automatic Updates.
5. Finish the security and privacy choices
This is the step that protects the device, and each prompt has one clear purpose. Passcode locks the screen and gates access to encrypted data. Face ID or Touch ID unlocks it quickly without retyping. Find My lets you locate, lock, or erase the iPad if it’s lost. Analytics and sharing prompts decide what diagnostics go back to the manufacturer.
Face ID models ask you to center your face in a frame on screen. Touch ID models ask you to rest a finger on the home button, and you can add up to five fingerprints, which is worth doing if more than one person handles the iPad.
Choose a passcode you can type quickly without looking at it, and avoid repeated digits or years. Avoid a four-digit code. On a new iPad it’s easy to set, and it’s the single most common reason people end up locked out later.
Turn Find My on. It’s reversible later in Settings, and leaving it off means a lost iPad is very hard to recover.
6. Set the date, region, and accessibility preferences
Set the date and time to Automatic unless you have a reason not to. Automatic pulls the time from the network, and a wrong clock breaks certificate checks on secure sites, which shows up as confusing browser errors.
Region controls date formats, currency, and default number formats. Leave it on your real country unless you travel often.
Accessibility options all live in Settings > Accessibility > Display & Text Size, and none of them have to be chosen now. Text Size, Bold Text, Zoom, and AssistiveTouch can be adjusted whenever you like.
For a parent or an older adult setting this up, a good default is Text Size a few notches above the middle, Bold Text on, Zoom on, and AssistiveTouch on so a triple-click on the home button opens a small menu of shortcuts.
7. Add your email, calendars, and contacts
Adding a mail account is not the same as signing in with your Apple Account. Signing in sets up your Apple-owned mail; adding a Google or Microsoft account brings in that provider’s mail, calendar, and contacts alongside it.
Go to Settings > Apps > Mail > Accounts > Add Account, then pick Mail, then choose the provider. Your password and app-specific password may be requested, and for Google and Microsoft an app-specific password is usually required unless you’re already signed into that provider’s own app.
For calendars you don’t own, use Settings > Apps > Calendar > Accounts > Add Subscribed Calendar and paste the web address someone gave you. Sports schedules, school calendars, and holiday calendars all publish one.
8. Choose essential apps and configure notifications
A fresh iPad needs very little. Get a browser, a password manager, a messaging app, and whatever you actually read on. Search the App Store, and remember that apps which request a subscription often look identical to the free ones in results.
Install a password manager before you start saving logins, so iCloud Keychain holds your Wi-Fi passwords, credit cards, and saved logins from day one. It’s already on; it’s under Settings > Passwords.
After installing, don’t accept every notification prompt. Open Settings > Notifications, and give the apps you care about alerts while turning off the rest. Banner alerts stack up and become noise within a week.
9. Verify your iPad is ready
Check five things, and you’ll know setup worked. Wi-Fi shows your network with a check mark in Settings > Wi-Fi. Battery health is under Settings > Battery > Battery Health. Storage is Settings > General > iPad Storage. Software version is Settings > General > About. Security settings live under Settings > Face ID & Passcode or Touch ID & Passcode, with Find My under your Apple Account.
If any of those looks wrong, three tools fix most problems. Restart by holding the top button until the slider appears, then sliding it to power off, and turning it back on after ten seconds. Update through Settings > General > Software Update. Restore from a backup through Settings > General > Transfer or Reset iPad > Restore from Backup.
Try a Face ID or Touch ID unlock, open Safari, and load a page. If all three work, your iPad is set up.
Common Mistakes
Nearly every first-time setup problem falls into one of these seven. Each has a fix you can apply without a computer.
Quick Start started without you meaning it to. If your old iPhone was nearby, the iPad offered a transfer and you tapped through. Restart the iPad and choose Set Up Manually, then select Don’t Transfer Anything or an iCloud restore instead. Keep the old phone in another room during setup to stop it triggering again.
The restore runs out of space. The backup is larger than the iPad’s storage. Check Settings > Apple Account > iCloud on both devices, and if your iCloud plan is near its limit, trim it before starting again or upgrade the storage tier. If the iPad has less capacity than the backup, restore onto a device that matches or exceeds it.
Setup is stuck on the software update screen. Leave it on power and Wi-Fi. An update that shows no progress is usually still downloading. A genuine stall shows as a spinning arrow on the same frame for more than an hour, and the fix is to force restart by holding the top button and the volume down button until the Apple logo returns.
Two-factor authentication keeps looping. The code isn’t arriving because the trusted device isn’t with you, or you typed an older code from a previous prompt. Tap Didn’t get a notification, choose Text, and request a fresh code. Old codes expire quickly, so always use the most recent one.
Apple Account verification fails. The address, phone number, or password doesn’t match what Apple has on file. Use Forgot password instead of guessing. If you’re setting up an account that’s never been used, sign in on a browser first and confirm the account works, then sign in to the iPad.
Locked out after setup. Enter the passcode ten times and the iPad offers to erase and reset. On a Mac with Find My set up, you can erase it from Find My. Recovery mode erases everything, so expect to sign in again and restore from iCloud.
Notifications turn into spam. The default permissions on a new iPad allow a lot of marketing alerts. Go to Settings > Notifications, turn off Allow Notifications for anything you don’t need, and turn off Suggested Apps in Settings > Home Screen.
A few habits make the rest easier. Sign in to iCloud first and let it finish syncing before you judge how the iPad behaves, since the first hour looks sluggish while data downloads. Add the iPad to your Apple Account and set up Find My on a second device too, so you can locate it from your phone. And if you plan to set up an iPad for a child, create their child Apple Account from Settings on your own device first, then choose Sign in with a Child Account during setup rather than adding Screen Time later.
Frequently Asked Questions
Do I need an Apple Account to set up a new iPad?
Yes. The Setup Assistant requires an Apple Account before it finishes, because that single login connects the App Store, iCloud, iMessage, and Find My. For a child, create a child Apple Account from your own device first, then choose Sign in with a Child Account on the iPad. Adults without their own Apple Account should create a free one before setup begins.
How long does it take to set up an iPad for the first time?
The on-screen setup takes roughly 20 to 30 minutes if you skip data transfer. A Quick Start or Move to iOS transfer adds 30 to 90 minutes, and a full iCloud restore can run for several hours depending on your connection and backup size. A software update that finishes before the first boot adds another 20 to 60 minutes.
Can I use my iPad before the iPadOS update finishes?
Yes, you can choose Install Later and keep using the iPad while the download runs in the background. The install happens later and needs a restart. The exception is the very first setup, where a pending major update may claim the screen until it completes, because some updates finish before the Setup Assistant starts.
What should I do if I forgot the passcode on my new iPad?
After ten wrong attempts the iPad offers to erase and reset to factory settings. If Find My is on and you have another device, erase it remotely from that device or from icloud.com/find. Recovery mode on a computer also erases the iPad. Either way you sign in again and restore from an iCloud backup, so confirm your backup is current before you erase.
Can I transfer everything from my old iPad to a new iPad?
You have three routes. Quick Start copies settings and Wi-Fi passwords from a nearby device running the same Apple Account. Restore from iCloud pulls apps, photos, messages, and settings from your most recent backup. Move to iOS is for coming from Android. If your old data exceeds the new iPad’s storage, pick Don’t Transfer Anything and let iCloud sync down what fits.
Should I enable Find My on a new iPad?
Yes. Find My uses Apple’s network to locate a lost iPad, lock it remotely, play a sound, and erase it, and it’s already enabled when you sign in with an Apple Account on a new device. You can switch it off later in Settings, but leaving it on costs you nothing and is often the only way to recover a stolen iPad.
Conclusion
Start with the three decisions you can’t easily undo: join Wi-Fi, sign in with the right Apple Account, and choose your transfer option carefully. Install the software update if you have the time, then turn on a passcode, Face ID or Touch ID, and Find My. After that, adjust text size, accessibility, apps, and notifications as you get a feel for the device.
Nearly every problem people hit comes from one of those early choices, and all of them can be changed later except a transfer you didn’t want and a passcode you’ve forgotten. If you’re setting up an iPad for someone else, do the Apple Account and security steps with them sitting next to you, and keep the old device out of range until the transfer screen is behind you.