How to draw with Apple Pencil for beginners comes down to four things: a charged Pencil, an app that suits you, a grip that lets your hand rest, and ten minutes of drills. You can start today with Notes or Freeform, both already on your iPad, and move to a full art app once you know what you actually want from it.
This guide assumes iPadOS on a recent iPad, since menu names shift between major versions. Where a setting lives slightly differently on your device, I say so rather than pretend there is one path.
Table of Contents
- 1What You Need
- 2The hardware
- 3The software
- 4Optional extras
- 5Step-by-Step: How to Draw with Apple Pencil for Beginners
- 61. Choose a Drawing App and Set Up Your Canvas
- 72. Learn Basic Pencil Controls
- 83. Practice Lines, Shapes, and Pressure
- 94. Build a Simple Drawing with Shapes
- 105. Add Color, Shading, and Final Details
- 11Common Mistakes
- 12Frequently Asked Questions
- 13Does the Apple Pencil support palm rejection?
- 14Does the first generation Apple Pencil have palm rejection?
- 15What app do I use to draw with my Apple Pencil?
- 16How do I draw steady lines with an Apple Pencil?
- 17Why is my Apple Pencil line the same size every time?
- 18Is Procreate easy to learn for beginners?
- 19Conclusion
What You Need
What you actually need is smaller than most guides suggest. An iPad, an Apple Pencil, and one free Apple app are enough for the first month of drawing. Everything else people tell you to buy is optional comfort.
The hardware
Any Apple Pencil works for learning. The 1st generation pairs over Bluetooth and charges with a Lightning cable or a dongle, the 2nd generation snaps magnetically to the side of the iPad and charges there, the USB-C version charges like any iPad accessory, and Apple Pencil Pro adds a squeeze gesture, haptic feedback and a sensor along the barrel.
Pressure sensitivity, tilt and palm rejection arrived with the 2nd generation and carry through every newer model. If you own a 1st generation Pencil, drawing still works fine, but palm rejection is a software trick that depends on both the app and the hardware, and older models give the apps less to work with.
Before you draw anything, tap the Pencil to the iPad and confirm a dot appears where you touch. Then check the battery in Settings, Bluetooth and Find My, where the Pencil appears with its charge level. A Pencil at low battery is the usual reason a stroke stops responding mid-drawing.
The software
Start with Freeform. It gives you a clean infinite canvas, shapes that snap themselves into place, several pen weights and colours, and an undo button you cannot physically press by accident. Notes is even simpler if you want the least possible learning curve, since drawing there works the moment the Pencil touches the note.
Move to Procreate when you want layers, a wider brush library and control over every setting. Procreate is a one-time purchase, and it has a reputation for looking intimidating until you learn that you only need five of its tools to start.
Optional extras
A paper-feel screen protector is the accessory beginners mention most, because a little friction on the glass makes controlled strokes feel easier. A drawing glove for your drawing hand is the second one. Both improve comfort. Neither changes your ability to draw, and neither is required.
Step-by-Step: How to Draw with Apple Pencil for Beginners
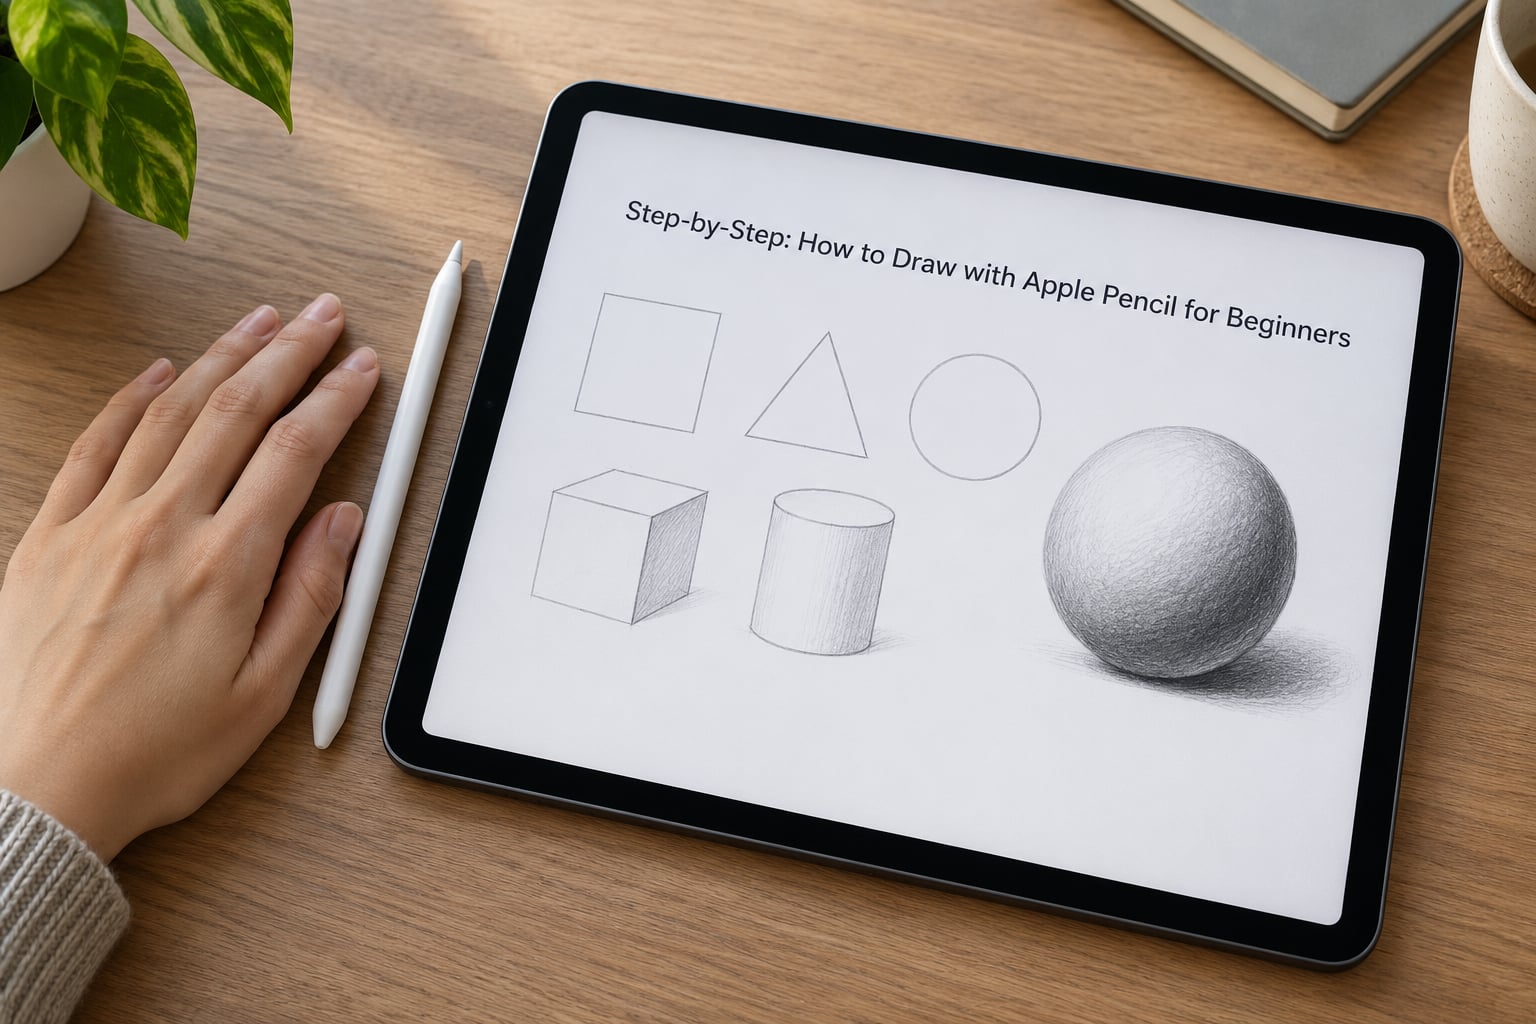
Here is the sequence that works. It moves from setup to a finished drawing, and each stage tells you what to look for so you know it went right.
1. Choose a Drawing App and Set Up Your Canvas
Open Freeform, start a new board and add a blank page. Landscape orientation gives you more room to move your hand, which matters more in the first weeks than it will later. Pinch to zoom until your strokes land where you expect rather than where you think you are aiming.
Then close anything that steals touches. Check that palm rejection is on in Settings, Apple Pencil, if you have a 2nd generation Pencil or newer. In Procreate, open Actions, tap the wrench icon and set Palm to Erase or Always Show Under Setting. If you are wondering whether palm rejection is necessary, the honest answer is that it matters most for left-handed drawers and for anyone with large hands, and it removes a whole category of frustration for everybody else.
You will know the setup worked when you can rest the side of your palm on the glass, draw a stroke, and find no stray line under your hand.
2. Learn Basic Pencil Controls
Pick one pen tool, one eraser and one colour, and leave the rest alone. The fastest way to lose interest in drawing is spending twenty minutes choosing brushes before making a single mark.
Do this short exercise to learn what each control does:
- Line weight. Draw ten horizontal strokes, pressing harder on each one. If the line width never changes, you are drawing with a brush that ignores pressure, and you should switch to a brush labelled pressure-sensitive.
- Opacity. Lower opacity to around 20 percent and scribble back and forth in one area. The result should read as a light tone rather than a black patch.
- Colour. Pick a colour, then a second, and draw one stroke of each side by side so you can see the difference in a single glance.
- Eraser. Draw a small shape and erase half of it, then change the eraser to a partial mode and erase again. Full erase removes everything at once; partial erase fades a stroke gradually.
- Undo. Make four marks, then undo them one at a time with the undo button or the two-finger tap most drawing apps support. Knowing exactly how to undo saves more abandoned drawings than any other single skill.
In Procreate specifically, turn on Drawing Guides from the Actions menu if straight lines feel hard. It snaps light, and it makes the difference on your first week of straight lines.
3. Practice Lines, Shapes, and Pressure
Shaky lines are the single most common beginner complaint, and they are mostly a hand position problem rather than an iPad problem. Your drawing hand needs three points of contact: the side of the little finger, the knuckle of the index finger, and the tip of the Pencil. Resting on two points makes your wrist wobble, and wobble is what you see on screen.
Move your hand closer to the bottom edge of the screen than feels natural. Beginners instinctively reach across the canvas, which puts the Pencil at an awkward angle and cuts off the view of what you are drawing.
Run these three drills, ten minutes at most:
- Straight lines. Draw twenty of them slowly, using a finger of your other hand as a guide rail. Speed is not the goal. Consistent thickness is.
- Circles and ovals. One continuous stroke, no lifting. Start large and shrink the size as you improve.
- Pressure control. Draw the same line ten times, pressing gradually from barely touching to heavy. Compare the first one to the last one and you will see the improvement clearly.
Check your work the way an artist would, not the way a beginner does. Do not look at the whole drawing. Look at one line, and ask whether its edges are clean and its weight matches what you intended.
4. Build a Simple Drawing with Shapes
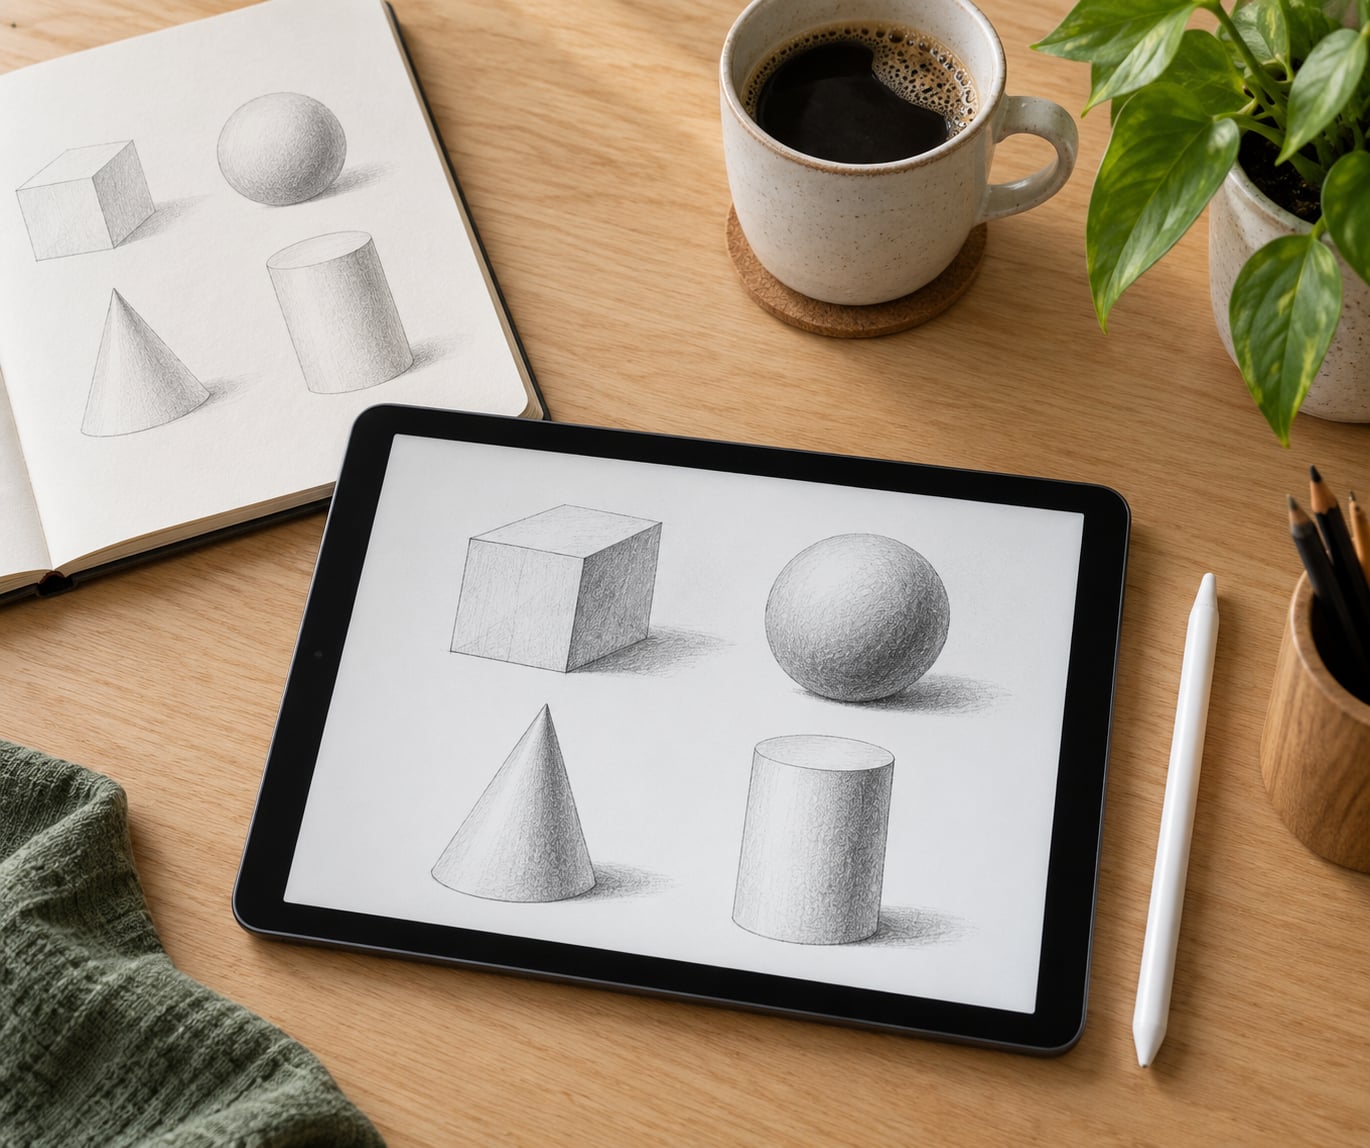
Nearly everything you recognise is built from simple shapes. A mug is a cylinder and an ellipse. A cat is two triangles, a circle and an oval. Beginners who try to draw the finished object get a mess; beginners who stack shapes get a recognisable drawing.
Draw an apple as the practice piece. Place one circle for the body, one small oval for the top dip, one short rectangle for the stem, and one curved leaf. Build them one at a time, checking each against the one below it before moving on. Duplicating a shape you already like saves you from re-drawing it badly.
In Freeform, hold still at the end of a stroke and the shape snaps itself into a perfect circle, square or straight line. In Procreate, the same feature lives under the Actions wrench and is called Shape Recognition. Use it early and often, then switch it off once your hand is steadier.
5. Add Color, Shading, and Final Details
Adding colour with Apple Pencil for beginners is a matter of layering rather than picking the right hue. Flat colour on top, shading underneath, and you can change your mind later without losing work.
Work in three values: light, mid and dark. Pick a grey and fill in three small patches at roughly 20, 50 and 80 percent opacity, then compare them. If you cannot see the difference between your lightest and middle patch, push further apart. A drawing that only uses light and dark looks flat because it has no midtone to sit between them.
Shade with small overlapping strokes rather than one heavy scribble. Lower your opacity and let several light passes build up the tone, which keeps edges soft and stops the muddled look beginners complain about in their first shading attempts.
Finish by stepping back, squinting at the drawing to check the balance, and then zooming in to check the edges. Sharpen the outline where the shape turns and soften it where it does not. That one habit does more for a first drawing than adding another three colours would.
Common Mistakes
Nearly every beginner problem on this list has a specific fix rather than a vague instruction to loosen up.
Shaky lines. Almost always hand position. Rest the side of the little finger and the knuckle of the index finger on the glass, move your hand closer to the bottom edge of the screen, and slow down. If lines still wobble in the first week, that is normal and it changes with practice, not with a better stylus.
Every line is the same thickness. Your brush ignores pressure. Open the brush settings and switch to a brush that reads pressure, then set opacity to about 60 percent so you can see the variation. Some solid marker brushes are intentionally flat, which is a common trip-up for people switching from paper.
Jagged or pixelated edges. You are zoomed in too far, or the canvas is much larger than the screen resolution. Check that your canvas is roughly square, and that the zoom level reads 100 percent or below while you work.
Stray marks under your palm. Palm rejection is switched off, or your app needs setting to Ignore Input while the Pencil touches the screen. Freeform handles this automatically; Procreate needs the Palm setting changed under Actions.
The Pencil stops responding mid-session. Check the charge level first, then move the iPad away from a laptop charger or speaker, which can interfere with the Pencil. Charging the 2nd generation Pencil while drawing is also worth avoiding.
Shading turns into a grey smear. You are using one heavy pass instead of several light ones. Lower opacity to around 15 to 20 percent, use a small round brush, and build the tone up in layers.
You cannot undo your way out of a mistake. Memorise the gesture now rather than later. In Procreate, three fingers tap to undo and redo; most other apps use the on-screen button.
Frequently Asked Questions
Does the Apple Pencil support palm rejection?
Yes, but only on the 2nd generation Pencil and newer, which includes the USB-C model and Apple Pencil Pro. Palm rejection also depends on the app: Freeform and Notes handle it automatically, while Procreate needs Palm set to Erase or Always Show Under Setting in the Actions menu. Without it, resting your drawing hand on the screen leaves smudges and stray marks.
Does the first generation Apple Pencil have palm rejection?
The 1st generation Pencil has no built-in hardware palm rejection, so apps have far less to work with. You can still draw on it perfectly well, but you will need to float your drawing hand, raise it slightly, or rely on apps that reject touches near an active stroke. Most beginners who struggle with this on an older model end up preferring a 2nd generation Pencil or newer.
What app do I use to draw with my Apple Pencil?
Start with Freeform or Notes, since both are already on your iPad and teach you the basics without a purchase decision. Move to Procreate when you want layers, adjustable brushes and finer control over opacity and blending. Krita is a good free option if you want more power than Procreate without paying, and Concepts is useful for sketching and mind maps.
How do I draw steady lines with an Apple Pencil?
Rest two points of your hand on the screen, the side of the little finger and the knuckle of the index finger, and move your hand closer to the bottom edge than feels natural. Draw slowly using your other hand as a straight guide. In Procreate, enable Drawing Guides from the Actions menu for light snapping. Improvement comes from daily line drills rather than from a different stylus.
Why is my Apple Pencil line the same size every time?
Most likely you picked a brush that does not read pressure, which is common with solid marker and sticker-style brushes. Open the brush settings and choose one labelled as pressure-sensitive, then set opacity near 60 percent so the variation is easy to see. Tilt changes the shape of a stroke, while pressure changes its thickness, and beginners often confuse the two.
Is Procreate easy to learn for beginners?
The interface looks busy on day one and becomes obvious by day three. For your first drawings you only need the brush size slider, the opacity slider, a colour picker, an eraser and undo, plus layers once you want to colour something in. Most tutorials introduce a fraction of the tools shown, which is why beginners feel overwhelmed by the app at first glance.
Conclusion
Open Freeform, add a blank page, and draw twenty straight lines before you do anything else. That single ten-minute session teaches you where pressure shows up, how the Pencil feels in your hand and whether your strokes land where you intend.
Keep the routine small: line drills on one day, shapes the next, shading the day after that, and one finished drawing at the end of every week. Fifteen minutes most days beats two hours on a Sunday, and the same fundamentals work on paper, so nothing you learn here is locked to the iPad.