iCloud Private Relay takes about a minute to switch on, and it lives in a setting most people never find. On an iPhone or iPad the whole job is Settings > your name > iCloud > Private Relay, then flip the toggle at the top. On a Mac the same toggle sits under System Settings > your name > iCloud. You need an active iCloud+ subscription, and you are done.
The rest of this guide covers the requirements, the exact paths for each device, how to check the feature is genuinely working, and what to do when the toggle is missing or greyed out.
Table of Contents
- 1What You Need
- 2Step-by-Step
- 3Step 1: Check eligibility and prepare your Apple Account
- 4Step 2: Turn on iCloud Private Relay
- 5Step 3: Set it up on Mac or in Safari
- 6Step 4: Confirm that iCloud Private Relay is working
- 7Common Mistakes
- 8Frequently Asked Questions
- 9Does iCloud Private Relay hide my IP address from every website and app?
- 10Why can’t I find the Private Relay switch on my iPhone?
- 11Is iCloud Private Relay the same as a VPN?
- 12Does iCloud Private Relay work on cellular data and Wi-Fi?
- 13How do I turn iCloud Private Relay off after setting it up?
- 14Conclusion
What You Need
Private Relay is bundled with iCloud+, not sold on its own. Before you start, confirm these four things.
- An iCloud+ plan. Any paid iCloud storage tier unlocks it. Free iCloud accounts do not see the toggle at all, which is the single most common reason people think the feature is broken.
- iOS 15, iPadOS 15, or macOS Monterey 12 or later. On anything older, the setting does not exist to enable. Update through Settings > General > Software Update on iPhone and iPad, or Apple menu > System Settings > General > Software Update on Mac.
- An Apple Account signed in to iCloud on the device. If you see a sign-in prompt at the top of the iCloud screen, the relay cannot switch on until that is sorted.
- A supported country or region. Apple lists Private Relay as not available in every country or region, and some networks and organisations simply block it. If the setting is missing entirely on a current device, region support is the next thing to check.
Worth being clear about one thing here: Private Relay is not a VPN. It hides your IP address and DNS requests from websites and your network operator, and it does that using Apple’s infrastructure. It does not let you pick a country, route all app traffic, or keep your activity secret from Apple. More on that later.
Step-by-Step
Step 1: Check eligibility and prepare your Apple Account
Open Settings, tap your name at the top of the list, then tap iCloud. Look for Private Relay in the list below the storage bar.
If you do not see it, check these in order:
- Tap iCloud Storage. If it reads Free, tap Upgrade to iCloud+ and pick a tier. The toggle appears within a minute or two of the plan activating.
- Scroll back to the main iCloud screen and pull down to refresh. On some accounts the row needs the page to reload before it appears.
- If you are part of a Family Sharing group, you may already inherit iCloud+ from another member. You get the relay through the shared plan without paying separately, though your Apple Account still has to be signed in.
While you are in there, make sure your device is on a current iOS version. A relay setting on a three-year-old build behaves unpredictably next to the same setting on a current one.
Step 2: Turn on iCloud Private Relay
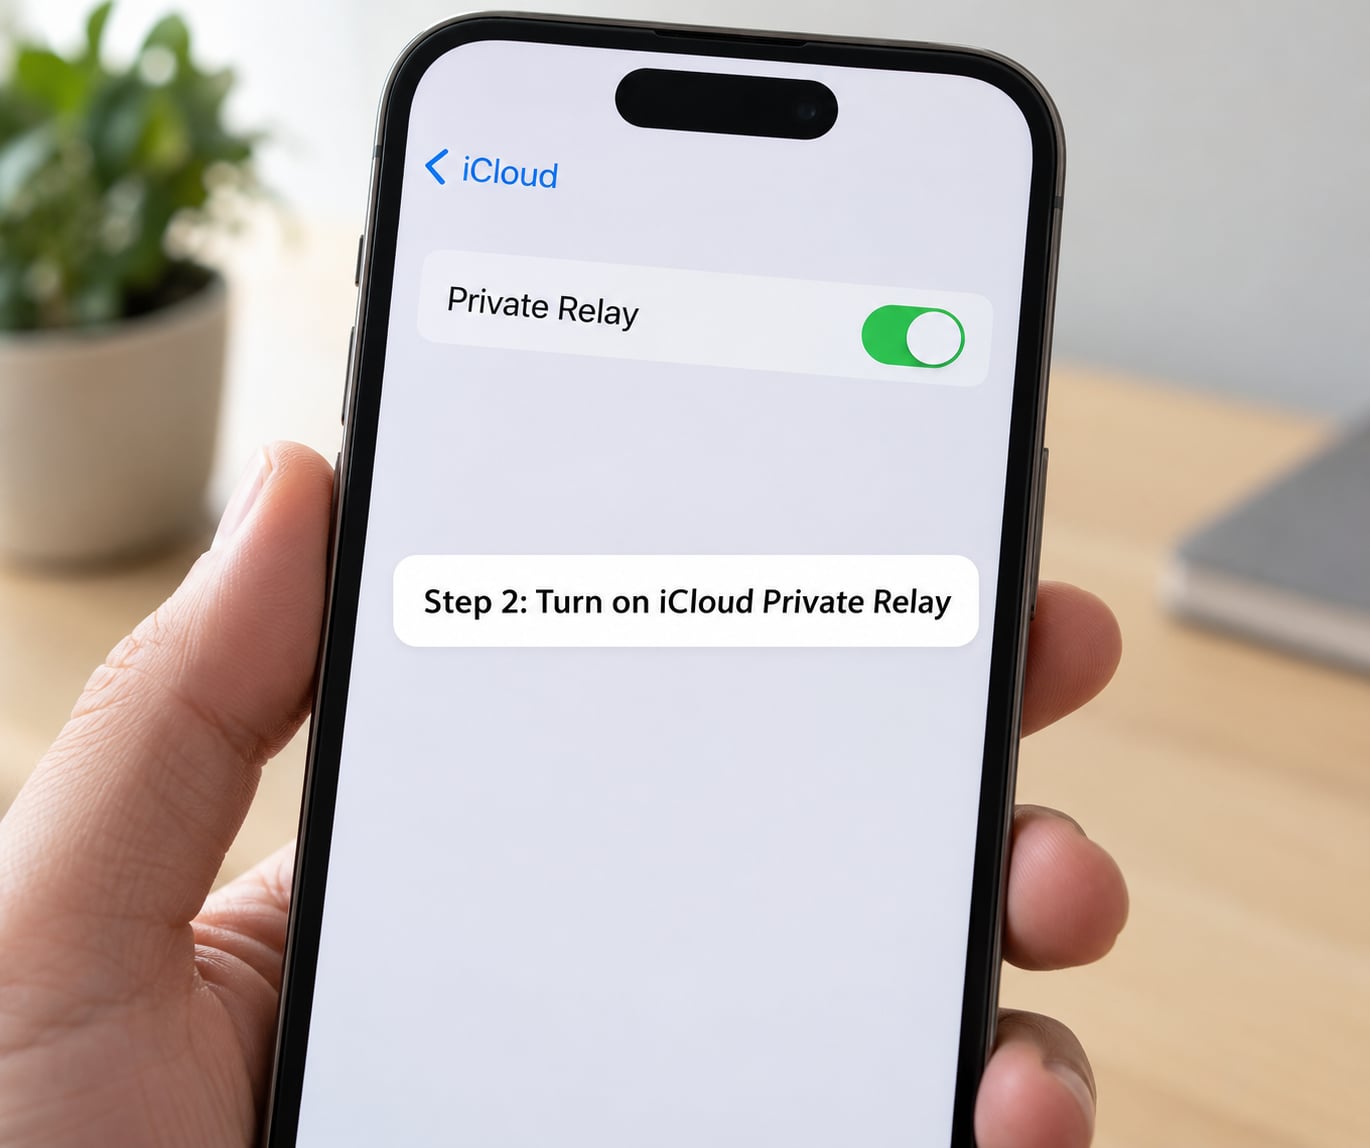
On iPhone and iPad, tap Private Relay, then tap the toggle at the top of the next screen so it turns green. That single tap is the entire setup. There is nothing to sign in to and no separate account to create, which trips up a lot of people who are actually thinking of Hide My Email.
You now have two options under IP Address Location:
- Maintain general location gives you an IP address in your own country, so streaming services and local search results keep working. This is the sensible default for almost everyone.
- Use country and time zone makes the address match wherever the relay server lands, which is more private but regularly breaks region-locked content.
A green toggle does not mean traffic is flowing every second of the day. Networks can pause Private Relay temporarily, usually when the relay cannot be reached, and the iOS banner you get when that happens tells you so. It comes back on its own once the network allows it, so there is nothing to force.
Step 3: Set it up on Mac or in Safari
On a Mac, click the Apple menu, choose System Settings, then your name, then iCloud, then Private Relay. The toggle works identically to iPhone.
Depending on your macOS version the same setting can appear under Internet Accounts or Internet Accounts > iCloud instead. Older guides call it Limit IP Address Tracking, and the earliest iOS releases labelled it Private Relay (Beta). If your screen says either of those, you are looking at an outdated device, and the relay itself still works once you update.
No Safari setting is involved. People often expect a Private Relay option inside Safari’s settings and end up convinced the feature is broken. It is a system-level switch, so Safari, Mail and any WebKit-based app inherit it automatically. What the system does not cover is traffic from apps built with their own networking stacks.
Step 4: Confirm that iCloud Private Relay is working
Three checks, in increasing order of usefulness.
- Reopen the toggle. Settings > your name > iCloud > Private Relay. If the switch is green, the feature is on at the system level.
- Look at your IP address on a checking site. Run a search for an IP address checker in Safari. With the relay active you get an Apple-operated address rather than your home connection’s. The relay service is visible in the details most of these tools show.
- Watch for a network name change. On a Wi-Fi network, iOS sometimes shows the connection as iCloud Private Relay instead of your router’s name. Users on Apple forums treat this as the quickest manual confirmation.
An IP check is suggestive, not conclusive. Sites that cache results, browser extensions that modify requests and captive portals on hotel or airport networks can all return a stale answer. If the IP looks private but you are unsure, toggle the setting off, reload, and compare. The difference between the two results is your answer.
Common Mistakes
No iCloud+ plan. The toggle is simply absent rather than disabled. Check iCloud Storage; if it says Free, that is the whole problem.
Unsupported country or region. There is no fix from your side. Apple has not enabled the relay in every market, and the row stays hidden regardless of your plan.
The switch is greyed out. This usually means the relay cannot run on the current network, often a school, work or hotel network with filtering in place. Try another network. On Mac, a third-party VPN client that left over network-extension or firewall rules in the system can also block the toggle permanently; quitting the VPN app and restarting the Mac clears most cases, and the leftover rules in /etc/pf.conf need clearing by hand if it persists.
A banner says the relay is unavailable. The network is blocking or throttling it. Move to a different connection. The feature returns on its own rather than needing a manual re-enable.
You expected it to cover every app. It covers WebKit traffic, which is Safari and most iOS apps, plus DNS queries. Apps with their own networking, and anything running through a VPN profile, can bypass it or knock it off entirely.
You are running a VPN at the same time. The two fight. The VPN usually wins while connected, and on Mac the conflict can break the relay permanently until leftover rules are cleared. Pick one for the session rather than both.
Streaming and shopping sites broke. Regional IP addresses trigger CAPTCHAs, fraud checks and content blocks. Switch IP Address Location to Maintain general location, or turn the relay off for that specific network using the Available on Wi-Fi and Cellular Data options below the toggle.
Two habits help more than anything else. Keep the relay on for everyday browsing and switch it off per network when a site needs your real location, rather than leaving it off globally. And treat the toggle as one setting among many: it complements Safari’s tracker blocking and Hide My Email rather than replacing them.
Frequently Asked Questions
Does iCloud Private Relay hide my IP address from every website and app?
No. Private Relay covers WebKit traffic, which includes Safari and most iOS apps, and it masks DNS queries. Apps built with their own networking stack, and traffic routed through a VPN profile, sit outside it. It also hides your browsing from your network provider and the sites you visit, but Apple still operates the relay and can see the encrypted connection between the two hops.
Why can’t I find the Private Relay switch on my iPhone?
Usually one of three reasons. You are on the free iCloud plan, in which case the row never appears and you need to upgrade to iCloud+ through iCloud Storage. Your region does not support the feature. Or your iOS version predates iOS 15, in which case there is no setting to find until you update. A shared iCloud+ plan through Family Sharing also works, so check with your family group before paying.
Is iCloud Private Relay the same as a VPN?
Not quite. Both hide your IP address, but a VPN routes all your traffic through a provider you choose and lets you pick a server location. Private Relay uses Apple’s own two-hop relay, covers only WebKit and DNS traffic, and always ties the address to your country. It costs nothing extra with iCloud+ and needs no separate app, which is the practical trade-off.
Does iCloud Private Relay work on cellular data and Wi-Fi?
Yes, on both, and it works on every network that allows it. Below the main toggle you will find Available on Wi-Fi and Available on Cellular Data, each with a list of network names. Tapping a name lets you switch the relay off for that network only, which is the quickest fix when a local site or a work network needs your real address.
How do I turn iCloud Private Relay off after setting it up?
Go to Settings, tap your name, tap iCloud, then Private Relay, then turn the top toggle off. You will get a confirmation asking whether to turn it off only on this iPhone or on all your devices. Choose per device if you want iPad and Mac to keep the relay. To leave it on everywhere but pause it on one connection, use the Wi-Fi and cellular lists further down the same screen.
Conclusion
Start by confirming you are on iCloud+, because without it there is nothing to enable. Then flip the toggle at Settings > your name > iCloud > Private Relay, load a page in Safari, and check your IP address to confirm the relay picked up. Keep Maintain general location unless you have a reason not to, and use the per-network lists when a site needs your real address. The setting can be reversed at any time from the same screen.