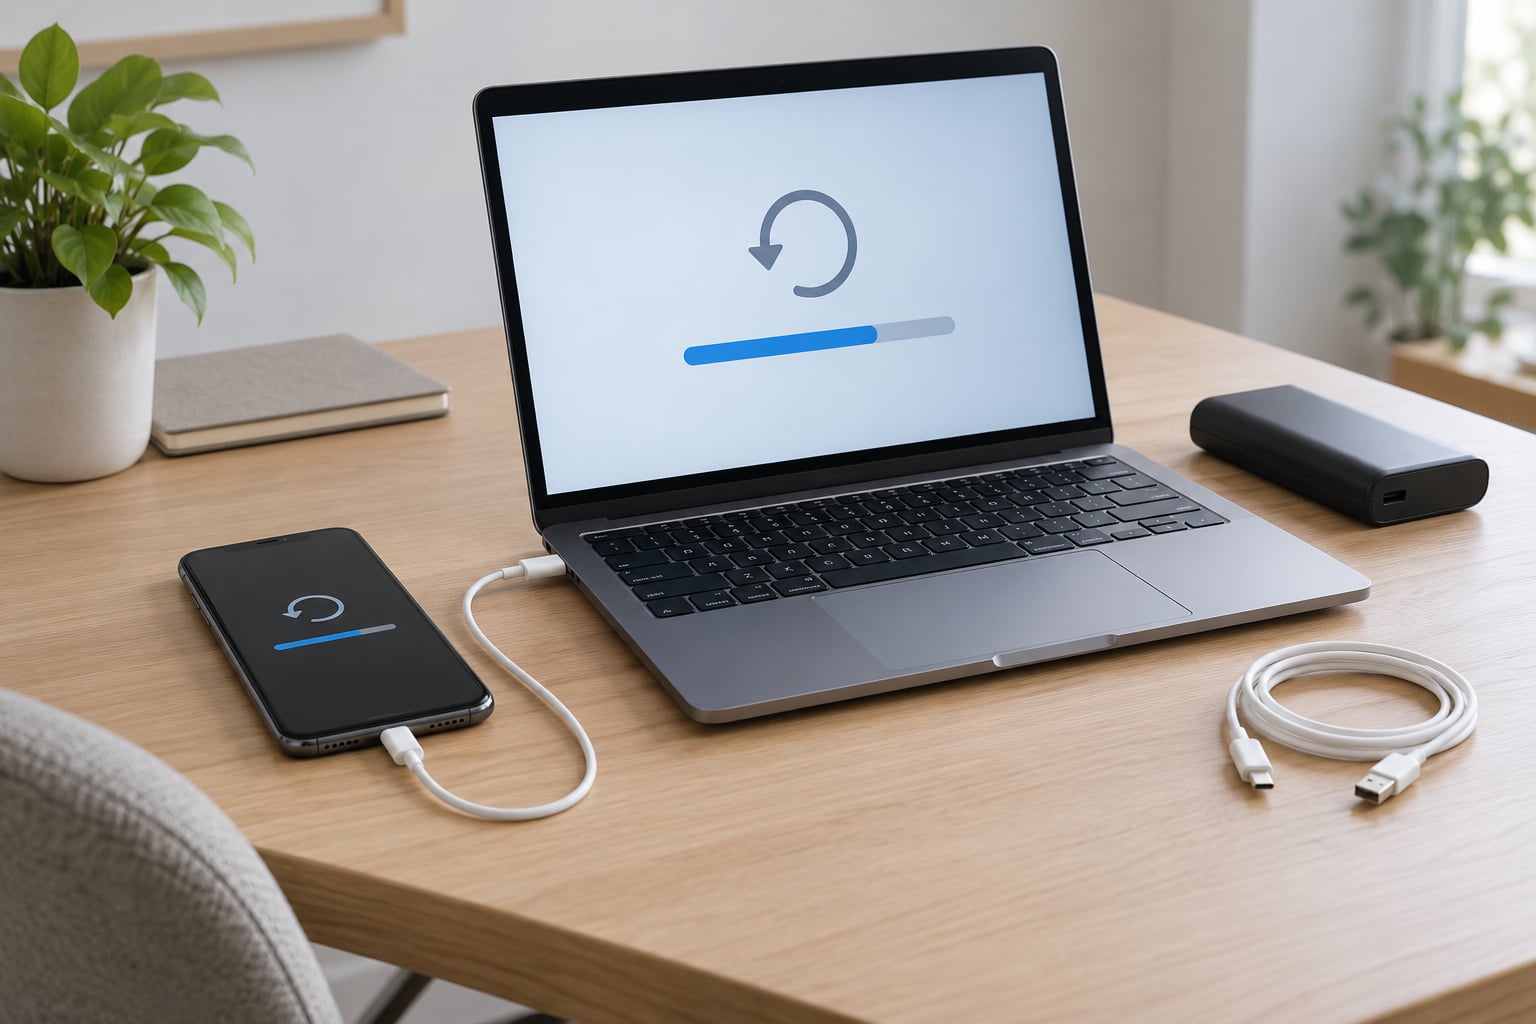
To restore an iPhone from a backup you pick one of two routes: restore from iCloud while Setup Assistant is running, or restore a backup file stored on a Mac or Windows PC through Finder or the Apple Devices app. Both routes begin on the same screen, the Apps & Data screen, so a phone that is already set up has to be erased first. Budget about 30 to 90 minutes on a phone with 128GB of data, and keep it on power and Wi-Fi the whole time.
Menu names shift a little with each iOS and iPadOS release, so treat this as current for 2026 and check the exact wording on your own screen. The steps below are for iPhone and iPad; Apple Watch restore is a separate job with its own rules.
Table of Contents
- 1What You Need
- 2Step-by-Step: How to Restore iPhone from a Backup
- 3Check That the Backup Is Available
- 4Erase the iPhone or iPad
- 5Restore from an iCloud Backup
- 6Restore from a Computer Backup
- 7Check the Restored Data
- 8Common Mistakes
- 9Frequently Asked Questions
- 10Can you restore an iPhone from backup without erasing it?
- 11How long does an iPhone restore from backup take?
- 12Where are iPhone backups stored on a Mac and a Windows PC?
- 13Does a backup restore Apple Pay, iCloud Keychain and my Apple Watch?
- 14Can I restore a backup onto a different iPhone model?
- 15Conclusion
What You Need
Before you erase anything, line up four things: a backup you have actually looked at, your Apple Account password, a charger, and a Wi-Fi connection. Restoring deletes the data on the device you are restoring, so the check comes first.
- A backup that exists and a date attached to it, so you can tell whether it is current or three weeks old.
- Your Apple Account and password, plus a way to receive the two-factor code. A locked-out account stops the restore at the Apps & Data screen.
- Power and Wi-Fi. An iCloud restore will not run on a cellular data connection. USB power stops a phone dying halfway through.
- A Mac or Windows PC and a USB or Lightning cable if the backup you need is a local one. The restore must happen on the same computer that holds the backup.
- Enough iCloud storage to hold the backup size. A backup that ran out of room partway through is the most common reason a restore never appears in the list.
Which route you take depends entirely on where the backup is sitting. This table is the fastest way to find out.
| Backup type | Where it lives | What restores it | What you need |
|---|---|---|---|
| iCloud | iCloud.com, or your account storage plan | Setup Assistant on the phone | Apple Account, Wi-Fi, free iCloud space |
| Mac | A backup folder inside your user library | Finder on that same Mac | Mac, cable, trust prompt accepted |
| Windows | A backup folder in your user profile | Apple Devices app on Windows 11, iTunes on older PCs | PC, cable, same Windows account that made it |
One more decision comes up constantly on support forums: Quick Start, the wireless handoff offered when a new iPhone is switched on near the old one, versus a restore from a backup. They are not the same thing and they do not stack.
| Option | Speed | What it covers | Pick it when |
|---|---|---|---|
| Quick Start | Usually the fastest, no download | Almost everything on the old phone | Both phones are in your hands and the old one still works |
| Restore from backup | 30 minutes to several hours | What the backup captured | The old phone is gone, or you need a specific older point in time |
| Restore from a computer backup | Slowest, mostly disk-bound | Whatever that local backup held | iCloud is not in play, or you need the encryption option |
Quick Start is blocked on devices enrolled in device management through Apple Business Manager or Apple School Manager, which is another reason work iPhones often land on the backup route instead.
Step-by-Step: How to Restore iPhone from a Backup
The order below matters. Checking the backup first is the only step you cannot redo without losing data, so do it even if you feel sure.
Check That the Backup Is Available
On the phone that holds the backup, open Settings, tap your name at the top, then tap iCloud and iCloud Backup. The screen shows the date and time of the last successful backup and its size, and a Back Up Now button that runs one immediately if it has been a while.
If the old phone is lost or already reset, sign in at icloud.com, open your account, tap the device, and look at Manage Data Storage. Each device entry lists its most recent backup with a date and size. If nothing shows there, the backup either belonged to a different Apple Account, was deleted after a subscription change, or never completed.
For local backups on a Mac, open Finder and click the device in the sidebar. Backups are listed on the General tab with their dates and sizes. On Windows, the Apple Devices app shows a Backups section under the device, and older iTunes versions list them under Preferences, then Backups.
| Operating system | Backup folder location |
|---|---|
| macOS | Your user folder, then Library, Application Support, MobileSync, Backup (Finder can open it with Go, then Go to Folder) |
| Windows | Your user folder, then Apple, MobileSync, Backup |
Read the date carefully. A 12GB backup taken yesterday is not interchangeable with a 71GB one from a month ago, and Apple does not merge them.
Erase the iPhone or iPad
On the phone you are restoring, open Settings and go to General, then Transfer or Reset iPhone. Tap Erase All Content and Settings, confirm, and enter your passcode. On iPad the wording sits under General, then Transfer or Reset iPad.
Apple adds an automatic backup as part of the erase, so the data on the phone is captured before it goes. Find My iPhone and Activation Lock are switched off automatically when the device is erased, so you do not have to disable them by hand, though turning Find My off first can save an authentication prompt if the account is awkward to sign into.
This is the irreversible step. Everything currently on the device is removed, and if the backup you meant to use was never made, there is no way back from it.
Restore from an iCloud Backup
Power on the phone and work through Setup Assistant. The screen names differ slightly by version and by whether you are setting up an iPhone or an iPad, so follow the labels rather than the exact titles below.
- Choose your language and region, then connect to Wi-Fi.
- On the Hello screen, tap the top right, then Continue.
- On the Touch ID and Passcode or Face ID screen, tap Skip.
- On the Apps & Data screen, tap Restore from iCloud Backup.
- Sign in with the Apple Account that owns the backup.
- Enter the two-factor code sent to your trusted device or phone number.
- Pick the backup by date, checking the size against the old one.
- Tap Show All Backups if the right one is listed as encrypted.
- Leave the phone on power and Wi-Fi until the progress bar finishes.
- Complete the remaining setup steps once the Apps & Data bar clears.
One caution carries through the whole block: stay on Wi-Fi and keep the phone plugged in if you can. iCloud restores do not transfer over cellular data, and a screen that times out during a long restore can stall the progress.
Restore from a Computer Backup
On a Mac running macOS Catalina or later, the backup lives in Finder. Connect the phone with a cable, unlock it, and accept Trust This Computer on the phone while Finder asks. In the sidebar, click the device, then Restore Backup, choose the backup you want by date, and tap Restore. If that backup was made with encryption switched on, the password prompt appears here, and there is no way around it.
On Windows 11, iTunes has been replaced by the Apple Devices app for device management, backups and restores. Connect, trust the computer, select your phone in the app, and use the restore option in the Backups section. On older Windows installs still running iTunes, the path is Edit, then Preferences, then the Devices tab, then Restore Backup.
A Windows quirk worth knowing: a backup created by Finder on macOS cannot be restored by iTunes or the Apple Devices app. If the computer claims the phone was never backed up to iCloud, check that you are looking at local backups and not chasing an iCloud one, which only ever shows up during Setup Assistant.
Local restores run slower than iCloud ones because the data moves over a cable. Keep the phone connected, keep the Mac or PC awake by skipping sleep in Energy or Power settings, and do not touch the phone until the progress bar completes.
Check the Restored Data
A finished restore drops you back into the setup flow with your photos, messages, contacts, app data, and settings already in place. Start with Photos and scroll back to the oldest item, then open Messages and check the oldest thread you remember. If the oldest content you can see is the date you backed up, the restore worked.
Some things never travel inside a backup. Apple Pay cards, iCloud Keychain passwords, Bluetooth pairings, Face ID and Touch ID enrolments, and the pairing between your iPhone and Apple Watch are all set up again by hand. An Apple Watch restored from a backup usually re-pairs by itself if it is nearby with the same Apple Account, but if it does not, the watch app on the iPhone will offer to pair it again.
There is no supported partial restore. iOS will not bring back photos and leave the rest of the phone alone, which is why people find out about it after erasing. A Google One backup on Android will move contacts, calendar, photos and documents to a new device, but it is a one-time transfer rather than something you can restore onto an iPhone later.
Common Mistakes
Nearly every failed restore traces back to one of these. Work down the list rather than retrying the same attempt.
Restoring the wrong backup. The list is ordered by date, and the newest one is not always the one you want. Note the date and size on the old phone before you erase anything, then match them in the restore list.
Signing in with the wrong Apple Account. A backup only appears for the account that created it. Signing in with a personal address when the backup belongs to a work or family account gives you an empty list, and there is no second screen to try.
The message about requiring a newer version of iOS. This is the most common failure people hit, and Apple documents the workaround on its support page for restoring devices that need a newer iOS version. On the phone, go to Apps & Data during setup, tap Restore from iCloud Backup, tap Back, then complete setup by choosing Set Up Manually and skipping the transfer. Go to Settings, then General, then Transfer or Reset iPhone, then Erase All Content and Settings. Restore the same backup again, and this time let it finish before choosing Update in Settings, then General, then Software Update. Because the backup is older than the current iOS, iOS offers to update to the version the backup was taken on.
A forgotten encrypted backup password. Encryption protects a local backup with a password only you set, and it cannot be reset by Apple, by anyone at a store, or by guessing. Look through your password manager and your notes before starting. Without that password the backup is unreadable, which is a good reason to skip encryption unless you store the password somewhere safe.
The restore hangs on the progress bar. Plug the phone into power, confirm it is on Wi-Fi rather than cellular, and restart it. Leave it alone and let the screen time out naturally. If nothing moves for a long stretch, put the device into recovery mode using the button combination for your model, connect it to a computer, and use the restore or update option there. Users on Reddit and the Apple Discussions boards report recovery mode rescuing restores that had been stuck for hours.
No backup appears in the list at all. Work through the causes in order: wrong Apple Account, backup sitting on a computer rather than iCloud, backup deleted when an iCloud plan changed, or an iCloud backup that never finished because storage ran out. Check Manage Data Storage on icloud.com before you erase anything.
The phone runs out of space mid-restore. Free up storage on the device or on the Mac or PC doing the restore, and delete old backups you no longer need in Manage Data Storage.
Setup gets interrupted. Nothing is lost. Plug the phone into power, restart Setup Assistant, and pick the same backup again. It resumes from where it stopped in most cases.
The phone is already set up and you refuse to erase it. There is no restore button in Settings and no restore option on iCloud.com. This is the part that surprises people most. A full restore can only be started during Setup Assistant, which means either erasing the device or setting up a different one. iCloud.com does let you download individual photos and files from your backup, but that is file recovery, not a phone restore.
A few habits prevent all of this. Turn on automatic backups and leave it on. Keep a second copy somewhere off the phone. Confirm the backup date before every erase, not after. And on work devices, check with your administrator first, because device management profiles block both Quick Start and some restore paths.
Frequently Asked Questions
Can you restore an iPhone from backup without erasing it?
Not on the same phone, and this is the single most common misunderstanding. A full restore can only start during Setup Assistant, so an iPhone that is already set up has to be erased first, unless you are setting up a different device. iCloud.com lets you download individual photos and files from a backup, but it cannot push a whole backup back onto a running phone.
How long does an iPhone restore from backup take?
Plan on 30 minutes for a small phone and up to two hours for one packed with video, restoring from iCloud over Wi-Fi. Restoring from a Mac or Windows PC takes longer because all the data crosses a cable. Turning the phone face down on a soft surface and keeping it plugged in avoids most of the delays people report.
Where are iPhone backups stored on a Mac and a Windows PC?
On a Mac they sit in your user folder under Library, Application Support, MobileSync, Backup, and Finder can open that path with Go, then Go to Folder. On Windows they are in your user profile under Apple, MobileSync, Backup. Backups made by Finder on macOS cannot be restored by iTunes or the Apple Devices app, since the formats differ.
Does a backup restore Apple Pay, iCloud Keychain and my Apple Watch?
No. Apple Pay cards, iCloud Keychain passwords, Bluetooth pairings and biometric enrolments are not part of a backup and have to be set up again after a restore. A nearby Apple Watch using the same Apple Account usually re-pairs by itself, and if it does not, the Watch app on the iPhone will offer to pair it again.
Can I restore a backup onto a different iPhone model?
Yes, that is the normal case when a phone is lost, damaged or replaced. Restore onto the newer or smaller model and iOS fits the content to it. What cannot transfer is hardware-specific data such as Face ID and Touch ID enrolments, and settings that depend on the screen size, which you adjust afterwards.
Conclusion
Start by confirming the right backup exists and how recent it is, because that check is the only one you cannot redo. Once you know the date and size, everything else follows one path or the other: erase, then restore from iCloud during Setup Assistant or from a Mac or Windows backup through Finder or the Apple Devices app.
Keep a second backup after the restore and spot-check your oldest photos and messages before you need them again. That two-minute check is what turns a restore from a hope into something you actually know worked.