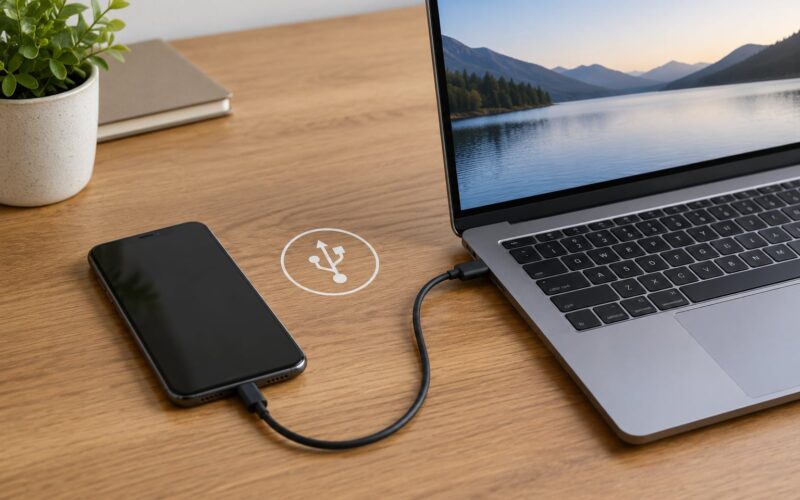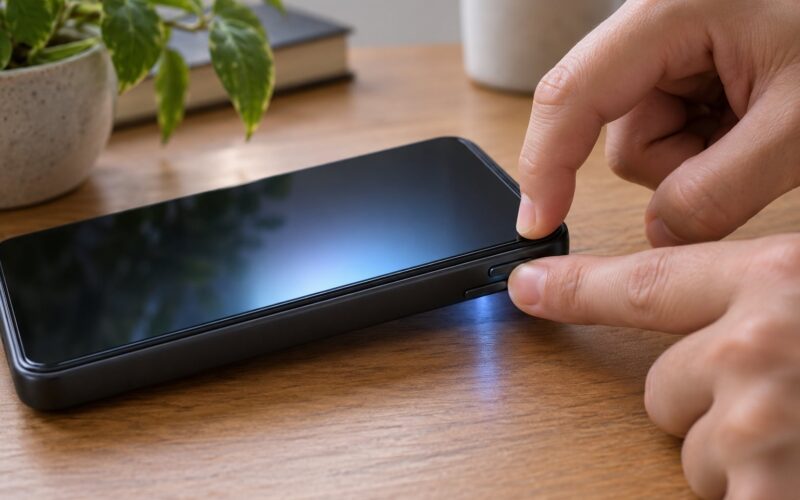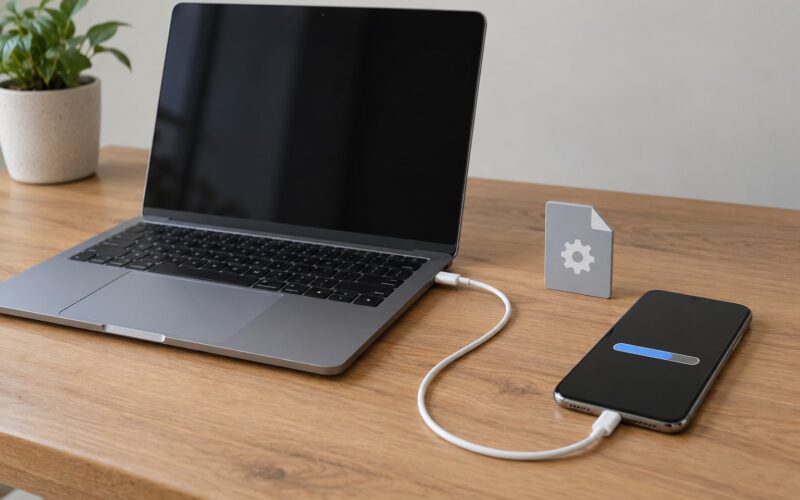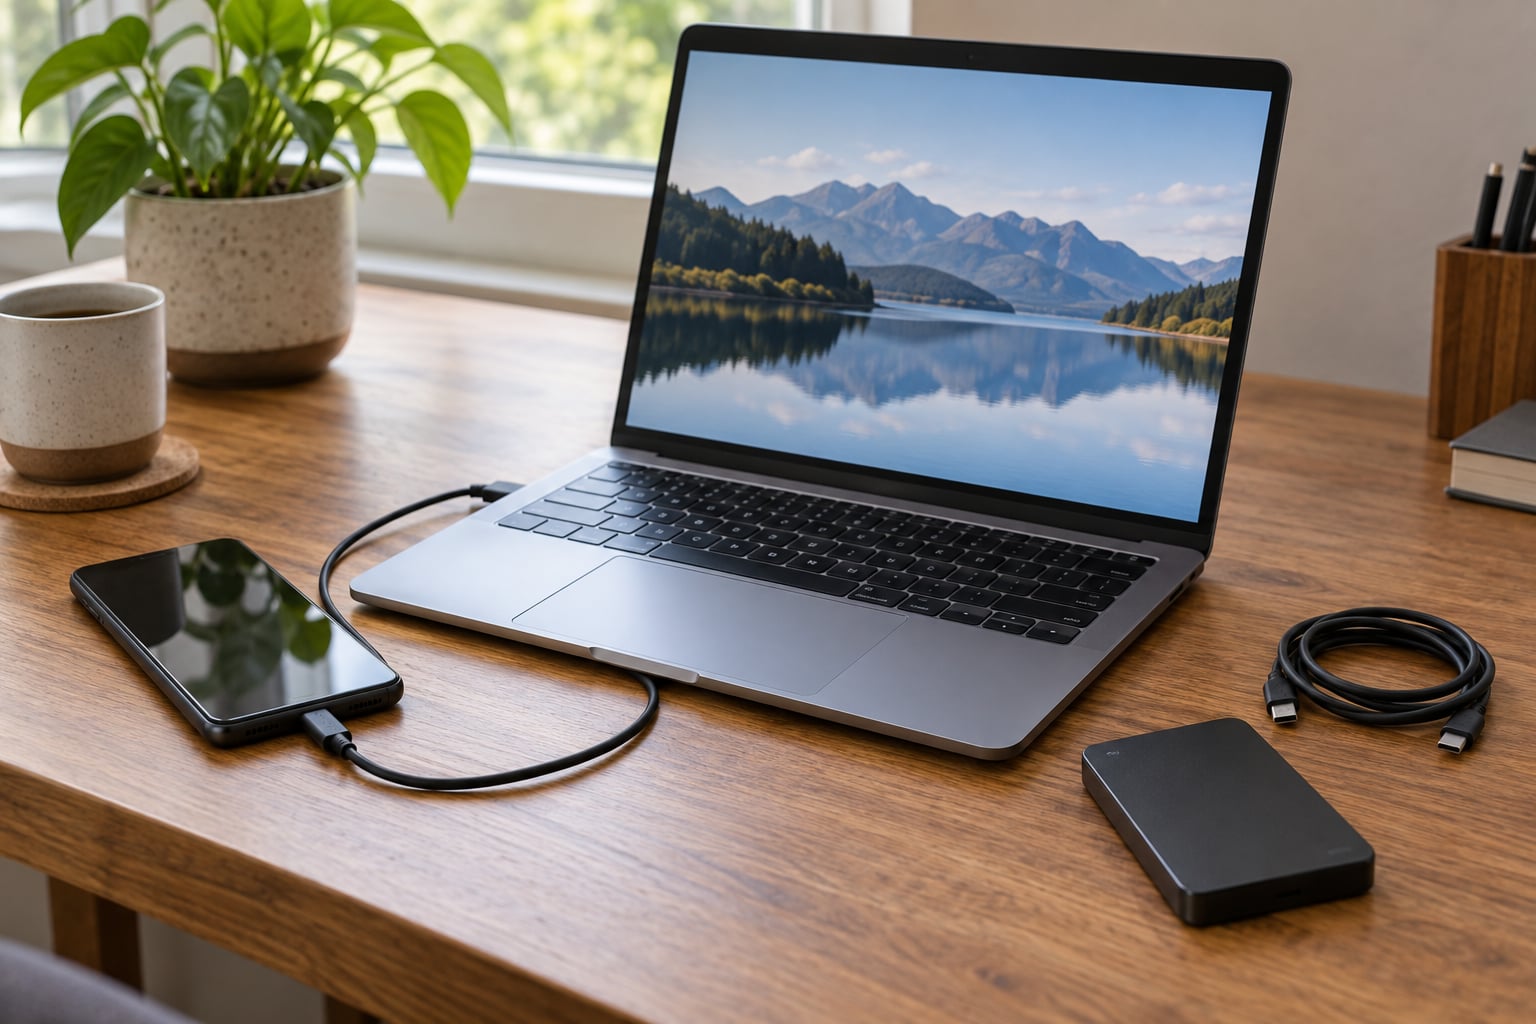
Yes, you can back up an iPhone without iCloud. Connect your phone to a Mac or Windows PC with a USB cable, unlock it, tap Trust This Computer, then open Finder or iTunes and choose Back Up Now. The whole copy sits on your own hard drive, and nothing is uploaded to Apple.
That is the only method that captures your entire device, settings, messages and app data in one file. On a phone with 128 GB of storage a full backup usually lands somewhere between 30 GB and 120 GB, depending on how many photos and videos you have, so check your free space before you start.
People land here for predictable reasons: iCloud storage is full and the upgrade tiers feel steep, they want their photos on a physical drive instead of in the cloud, or they are about to erase, sell or hand off an old phone. This guide covers each route, then shows you how to confirm the backup really worked.
Table of Contents
- 1What You Need
- 2How to Back Up iPhone Without iCloud: Step-by-Step
- 3How to back up iPhone without iCloud on Mac
- 4How to back up iPhone without iCloud on Windows
- 5How to back up iPhone without iCloud with a third-party tool
- 6How to verify that your iPhone backup was created
- 7How to restore an iPhone backup without iCloud
- 8Common Mistakes
- 9Frequently Asked Questions
- 10Is there a way to back up an iPhone without using iCloud?
- 11Can I back up my iPhone to Google Drive instead of iCloud?
- 12What is included in a computer backup of my iPhone?
- 13Why can’t my computer find my iPhone to back it up?
- 14Can I transfer my iPhone to a new iPhone without an iCloud backup?
- 15How often should I back up my iPhone to a computer?
- 16Conclusion
What You Need
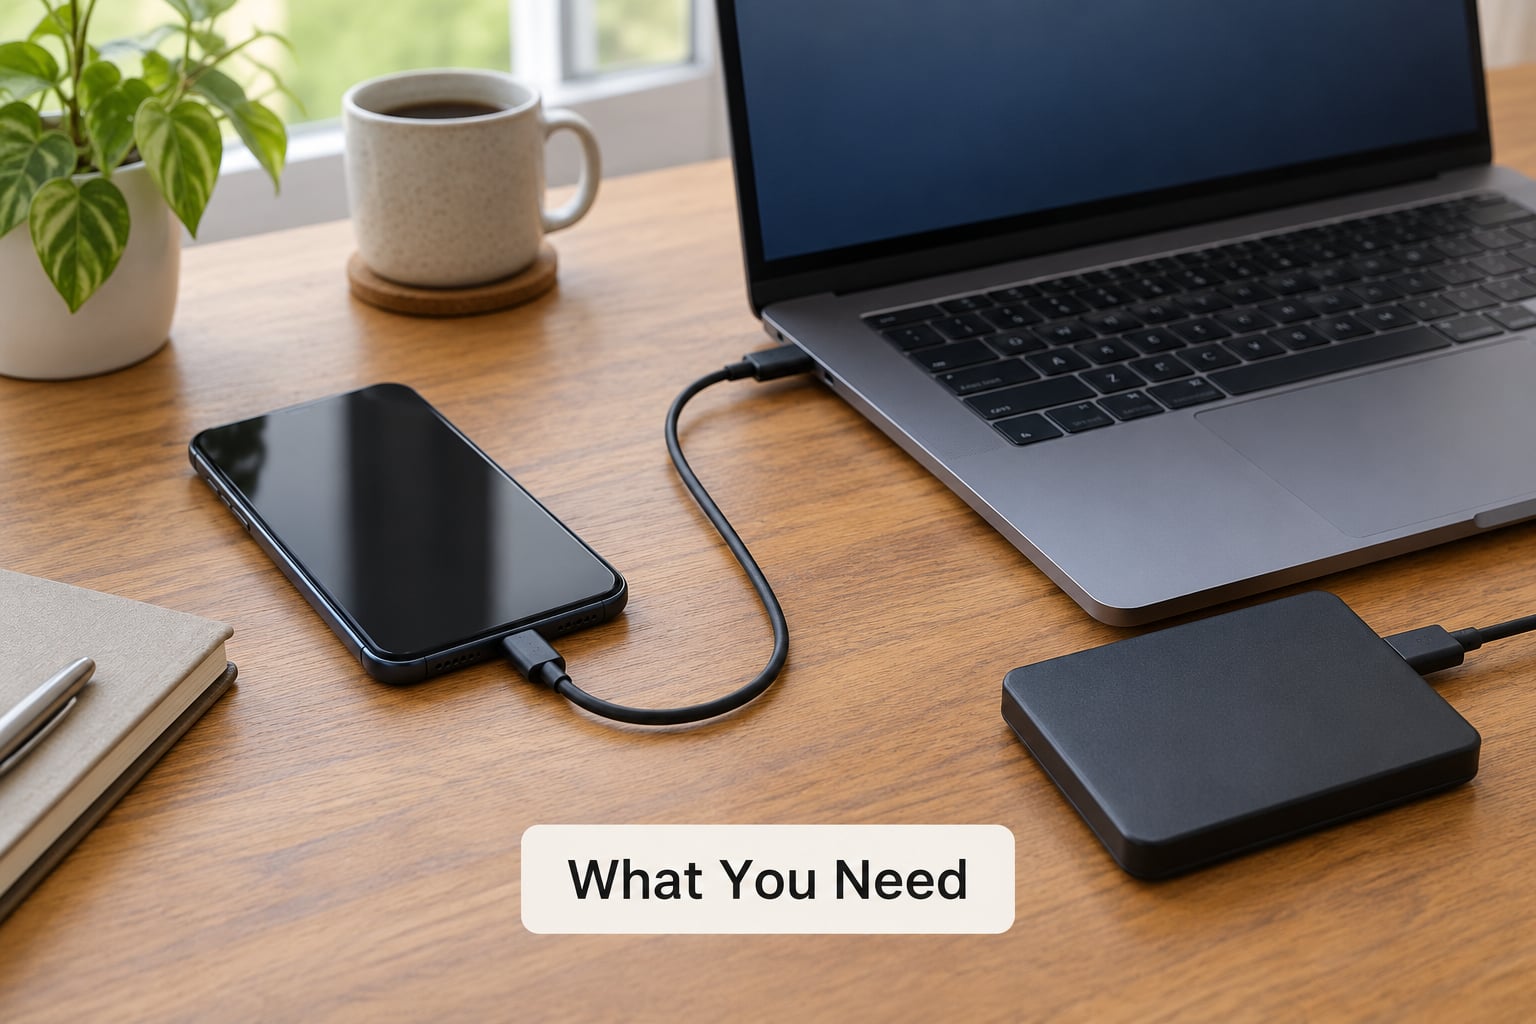
You need a computer, a cable that actually carries data, and roughly the same amount of free space on that computer as your phone uses. That is the whole list. No iCloud account and no Apple ID sign-in are required to create a local backup, though you do need to be signed in on the phone itself.
- A Mac or Windows PC. macOS Catalina (10.15) and later use Finder. Windows uses iTunes, and iTunes is also the path on Macs running Mojave or earlier.
- A USB data cable. The cable that came in the phone box works. Many cheap cables are charge-only, which is the single most common reason a computer refuses to see the device.
- Enough free space. A full backup of a phone with lots of video can run past 100 GB.
- The phone passcode. You unlock once at the start, and an encrypted backup needs a password you create yourself.
Here is how the four routes compare, so you can pick before you start.
- Finder on Mac. Needs a Mac and a USB cable. Captures a full device backup. Expect 30 to 90 minutes.
- iTunes on Windows. Needs a Windows PC, a USB cable and iTunes installed. Captures a full device backup. Expect 30 to 90 minutes.
- Flash drive, no computer. Needs an MFi drive and the Files app. Captures only the photos and videos you select. Roughly 10 to 30 minutes.
- Google Photos or Drive. Needs an internet connection, the app and storage space. Captures photos and videos only, and the time depends on your connection speed.
Once the phone is trusted, backups on a Mac or PC happen automatically when you plug it in, so the first one is the only one that takes real effort.
How to Back Up iPhone Without iCloud: Step-by-Step
These are the exact paths. Users search for them by string, so follow them literally rather than guessing at menu names, since Apple has renamed and moved things several times.
How to back up iPhone without iCloud on Mac
- Connect the iPhone. Plug it into the Mac with a data cable and unlock the phone. A prompt appears reading Trust This Computer — tap Trust and type in your passcode.
- Open Finder. On macOS Catalina and later, iTunes is gone from a fresh install and Finder does the job. Pick the Finder icon in the Dock.
- Select your device. In the sidebar under Locations, click your iPhone. If the sidebar is hidden, use the View menu and choose Show Sidebar.
- Choose Back Up Now. The General tab opens with a Back Up Now button. Open the Options tab first if you want to tick Encrypt local backup, which saves your saved passwords, Wi-Fi settings and Health data inside the backup.
- Keep the Mac awake. The backup runs in the background and shows a progress bar. Closing the Finder window stops the display but not the copy; putting the Mac to sleep can end it, so check the battery settings or leave the lid open.
When the bar finishes, Finder shows the most recent backup date and size right above the button. That line is your proof it worked, which is why verifying it matters so much.
How to back up iPhone without iCloud on Windows
- Install iTunes. On a Windows PC, back up through iTunes. Get it from the Microsoft Store or Apple’s Windows version, and install the Microsoft Visual C++ redistributable it asks for if anything misbehaves.
- Connect and authorise. Plug in the iPhone, unlock it, and tap Trust This Computer. If iTunes says the software on the device is too old, follow its prompt to update.
- Click the device icon. It sits near the top-right of the iTunes window, shaped like an iPhone. If you cannot see it, widen the window or check the View menu.
- Open Summary. Choose the Summary tab in the left sidebar, then press Back Up Now.
- Set encryption if you want it. On Windows, tick Encrypt local backup and pick a password you will not forget. It cannot be reset and there is no recovery email behind it. Store that password in a password manager the same day.
iTunes also stores the backup in its own folder rather than anywhere you choose, which is where most Windows users get stuck.
How to back up iPhone without iCloud with a third-party tool
Apple’s own software handles a full-device backup well. A third-party desktop tool earns its place when you want things the native path does not offer: per-folder or per-category exports, a readable photo library on a drive you control, scheduled backups, or transferring between two phones without going through a computer backup at all.
Before installing anything, check four things:
- Recent reviews outside the vendor’s own site. Forum threads repeatedly flag vendors for push notifications and aggressive upsells after the free backup.
- A working uninstaller and a clear privacy policy. You are asking an outside company to handle your entire personal data.
- Compatibility with your iOS version. A tool built for older iPhones may fail on a new release, and some stop working entirely.
- What happens to your data if you cancel. Some apps encrypt their exports so you cannot open them without a paid subscription.
Treat a third-party backup as an addition, not a replacement. Run one, then confirm a native Finder or iTunes backup exists too, so you always have a copy you can restore without anyone else’s software.
With no computer at all, the workable route is narrower: an MFi Lightning or USB-C flash drive plugged straight into the phone, opened through the Files app, where you can copy photos and videos across. That gets your images onto a physical drive, which is what most people asking for this actually want. It is not a device backup — messages, app data, settings and passwords are not included.
How to verify that your iPhone backup was created
Almost nobody checks this, and almost everybody should. A backup that silently failed still shows the button, so confirm the date and size yourself.
On a Mac, the timestamp and size appear directly in Finder under your device in the General tab. To see the files themselves, open Finder and press Command + Shift + G, then paste this path:
~/Library/Application Support/MobileSync/Backup
Each backup appears as a folder with a long name ending in a dash and a date. Inside it you will find Info.plist, Manifest.db and a Manifest.plist — if those three files are there, the backup is genuine.
On Windows, iTunes keeps backups in your user folder at:
C:Users[Your Name]AppDataRoamingApple ComputerMobileSyncBackup
The AppData folder is hidden by default. Paste the path into File Explorer in the address bar and it opens anyway, which saves hunting through the C drive.
One detail surprises people: Finder and iTunes keep only the backups for the devices you still use, and older generations are often pruned automatically. If you want to keep several dates side by side, copy each dated folder to an external drive after the backup completes, and give the copy the date in its name. A backup living on the same drive as the phone is a backup until that drive dies.
How to restore an iPhone backup without iCloud
Restoring puts everything in the backup onto the phone and replaces the current contents. On a new phone that is what you want; on one you already set up, read this bit first, because your existing data goes away.
- Match the device. A backup made on an iPhone restores only to iPhone, not to iPad, and not to Android.
- Erase first, on purpose. On the receiving phone, go to Settings, General, Transfer or Reset, then Erase All Content and Settings. Set the phone up again, but stop at the Hello screen — do not restore onto a live setup.
- Plug in and choose Restore Backup. Connect to the Mac and click your device in Finder, or click the device icon in iTunes and pick Restore Backup on the Summary tab.
- Select by date, not by guesswork. iTunes lists backups with their dates. Pick the one you verified earlier. If you encrypted the backup, you need that password now — there is no skip and no reset.
- Wait it out and check. A restore of a large backup can take over an hour. Confirm afterwards that your photos, messages and apps are present before you wipe the old phone.
Never erase, sell or hand off the old iPhone until you have restored from the backup and looked at your data on the new device. An old phone with no iCloud account signed out and Find My iPhone switched off can still be a problem for whoever ends up with it.
Common Mistakes
The computer does not see the phone at all. Nearly always the cable. Charge-only cables look identical to data cables, and laptop USB ports sometimes deliver too little power. Try the cable that shipped with the phone, or a port on the side of the laptop rather than a hub. Unlock the phone during the process, because iOS disconnects it the moment it locks.
Finder or iTunes never prompts for trust. Reset it from the phone: Settings, Privacy & Security, Reset, Reset Location & Privacy. That forces the trust prompt to appear again the next time you connect.
The backup ran out of room halfway through. Finder reports a failed or cancelled backup and the partial folder is discarded. Free up more space on the computer and start again from scratch.
The backup disappeared after a few weeks. Usually the automatic pruning mentioned above, or a Time Machine or system cleanup pass clearing the MobileSync folder. Copy dated backups to an external drive.
The encryption password is forgotten. That backup is unreadable forever. Nothing on Apple’s side can reset it. This is why people who migrated off iCloud without trouble still treat the password as the single most important part of the whole process.
Someone expects everything to be in there. A local backup does not include your Apple Pay card numbers and bank details, Touch ID and Face ID templates, or content already synced through iCloud, and restoring sets up Face ID and Touch ID again from scratch. Health and saved passwords are only inside the file if you ticked encryption.
On iOS 17 and later, some settings have moved. Name matching, for example, sits under the transfer options in Settings rather than in a top-level list. If a path here does not match your screen, search Settings for the item name — that search is reliable across releases, while menu paths are not.
Frequently Asked Questions
Is there a way to back up an iPhone without using iCloud?
Yes. Connect the iPhone to a Mac or Windows PC with a USB data cable, unlock it, tap Trust This Computer, then open Finder on macOS Catalina or later, or iTunes on Windows. Select your device, press Back Up Now, and the full copy is stored on the computer. No iCloud account and no internet connection are needed, and you can restore that backup onto any compatible iPhone later.
Can I back up my iPhone to Google Drive instead of iCloud?
Partly. Google Photos and Google Drive can hold your photo library and files, and some apps save documents straight to them, but they are not a device backup. Messages, app data, settings, passwords and the rest of the system are not captured. If you want a complete copy, use Finder or iTunes on a computer and treat Google Drive as an extra photo archive rather than a replacement.
What is included in a computer backup of my iPhone?
A full local backup captures your photos, videos, contacts, messages, apps, app data, settings, call history, Safari bookmarks and passwords saved in Keychain. Health data and saved Wi-Fi passwords are included only when you tick Encrypt local backup. Apple Pay card numbers and bank details, and Face ID or Touch ID templates, are never part of the file, and content you sync through iCloud is not duplicated into it.
Why can’t my computer find my iPhone to back it up?
In most cases it is the cable. Many budget USB cables charge only and carry no data, so the computer never sees a device. Other causes: the phone locked itself, which disconnects it, a USB hub or low-power port that cannot supply enough current, or a trust prompt that was dismissed instead of accepted. Try a known data cable, keep the phone unlocked, and reset the trust prompt from Settings, Privacy u0026amp; Security, Reset.
Can I transfer my iPhone to a new iPhone without an iCloud backup?
Yes. Put both phones near each other, power them on, and hold the Apple ID buttons together until you see the Quick Start screen, then follow the prompts. If the transfer offers iCloud and you want to skip it, choose the computer route instead: back up the old phone to a Mac or PC first, then restore that local backup onto the new phone. That route is slower but gives you a copy you control.
How often should I back up my iPhone to a computer?
Once a month is a reasonable baseline for most people, and weekly if your photo library grows fast or you rely on your phone for work. The real trigger is any moment you cannot easily recreate something, such as before a major update, before erasing or selling the device, or before replacing the screen. Connect the phone to your Mac or PC regularly, since Finder and iTunes back it up automatically once it is trusted.
Conclusion
Start with the one action that takes five minutes: connect the iPhone to a computer with a data cable, unlock it, tap Trust This Computer, and press Back Up Now in Finder or iTunes. Then look at the date and size it reports, open the backup folder, and confirm the files are there. Copy that dated folder to an external drive if it matters to you.
Do that before you upgrade iOS, before you erase or sell anything, and once a month after that. It costs nothing, it works without iCloud, and it leaves you with a copy of your own phone that nobody else controls.