If you want to know how to erase an iPhone before selling it, the whole job is three taps deep: Settings, then General, then Transfer or Reset iPhone, then Erase All Content and Settings. Add a backup, a sign-out, and a SIM card pull, and the phone is clean in about 15 minutes.
That menu path is the answer for current iPhone models running recent iOS. Older versions put the same command under General and then Reset, so if you cannot see Transfer or Reset iPhone, look for Reset instead.
The part people get wrong is not the reset. It is what happens if you skip signing out first: the buyer receives a phone that greets them with an Apple ID screen belonging to you, and Apple will not remove it for them. Everything below is built around avoiding that.
Table of Contents
- 1What You Need
- 2Step-by-Step: How to Erase an iPhone Before Selling It
- 3Step 1: Back Up Your iPhone
- 4Step 2: Remove Your Apple Account and Turn Off Find My
- 5Step 3: Erase All Content and Settings
- 6Step 4: Complete Setup and Verify the Reset
- 7Step 5: Remove the SIM Card and Check Accessories
- 8Common Mistakes
- 9Frequently Asked Questions
- 10Do I have to erase my iPhone before selling it?
- 11How do I turn off Find My before selling my iPhone?
- 12What happens if I erase an iPhone without signing out of my Apple ID?
- 13Can I sell an iPhone after restoring it to factory settings?
- 14Should I remove the SIM card before selling my iPhone?
- 15What should I do if I forgot my Apple Account password?
- 16Conclusion
What You Need
You need five things, and none of them cost anything:
- The iPhone itself, unlocked, and its passcode
- Your Apple Account email and password (Apple has renamed Apple ID to Apple Account in recent iOS, but the password is the same one you have always used)
- A recent backup, either an iCloud backup or a copy on a Mac or PC
- Wi-Fi, if you are backing up to iCloud
- A SIM eject tool for models with a physical tray
Before you touch Settings, run through this short checklist. Each item is something that either ties your account to the phone or leaves money on the table if you miss it.
| Item | Where to check | Why it matters |
|---|---|---|
| Backup | Settings, your name, iCloud, iCloud Backup | Photos, messages and app data are deleted permanently by the erase |
| Apple Watch | Watch app on iPhone, or Settings, Watch | A watch still paired to this iPhone asks for your passcode on the new owner’s wrist |
| iMessage and FaceTime | Settings, Messages, Send & Receive | Your number keeps routing texts to the old phone if you switch to Android |
| Apple Pay cards | Wallet app | Cards are removed automatically at erase, but doing it first is tidier |
| AppleCare | Settings, your name, Subscriptions, or the Apple Store page | The plan is tied to the device; cancel or transfer it separately |
| Parts and Service History | Settings, General, About, Parts and Service History | A Finish Repair message blocks trade-in and reseller checks |
| Trusted devices | appleid.apple.com, Devices | Removes this phone from the list that can unlock your account |
Step-by-Step: How to Erase an iPhone Before Selling It
Five steps, in this order. Do not start at step three because step three is the irreversible one.
Step 1: Back Up Your iPhone
Open Settings, tap your name at the top, then tap iCloud, then iCloud Backup, then Back Up Now. The line under the button shows the date and time of the last successful backup, and that date is how you confirm it worked.
For a bigger backup, connect the iPhone to a Mac and open Finder. Pick the iPhone in the sidebar and choose Back Up in the General tab. On Windows, iTunes does the same job through the iPhone icon and Back Up to This Computer. Local backups are slower than iCloud but they stay on your own drive.
Also consider moving your data to your new phone. Quick Start holds the two iPhones near each other after an iOS update and offers to transfer photos, messages, settings and app data directly. It is faster than restoring a backup, and it avoids the trap of erasing something you meant to copy over.
Check the essentials before you carry on: recent photos, contacts, WhatsApp or Messages history, voice memos, and any app logins that will be painful to re-enter. Downloaded Spotify playlists and offline podcast episodes usually need a new download rather than a restore.
Step 2: Remove Your Apple Account and Turn Off Find My
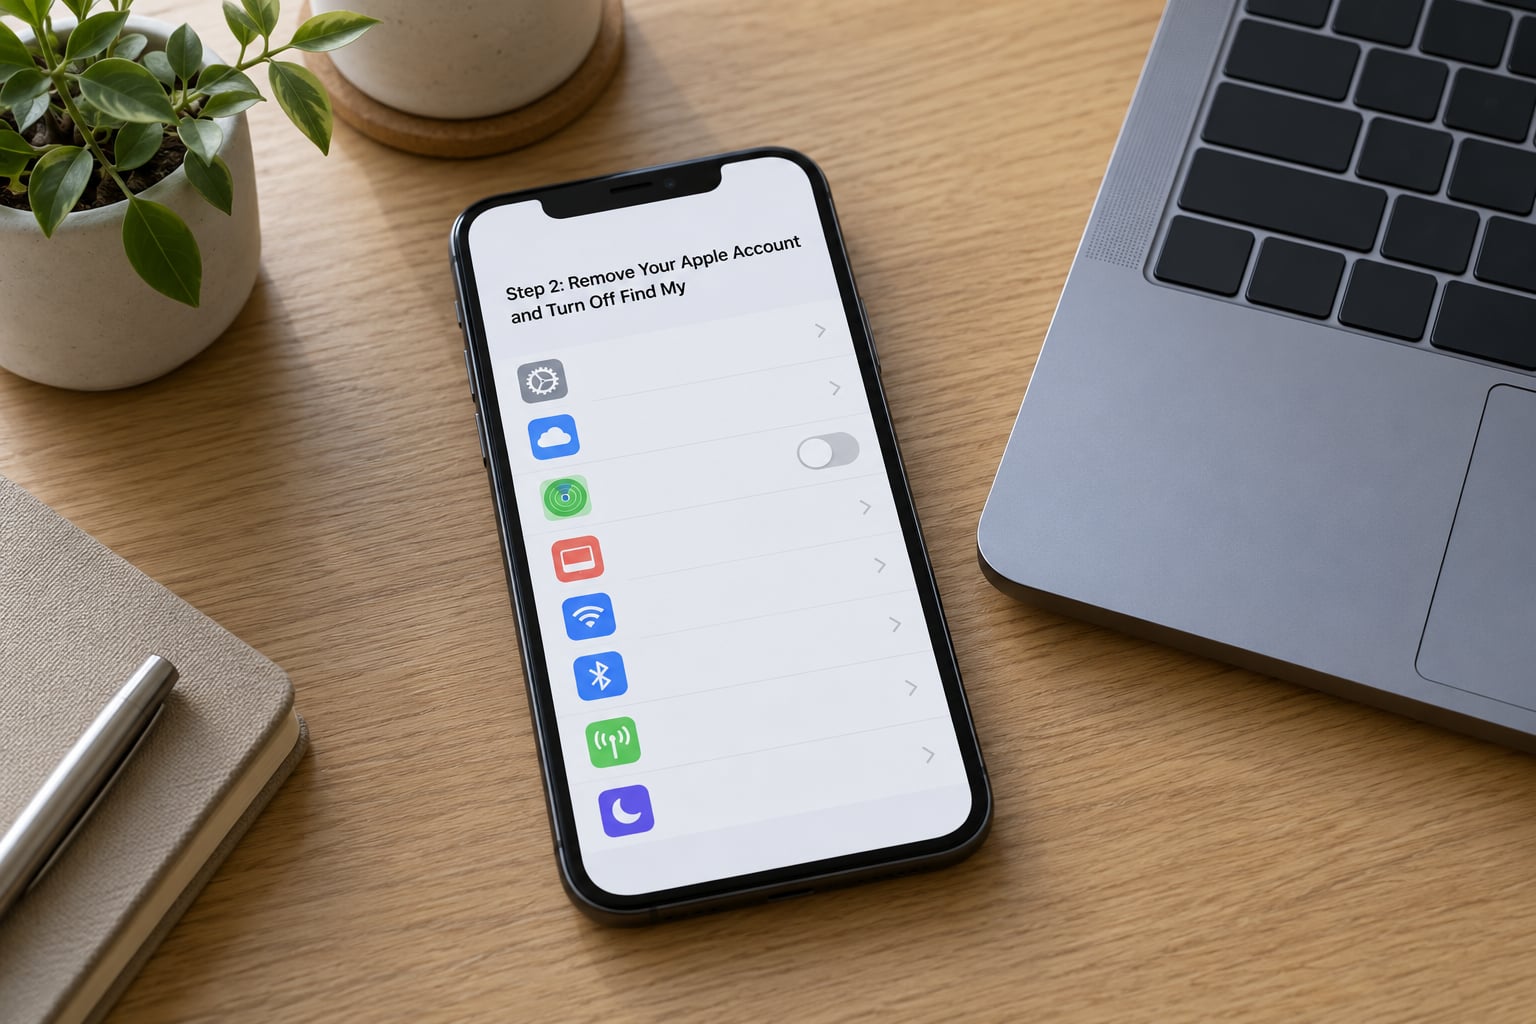
This is the step that protects the buyer and it is the one most guides rush. Start at Settings, tap your name at the top, then tap Find My, then tap Find My iPhone and switch it off. You will be asked for your passcode.
Next, still on the settings screen with your name at the top, tap your name again to reach your account screen, then tap Sign Out. You will be prompted for your Apple Account password.
The wording here changed in iOS 26. On that version, signing out asks whether you want to Erase this iPhone or Sign Out But Don’t Erase. Choose Erase this iPhone when you are selling. On iOS 18 and earlier you simply enter your password and the phone disconnects from your account. On iOS 10.2 and earlier the sign-out lives in Settings, then your name, then iCloud, then Sign Out, with a Delete from My iPhone confirmation.
Why bother turning Find My off at all if the erase clears it anyway? Because the erase only clears it if you can prove you are you. Turn the toggle off, sign out, and Activation Lock is released before the data ever moves. Skip both and the buyer inherits your problem.
Activation Lock is the feature that ties a phone to one Apple Account. While it is on, the phone cannot be set up by anyone but the account holder. Erase All Content and Settings removes it, but only when it is run while you are still signed in and can enter your password.
Then sign in at appleid.apple.com, open Devices, and remove this iPhone from your trusted devices. That list is separate from Find My, and a phone left on it can still send a verification code years later.
If the reset screen later says this device will be removed from your account in 30 days, the sign-out went through. It is not a warning about anything you did wrong.
Step 3: Erase All Content and Settings
How to erase an iPhone before selling it comes down to this path: Settings, General, Transfer or Reset iPhone, Erase All Content and Settings. Tap the blue Erase All Content and Settings button at the bottom of the screen, confirm, and enter your six-digit passcode.
On iOS 14 and earlier the same option reads Settings, General, Reset, Erase All Content and Settings.
Depending on your version and settings, the phone may ask for your Apple Account password as well. Enter it. That prompt is the erase trying to release Activation Lock, and it is also the step that removes the phone from Find My for good.
What gets destroyed: every photo and video, all messages and attachments, contacts, notes, passwords, saved cards, app data, Safari history, and every setting you ever changed. What survives: your iCloud content stays in your account, untouched. Wiping the phone deletes the copy on the phone, not the copy in the cloud.
People often ask whether the data can still be recovered afterwards. On any recent iPhone, storage is hardware encrypted, and the encryption keys live in hardware too. Completing the erase discards those keys, which makes the remaining data permanently unreadable, not merely hidden. That is why no paid erase utility is needed and why the free Apple method is the right one.
The reset usually takes a few minutes, and longer if the phone holds a lot of data. Keep it on power. Do not press buttons when the progress bar is moving.
If the reset option is greyed out, the usual cause is that you are still signed into a family group or a device management profile. Sign out of the family group or remove the profile, then reload Settings and try again. If the phone will not cooperate, restoring it through Finder or iTunes puts it back to factory state, though a restore that clears the device also needs your Apple Account password to get past Activation Lock later.
Step 4: Complete Setup and Verify the Reset
When the erase finishes, the phone restarts and shows the Apple logo, then the Hello screen with the language and arrow prompts. That screen is the confirmation the job worked. If you still see your wallpaper and your apps, nothing happened yet.
Do not swipe through the setup wizard and create an account with your own Apple Account. That sign-in puts your account back on the device and undoes the erase. Leave it on the language screen if the phone is going straight to its buyer.
Then check from your computer or another device. Sign in at appleid.apple.com and open Devices. Your old iPhone should no longer appear in the list. If it is still listed a few minutes later, give it time, then remove it manually from that page.
What the buyer sees: a language selection screen, then the usual Wi-Fi, software update and Apple Account steps. Nothing of yours appears anywhere in that flow.
If you are trading in at the Apple Store or a carrier instead of selling privately, bring a photo of the Hello screen and be ready to answer a passcode prompt. If Stolen Device Protection is switched on in Settings, Face ID and Passcode, changing your Apple Account password at a store can trigger a security delay before the device is accepted. Sign out in advance and avoid changing the password on the spot.
Step 5: Remove the SIM Card and Check Accessories
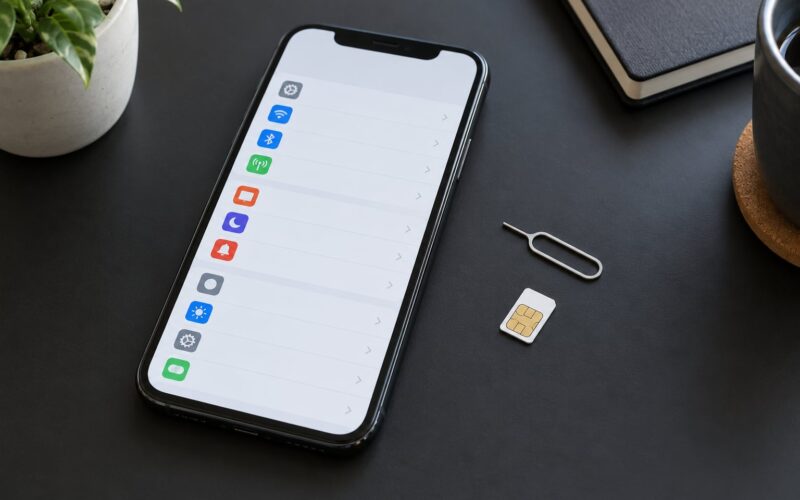
Keep the SIM card. It belongs to you, not to the phone, and a seller who throws it away is quietly giving the buyer a free monthly bill. To remove it, power the iPhone off, insert the SIM eject tool or a paperclip into the tray hole, and pull the tray straight out.
US and Japan iPhones carry a physical nano-SIM. Models sold in the UK, mainland Europe and other regions use an eSIM with no tray to pull. The erase deletes eSIM profiles along with everything else, so nothing of yours ships with the phone, but the buyer will need a QR code or carrier app from their own provider to set up service.
Now the accessories. Include the charging cable and the charging brick if they are yours to give, but skip the case and screen protector unless you want them included. A small cloth and a wipe-down of the ports and camera glass makes the phone look cared for, which sellers consistently say matters more than they expect.
Check Parts and Service History at Settings, General, About. If a Finish Repair message is there, a Finish Repair replacement can block trade-in, and resellers will treat it as damage. Know it before you list the phone, not after a buyer asks about it.
Never send your Apple Account credentials with the phone, and never put your passcode in the listing. A buyer who asks for the password so they can get in is asking for access to your account, not help with the phone.
Common Mistakes
Forgetting to back up. The erase is not undoable, and there is no support line that can undo it either. Fix: check the backup timestamp under Settings, your name, iCloud, iCloud Backup before you tap the button, and spot-check a few photos and messages.
Leaving Find My on. This is the cause of nearly every locked-phone support thread. Fix: turn off Find My iPhone in Settings, your name, Find My, then sign out, and confirm the phone has left your Devices list at appleid.apple.com.
Not knowing your Apple Account password. Nothing unlocks that situation on its own. Go to appleid.apple.com, choose Forgot password, and reset it with your trusted phone or recovery key. If none of that works, contact Apple Support with proof of purchase. There is no seller-side workaround and no third-party app that removes Activation Lock from a device you still own.
Signing out of iCloud but keeping the device. On iOS 26 you get the choice between Erase this iPhone and Sign Out But Don’t Erase. The second option keeps your data on the phone and hands the buyer a phone full of your photos. Choose the erase option, or run step three as a separate action.
Erasing the wrong phone in iCloud. If Find Devices shows several devices, check the model name, serial number and last-seen time before you confirm an erase. An accidental remote wipe of the phone you use today is annoying in a way that is hard to undo.
Confusing a restart with an erase. Restarting leaves every photo, message and password in place. The proof is the Hello screen, not the fact that the phone looks new.
Forgetting the SIM tray. On a physical-SIM model the tray pops out easily and many people push it back in after a wipe. Check it last, right before you pack the box.
Two smaller traps worth knowing: your phone number keeps sending iMessages to the old device until you turn iMessage off in Settings, Messages, Send & Receive and let it deregister, and a paired Apple Watch asks for the old owner’s passcode until you unpair it from the Watch app.
Frequently Asked Questions
Do I have to erase my iPhone before selling it?
Treat it as mandatory. A wipe is what clears Activation Lock, removes your Apple Account and every saved password, and hands the buyer a phone that reaches the Hello screen instead of your photos. Apple, carriers and resellers all expect an erased device, and a buyer who receives an unlocked phone full of your data may ask for their money back.
How do I turn off Find My before selling my iPhone?
Open Settings, tap your name at the top, tap Find My, then tap Find My iPhone and switch it off. Confirm with your device passcode. Then tap your name again and sign out, entering your Apple Account password, which releases Activation Lock. Finally remove the phone from your Devices list at appleid.apple.com.
What happens if I erase an iPhone without signing out of my Apple ID?
Without the Apple Account password, the erase cannot release Activation Lock, and the buyer gets a device asking for an Apple ID belonging to you. They cannot set it up and Apple will not remove the lock for them. If the phone is already erased and stuck on that screen, recover the password at appleid.apple.com and remove the device from your account.
Can I sell an iPhone after restoring it to factory settings?
Yes, provided the restore finished and the phone reaches the Hello screen. A factory state alone does not prove your Apple Account was removed, so check that the phone is gone from your Devices list at appleid.apple.com. If it still appears there, sign out of iCloud on another device and remove it before the sale.
Should I remove the SIM card before selling my iPhone?
Yes, if the model has a physical SIM tray, and keep the card for yourself. It carries your number and account, not the phone’s storage, so leaving it in hands someone your personal information. For eSIM models there is nothing to pull, and the erase already deletes the eSIM profile so the buyer activates service with their own carrier.
What should I do if I forgot my Apple Account password?
Reset it at appleid.apple.com using Forgot password, either through a trusted device that shows the code or with your recovery key. If you cannot do that, contact Apple Support and have proof of purchase ready, such as a receipt or the original box. Until the password works, you cannot complete the erase or release Activation Lock.
Conclusion
Start with the backup, because it is the only step you cannot redo. Confirm the date under iCloud Backup and check a few photos and messages.
Then turn off Find My iPhone, sign out with your Apple Account password, and remove the phone from your Devices list at appleid.apple.com.
Run Erase All Content and Settings from General and Transfer or Reset iPhone, wait for the Hello screen, and verify from another device that the phone has left your account. Pull the SIM tray, pack the cable, and hand it over. That is how to erase an iPhone before selling it, and it takes longer to read than to do.