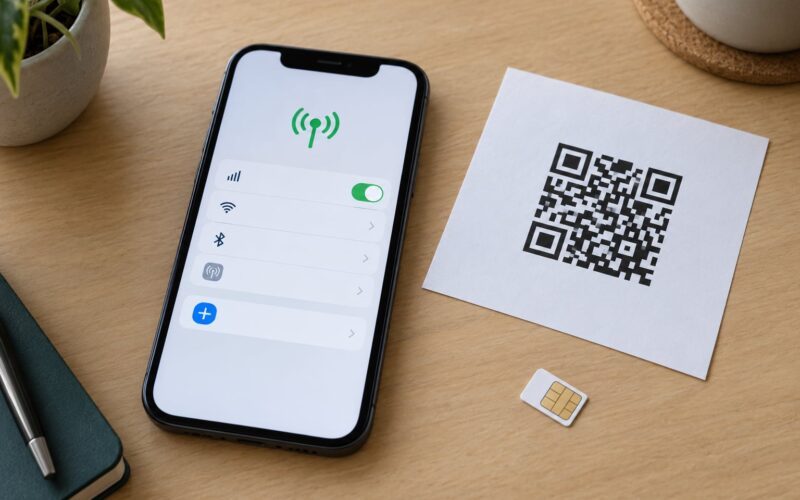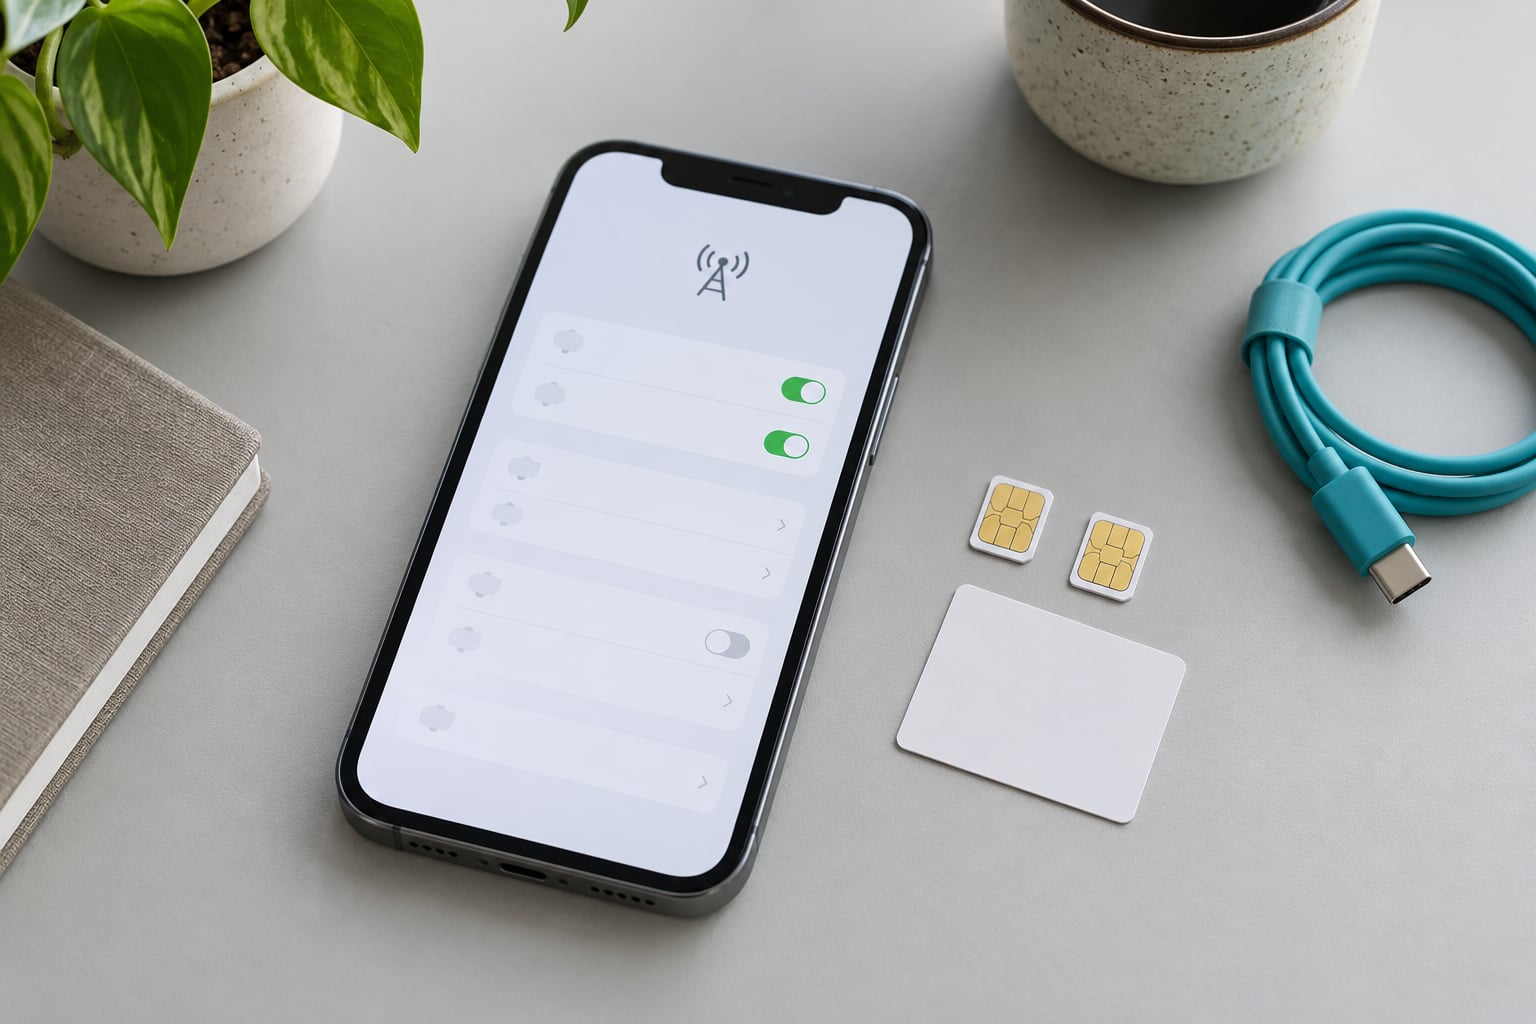
To use Dual SIM on an iPhone, open Settings > Cellular and add a second line, either as an eSIM you install over Wi-Fi or as a physical nano-SIM in the SIM tray. Then label both lines and pick your default for calls, messages, and mobile data. The whole job takes about ten minutes.
You need an iPhone XS, XS Max, XR, or newer, an iPhone that is unlocked or a carrier that allows two lines on one device, and a carrier that supports eSIM if you plan to go the digital route. Most of this applies on current iOS versions, including iOS 26, and the menu names have barely moved since iOS 12.1 brought Dual SIM to the iPhone.
Below is the setup in the order Apple expects it, followed by a fixes list for the error messages people actually hit. If you just want the answer and not the theory, start at Step 1 and follow along.
Table of Contents
- 1What You Need
- 2Which configuration your iPhone supports
- 3Step-by-Step
- 4Step 1: Check iPhone and Carrier Compatibility
- 5Step 2: Add or Insert the Second SIM
- 6Step 3: Configure Your Default Line
- 7Step 4: Test Calling, Texting, and Mobile Data
- 8How to Switch Between Your Two Lines
- 9Moving Two eSIM Lines to a New iPhone
- 10Common Mistakes
- 11Frequently Asked Questions
- 12Can an iPhone have two SIM cards?
- 13How do you switch between SIMs on a Dual SIM iPhone?
- 14What are the disadvantages of Dual SIM on iPhone?
- 15Why isn’t my Dual SIM working on my iPhone?
- 16Can I turn off one SIM without deleting it?
- 17How many eSIMs can an iPhone hold at once?
What You Need
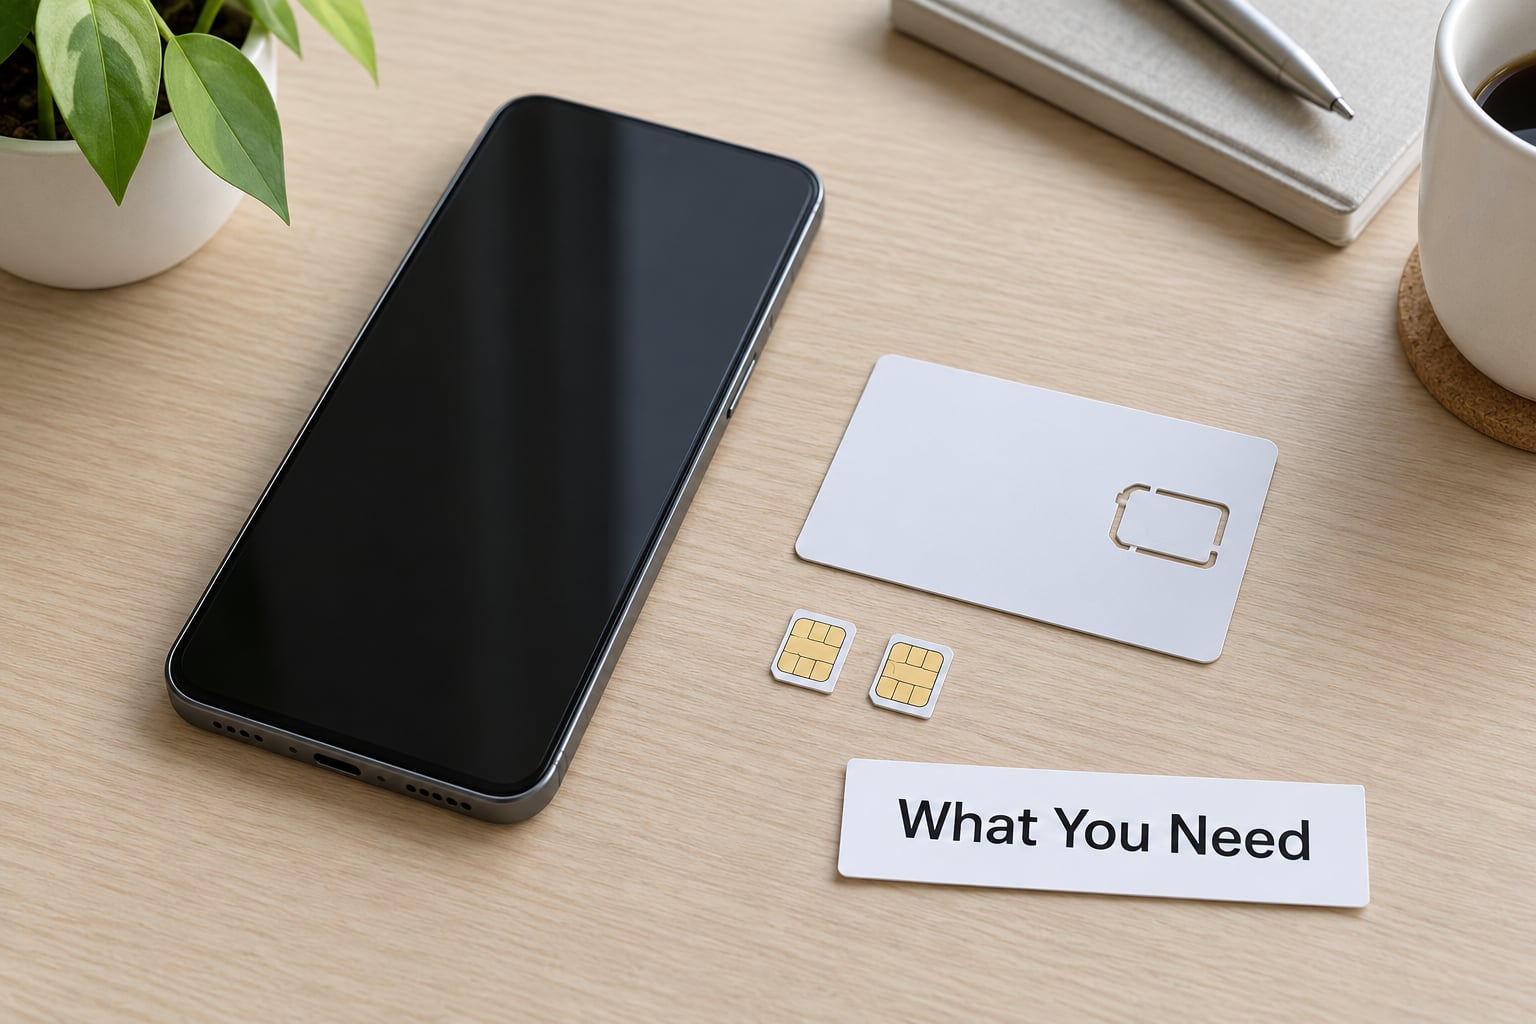
Dual SIM just means two cellular lines stay registered on one iPhone at the same time. You get two phone numbers for calls, texts, and data without carrying a second handset. Which hardware you have decides how the second line gets in.
- iPhone XS, XS Max, iPhone XR or newer. Those 2018 models were the first with Dual SIM. Anything older does not support two active lines, no matter what the carrier sells.
- A carrier that supports eSIM if you want the digital line. Not every prepaid or regional carrier sells eSIM plans, and an eSIM from one carrier does not have to be compatible with a physical SIM from another.
- An unlocked phone, or both lines from the same carrier. Check by opening Settings > General > About and reading the line next to Carrier Lock. If it says No SIM restrictions you can pair any compatible carrier. If it names a carrier, that phone is locked to it.
- iOS 12.1 or later for the feature itself, ideally the latest iOS you can install. Menu names and options have shifted a little with each release, so this guide assumes a current version.
- Wi-Fi for the first eSIM setup. The eSIM profile downloads over Wi-Fi before the line can register on a network.
Which configuration your iPhone supports
The three configurations sound similar and behave differently. Here is the split by model and region:
- nano-SIM + eSIM — iPhone XS through iPhone 13 in most markets, including every US model of that era. One line goes in the tray, one lives on the phone.
- Dual eSIM — two eSIMs active at the same time, no physical card involved. Available on iPhone 13 and later, but the exact list of carriers and regions varies. US iPhone 14 and newer models sold in the United States are eSIM-only, so this is the standard setup there.
- Two physical nano-SIMs — China mainland, Hong Kong, and Macao models of iPhone XS and newer ship with a dual-SIM tray. This is the only configuration where you can hold two physical cards.
One hardware detail trips people up: you cannot use a physical SIM and a second physical SIM just because you bought the model sold in Asia. The tray, modem, and region lock are matched at the factory.
Step-by-Step
Step 1: Check iPhone and Carrier Compatibility
Open Settings > Cellular. If your iPhone supports two lines, you will see a line labelled Cellular Data and a separate entry for each active plan, plus an Add eSIM or Add Cellular Plan option. If you only see a single line and there is no Add eSIM button, the phone is either older than XS, carrier-locked in a way that blocks a second plan, or your carrier has not enabled multi-line service on the account.
While you are in Settings, check that the lines you want actually work on your account. Most carriers require both numbers on the same account, and business lines sometimes need multi-line approval before a second device line appears.
You will know this step worked when Settings > Cellular lists both numbers, each with its own toggle.
Step 2: Add or Insert the Second SIM
There are two routes. If your carrier sent a QR code or an activation code by email, use the eSIM route. If you have a card in your hand, use the physical route.
Adding an eSIM:
- Put the iPhone on Wi-Fi with a working internet connection.
- Go to Settings > Cellular > Add eSIM. On some versions this reads Add Cellular Plan.
- Tap Use QR Code and point the camera at the code your carrier sent. You can also tap Enter Manual Activation Code and type the long code if the QR scan will not focus.
- Wait for the download and activation to finish. Do not leave the app or lock the phone mid-install; the profile takes a minute or two.
- Give the new line a name. The default is the carrier name, which is rarely useful when you have two lines. Tap the line, edit Cellular Plan Label, and save it as Personal, Business, or Travel.
You will know it worked when the new label appears in the status bar next to the signal bars once you move away from Wi-Fi.
Adding a physical nano-SIM:
- Power the iPhone off before you touch the tray. The SIM eject tool goes into the pinhole next to the tray.
- Insert the nano-SIM with the gold contacts facing the tray and the clipped corner matching the tray shape.
- Turn the iPhone on and wait for the carrier banner to appear, which can take a minute or two.
- Open Settings > Cellular, tap the new line, turn On This Line on, and give it a cellular plan label.
When you finish, both lines should sit under Settings > Cellular with a toggle each. A line you want to silence right now can stay installed with its toggle off. That is different from deleting an eSIM, which removes the profile and usually means requesting a new QR code from the carrier.
Step 3: Configure Your Default Line
Dual SIM does not mean every line does everything equally. Calls and texts use the default line unless you pick another; cellular data uses whichever line is selected for data.
Set the line for calls: open Settings > Cellular > Default Voice Line and choose the number you want outgoing calls to use. Turn on Allow These Devices to Switch Over to Wi-Fi Calling if your carrier supports it, since that gives the idle line a way to catch calls while you are on the other one.
Set the line for data: open Settings > Cellular > Cellular Data and pick the plan that carries your data. Right under that list sits Allow Cellular Data Switching, which lets iPhone jump to the other line when the current one has no signal. Leave it on if you want reliability, and consider turning it off before a trip abroad, because a roaming line that jumps in can quietly inflate a travel bill.
Set per-contact defaults: iPhone lets you bind a specific contact to a specific line. Open the contact, tap the word Default for this contact, and choose the number. Calls to that person, and messages you send them, use that line even if your global default is the other one. It is the cleanest way to keep work calls on the work number without checking every time.
Check messaging defaults: open Settings > Messages > Send & Receive to confirm which number iMessage and SMS are signed into. With two lines active, iMessage uses your default line unless you change it in the conversation itself. RCS runs over that same line, so if rich text looks plain on one number, check which line the conversation is set to.
Step 4: Test Calling, Texting, and Mobile Data
Test both lines before you depend on them. The quickest check is the status bar: with two lines active you see two sets of signal bars side by side, and a small dual-SIM indicator. A single set of bars means one line has dropped, so switch off Wi-Fi for a moment to see the real state.
Here is how the indicator states read: one line alone means only that line is active. Two bars with one filled means both registered, with the filled one carrying data. A small cross or slash over one bar means that line is temporarily out of service, which commonly happens on the other line while you are mid-call or have data off. An empty slot with no bars usually means the line is switched off in Settings.
For the tests themselves:
- Place a call from each line by starting the call from the contact card, then tapping the number shown under the contact name to override the default.
- Send a test text to a phone you control so you can confirm which number delivered it.
- Turn Wi-Fi off, open Safari, and confirm the mobile data icon shows the line you expected.
If a call went out on the wrong number, the fix is almost always the default line setting or a per-contact override that you forgot about. Check Settings > Cellular > Default Voice Line first, then the contact card.
How to Switch Between Your Two Lines
Switching is not a mode you enter or leave. You pick the line per call, per conversation, and per data session.
- To dial from the other line, open the contact or dialer and tap the current sender number above the call button. A list of your lines appears, with a check mark next to the active one.
- To text from the other line, open Messages, start or pick a conversation, tap the contact name or the number at the top of the thread, and choose the line you want.
- To move mobile data, go to Settings > Cellular > Cellular Data and tap the other plan. It takes effect within seconds.
- Mid-call, tap the contact name or the signal bars in the call screen, then tap the other line to switch the conversation over while staying in the same call.
- To mute a line without removing it, toggle it off in Settings > Cellular, or use the cellular control in Control Center. The profile stays installed and comes back with one tap.
One behaviour surprises everyone. Because iPhone uses Dual SIM Dual Standby, both lines receive calls and texts at the same time, but only one call can be live. While you are talking on line A, line B is out of service for calls, which is why a caller may hear No Service from that number mid-conversation. Wi-Fi calling on the idle line is the usual fix.
Moving Two eSIM Lines to a New iPhone
Upgrading is where most dual SIM users get stuck. If you buy the new iPhone from your carrier or from Apple, the transfer can move both lines across. Go to Settings > Cellular on the new phone and look for Transfer eSIMs, follow the on-screen prompts, and have the old iPhone nearby and unlocked to approve it. The lines are live again within a few minutes, and you should check both labels in Settings > Cellular to confirm they swapped correctly.
If you are bringing your own device, you will usually have to request fresh QR codes from each carrier and reinstall the eSIMs by hand. Do that before you wipe the old phone, and do not delete an eSIM profile from the old iPhone until the new one is registered, because the profile cannot be pulled back from a deleted phone.
Common Mistakes
Each of these shows up over and over. The message tells you what went wrong; the fix is usually two taps away.
Carrier says the plan is not supported on this iPhone. The phone is locked to another carrier, the line is not on the same account, or your carrier does not sell eSIM at all. Check Settings > General > About for the Carrier Lock line, then ask the carrier whether the plan can move to an eSIM device.
eSIM not downloading. You were on mobile data instead of Wi-Fi, the camera would not focus on the QR code, or the download was interrupted. Move to Wi-Fi, clear out of the activation screen, restart the iPhone, and scan again. Entering the activation code by hand works too.
One line shows No Service. Check that the line toggle is on, then toggle it off and on. If it persists, the line may have lost its profile registration, which sometimes happens after an iOS update. Resetting Network Settings forces a fresh registration, and on some versions you also need the carrier to re-provision the eSIM.
No 5G, or no Dual 5G, with two lines active. Dual 5G needs iPhone 12 or later and a carrier that supports it, and even then one of the lines often settles on LTE. Both lines still work; you just get 4G on the second one.
Calls and texts going out on the wrong number. Fix the Default Voice Line setting, then check the contact for a per-contact override. Messaging follows its own path: open the conversation and confirm which line is selected at the top of the thread.
WhatsApp, Signal, or another messaging app stuck on one number. Those apps usually bind to a single number on the device, and calls made through them on your secondary line often fail. Treat the secondary line as a voice and SMS line, and set up the app on the number you actually want for messaging.
Carrier-locked device refusing a second plan. Unlocking is a carrier decision and depends on your account and payment history. There is no settings workaround while the lock is in place.
Last resort for anything network related: Settings > General > Transfer or Reset iPhone > Reset > Reset Network Settings. It clears saved Wi-Fi passwords and network preferences, and your lines stay installed. It will not fix a carrier-side block.
Two more limits worth knowing. An Apple Watch pairs with the number on the line it was set up with, so switching your default voice line does not move the Watch to the other number. And dual SIM does use some extra power, because two modems stay registered to the network all day.
Frequently Asked Questions
Can an iPhone have two SIM cards?
Yes, on iPhone XS, XS Max, iPhone XR and later, but only as nano-SIM plus eSIM or two eSIMs outside China mainland, Hong Kong and Macao. Models sold in those three regions take two physical nano-SIM cards in a dual tray. US iPhone 14 and newer models have no SIM tray at all, so two eSIMs are the only option there. Older iPhones cannot do it.
How do you switch between SIMs on a Dual SIM iPhone?
For a call, open the contact or dialer and tap the number shown above the call button, then pick the line you want. For a message, open the conversation and tap the contact name at the top, then choose the line. For mobile data, go to Settings u0026gt; Cellular u0026gt; Cellular Data and select the other plan. Nothing needs to be restarted.
What are the disadvantages of Dual SIM on iPhone?
The main limits are that only one call can be active at a time, only one line carries mobile data at a moment, and the second line shows No Service while you are on a call unless Wi-Fi calling is enabled. Many VoIP apps will not make calls on the secondary line, an Apple Watch pairs with one number, and two registered modems use more battery than one.
Why isn’t my Dual SIM working on my iPhone?
In most cases the phone is carrier-locked, the two lines are not on the same account, or the eSIM failed to finish downloading. Confirm both toggles are on in Settings u0026gt; Cellular, check the Carrier Lock line in Settings u0026gt; General u0026gt; About, and retry the eSIM on Wi-Fi. If a line keeps dropping after an update, Reset Network Settings forces a fresh registration.
Can I turn off one SIM without deleting it?
Yes. Toggle the line off in Settings u0026gt; Cellular, or use the cellular control in Control Center, and the profile stays installed with the toggle to bring it back. Deleting an eSIM, by contrast, removes the profile entirely and usually means requesting a new QR code from your carrier. That distinction matters before an iOS update or a phone upgrade.
How many eSIMs can an iPhone hold at once?
On iPhone 13 and later you can keep two eSIMs active simultaneously, which is how Dual eSIM works. Older dual-SIM models pair one eSIM with one physical nano-SIM. Recent models can store several eSIM profiles for switching, but only two are used at any one time, and you delete unused profiles in Settings u0026gt; Cellular before adding another.
Start with the compatibility check, add the second line over Wi-Fi with the QR code your carrier sent, then label both plans so you know which is which at a glance. From there, set your default voice line and your data line, and run one call, one text, and one data test per line before you close the settings app. That is genuinely all there is to it, and it costs nothing extra from Apple.