Annotating a PDF on iPad takes about two minutes once you know where the Markup button hides. Open the file in the Files app, tap the Markup icon in the top-right corner, and the whole toolbar appears: pen, pencil, highlighter, eraser, lasso, text boxes, shapes and a signature pad. No app to buy, no subscription, no account.
Below is the short version, then the full walkthrough with the fixes for the one thing that drives people mad — markups that quietly vanish after you close the file.
- Open the PDF in the Files app and tap it once to display it.
- Tap the Markup icon in the top-right corner of the screen.
- Choose a tool from the bottom bar: pen, pencil, highlighter, lasso or eraser.
- Tap the same tool again to change colour, line thickness or opacity.
- Add a signature or text box from the Add (+) button when you need one.
- Tap the Share button, choose Save to Files, and confirm the replacement when asked.
Table of Contents
- 1What You Need Before You Annotate PDFs on iPad
- 2How to Annotate PDFs on iPad, Step by Step
- 3Open the PDF: how to annotate PDFs on iPad in Files
- 4Start Markup and choose the right tool
- 5Highlight passages and underline important text
- 6Draw freehand notes with Apple Pencil or a stylus
- 7Add typed notes, comments and shapes
- 8Undo, erase or correct an annotation
- 9Review, save and share the annotated PDF
- 10Annotate a PDF inside Apple Notes instead
- 11Save a webpage as a PDF and mark it up
- 12Common Mistakes and How to Fix Them
- 13Frequently Asked Questions
- 14Can I annotate PDFs on an iPad without an Apple Pencil?
- 15Which Apple app is best for adding notes to a PDF?
- 16How do I save an annotated PDF on my iPad?
- 17Why can I not draw or highlight in a PDF?
- 18Can I add typed text and comments to a PDF on iPad?
- 19How do I share a marked-up PDF from my iPad?
What You Need Before You Annotate PDFs on iPad
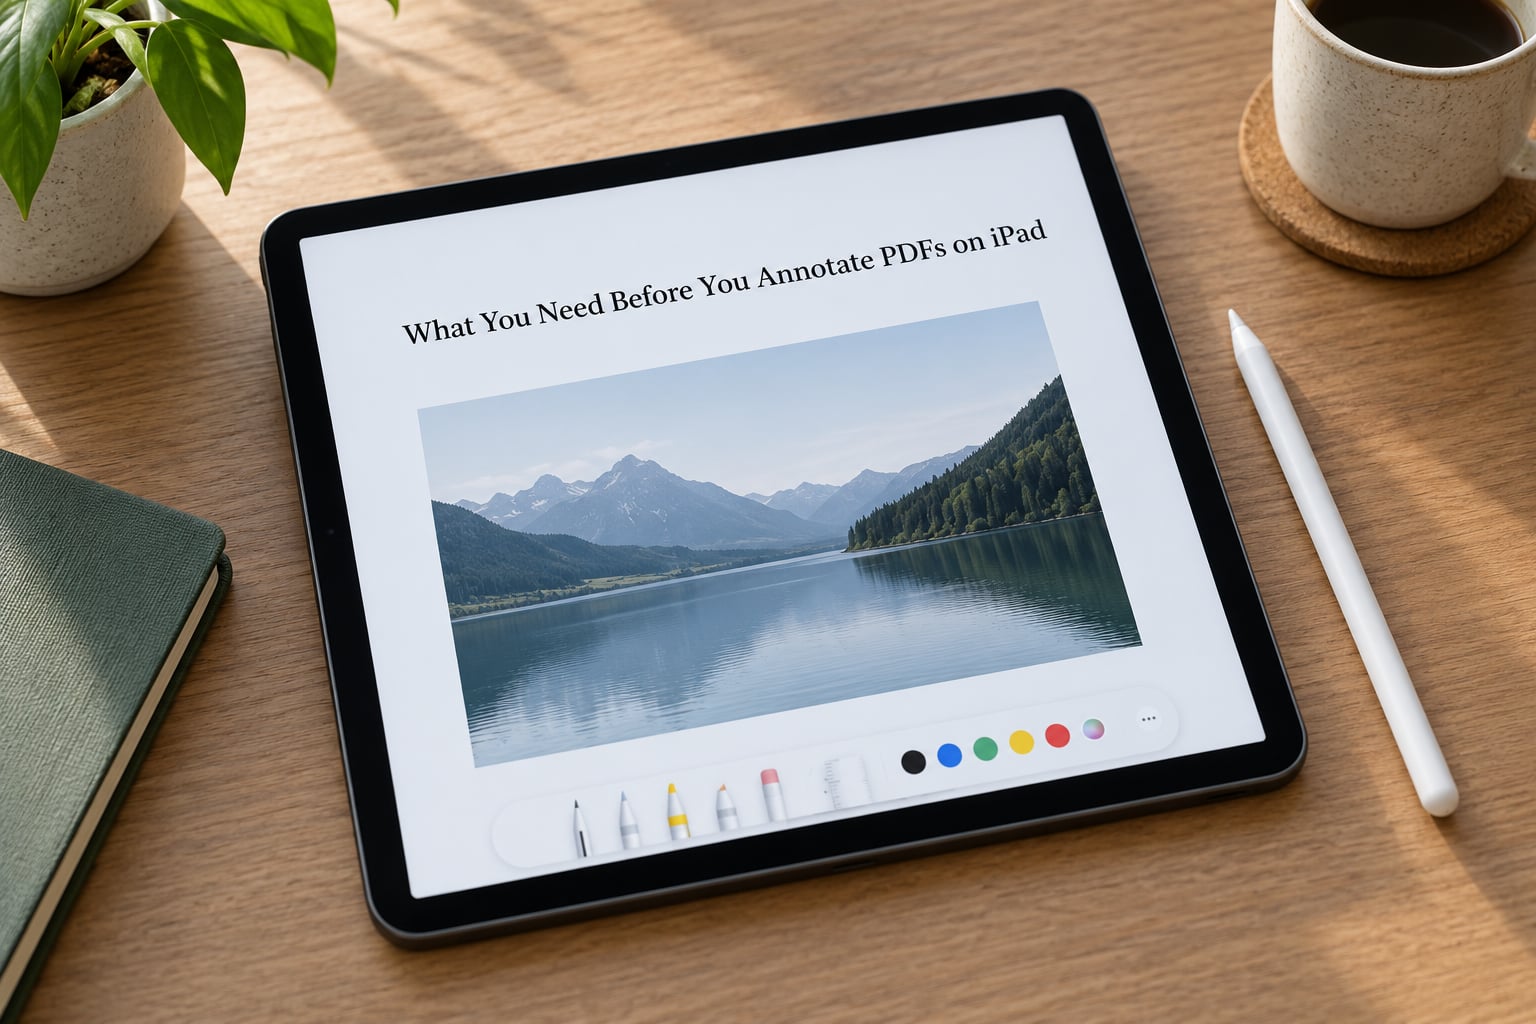
Nothing to buy. The Markup tool ships inside iPadOS and works on any iPad that runs a current release, from the oldest supported model to the newest. Older hardware just renders long pages a little slower.
You do need the PDF itself to be a real text PDF rather than a photograph of a page. Highlights and search need selectable text; a scanned page only gives you drawing tools until you run it through OCR first.
An Apple Pencil makes the work precise, but your finger does the same job. Pencil owners get pressure-sensitive lines, palm rejection while hovering, and the squeeze or double-tap gestures on supported models. Third-party styluses work too, often after enabling them under Settings and General and Apple Pencil and Scribble.
Apple also ships a standalone Preview app for iPad now. Readers in r/iPad describe it as free and effective for ordinary markup, with bookmarks as the main thing they miss. For the bulk of people, though, the built-in Files app already covers it.
How to Annotate PDFs on iPad, Step by Step
Open the PDF: how to annotate PDFs on iPad in Files
Open Files, browse to the folder holding your PDF, and tap the filename. The document fills the screen in the built-in PDF viewer with a minimal toolbar across the top. Pinch to zoom out until you can see a whole page, because annotations scale with your zoom level and a note drawn at maximum zoom lands in the wrong place.
Pages is the better choice when the PDF is tied to writing you already have in a Pages document. Import it there and the markup sits alongside your notes in one file. Otherwise Files is the faster route for anything that arrived by email, download or AirDrop.
Start Markup and choose the right tool
Tap the Markup icon, a pencil tip or marker inside a circle, in the top-right corner. On recent iPadOS releases some controls moved behind the More or ellipsis button, so if you cannot see the icon, tap the ellipsis and look there first.
The toolbar that slides up from the bottom holds the pen, pencil, highlighter, eraser, lasso and ruler. Tap any tool once to select it, tap it again to reveal its settings: colour, line thickness and opacity. On a PDF opened in Mail, the same toolbar is one Share tap away, which is handy when a contract arrives as an attachment.
Highlight passages and underline important text
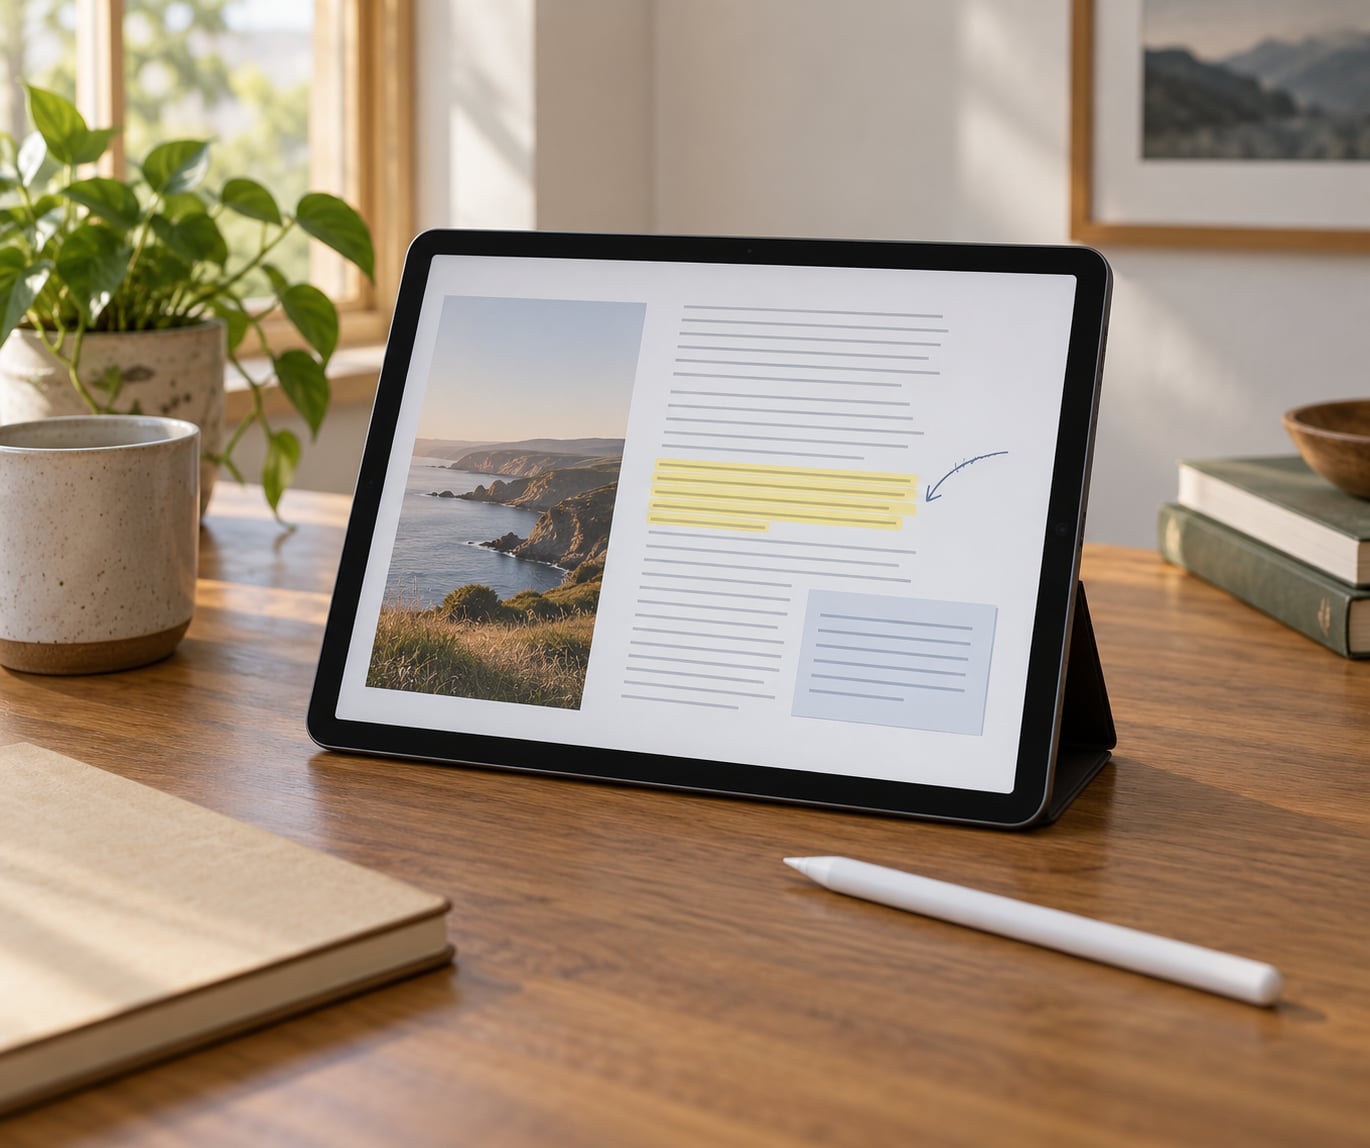
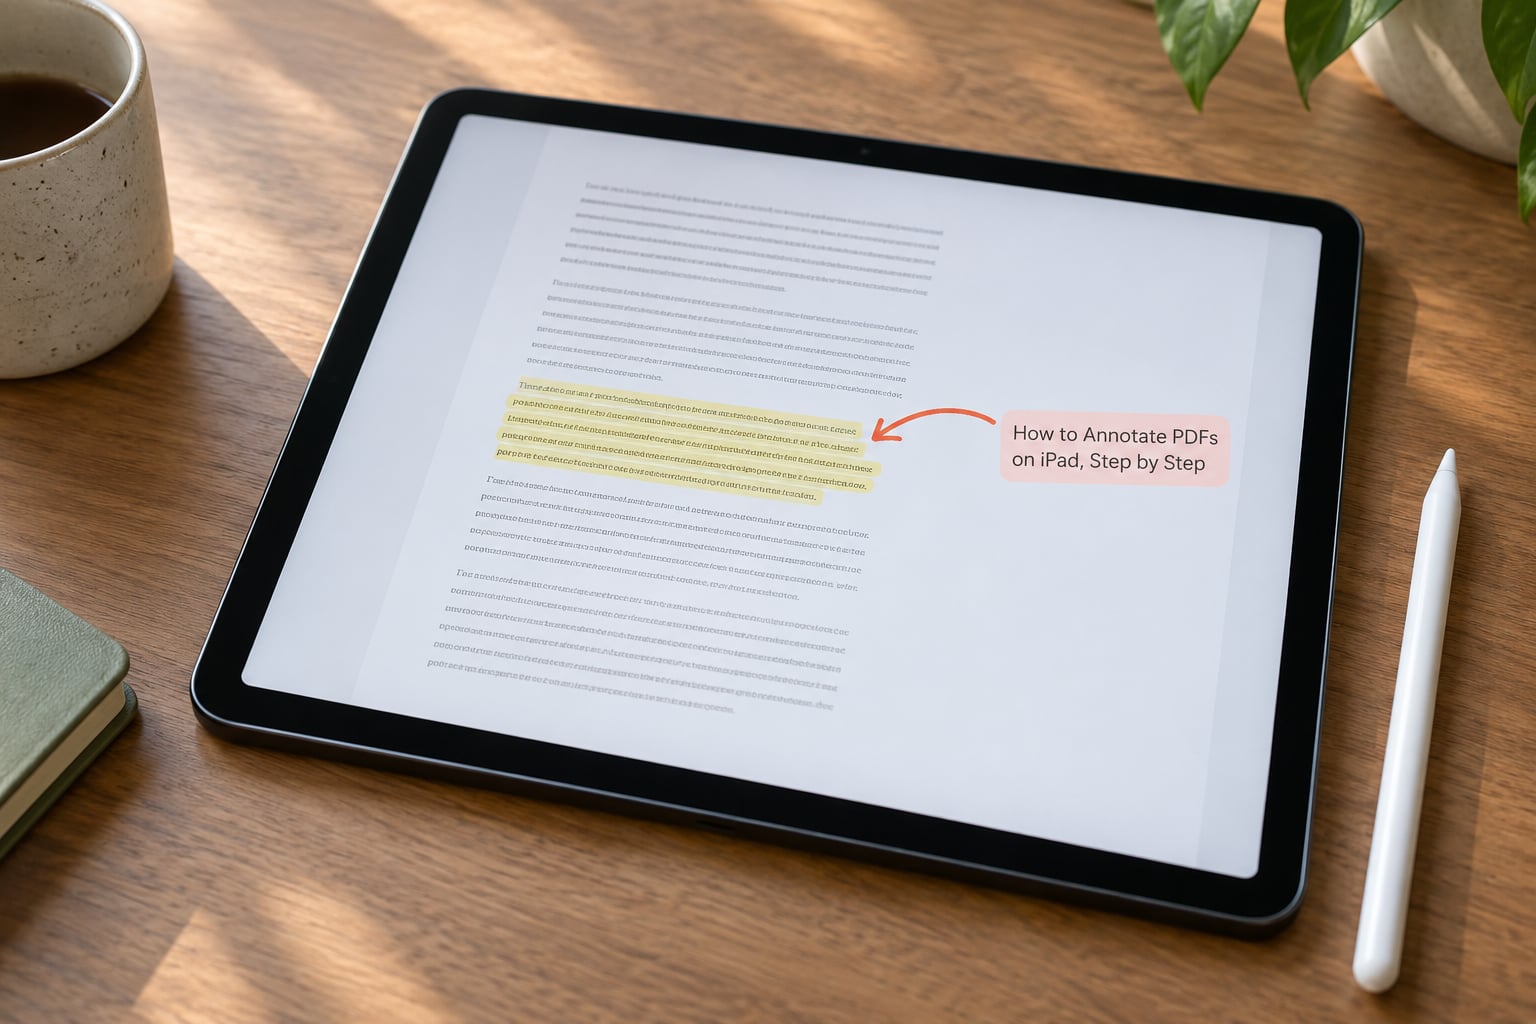
Touch and hold on a word to select it, then drag the blue handles to cover the sentence you want. A small floating toolbar appears with Highlight, Underline and Strikethrough. Pick Highlight and choose a colour; the tint sits behind the words rather than over them.
If the selection runs too far, shrink it before you highlight rather than trying to undo afterwards. Undo works one action at a time, so a misfired highlight on a long paragraph means several taps to clear.
Drop the highlighter tool’s opacity a notch when the mark darkens the text underneath it. That single adjustment is the difference between an annotation you can read and one you have to fight.
Draw freehand notes with Apple Pencil or a stylus
Pick the pen for thin, even lines or the pencil for a softer, textured stroke, then draw directly on the page. Arrows, boxes, tick marks and margin notes all come from the same two tools. Change thickness with the slider so a boxed heading reads differently from a small annotation.
With an Apple Pencil hovering over the screen, your palm rests on the page without leaving a mark. Without a Pencil, set Draw to Finger in Settings and Apple Pencil and Scribble, or brace your hand and use the edge of your palm as a guard. Less tidy, but it works.
When the Pencil battery drops mid-session, it switches to a finger-based scroll mode and stops drawing until it’s paired again. That switch catches people constantly; a full charge before a long markup session avoids the confusion.
Add typed notes, comments and shapes
Tap the Add (+) button at the end of the toolbar to open the insert menu: Text, Signature, Shapes, Stickers, Media and Scan Documents. Choose Text and drag a box where the note belongs; drag the box later to reposition it and use the handles to resize.
Shapes covers rectangles, arrows, callouts and speech bubbles, which is all you need to flag a clause for later review. Stickers are useful as colour flags without touching the text itself.
Form fields work the same way: tap the field and the keyboard appears. The markup toolbar hides while you type and returns when you tap back onto the page.
Undo, erase or correct an annotation
Undo sits in the top-left of the markup toolbar with a small U and the label of the last action. Tap it once to reverse the most recent mark; keep tapping to walk backwards through your strokes. This is the fastest recovery after a stray Apple Pencil swoop.
The eraser tool removes marks as you swipe over them. Switch it between Erase Markup and Erase All Ink to take out freehand lines only, or everything, and use the lasso to circle a group of marks and lift them in one pass.
For a text box or shape, tap it once to select it, then drag the small handle at its edge. That deletes the object while leaving your freehand drawing untouched.
Review, save and share the annotated PDF
Before you save, swipe through every page and zoom in on the annotations. Most mishaps are a text box that ended up half off the page or a highlight that swallowed a whole paragraph, and both take seconds to fix now and hours to notice later.
Tap the Share button in the top-left. Save to Files puts the marked-up version back in the same folder and asks whether to replace the original; confirm it and your folder stays clean. Save a Copy leaves the original untouched and creates a new file, which is the safer choice for a document you might need unmarked later.
If the PDF lives in iCloud Drive, the annotated version syncs to your Mac and iPhone on its own. Community testing over in r/CraftDocs turned up the catch behind most lost annotations: Markup does not auto-save when you force-close the app, so hit Save first every time.
Annotate a PDF inside Apple Notes instead
For a PDF already attached to a note, tap it to open the full-screen viewer and choose Draw in the bottom toolbar. That gives you handwriting straight onto the page with no round trip to Files. Select a text box to type, use Scan to grab a paper page, and save once to put everything back in the note.
Reach for Files rather than Notes when you need shapes, colour highlights, text selection formatting or a signature, because the Draw view is deliberately limited. Obsidian, Evernote and Zotero users hit the same wall; each needs an export step before full markup is available.
Save a webpage as a PDF and mark it up
In Safari, tap Share, then Print. Pinch the page preview outward with two fingers and it becomes a PDF; tap Share again and choose Save to Files. Now the same Markup toolbar from the Files app handles it.
Quick alternative for light notes: tap Share, scroll to More, choose Markup, annotate on the spot and save. The article is a copy, so the live page stays untouched.
Common Mistakes and How to Fix Them
The Markup icon is not visible. On current iPadOS the view controls often sit behind the More or ellipsis button in the top-right. Confirm you opened the PDF rather than a preview thumbnail, since previews do not expose Markup at all.
The Apple Pencil will not draw. Most cases are an unpaired or low-battery Pencil, which silently reverts the iPad to finger scrolling. Check Settings and Bluetooth, tap the Pencil’s side to wake it, and look for it in the Bluetooth list.
Your markups disappeared. In order of likelihood: you force-closed without saving; the file is in iCloud Drive and two devices edited the same copy, so one overwrote the other; or you annotated a preview rather than the real file. Save explicitly, keep one device per file, and confirm the pencil stroke appears before moving on.
Switching between the keyboard and Pencil jumps you to the top of the document. This is a known behaviour on PDFs stored in iCloud Drive. Leave the file, open it fresh, and use the page thumbnails or search instead of scrolling to recover your place.
Save to Files is missing from the Share Sheet. Close the Share Sheet, reopen it and scroll the app row sideways to find Files. If it stays hidden, saving to On My iPad and moving the file later gets the job done.
Highlights cover the text. Lower the highlighter’s opacity in its settings panel, or switch to the Underline option, which never touches letterforms.
You cannot highlight anything in a scanned page. There is no text layer to select. Use the pen or highlighter tool directly, or run the page through Live Text in the Preview app first to create one.
Very large PDFs feel sluggish. Files of a thousand pages or more load page thumbnails lazily and search the whole document each time you tap it. Keep large research documents in an app built for them, such as PDF Expert or Adobe Acrobat, where the free tier covers basic markup.
Frequently Asked Questions
Can I annotate PDFs on an iPad without an Apple Pencil?
Yes. Every Markup tool responds to your fingertip, including the pen, pencil, highlighter and eraser. In Settings, General, Apple Pencil and Scribble, set Draw to Finger if you would rather always draw by hand. Without a stylus, rest the edge of your palm on the page to steady your hand and avoid smearing.
Which Apple app is best for adding notes to a PDF?
The Files app is the most capable: full Markup with shapes, colour highlights, text selection formatting, signatures and form filling. Apple Notes is better when the PDF already sits in a note, since its Draw view writes straight onto the page. Preview is a solid middle ground for viewing and light annotation.
How do I save an annotated PDF on my iPad?
Tap Share in the top-left of the Markup view, then Save to Files. Pick the same folder and confirm Replace to overwrite the original, or pick a new name and confirm Save Copy to keep a clean version. Markup does not auto-save when you force-close the app, so always save before leaving the document.
Why can I not draw or highlight in a PDF?
Check four things. Your Pencil may be unpaired or out of battery, which drops the iPad into finger-scrolling mode. The file may be a photo of a page with no selectable text. You may be viewing a preview instead of the actual document. And if the Markup icon is missing, look inside the More or ellipsis menu in newer iPadOS versions.
Can I add typed text and comments to a PDF on iPad?
Tap the Add (+) button in the Markup toolbar and choose Text. Drag a box where you want the note, then type into it and drag the frame afterwards to reposition it. Tap a text box once to select it and use the delete handle to remove it without disturbing your freehand drawing.
How do I share a marked-up PDF from my iPad?
Tap Share in the top-left of the Markup view and pick Mail, Messages, AirDrop or a cloud service from the app row. Saving to Files first is the tidier habit, since it gives you a named copy to send rather than a snapshot taken from whatever page you are on.
Start with one file in the Files app, zoom to fit the whole page, and tap the Markup icon. Add your highlights, draw whatever notes you need, then hit Share and Save to Files straight away — that last tap is the one people skip, and it is the one that costs them the work.