To set up personalized spatial audio on iPhone, connect your AirPods, open Settings, tap your device name at the top of the list, then choose Spatial Audio and Personalize Spatial Audio. Your iPhone uses the TrueDepth camera to scan your face and ears, builds a profile matched to your head shape, and stores it on your Apple Account. The whole thing takes about two minutes, plus a couple of retries if the scan complains.
Two minutes is the honest figure, not the marketing one. Most people get through it first try. A fair number need two or three attempts, mostly because of how they hold the phone rather than anything wrong with their hardware. If you have been stuck on the “Move iPhone 10-20 inches back” prompt, the fix is in the scan technique section below.
Quick version, six steps:
- Connect your AirPods or supported Beats and make sure they are in your ears.
- Open Settings and tap your device name at the very top of the menu.
- Tap Spatial Audio, then Personalize Spatial Audio.
- Hold the iPhone about 10 to 20 inches from your face at eye level.
- Move your head slowly while the TrueDepth camera scans your face and ears.
- Play something in Apple Music or a movie and switch between Off, Fixed and Head Tracked.
Last updated October 2026. Menu names below were checked on the current iOS release with Face ID hardware. Apple renames settings between major versions more often than it should, so if a label differs slightly, it is almost always tucked one level deeper than you expect.
Table of Contents
- 1What You Need Before You Start
- 2iPhone models that can run the scan
- 3Headphones that support personalization
- 4Other requirements
- 5How to Set Up Personalized Spatial Audio on iPhone
- 6Enable the Personalized Spatial Audio Setting
- 7Complete the Personalization Scan
- 8Connect AirPods and Test Personalized Spatial Audio
- 9Choose Off, Fixed or Head Tracked
- 10Turn Spatial Audio On From Control Center
- 11Is It Worth the Two Minutes?
- 12Common Mistakes
- 13Frequently Asked Questions
- 14Why won’t my personalized Spatial Audio work?
- 15What is personalized Spatial Audio on an iPhone?
- 16How does personalised Spatial Audio work?
- 17Why does my iPhone not have the Personalized Spatial Audio option?
- 18Do I need an internet connection or an Apple Account to set it up?
- 19Is it better to have Spatial Audio on or off?
- 20Conclusion
What You Need Before You Start
Personalized Spatial Audio is the one audio feature in iOS with a hardware gate. Two things have to be true: the iPhone needs a TrueDepth camera, and the headphones need to support personalization. Miss either one and the option simply is not in the menu.
iPhone models that can run the scan
TrueDepth arrived with the iPhone X and has been on every Face ID iPhone since. Touch ID and Face ID hardware differences are what matter here, not the year.
| iPhone | Can run a personal scan | Notes |
|---|---|---|
| iPhone X, XS, 11 and newer | Yes | Every Face ID iPhone, including the full-size 11 and the 11 Pro |
| iPhone 12 through iPhone 17 families | Yes | Most reliable hardware for the scan |
| iPhone X and XS in particular | Yes, with patience | Oldest supported hardware; scanning can take several tries |
| iPhone SE, any generation | No | Touch ID, no TrueDepth camera. The toggle will never appear |
| iPhone 8 and older | No | No TrueDepth camera |
| iPad and Mac | No | The personal scan is iPhone-only. Those devices can play Spatial Audio using the synced profile |
Headphones that support personalization
Personalization attaches to the AirPods and Beats that support it, plus newer iPads, Macs and Apple TV boxes that can read the profile from iCloud. Standard Spatial Audio is a wider category, and that distinction causes most of the confusion in the comments sections.
| Headphones | Personalized Spatial Audio | Standard Spatial Audio |
|---|---|---|
| AirPods Pro (2nd generation), USB-C or Lightning | Yes | Yes |
| AirPods Pro (1st generation) | Yes | Yes |
| AirPods (3rd generation and later) | Yes | Yes |
| AirPods Max | Yes | Yes |
| Beats Fit Pro and newer Beats models | Yes | Yes |
| AirPods (2nd generation) and first-generation AirPods | No | Yes |
| Any third-party headphones, earbuds or speakers | No | App dependent |
Apple adds models to this list over time, so treat the device panel as the final word. If Spatial Audio is missing entirely from your AirPods settings, check for an iOS update first.
Other requirements
- iOS 16 or later. The scan arrived in iOS 16. Head Tracked mode came in iOS 17, and menu wording has shifted since.
- Signed in with an Apple Account and iCloud on. The profile is saved to your account so it follows you to your other Apple devices.
- Content with a real surround mix. Apple Music tracks with Dolby Atmos, films with a proper 5.1 or Atmos mix, and supported games. A mono podcast will not show you anything.
- Best earbuds in your ears, not in the case. The device needs to detect them as worn and connected.
One last clarification, because this catches nearly everyone: the Spatial Audio setting inside Apple Music is a different feature from the personalized toggle in your AirPods settings. Apple Music has its own switch that turns the spatial mix on and off for music. Your device settings hold the three-mode selector and the personal scan. Turning on one does not turn on the other.
How to Set Up Personalized Spatial Audio on iPhone
Enable the Personalized Spatial Audio Setting
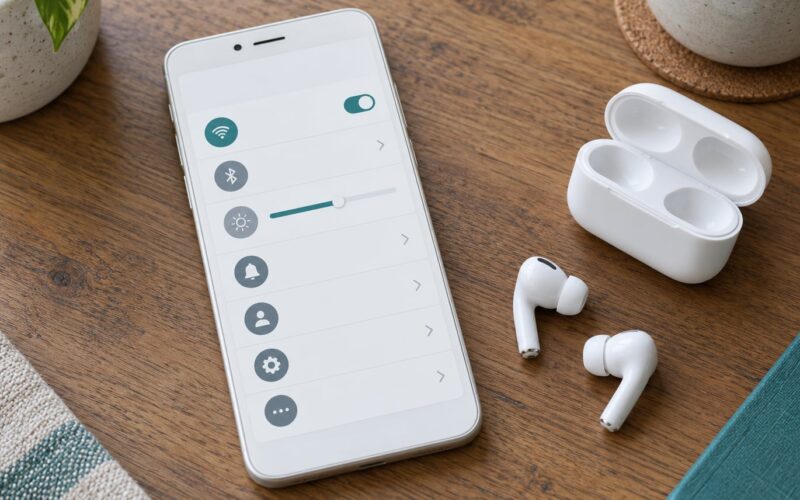
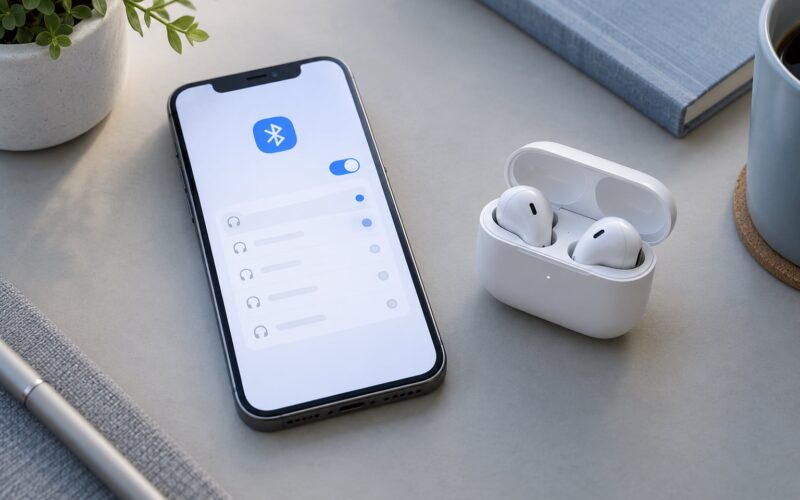
Put your AirPods in and connect them. Open the Settings app and tap your device name at the very top of the first screen, right under your Apple Account row. The name changes with what you are wearing, so look for AirPods Pro, AirPods or whatever you have connected.
In that panel, scroll to Spatial Audio and tap it. You will see three modes and, on supported combinations, a Personalize Spatial Audio option below them. Tap it and the camera opens straight into the scan.
Some iOS versions also expose this one level over, under Settings, Accessibility, Audio and Visual, Spatial Audio, then Personalized Spatial Audio. If you searched your AirPods panel and found nothing, try that second path before assuming your phone is too old. In most cases, either route arrives at the same scan screen.
Complete the Personalization Scan
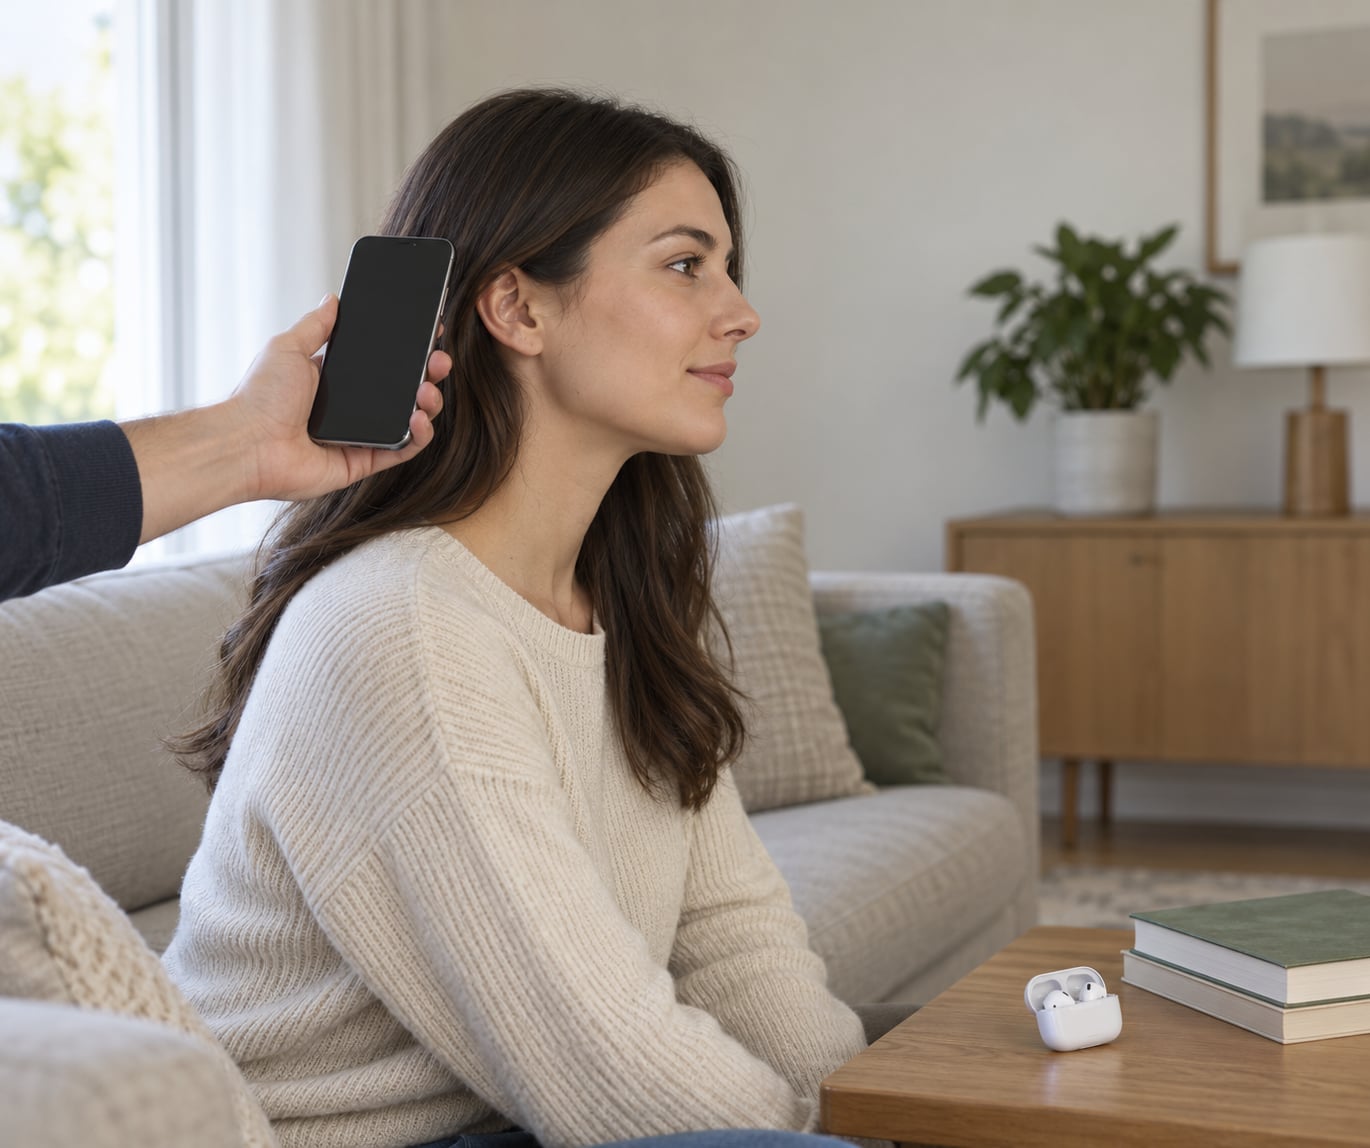
The phone does not measure your eardrums directly. It photographs your face and ear canals in the dark with an infrared dot projector, maps the shape of your head, and uses that as a personal filter so the sound stage sits where the mix intends it to rather than slightly outside or inside your skull. The result is stored as a small profile on your Apple Account.
Technique matters more than anything else here. This is the fix that unblocks most people who are stuck:
- Arm’s length. About 10 to 20 inches back, at eye level, which is roughly the distance between your head and the kitchen counter while you lean on it. The on-screen prompt says this and users often think they are already obeying it while holding the phone far too close.
- Small movements. Turn your head a few degrees at a time. Big turns make the camera lose its lock on your ear between frames.
- Elbow on the table. A supported forearm kills the hand shake that blurred captures. This single change fixes more failed scans than anything else.
- A mirror. Hold a handheld mirror so you can see the screen without moving your head. Guessing at the framing is the second biggest cause of retries.
- Plug the phone in. A scan on low battery gets interrupted, and the capture restarts from the beginning.
- Quiet room. Face ID unlocks you first, so make sure you can authenticate before the scan begins.
On older Face ID hardware such as the iPhone X, switch on Low Power Mode under Settings, Battery before you start. It caps the processor during the capture, which avoids the throttling that causes mid-scan aborts.
You should see your face and ear light up as the phone maps them, a confirmation when the profile is built, and Personalize Spatial Audio switched on afterwards. If it fails, you get a message asking you to try again. Go again. Two or three attempts is completely normal, and five is still worth doing before you change anything.
Connect AirPods and Test Personalized Spatial Audio
After the scan, put on the AirPods you scanned with and open something with a surround mix. Apple Music with a track labelled Dolby Atmos is the fastest test. A film with an Atmos or 5.1 mix is the second fastest.
Listen for two things. The sound stage should sit slightly above and around you rather than inside your head, and if Head Tracked is on, it should stay anchored as you turn. Sound that starts to follow your head like it is glued to the earbud is a sign head tracking is on. Sound that moves with you, always in the same place relative to your face, is Fixed mode.
For a quick A/B, tap the AirPods icon in Control Center, tap the Spatial Audio button, and flip between modes without taking anything off. That route comes back below.
Choose Off, Fixed or Head Tracked
Three modes, and they are not equal. A quick comparison before you commit.
| Mode | What it does | Best for |
|---|---|---|
| Off | Plain stereo, no virtual surround at all | Podcasts, audiobooks, calls, anything where you want the original mix untouched |
| Fixed | Surround sound anchored in one spot in front of you | Most people most of the time. The soundstage stays put when you move, which is easy to listen to for hours |
| Head Tracked | Surround sound that stays anchored as you turn your head | Films and games, especially on an Apple TV or large display. Added in iOS 17 |
Head Tracked is impressive for a minute and tiring over a long film, because your neck keeps tracking moving objects. Start in Fixed. Try Head Tracked for an action scene and judge for yourself.
Turn Spatial Audio On From Control Center
Once setup is done, you rarely need Settings again. Touch and hold the volume control in Control Center and tap Spatial Audio at the lower right of the expanded panel. The same control is on the lock screen and in the Now Playing view of Music. Mode changes here apply immediately without interrupting playback.
Is It Worth the Two Minutes?
It works. The difference is not night and day, and pretending otherwise would be dishonest. What you actually get is tighter imaging: instruments and dialogue hold their position instead of drifting, and the virtual stage feels wider than the fixed position of two tiny drivers suggests.
It shows up most on films and Apple Music lossless with Dolby Atmos, and least on spoken-word content. If your ears are sensitive to any change in tonal balance, keep the first few minutes in Fixed mode before deciding.
Common Mistakes
Almost every failure falls into one of these rows. Work down the list in order rather than jumping around.
| Symptom | Likely cause | Fix |
|---|---|---|
| The Personalize Spatial Audio option is not there at all | iPhone has no TrueDepth camera, or the AirPods are not connected | Confirm your iPhone model is Face ID. Reconnect the AirPods and reopen the device panel before anything else |
| The option is greyed out | AirPods are in the case, unpaired, or running low firmware | Put them in your ears, charge the case, and install any pending AirPods firmware from Settings, General, Software Update |
| The scan keeps asking you to move the phone back | Handheld at less than arm’s length, or the frame is cropped | Prop the phone on a stack of books at eye level, 10 to 20 inches out, and do not hold it |
| The scan aborts halfway | Hand shake or low battery cutting the capture | Elbow on the table, phone plugged into charge, and turn on Low Power Mode if your phone is an iPhone X or XS |
| The scan loses focus on your ear | Large head turns, dim room, or long hair covering the ear | Small movements only, brighter lighting, hair tucked back so the ear is fully visible |
| It worked, but nothing sounds different | Content has no surround mix, or mode is set to Off | Try a Dolby Atmos track on Apple Music or an Atmos film, and check the mode selector is on Fixed |
| Personalization vanished after a reset | Resetting AirPods erases the stored profile | Reconnect and rerun the scan. It takes the same two minutes and you only do it once |
| No Spatial Audio button on third-party headphones | Personalization is AirPods and Beats only | Nothing to fix. Some apps still spatialise on third-party gear, without any personal profile |
If the option is missing on a brand new iPhone with brand new AirPods Pro, update iOS first. Apple has shipped this feature in a beta or behind a flag more than once, and an out-of-date phone is the boring explanation that beats a hardware theory every time.
A few more things worth knowing:
- The profile syncs through iCloud, so an iPad, Mac or Apple TV with the same Apple Account can use it later.
- It is not the same as a custom audio setup under Accessibility, which is an equaliser built from an audiogram. They stack. Personalization handles where sound sits; the hearing feature handles how loud each frequency feels.
- Some apps keep Spatial Audio enabled after you leave Apple Music. That is app behaviour, not a stuck setting.
- There is no app that adds this to third-party headphones. It is a scan of your ears on Apple hardware, and it needs a scan.
Frequently Asked Questions
Why won’t my personalized Spatial Audio work?
It is almost always the scan technique rather than your hardware. Hold the phone 10 to 20 inches from your face at eye level, prop your elbow on a table so your hand is still, make small head movements instead of turning, and plug the phone in. On an iPhone X or XS, turn on Low Power Mode first. Expect two or three attempts before it completes.
What is personalized Spatial Audio on an iPhone?
It is a sound rendering profile built from a scan of your own face and ears. Standard Spatial Audio uses a generic head model, so the sound stage sits a little outside where it should. Your iPhone measures your head and ear anatomy with the TrueDepth camera and uses it to place virtual sound sources more accurately, which tightens the imaging around film dialogue and instruments.
How does personalised Spatial Audio work?
The TrueDepth camera captures your face and ear canals in the dark using an infrared dot projector, then builds a personal spatial audio profile from the geometry it measures. Apple saves that profile to your Apple Account, so it follows you to other Apple devices signed in with the same account. Audio is re-rendered using your profile so virtual sources stay anchored as you move your head.
Why does my iPhone not have the Personalized Spatial Audio option?
Your iPhone needs a TrueDepth camera, which rules out every iPhone SE, the iPhone 8 and older, and all Touch ID models. The scan is iPhone-only too, so iPads and Macs will not offer it. If your phone is Face ID capable, check that your AirPods are connected and in your ears, then look for the setting under Accessibility, Audio and Visual, Spatial Audio as well.
Do I need an internet connection or an Apple Account to set it up?
The scan itself works offline, so you can run it on a plane. You do need to be signed in to an Apple Account with iCloud switched on, because that is where the finished profile is stored and how it reaches your other Apple devices. If iCloud is disabled the scan may complete but the profile has nowhere reliable to live and will not follow you.
Is it better to have Spatial Audio on or off?
Fixed is the best default for everyday listening. It keeps the stage anchored in one place, which is comfortable over a long film or album. Head Tracked is more convincing on action scenes and games, where sound moving as you turn adds a lot, but it can tire your neck during a two-hour film. Keep Off for podcasts, audiobooks and calls.
Conclusion
If you want to set up personalized spatial audio on iPhone, do four things in order: update iOS, put your AirPods in and connect them, turn on Personalize Spatial Audio in your device settings, and run the scan properly with your elbow on a table and the phone at arm’s length. That last part is where most people give up too early.
Give it three attempts before troubleshooting anything else. If it still will not finish, work down the mistakes table above, and only then suspect the hardware.