To turn off automatic ear detection on AirPods, open the Settings app on your iPhone or iPad, tap your AirPods name near the top of the screen, and switch off the Automatic Ear Detection toggle. The change takes effect immediately and costs you the auto-pause that fires when you pull a bud out. If the AirPods entry is not pinned at the top of Settings, the same toggle is one tap away through Settings > Bluetooth.
- Put both AirPods in your ears and connected to your iPhone or iPad.
- Open Settings, then tap your AirPods name near the top of the screen.
- Tap the Automatic Ear Detection toggle so it turns grey.
- Take one AirPod out. Your audio should keep playing.
The whole job takes about fifteen seconds once you are in the right screen. The fiddly part is finding that screen, because Apple moves it around between iOS versions and hides it entirely when the AirPods are not connected to the device you are holding.
Table of Contents
- 1What You Need
- 2Step-by-Step: How to Turn Off Automatic Ear Detection on AirPods
- 3Open the Bluetooth Settings for Your AirPods
- 4Turn Off Automatic Ear Detection
- 5Check That the Change Worked
- 6Turn Automatic Ear Detection Back On
- 7Common Mistakes
- 8Tapping the Wrong Entry in Settings
- 9The Setting Is Not There Because the AirPods Are Not Connected
- 10The Toggle Turns Itself Back On
- 11One AirPod Still Stops the Audio
- 12Looking for Automatic Ear Detection on AirPods Max
- 13Expecting It to Stop Other Behaviour Too
- 14Frequently Asked Questions
- 15Where is Automatic Ear Detection on AirPods?
- 16Does turning off Automatic Ear Detection affect sound quality or noise control?
- 17Why can I not see the Automatic Ear Detection option?
- 18Can I turn off automatic ear detection for only one AirPod?
- 19Does closing the case reset Automatic Ear Detection?
- 20How do I turn Automatic Ear Detection back on?
- 21Conclusion
What You Need
You need the AirPods themselves, an iPhone or iPad running a current version of iOS or iPadOS, and Bluetooth switched on. That is the whole list. No computer, no app, no reset.
One condition matters more than the others: your AirPods must be connected and paired to the device you are editing. If the buds are sitting in their case or paired to someone else’s phone, their name will not appear at the top of Settings and the Automatic Ear Detection option will not exist anywhere on that screen.
Also worth knowing before you start: the control only exists on Apple platforms. There is no equivalent toggle on Android, Samsung or Windows, and I explain why further down. On a Mac it lives in System Settings rather than the Settings app. And on AirPods Max, Apple renamed the feature Automatic Head Detection, so you will be hunting for a different label.
Step-by-Step: How to Turn Off Automatic Ear Detection on AirPods
Open the Bluetooth Settings for Your AirPods
There are two routes into the AirPods settings pane, and they lead to the same place. Use whichever one your screen gives you.
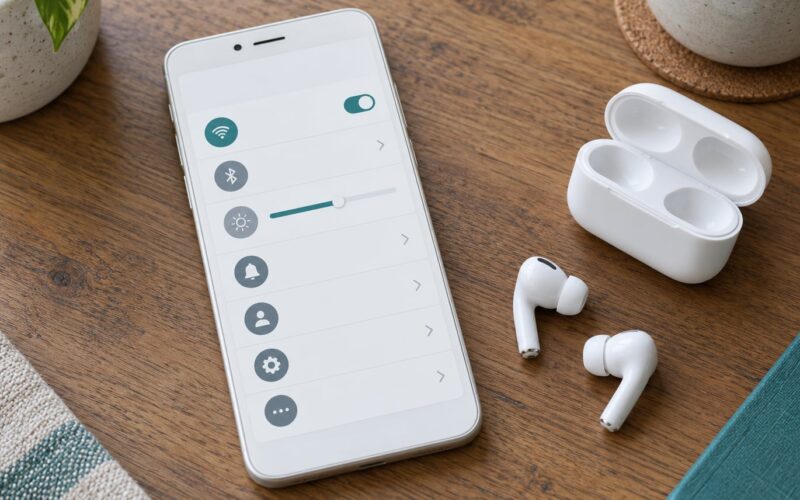
The quick route is the AirPods name at the top of the Settings app. Put the buds in your ears, open Settings on your iPhone or iPad, and look just below your Apple ID row. Your AirPods name sits there with a battery percentage next to it. Tap it.
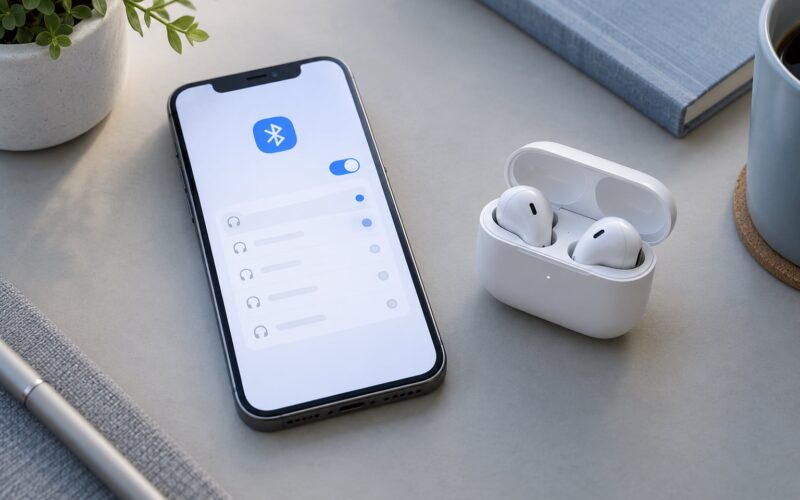
If nothing appears there, open Settings, then tap Bluetooth in the sidebar or the list at the top of the screen. You will see a Devices section with a Connected list. Find your AirPods and tap the small blue info button to the far right of that row. That button opens the same pane as the pinned name, with the same toggles.
On newer iOS versions the switch can sit lower down inside that pane under a heading called Audio & Routing. If you see the heading but no Automatic Ear Detection row above it, scroll down before you conclude anything is broken.
Turn Off Automatic Ear Detection
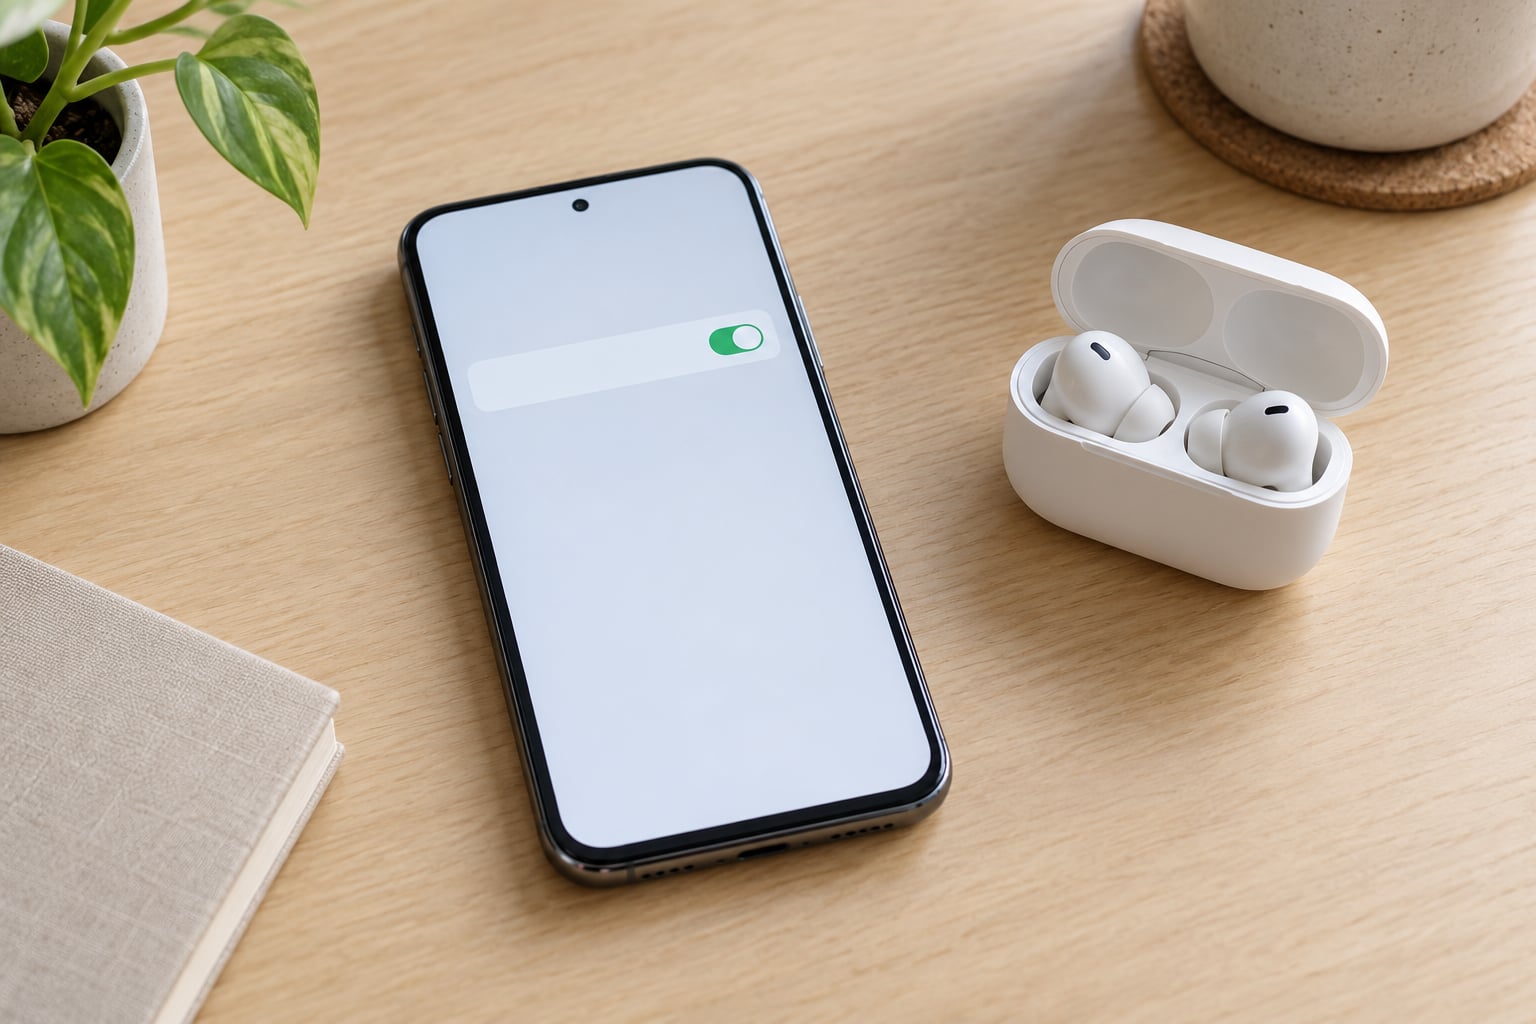
How to turn off automatic ear detection takes one tap: tap the Automatic Ear Detection toggle until it slides left and turns grey. There is no confirmation dialog, no save button, and no need to restart anything.
Stop there. It is tempting to keep toggling other switches nearby, and that is how people end up with noise cancellation or Spatial Audio behaving strangely. Leave Automatic Switching alone, leave Conversation Awareness alone, and leave Spatial Audio alone. None of them are affected by this change anyway.
For the Mac, the path is System Settings > Bluetooth. Click the info button next to your AirPods, then click Automatic Ear Detection in the panel that opens. The toggle flips with a single click and the Mac applies it right away.
Check That the Change Worked
Confirm it the same way you confirmed it worked before you changed it. Open the AirPods settings pane again and check that the toggle is still grey. Then take one AirPod out while audio is playing and listen.
With the feature off, your music or podcast keeps going. Removing a bud no longer pauses anything, and putting it back does not need to resume anything either. That is the whole test, and it takes one second.
If audio still cuts out when you remove a bud, something else is doing it. Check that you toggled the switch on the device currently playing the audio, since the setting is stored per device. Your Mac keeps its own value even after you switch it off on your phone.
Turn Automatic Ear Detection Back On
Going back is the reverse of the same two taps. Open Settings, tap your AirPods name or the Bluetooth info button, and tap the toggle so it turns green again.
One trick from the forums is worth keeping in your back pocket. If the toggle seems stuck or the buds behave oddly, turn it off, wait about ten seconds, then turn it on again. That nudge is often enough to re-register the in-ear sensor.
Common Mistakes
Most of the trouble people hit is not the toggle itself. It is which device they are looking at, or an expectation that the problem is software when it is a dirty sensor.
Tapping the Wrong Entry in Settings
The AirPods pane is not the only AirPods-named screen. If you tap through to the Bluetooth device details and then wander into accessory or audio routing pages, you will end up somewhere that has no Automatic Ear Detection row at all. Go back one level and use the top-level AirPods pane, the one that shows the battery levels for both buds and the case.
The Setting Is Not There Because the AirPods Are Not Connected
This is the single most common cause. The pane only builds itself from a live connection. Put both buds in your ears, make sure Bluetooth is on, and check that your AirPods name appears under the Connected heading in Settings > Bluetooth. If they show up as Not Connected, the toggle cannot be reached.
On Android and Samsung phones there is nothing to find at all. AirPods connect over standard Bluetooth there, and the ear-detection controls live in the Apple ecosystem only. Guides that send you hunting through Nearby Device Scanning on a Samsung phone are describing a different feature entirely.
The Toggle Turns Itself Back On
Several readers report that the switch flips back to green after a restart or an iOS update, and suspect a firmware issue on the buds. That does happen occasionally, and the pattern is usually the same: the setting sticks for days, then reverts after a software update.
Turn it off again, and this time put both AirPods in the case for a few minutes so they reconnect and pick up the new setting cleanly. If it reverts again on a later update, the practical fix is to switch it off after each major iOS release. Annoying, but it takes fifteen seconds.
One AirPod Still Stops the Audio
If the toggle is off, both buds set to grey, and one bud still kills playback, the pause is coming from somewhere other than ear detection. Dirty in-ear sensors are the usual reason. Skin oil and wax build up on the sensor end and it starts reporting that nothing is in the ear, which pauses audio in the same way removal does.
Wipe both buds with a dry cloth, let them charge fully, and test one at a time by leaving the other in the case. If a single bud misbehaves on its own, that is a hardware or sensor problem rather than a settings problem.
Looking for Automatic Ear Detection on AirPods Max
AirPods Max do not have an Automatic Ear Detection setting. The equivalent is called Automatic Head Detection, and it sits in the same AirPods pane on your iPhone or iPad. If you searched for the ear detection toggle on a Max and found nothing, that naming difference is the whole explanation.
Expecting It to Stop Other Behaviour Too
Automatic Ear Detection is only the pause and resume behaviour. Automatic Switching, which moves audio from one bud to the other, is a separate switch. Spatial Audio head tracking is a third thing entirely and is not touched by this setting. If your audio still hops between buds after you disable ear detection, switch off Automatic Switching as well.
One more thing to keep in mind: with ear detection off, nothing stops your audio for you. It will keep playing into an empty room until you pause it or the battery gives out, which is why some people find their AirPods run flat sooner after making this change.
Frequently Asked Questions
Where is Automatic Ear Detection on AirPods?
It sits in the AirPods settings pane. On iPhone and iPad, open Settings and tap your AirPods name near the top of the screen. If the name is not pinned there, open Settings, tap Bluetooth, and tap the blue info button beside your AirPods. On Mac, use System Settings, then Bluetooth, then the info button next to your AirPods.
Does turning off Automatic Ear Detection affect sound quality or noise control?
No. The toggle only controls pause and resume. Active Noise Cancellation, Transparency mode, Adaptive EQ and Spatial Audio all keep working exactly as before, because each one is a separate control in the same pane. The one practical effect is that audio now plays until you stop it manually, so the buds may run out of charge sooner.
Why can I not see the Automatic Ear Detection option?
Usually the AirPods are not currently connected to the device you are editing. The pane is built from a live connection, so put the buds in your ears and check Settings, then Bluetooth for them under Connected. On newer iOS versions the row can also sit further down under a heading called Audio and Routing, so scroll before deciding it is missing.
Can I turn off automatic ear detection for only one AirPod?
No, the toggle applies to the pair as a single setting. There is no way to keep auto-pause on one side and off on the other from the AirPods settings. If you want audio to keep playing while you wear a single bud, leaving the setting off for both is the simplest approach and works well for one-ear listening.
Does closing the case reset Automatic Ear Detection?
No. Putting the AirPods in the case and closing the lid ends the audio and charges the buds, but it does not restore factory settings or undo your toggle. Your choice persists the same way it does for any other AirPods setting. A full reset is a different action and wipes all pairing and customisation.
How do I turn Automatic Ear Detection back on?
Repeat the same steps in reverse. Open Settings on your iPhone or iPad, tap your AirPods name or the Bluetooth info button, then tap the Automatic Ear Detection toggle until it turns green. On Mac, open System Settings, then Bluetooth, click the info button beside your AirPods and click the toggle again.
Conclusion
Start by opening Settings on your iPhone or iPad and tapping the AirPods entry that sits either at the top of the screen or beside your device in the Bluetooth list. One tap on Automatic Ear Detection turns it grey, your audio stops pausing when you pull a bud out, and you can flip it back on whenever you want the old behaviour again.